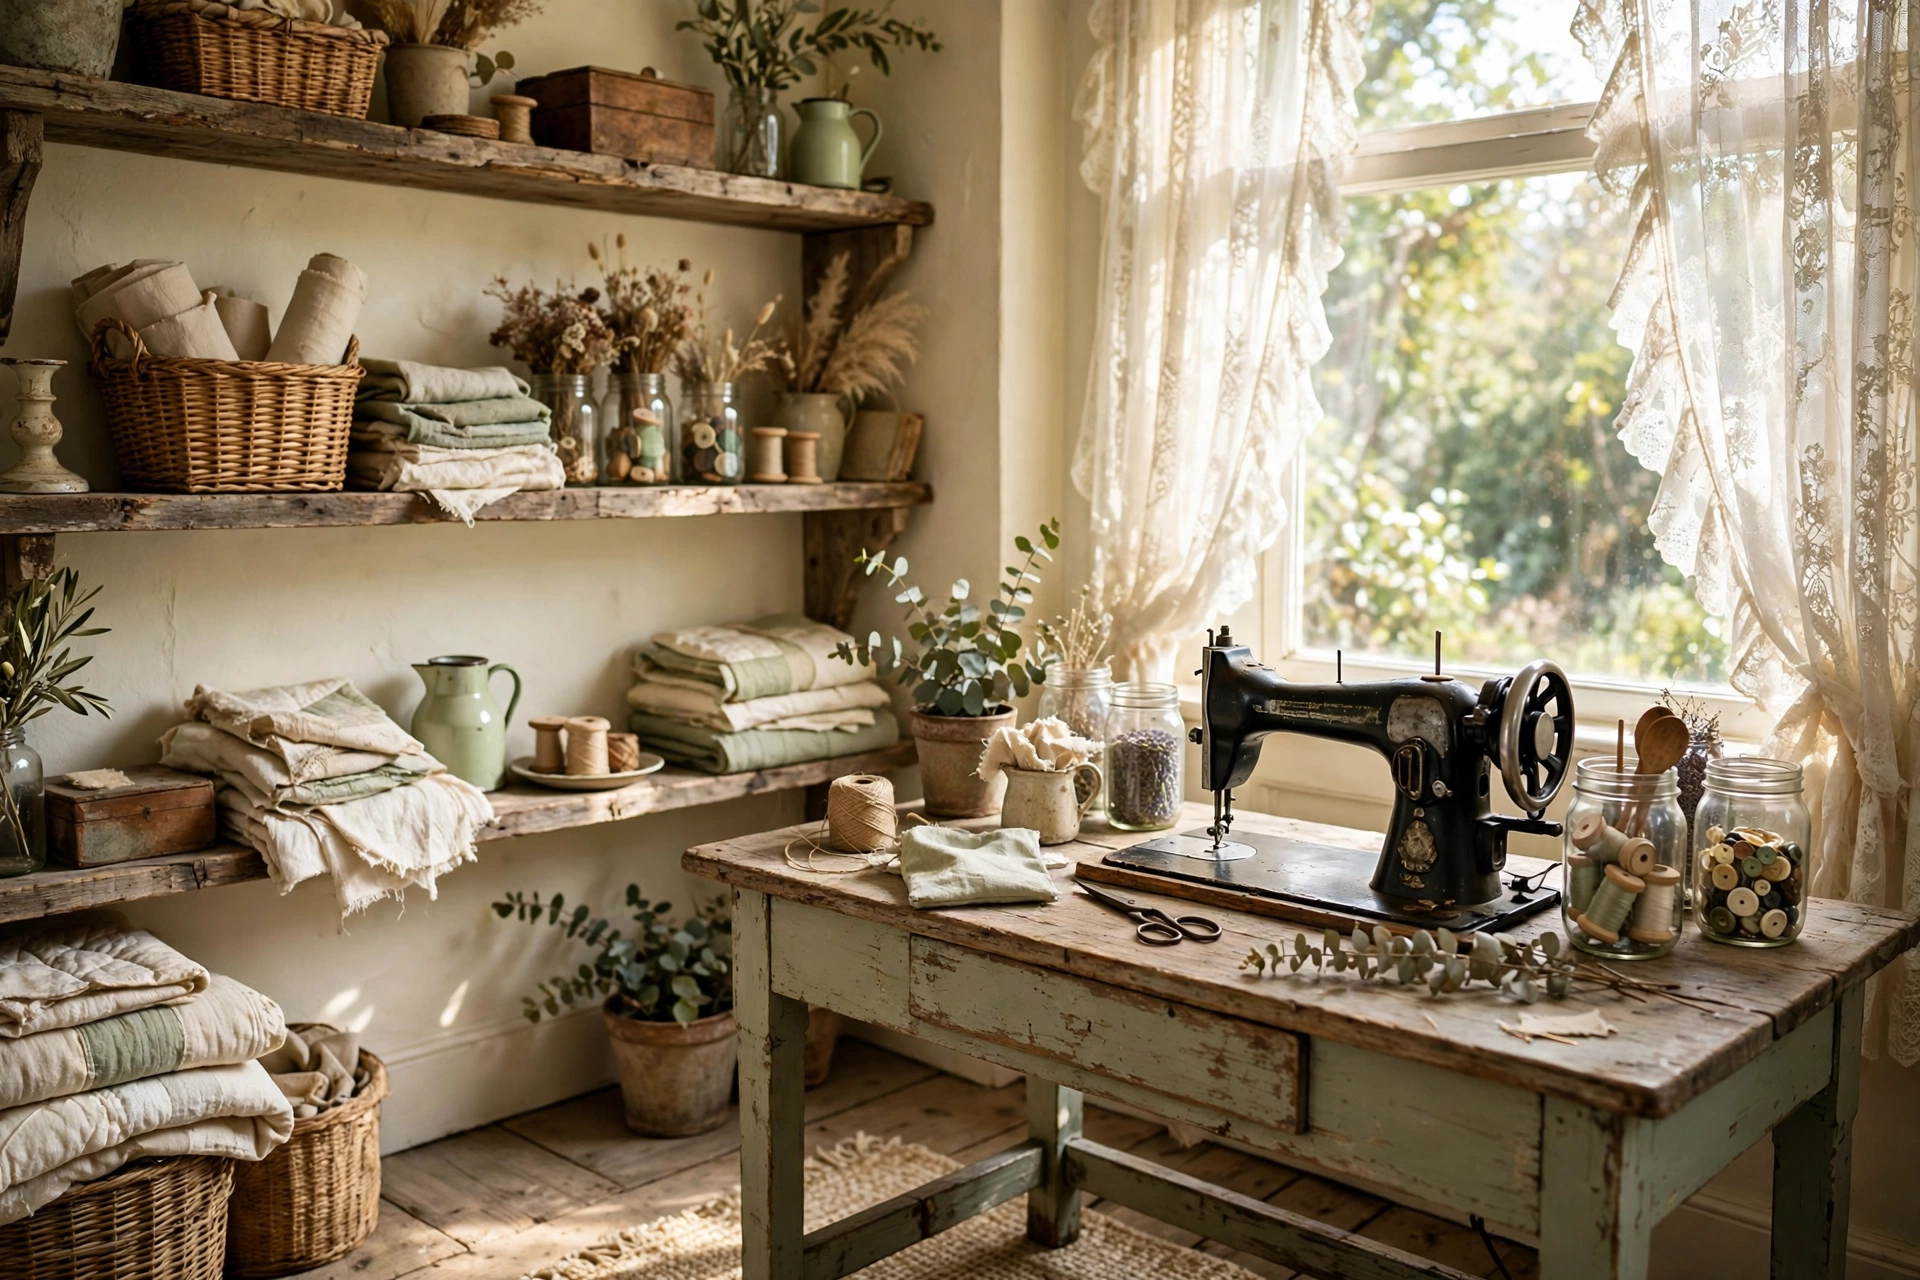
17 Vintage Craft Room Ideas for a Charming, Creative Space
17 Vintage Craft Room Ideas for a Charming, Creative Space
A vintage craft room is not just a place to make things — it is a room with a story. The chipped paint on a thrifted desk, the brass handle on an old dresser, a mason jar full of buttons collected over years: every piece carries a little history, and together they make a space that feels warm, personal, and completely unlike a flat-pack craft corner. The good news is that you do not need a big budget or a big room to get there. Most of the charm in a vintage craft room comes from secondhand finds, repurposed furniture, and a few deliberate styling choices. This guide walks through 17 ideas that cover the whole room — the anchor furniture, storage that looks as good as it works, wall displays, light, textiles, and the small details that pull it all together. Pick the ideas that fit your space and your crafts, start with one anchor piece, and let the room grow around it.
1. Anchor the Room with a Thrifted Wooden Desk
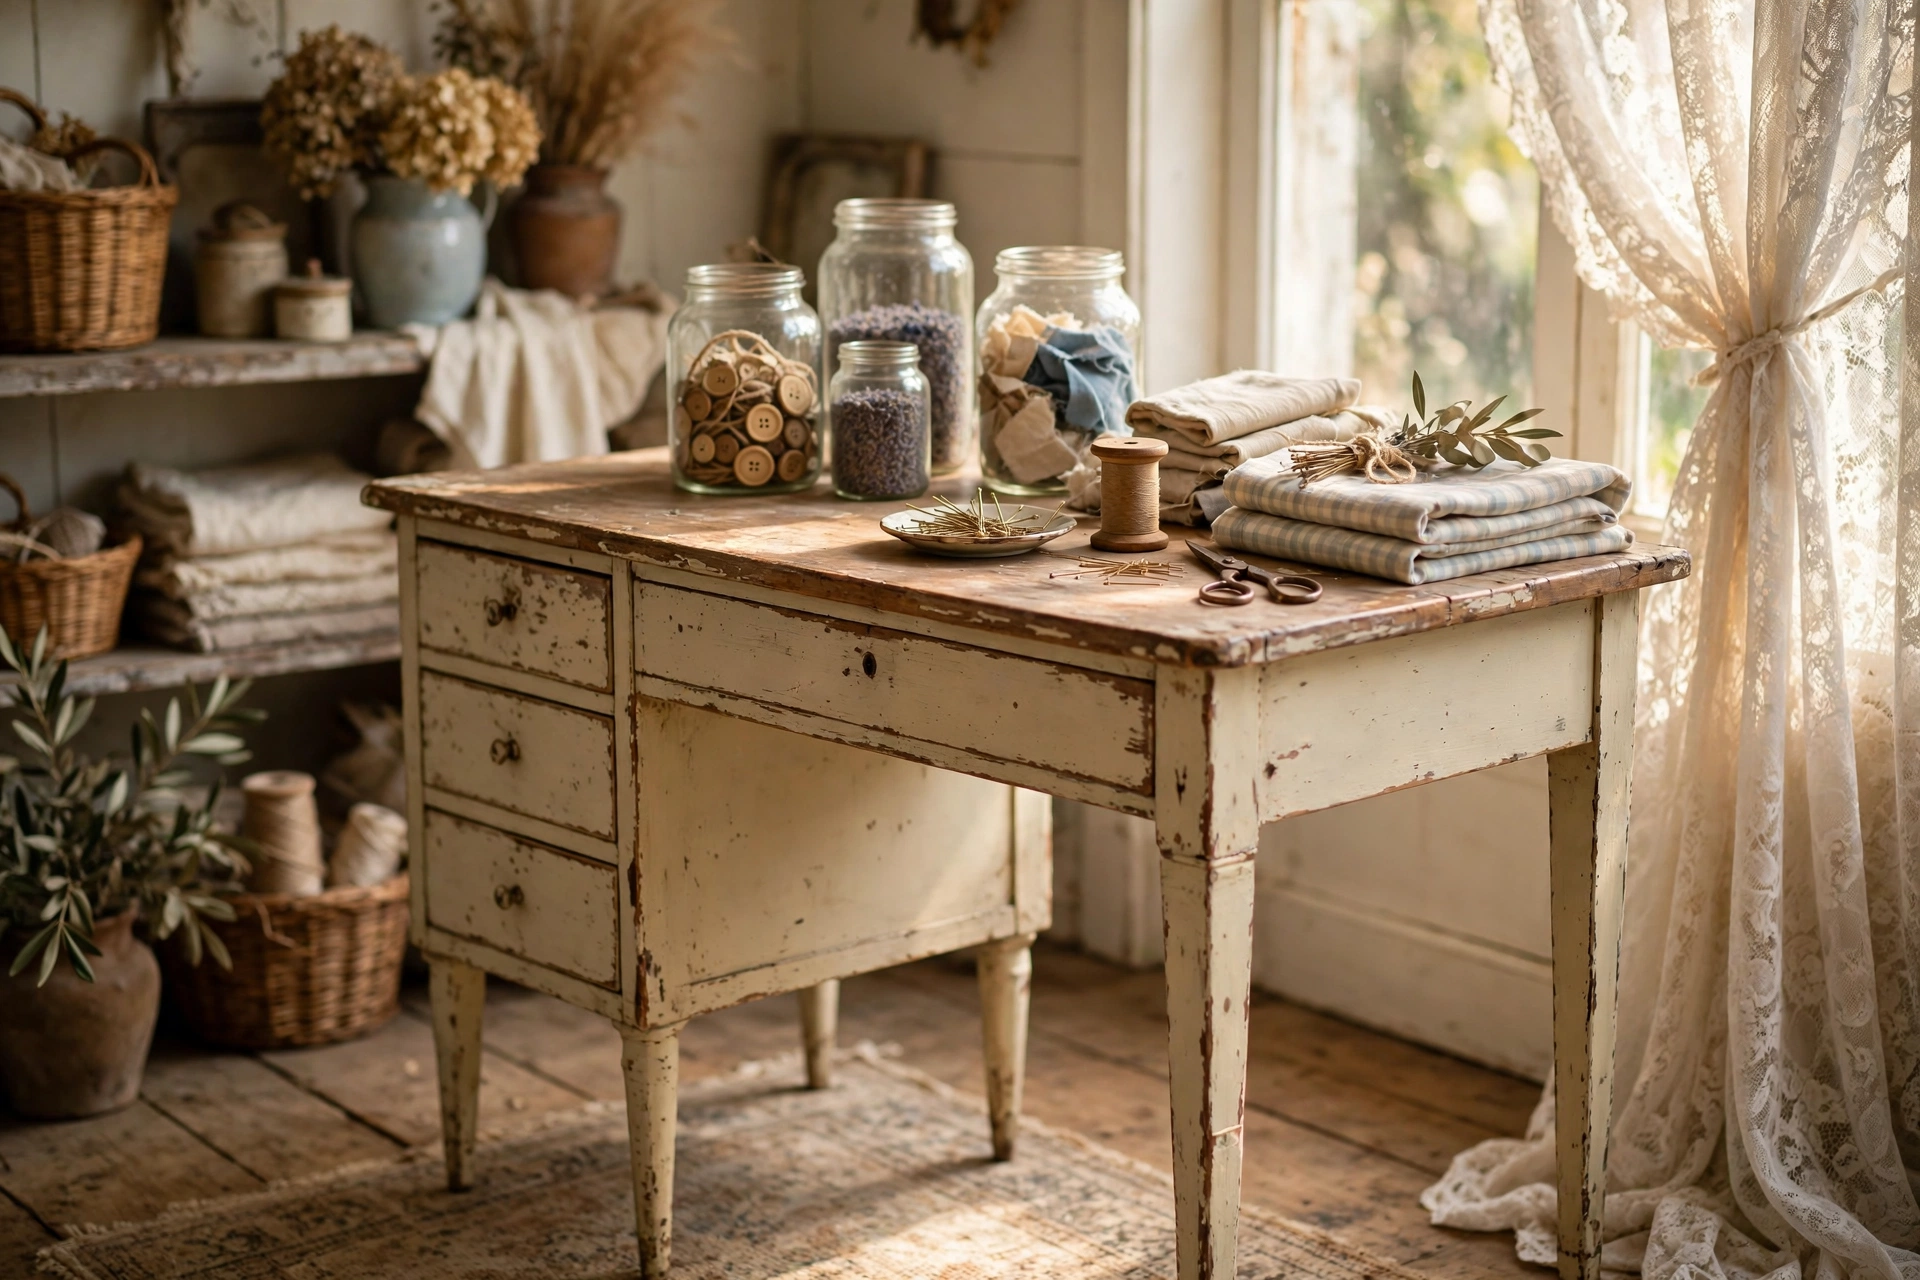
Every great vintage craft room starts with one good desk, and the best ones rarely come from a furniture store. A solid wood writing desk from a thrift store, estate sale, or flea market — chipped paint, tapered legs, a few scuffs and all — instantly gives the room its character. Look for a desk with built-in storage: small drawers for pens and scissors, a shelf underneath, or a hutch on top for jars and ribbon spools. That storage keeps supplies off the main work surface, which matters more than it sounds in a room where every project spreads out. Before you buy, check that the desk is sturdy and sits level; wobble is fixable with a shim, but a cracked leg is a harder project than it looks. A coat of chalk paint in cream, sage, or dusty blue can freshen a tired finish without hiding the wood’s age. Place the desk near the best natural light in the room — by a window if you can — because good light is the one thing no amount of decor can replace.
2. Make a Vintage Sewing Machine the Centerpiece
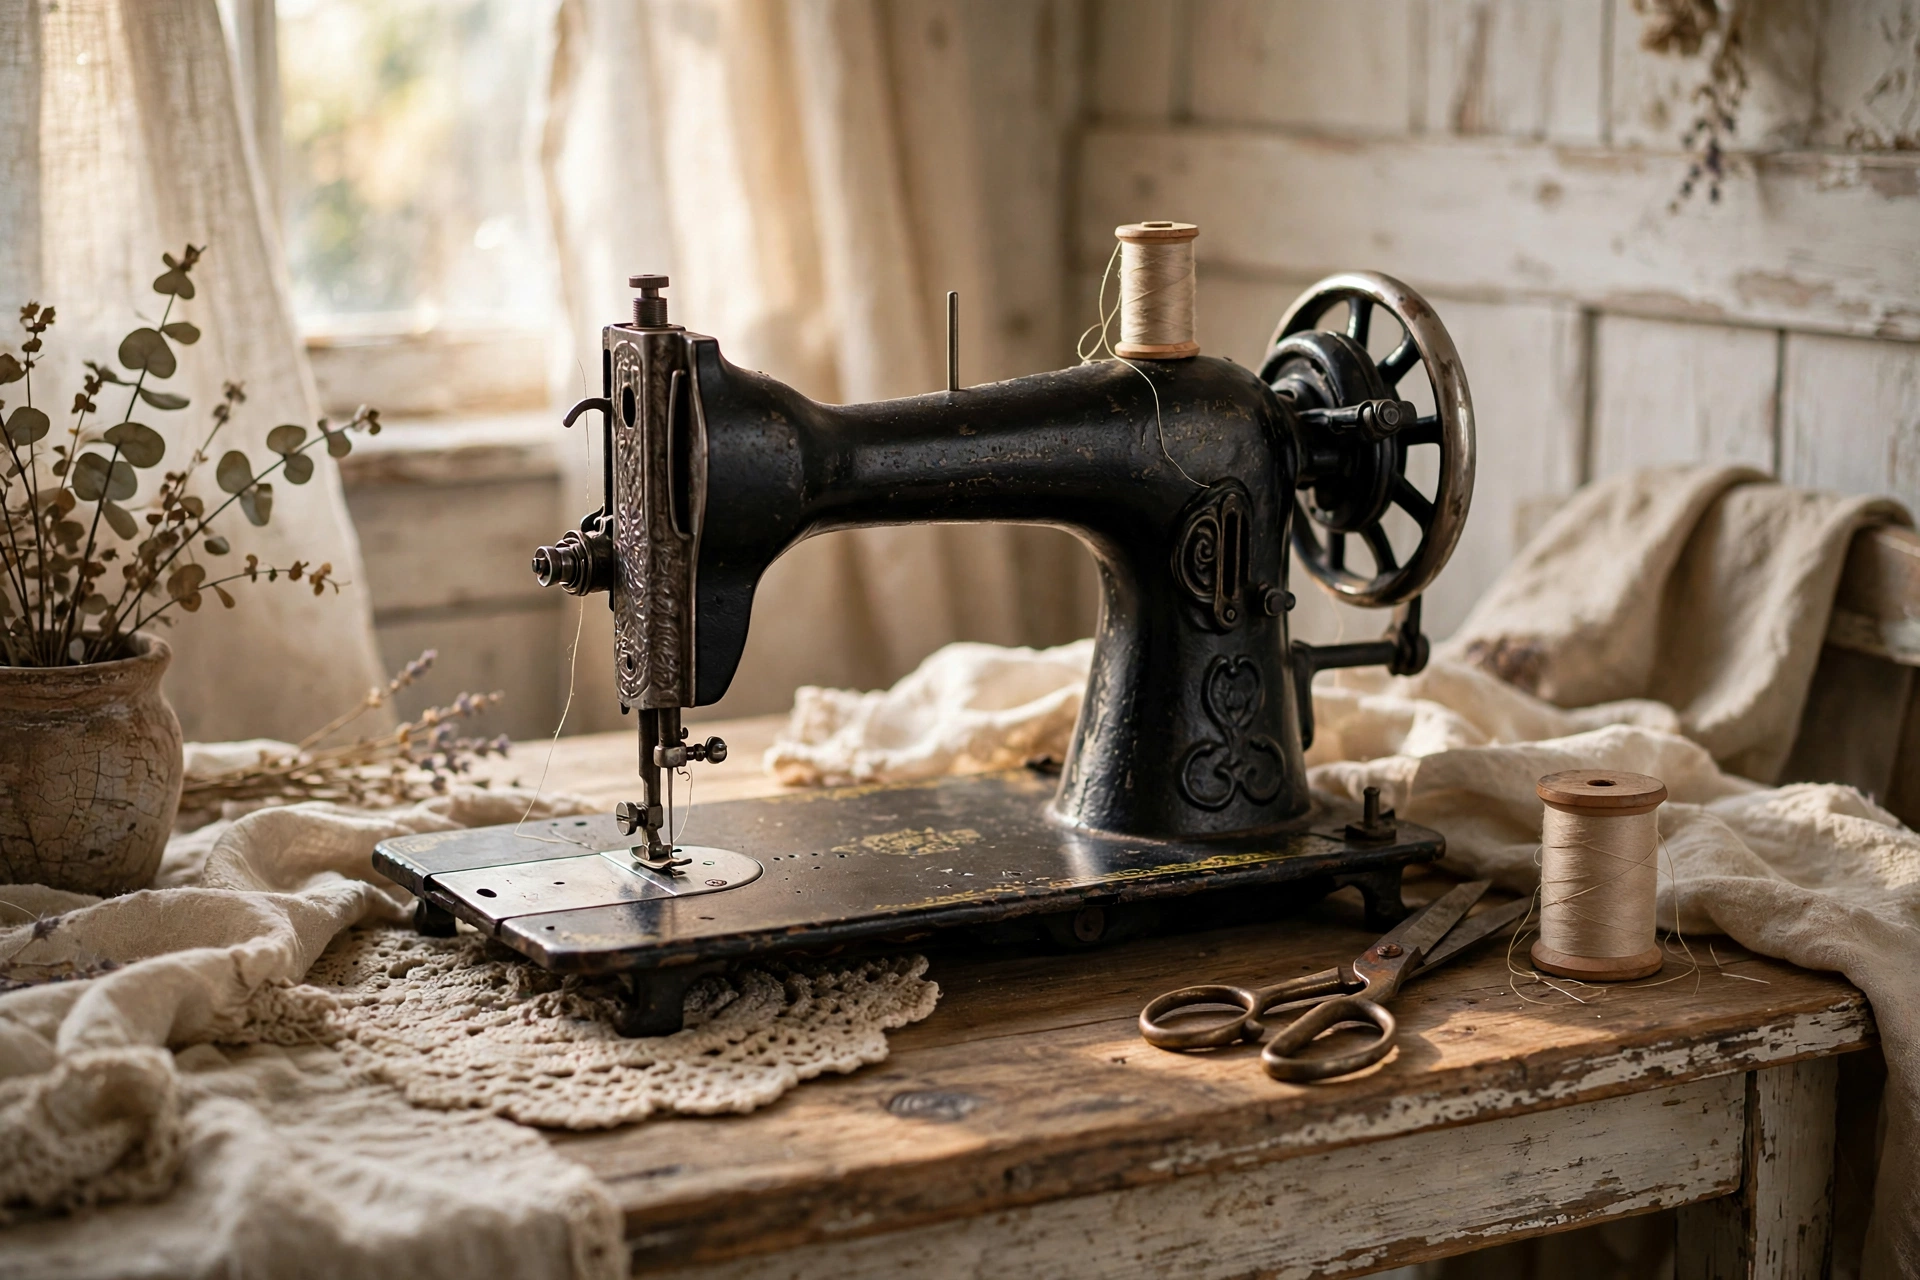
Few objects say “vintage craft room” as clearly as an old sewing machine. A cast-iron Singer or similar machine — whether it still sews or not — makes a striking centerpiece on a side table, a console, or its original treadle base. If yours still works, keep it threaded and ready; there is something satisfying about a machine that earns its place. If it does not, treat it as sculpture: set it on a folded piece of linen, surround it with a spool of thread, a pair of old scissors, and a small stack of fabric, and let it anchor a corner of the room. Treadle bases are especially useful because the cast-iron legs are stable and the flat top doubles as a display surface. You can often find these machines for very little at estate sales, since many sellers price them as decor rather than working tools. Dust the machine gently with a soft brush, keep it out of direct damp, and it will outlast almost everything else in the room.
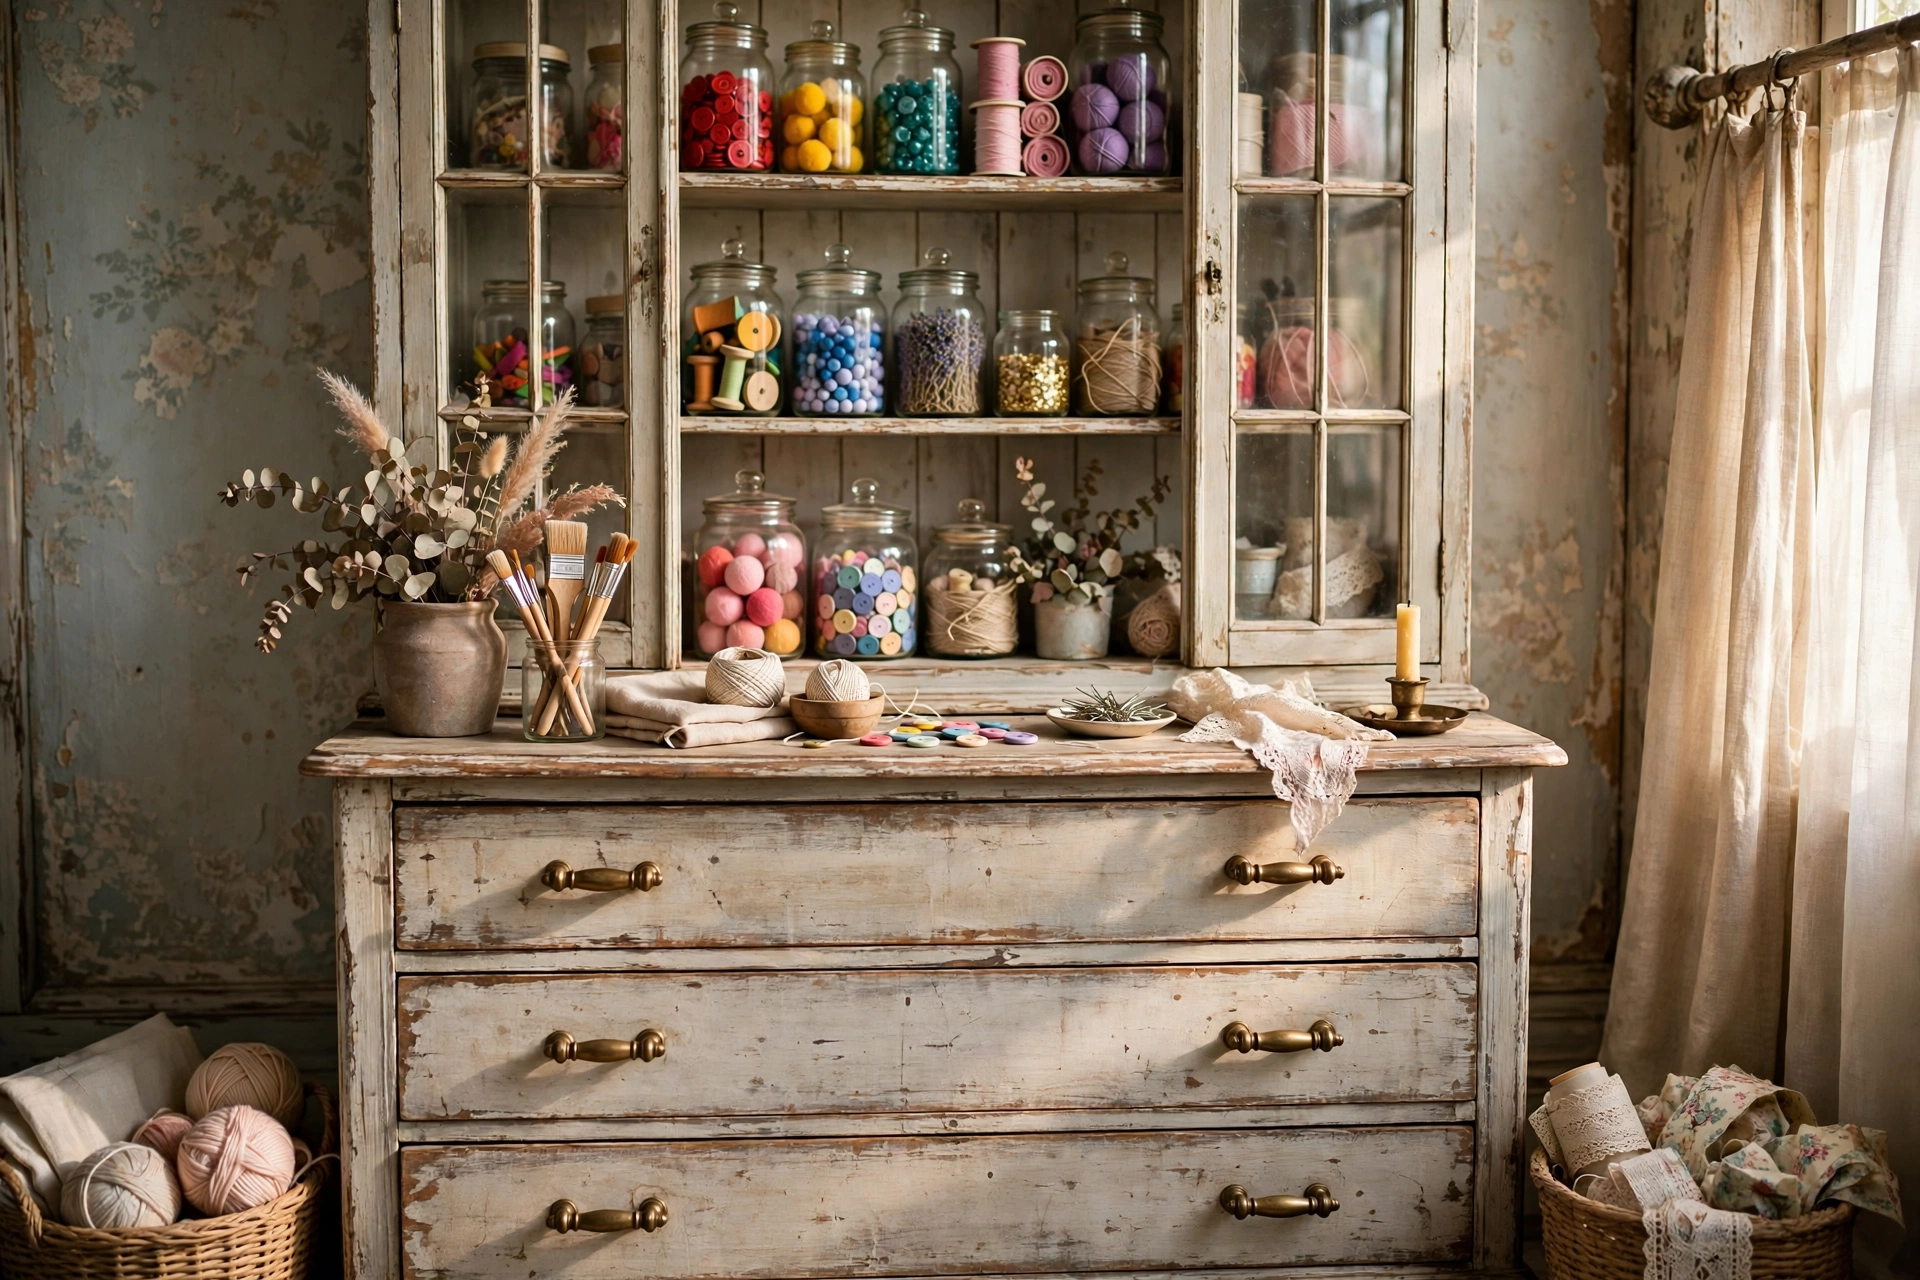
3. Turn an Antique Dresser or Hutch into a Supply Cabinet
A dresser or hutch does in a craft room what a desk cannot: it swallows the bulky stuff. An old wooden dresser with deep drawers holds fabric, yarn, paper stacks, and half-finished projects behind closed doors, while the top becomes a display shelf for jars, plants, and a lamp. A hutch with glass doors works even better for the things you want to see — colorful thread, ribbon, washi tape — because it keeps them dust-free without hiding them. When you shop secondhand, open every drawer and check the runners; sticky drawers are common and usually fixable with a rub of candle wax along the runners. Line the drawers with pretty paper or old maps for a small surprise every time you open one. If the piece is too tall for your space, remove the top hutch and use it as a wall shelf instead. Our craft room storage ideas show more ways to make every drawer and shelf earn its keep.
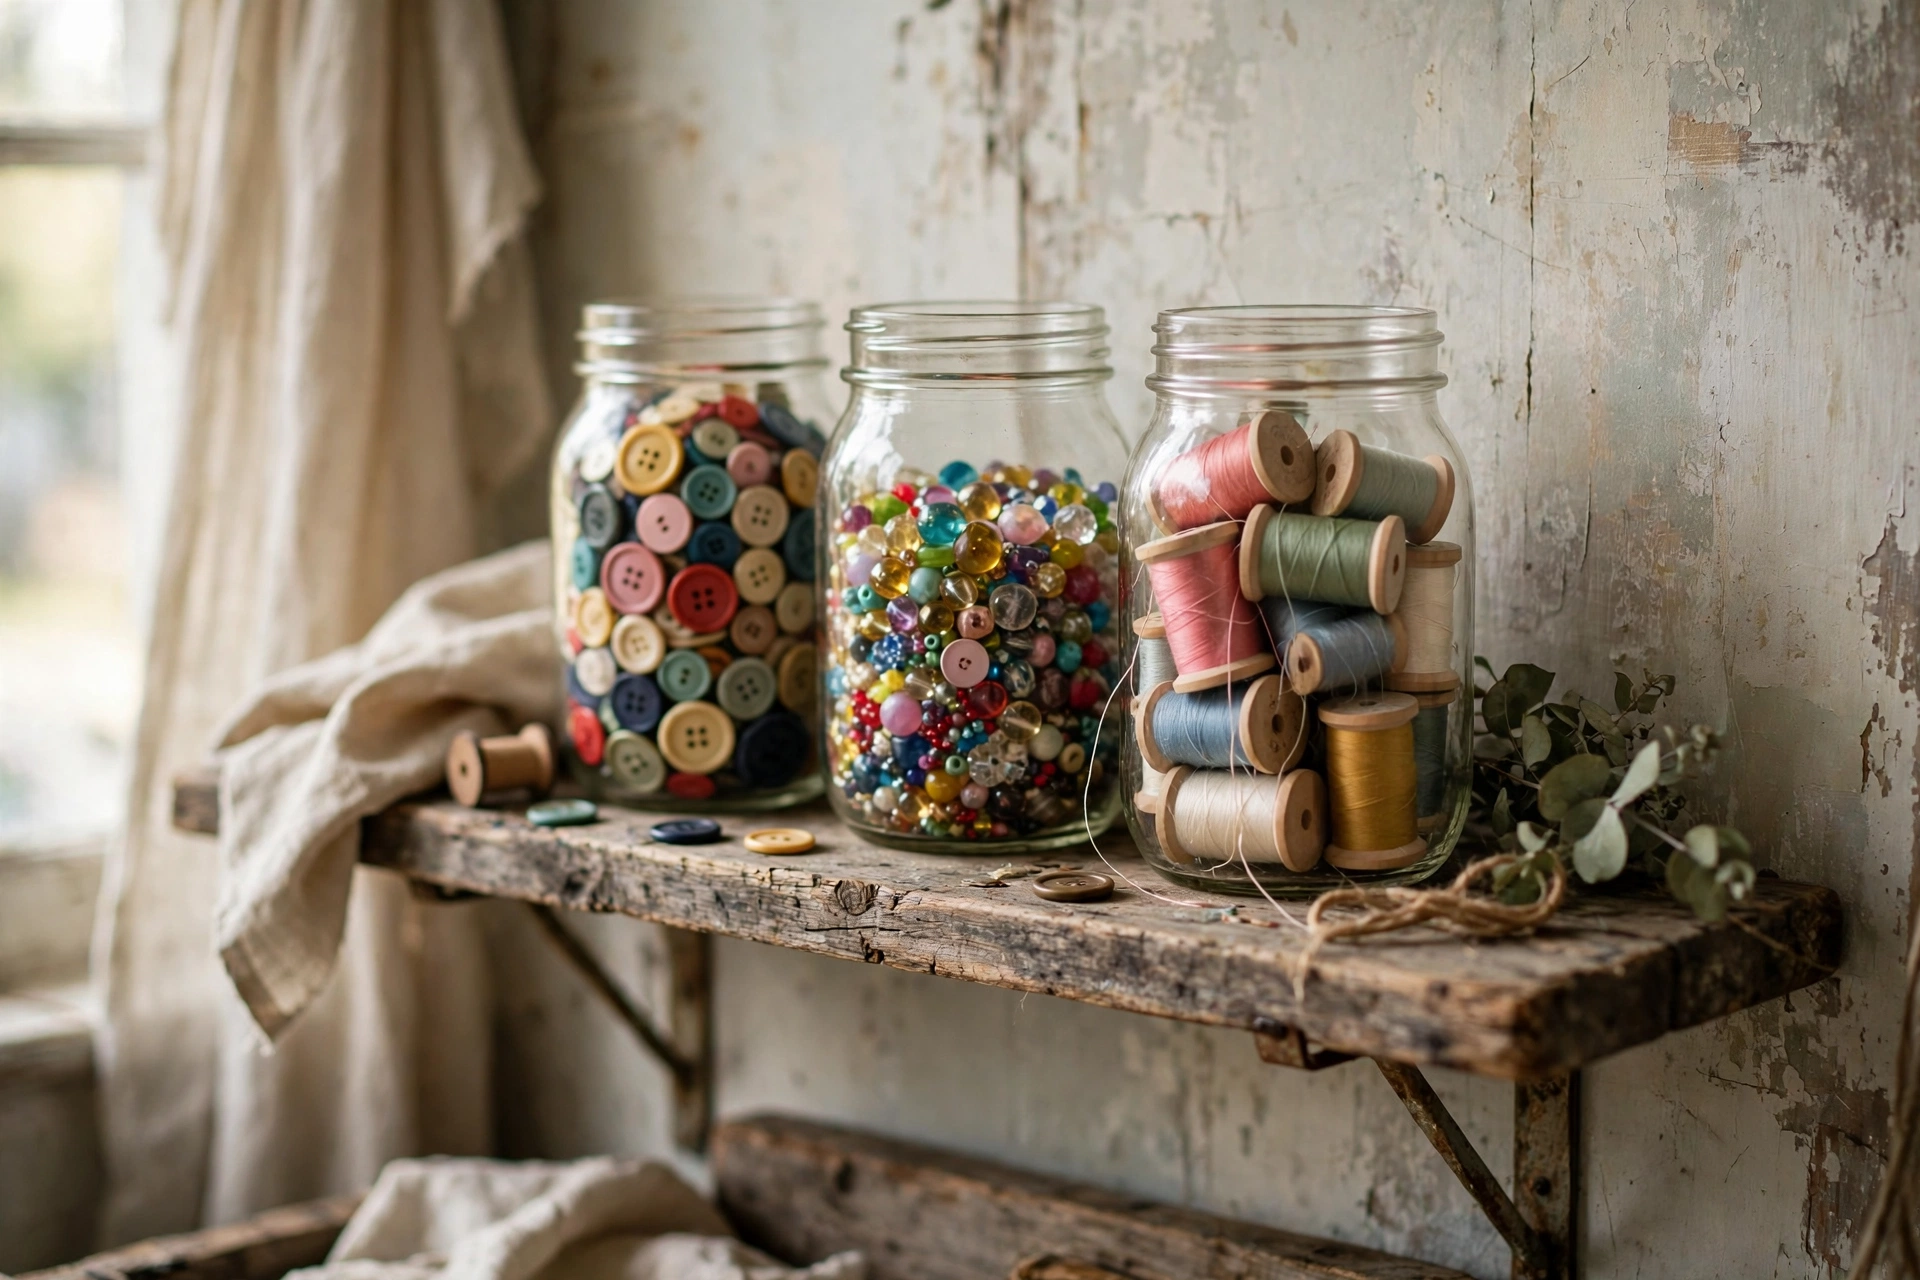
4. Store Small Supplies in Mason Jars
Mason jars are the hardest-working small storage in a vintage craft room, and they cost almost nothing. Buttons, beads, sequins, thread, pins, and tiny embellishments all stay visible in clear glass, which means you actually find what you need instead of digging through a drawer. Group jars by color on an open shelf and they become decoration as much as storage — a row of jars in soft pastels looks like it belongs in the room. Screw the lids under a shelf and hang the jars from them for a classic workshop trick that frees shelf space entirely. For a softer look, tie a scrap of lace or twine around the neck of each jar and label it with a small kraft tag. Keep one jar on your desk for the tools you reach for constantly — scissors, a seam ripper, a pencil — so the essentials are always within arm’s reach. Vintage blue-tinted jars are worth hunting for at flea markets; the color alone adds a layer of charm no new jar can match.
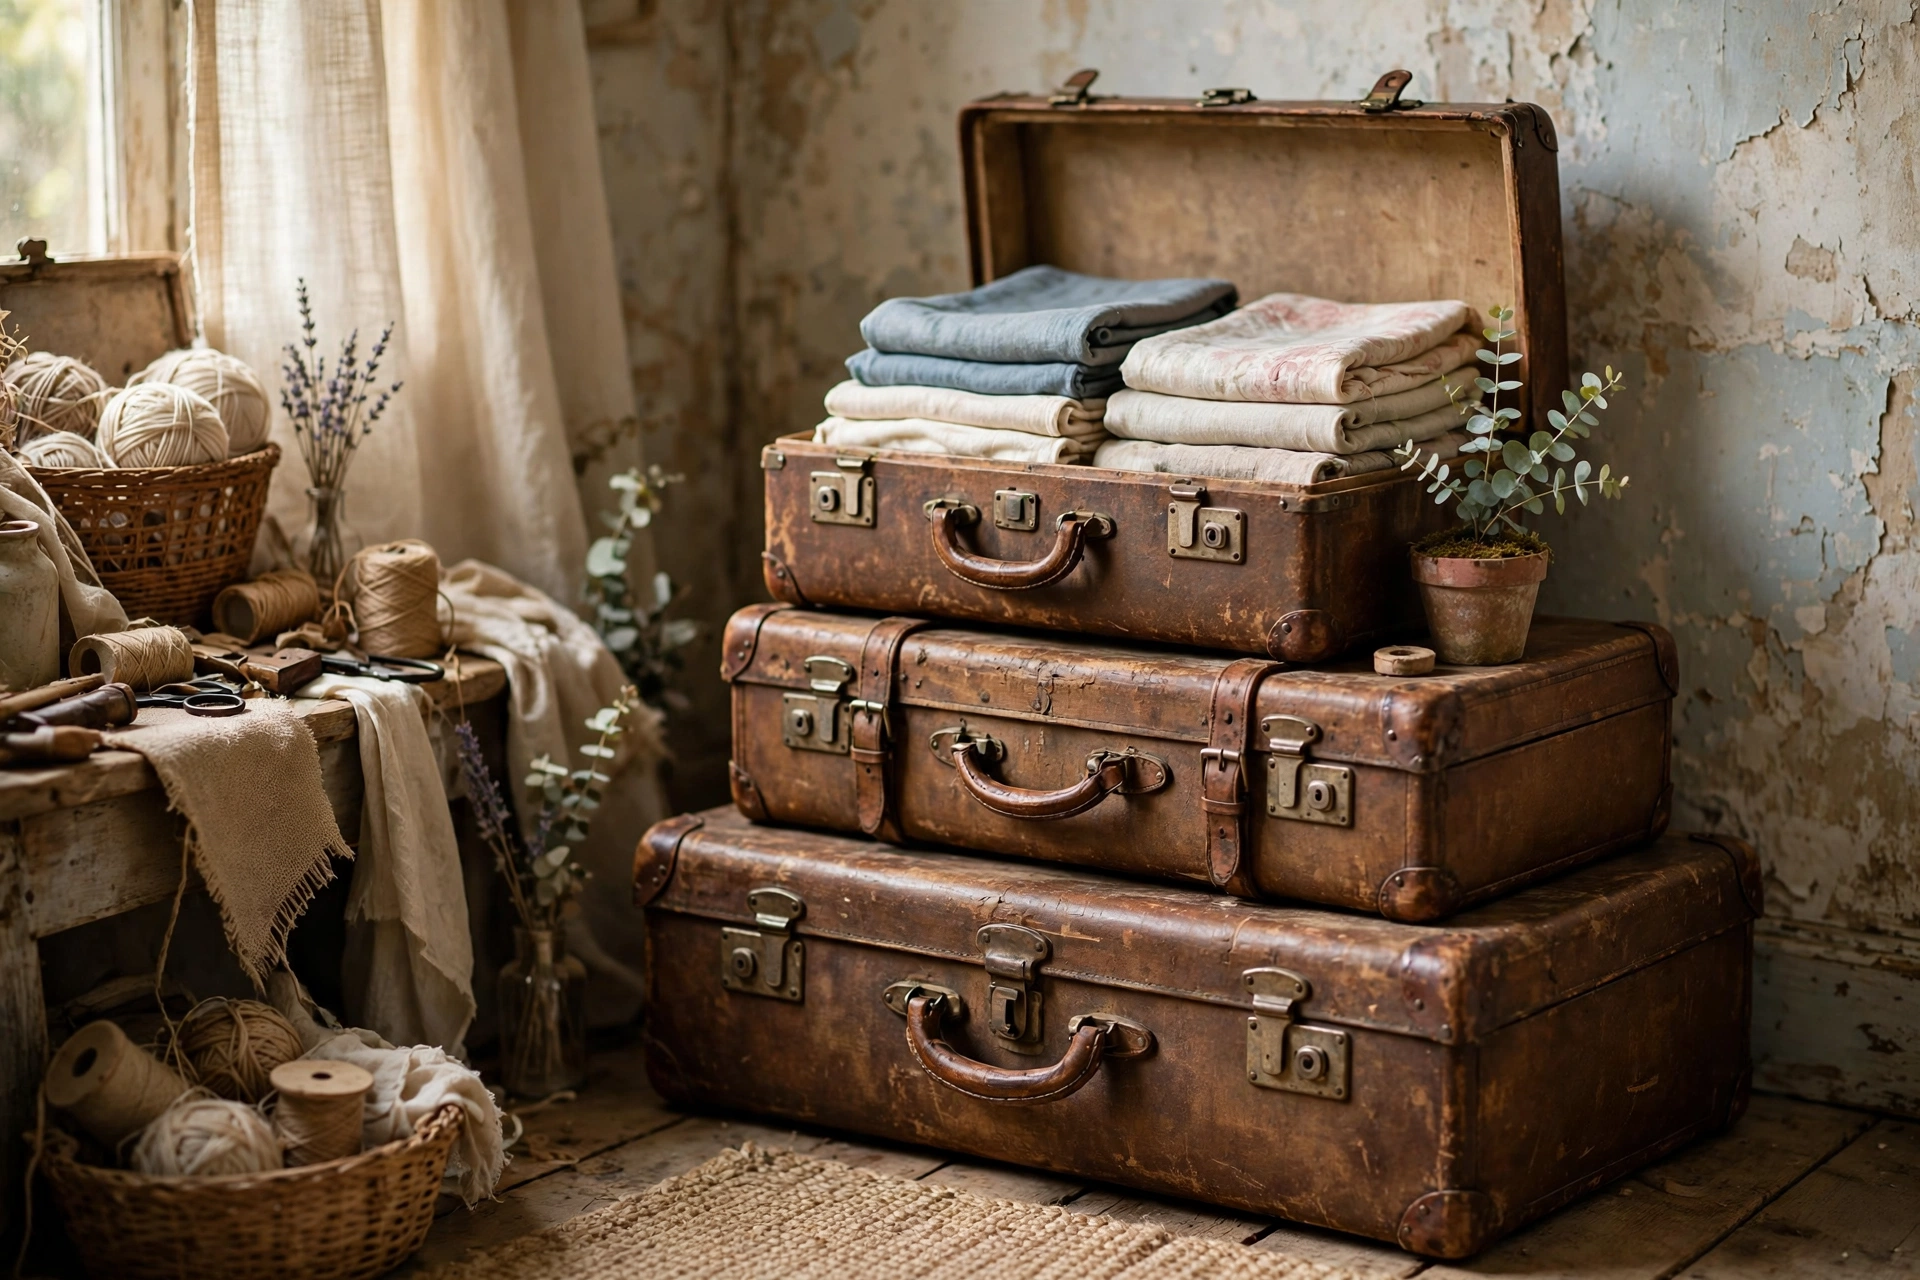
5. Stack Antique Suitcases for Storage That Doubles as Decor
Old suitcases are storage with a story built in. A stack of two or three vintage suitcases in a corner holds fabric, patterns, or seasonal supplies, and the stack itself becomes a side table — set a lamp or a small plant on top and it reads as furniture. Look for suitcases with solid latches and intact linings at thrift stores; the outside can be scuffed, but the inside should be clean and dry. Leather or hard-sided cases last longest, while fabric-covered ones are lighter and easier to move. If a case smells musty, air it outside for a day and wipe the inside with a damp cloth and a little white vinegar before you fill it. Label each case with a small tag tied to the handle so you know what is inside without opening the stack. One suitcase on its own also works beautifully under a desk or beside a chair, holding the project you are working on right now.
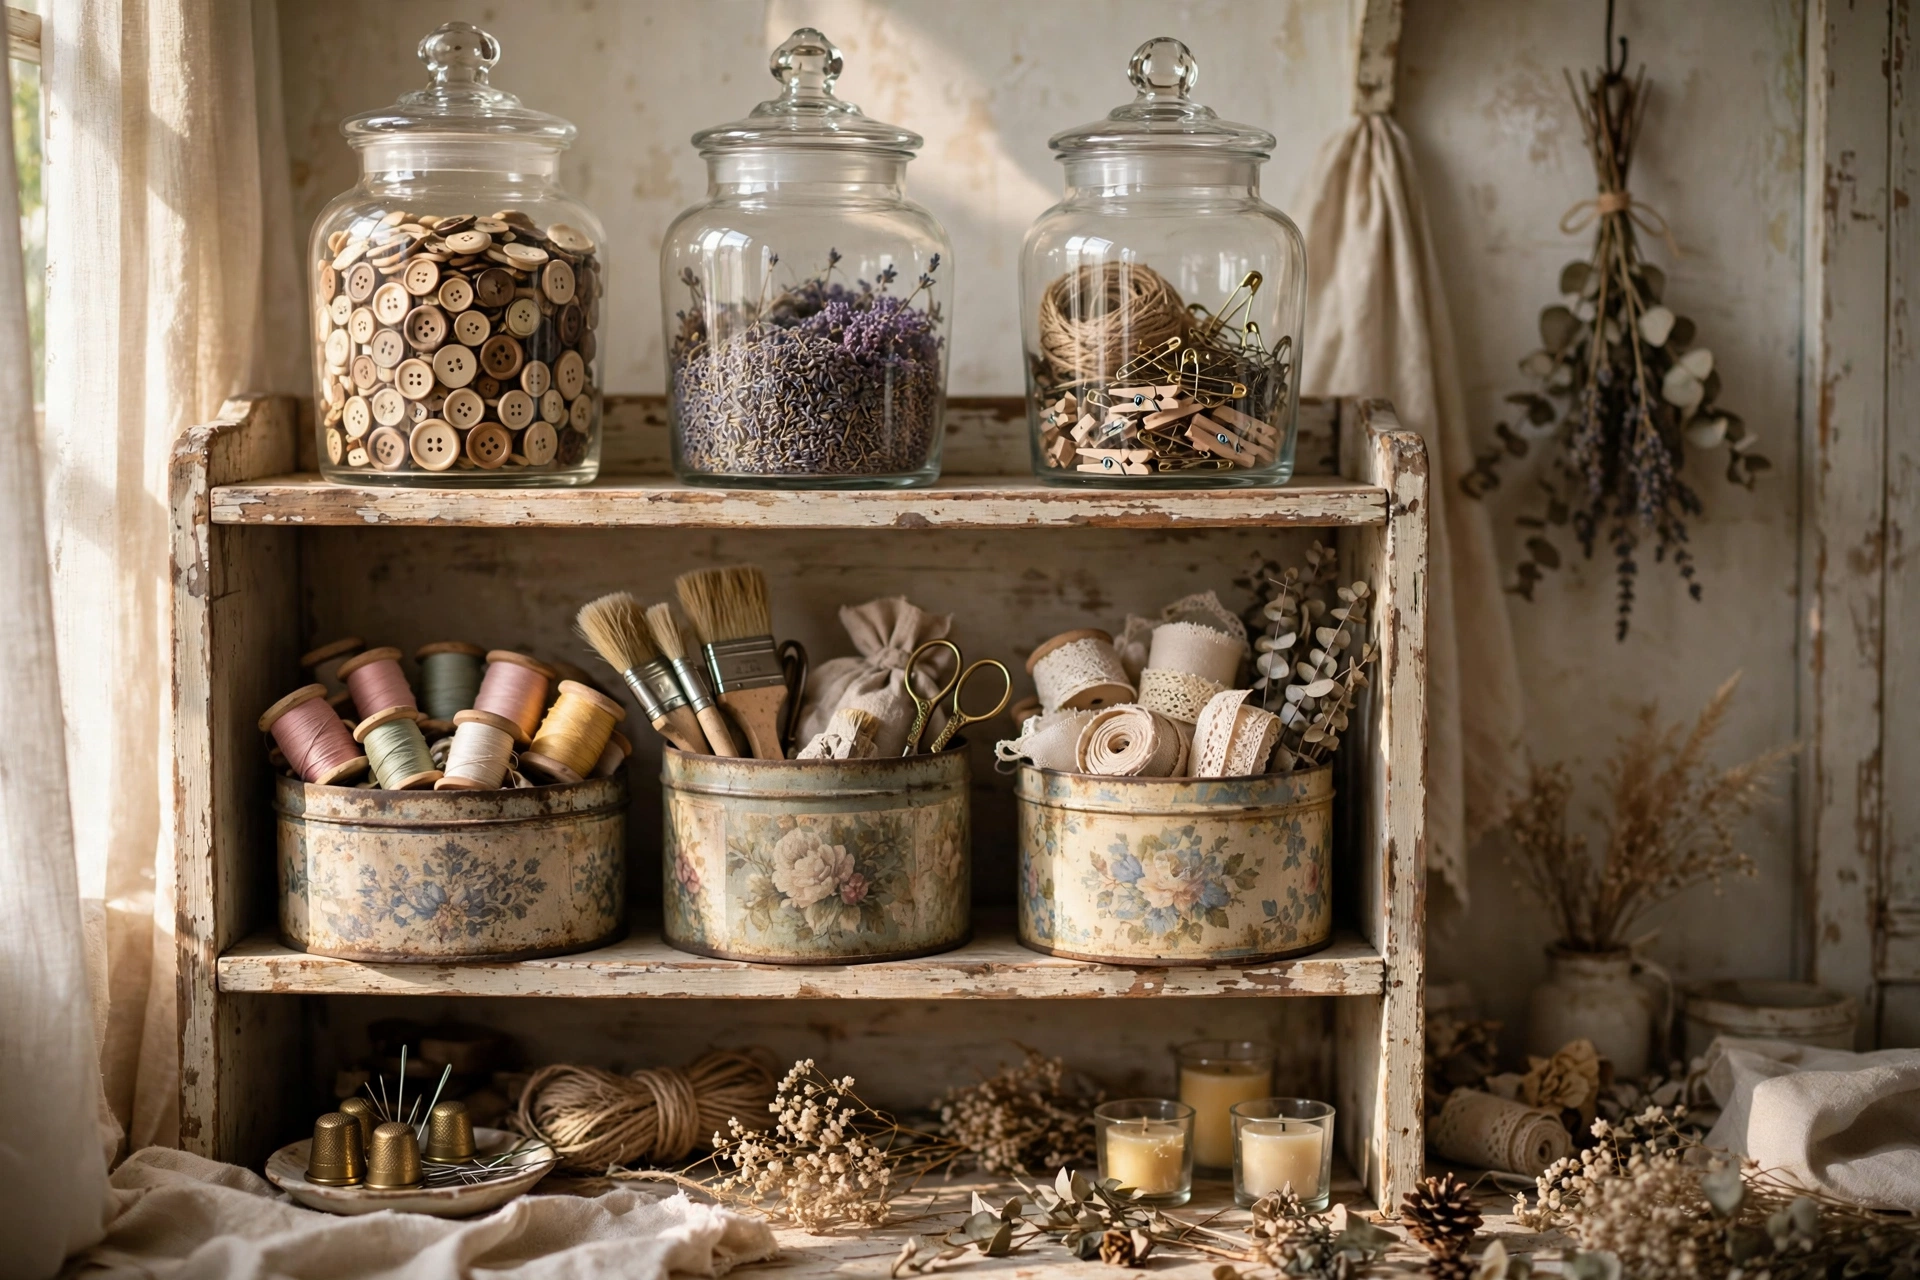
6. Use Apothecary Jars and Vintage Tins for the Tiny Stuff
Some supplies are too small for a jar and too pretty to hide: that is where apothecary jars and old tins earn their place. Glass apothecary jars with lids hold ribbon scraps, buttons sorted by color, or dried flowers, and their shapes — tall, squat, footed — add variety to a shelf that flat jars cannot. Vintage tins, the kind that once held biscuits, tea, or sewing notions, are perfect for pins, needles, and small metal findings; their printed designs are decoration on their own. Mix the two on one shelf for a collected-over-time look rather than a matched set. Keep the most-used tin on your desk and the rest on a shelf at eye level. When you are out thrifting, check the inside of every tin for rust before you buy, and give glass jars a quick wash in warm soapy water — old jars often carry a film of dust that dulls them. A shelf of mixed glass and tin costs very little and looks like it took years to collect, which is exactly the point.
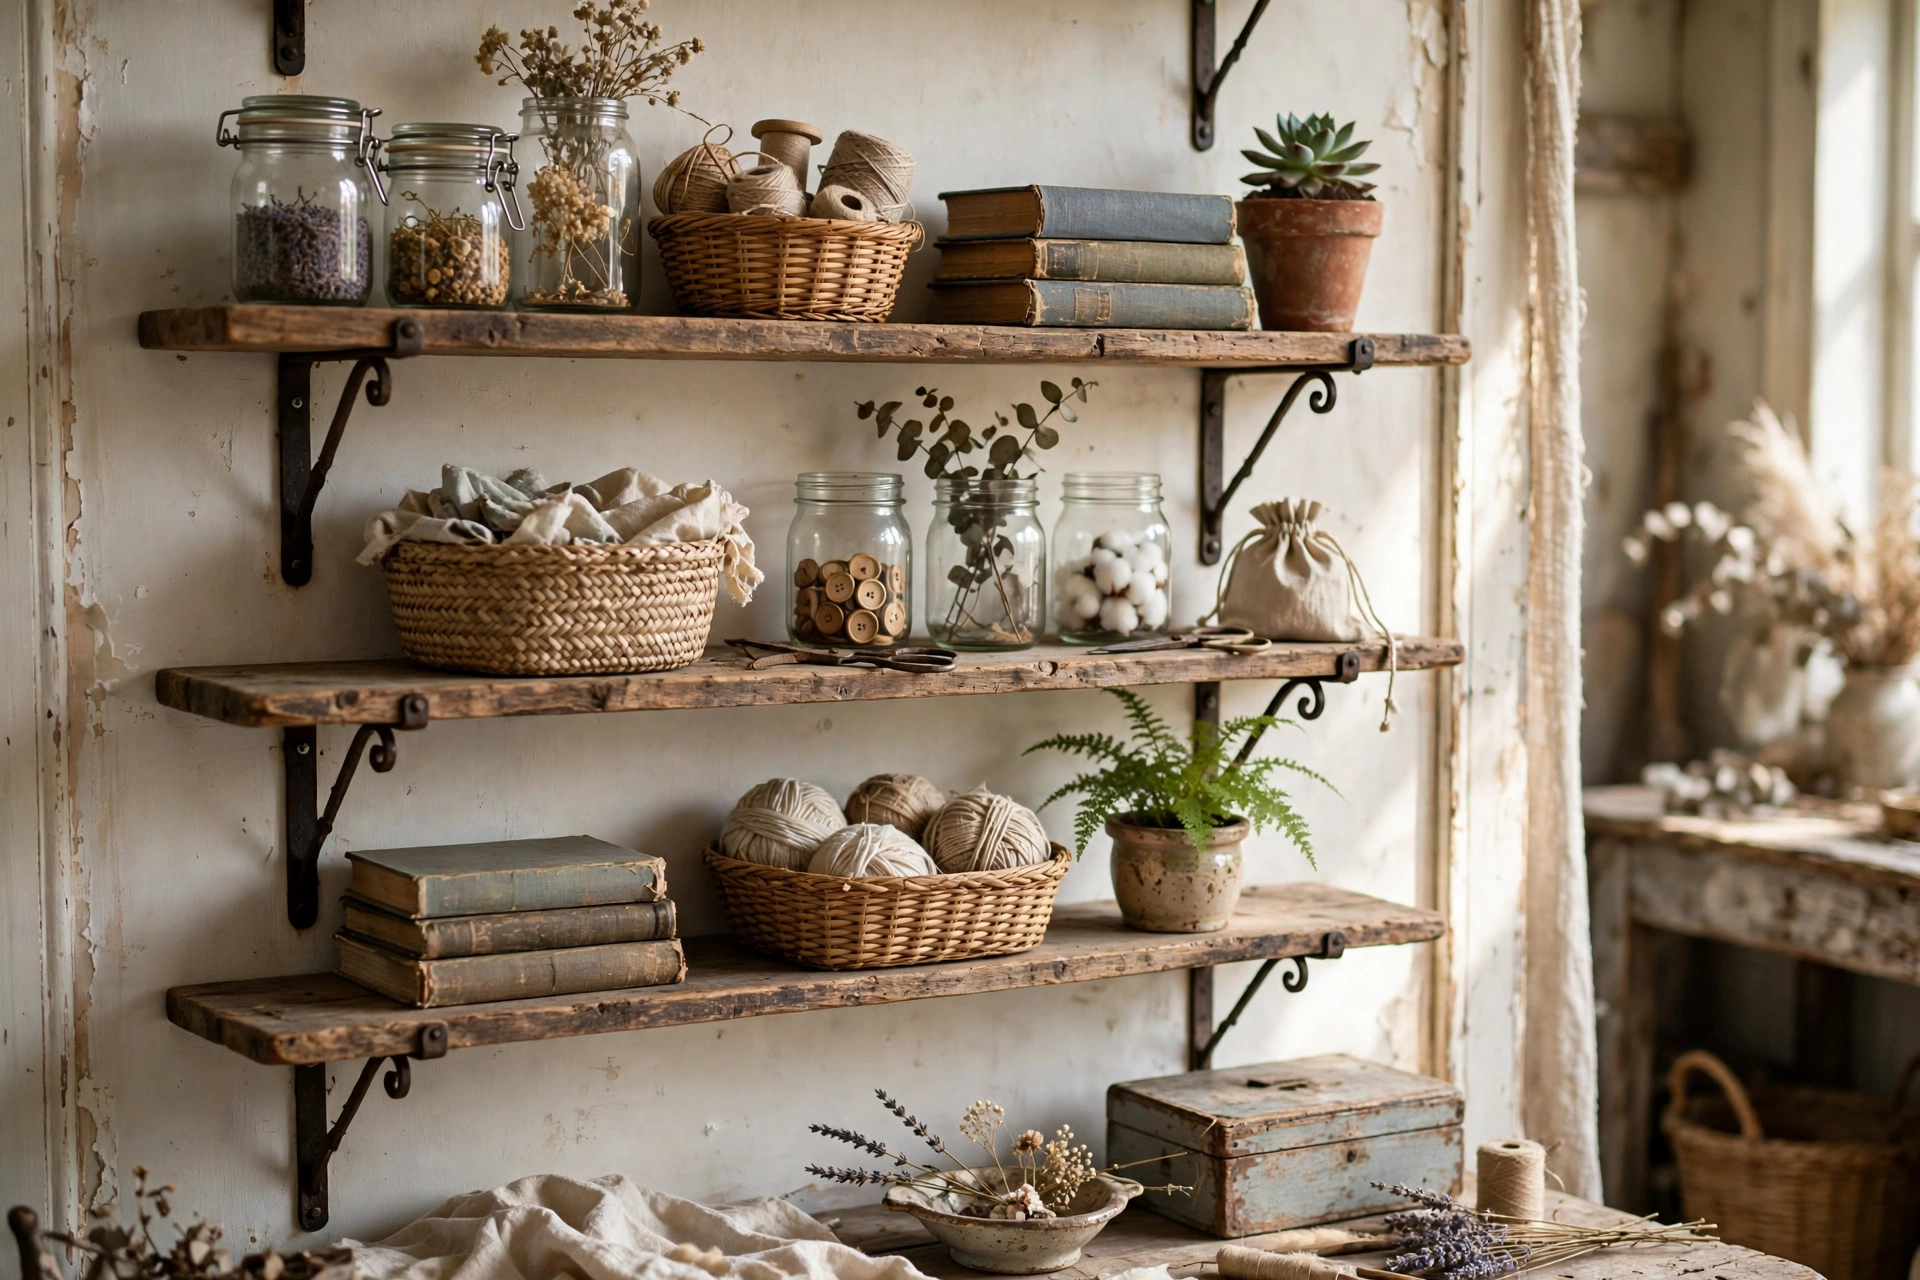
7. Hang Reclaimed Wood Shelves for Open Storage
Open shelving is the fastest way to make a small craft room feel bigger, and reclaimed wood makes it feel vintage at the same time. A few pine boards on simple iron or reclaimed-wood brackets hold jars, baskets, books, and plants without closing the room in the way a cabinet would. The wood does not need to match: mixed tones of weathered boards look intentional in a vintage room, especially when the brackets are black iron or aged brass. Mount the shelves into wall studs, not just drywall, because craft supplies get heavy fast — a shelf of glass jars and books can weigh more than you expect. Keep the shelves styled lightly: group supplies by color, leave some breathing room, and put the prettiest things at eye level. Our staggered floating shelves ideas show how to arrange open shelving so it looks deliberate instead of cluttered. One long shelf above your desk is often all you need; add a second only when the first one is genuinely full.
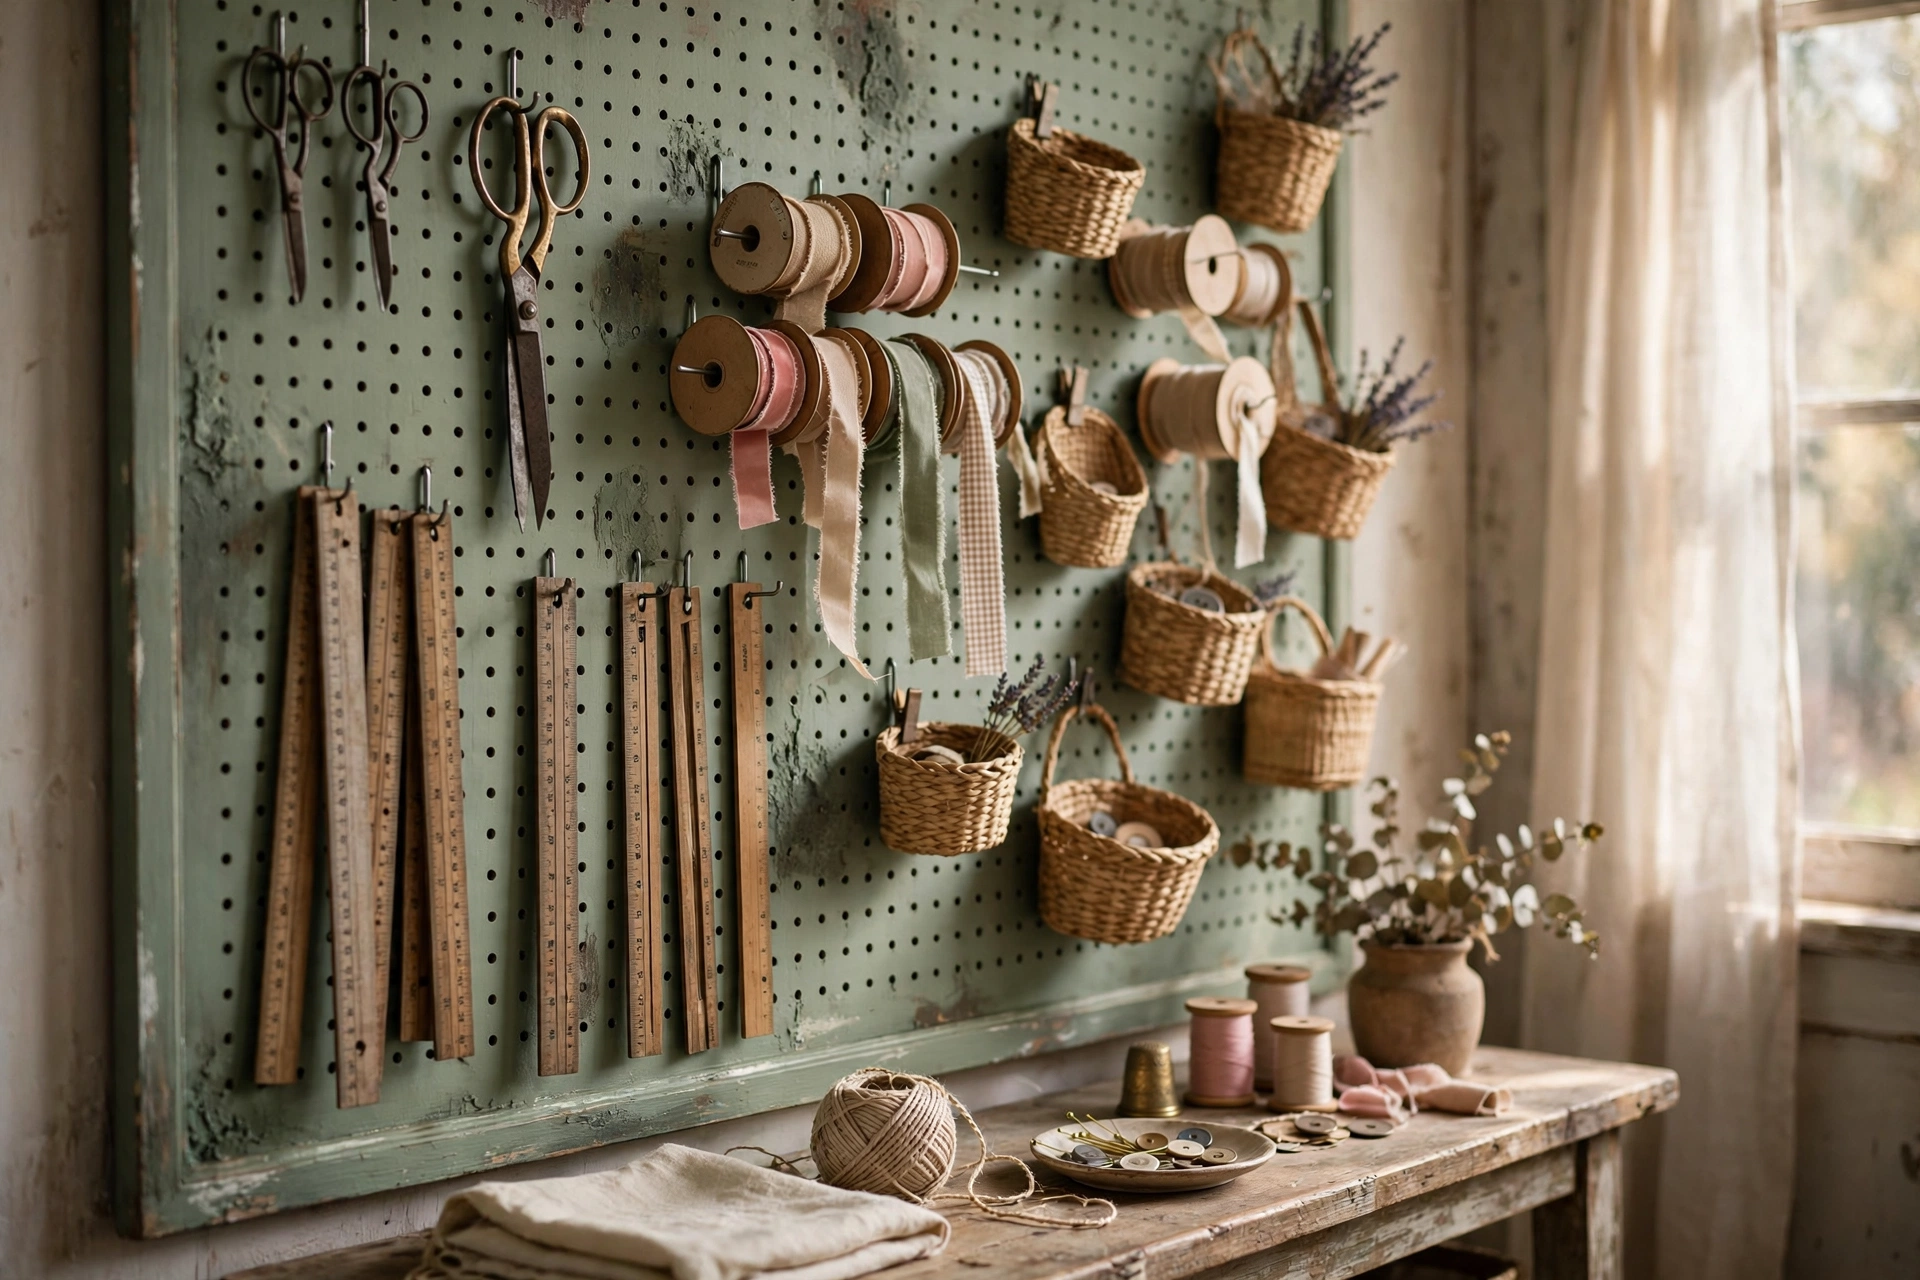
8. Paint a Pegboard Wall in a Vintage Finish
A pegboard wall is the most flexible storage a craft room can have, and a vintage finish keeps it from looking like a workshop. Paint the board in a soft chalk-style color — sage, dusty blue, or cream — then rub a little dark wax across the surface to age it. Hooks, small baskets, and tiny shelves move in seconds, so the layout changes as your projects change: scissors and rulers today, ribbon spools and paintbrushes next month. Mount the board directly to wall studs and keep it within arm’s reach of your desk, where the tools you grab constantly should live. The trick to making a pegboard look good instead of busy is restraint: hang only the tools you actually use, leave some empty pegs, and keep the color palette to two or three tones. A small framed print or a sprig of dried lavender pinned to the board softens the whole thing. It is a weekend project that costs very little and changes how the room works every single day.
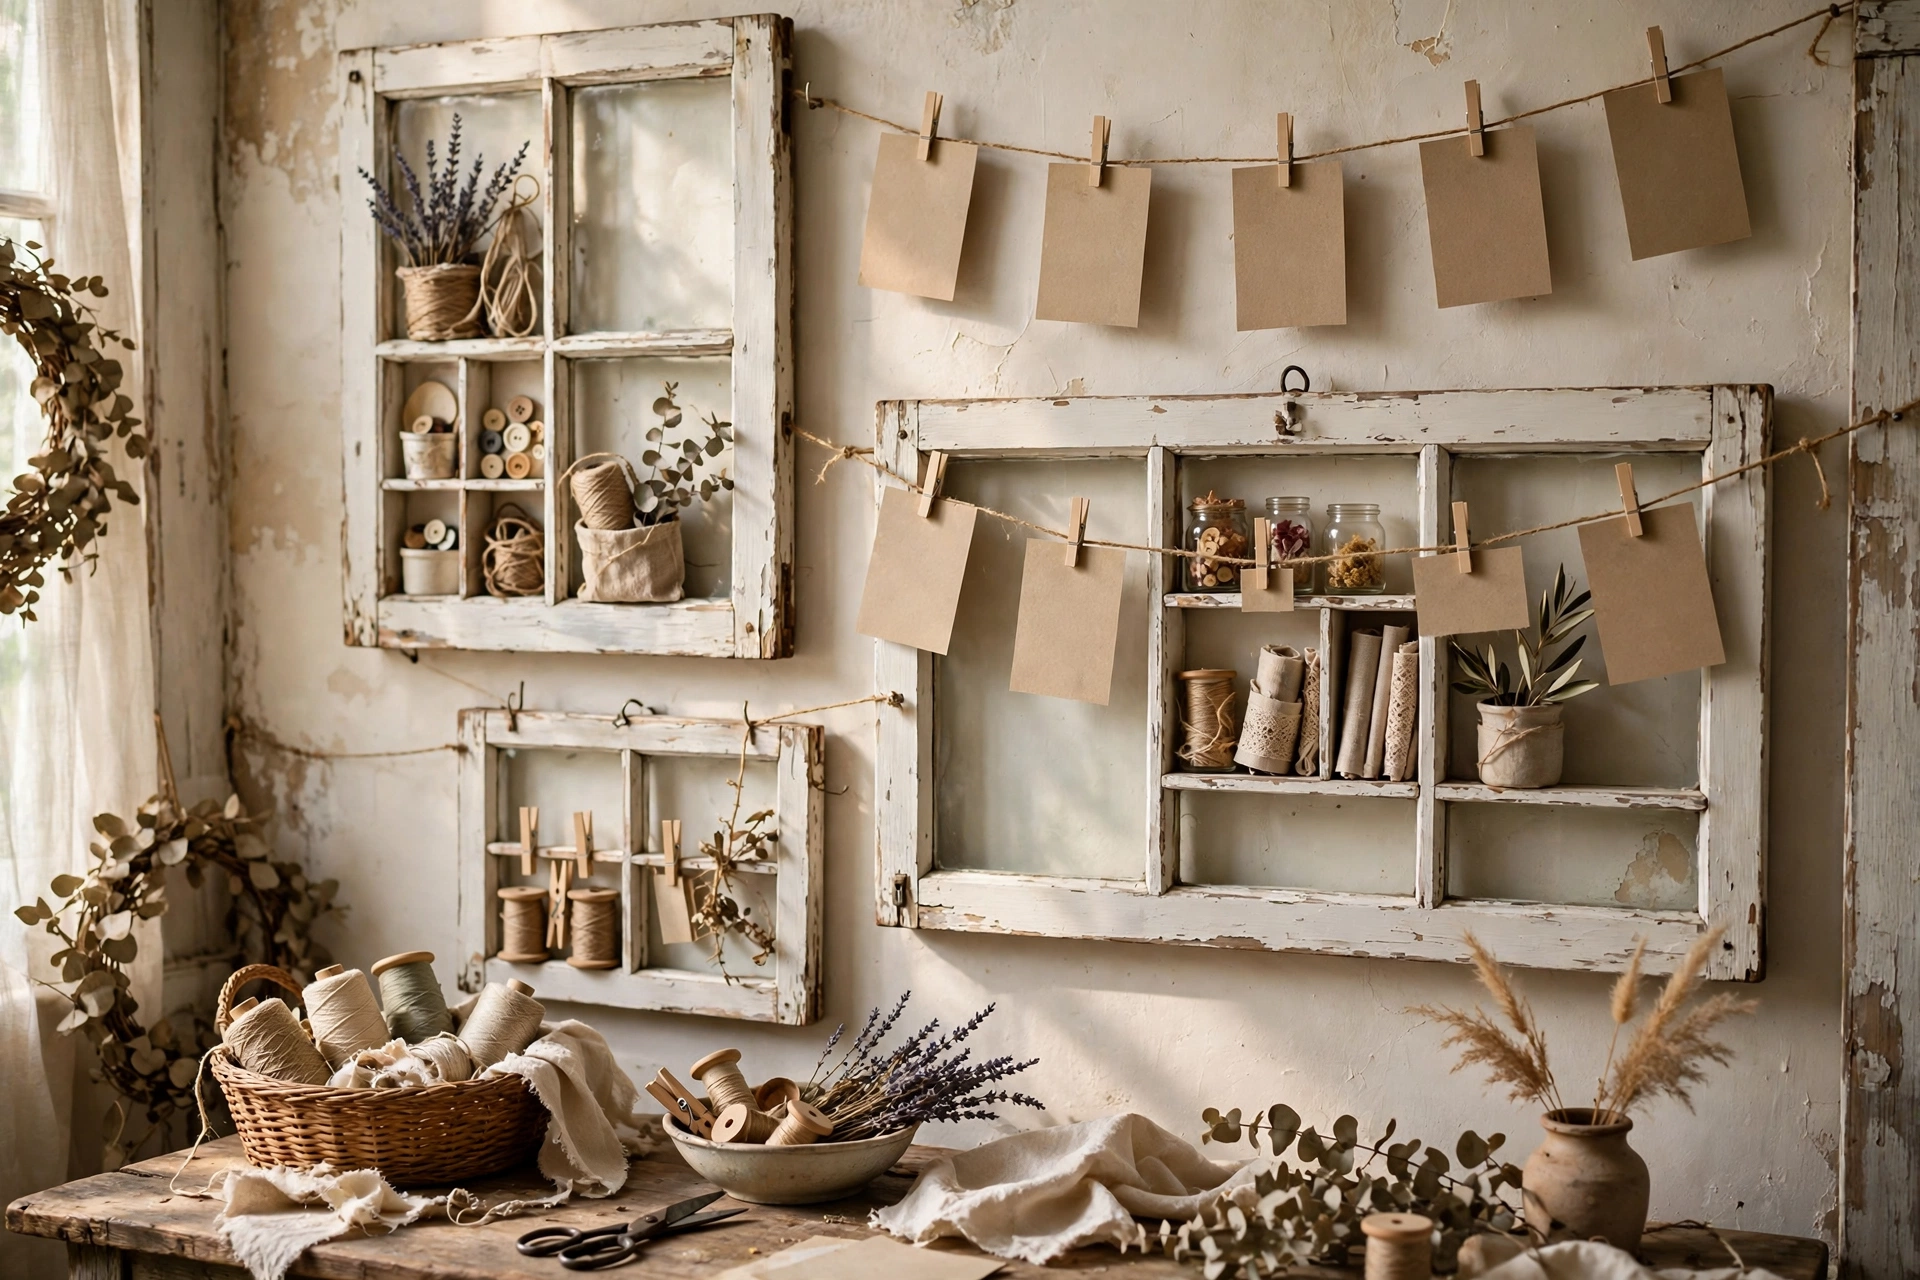
9. Repurpose Old Window Frames as Organizers and Displays
An old window frame is one of the most versatile pieces you can hang in a vintage craft room. With the glass still in, it becomes a frame for photos, pressed flowers, or a favorite fabric swatch. With the glass out, it becomes an organizer: stretch chicken wire or twine across the openings and clip on notes, inspiration cards, and small tools. Lean a large frame against the wall behind your desk as a backdrop, or hang a small one beside the door as a message board. When you find frames at a salvage yard, check for lead paint on very old ones — if the paint is flaking and the frame predates the late 1970s, seal it with a clear coat or leave it outside the room. A light sanding and a coat of chalk paint in white or cream freshens a frame without erasing its age. Group two or three frames of different sizes on one wall for a display that looks collected rather than bought.
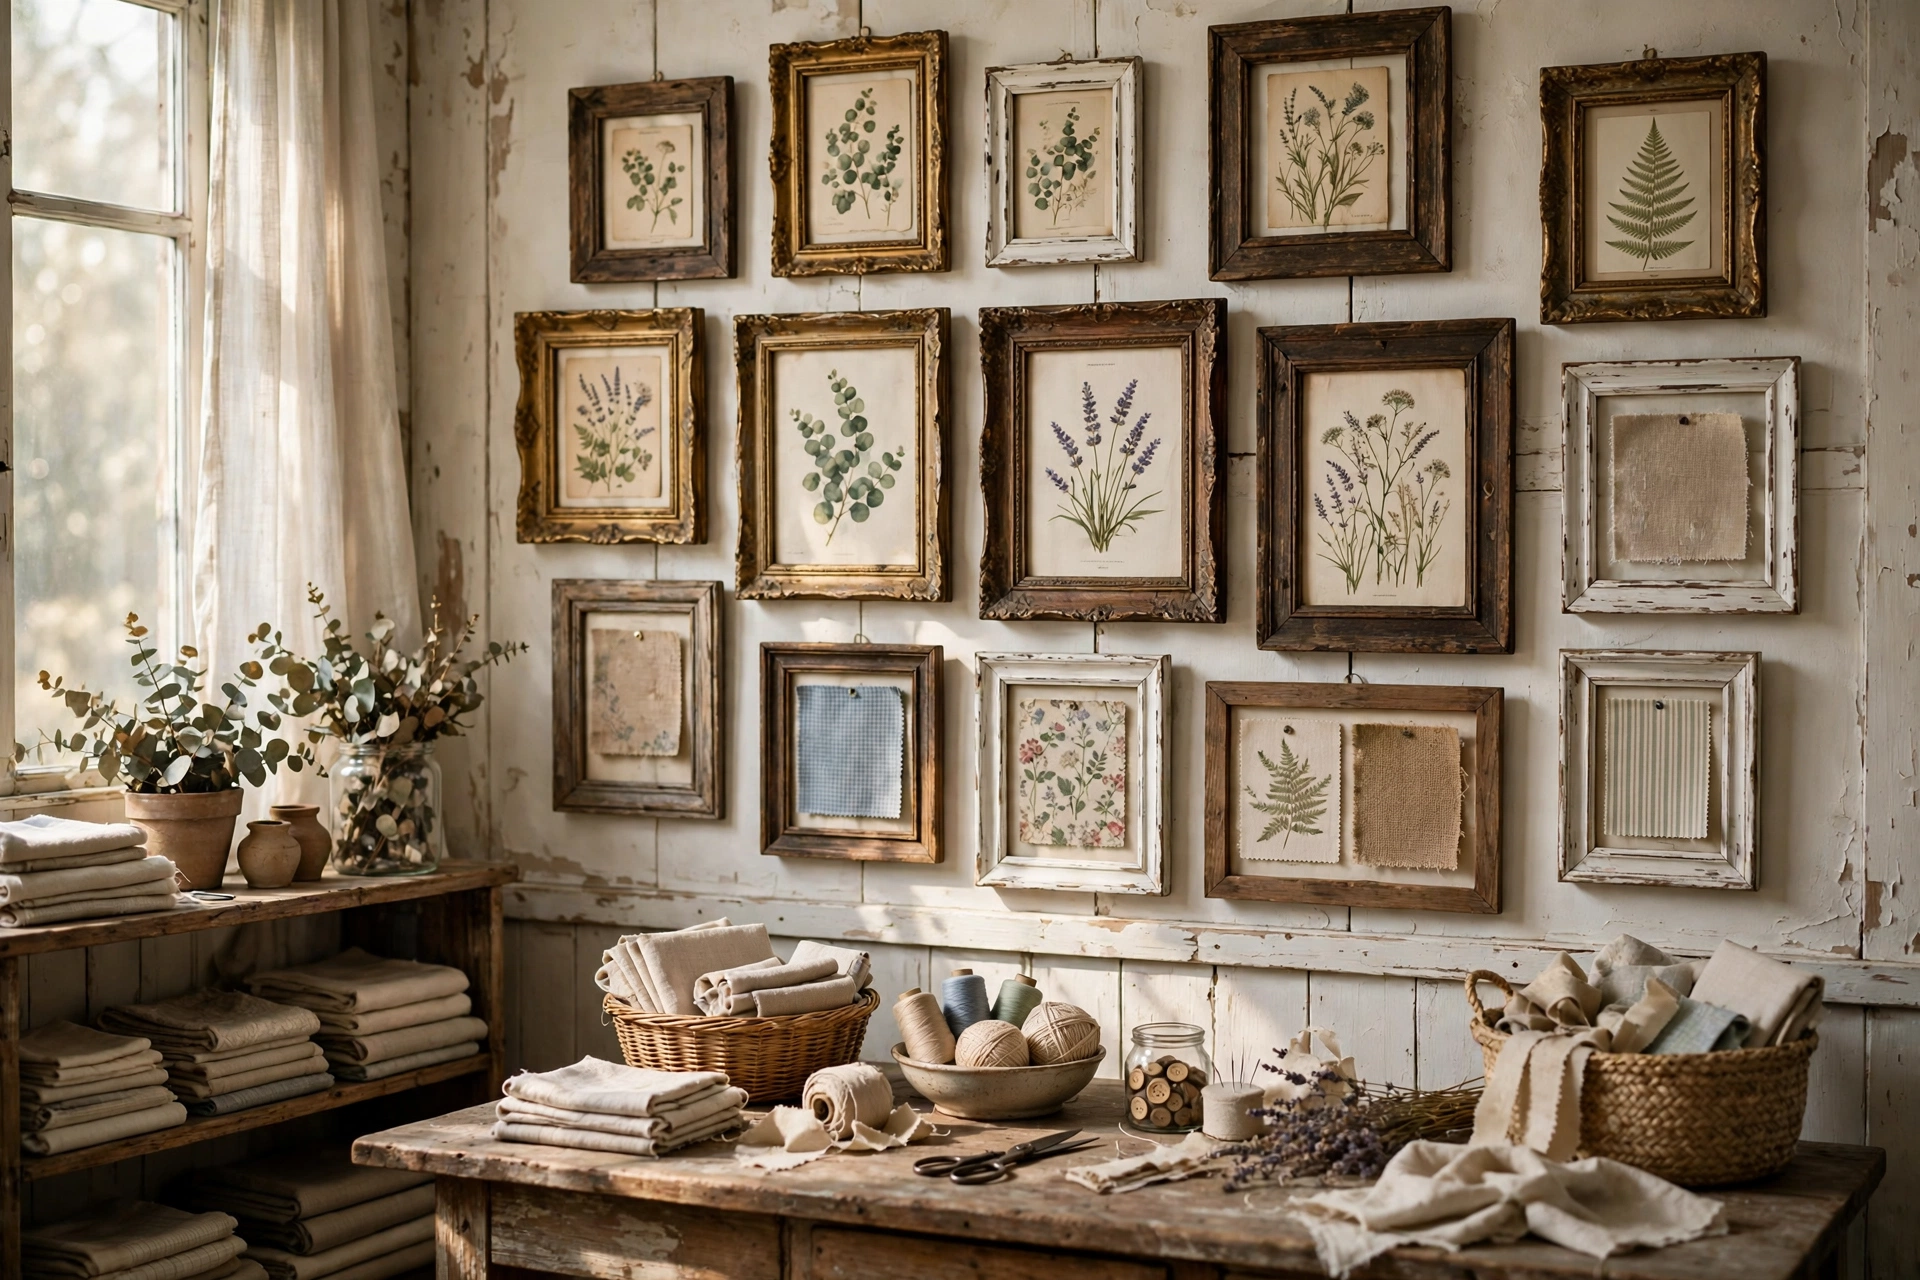
10. Build a Gallery Wall from Mismatched Old Frames
A gallery wall of old frames is where a vintage craft room gets its personality. Gather frames in different sizes, shapes, and finishes — gold, dark wood, painted white — and fill them with things that mean something to you: vintage sewing patterns, botanical prints, old postcards, fabric swatches, or your own finished pieces. The mix is the point; matching frames would look like a store display. Lay the arrangement on the floor first and photograph it before you hang anything, then start with the largest frame at eye level and build outward. Use picture-hanging strips for light frames so you can move things without new holes, and save nails for the heavy ones. Leave a little space between frames rather than crowding them, and include one or two empty frames for texture — an empty frame is a classic vintage trick that reads as deliberate. If you want more display ideas, our tree bookshelf ideas show how to mix display and storage on one wall.
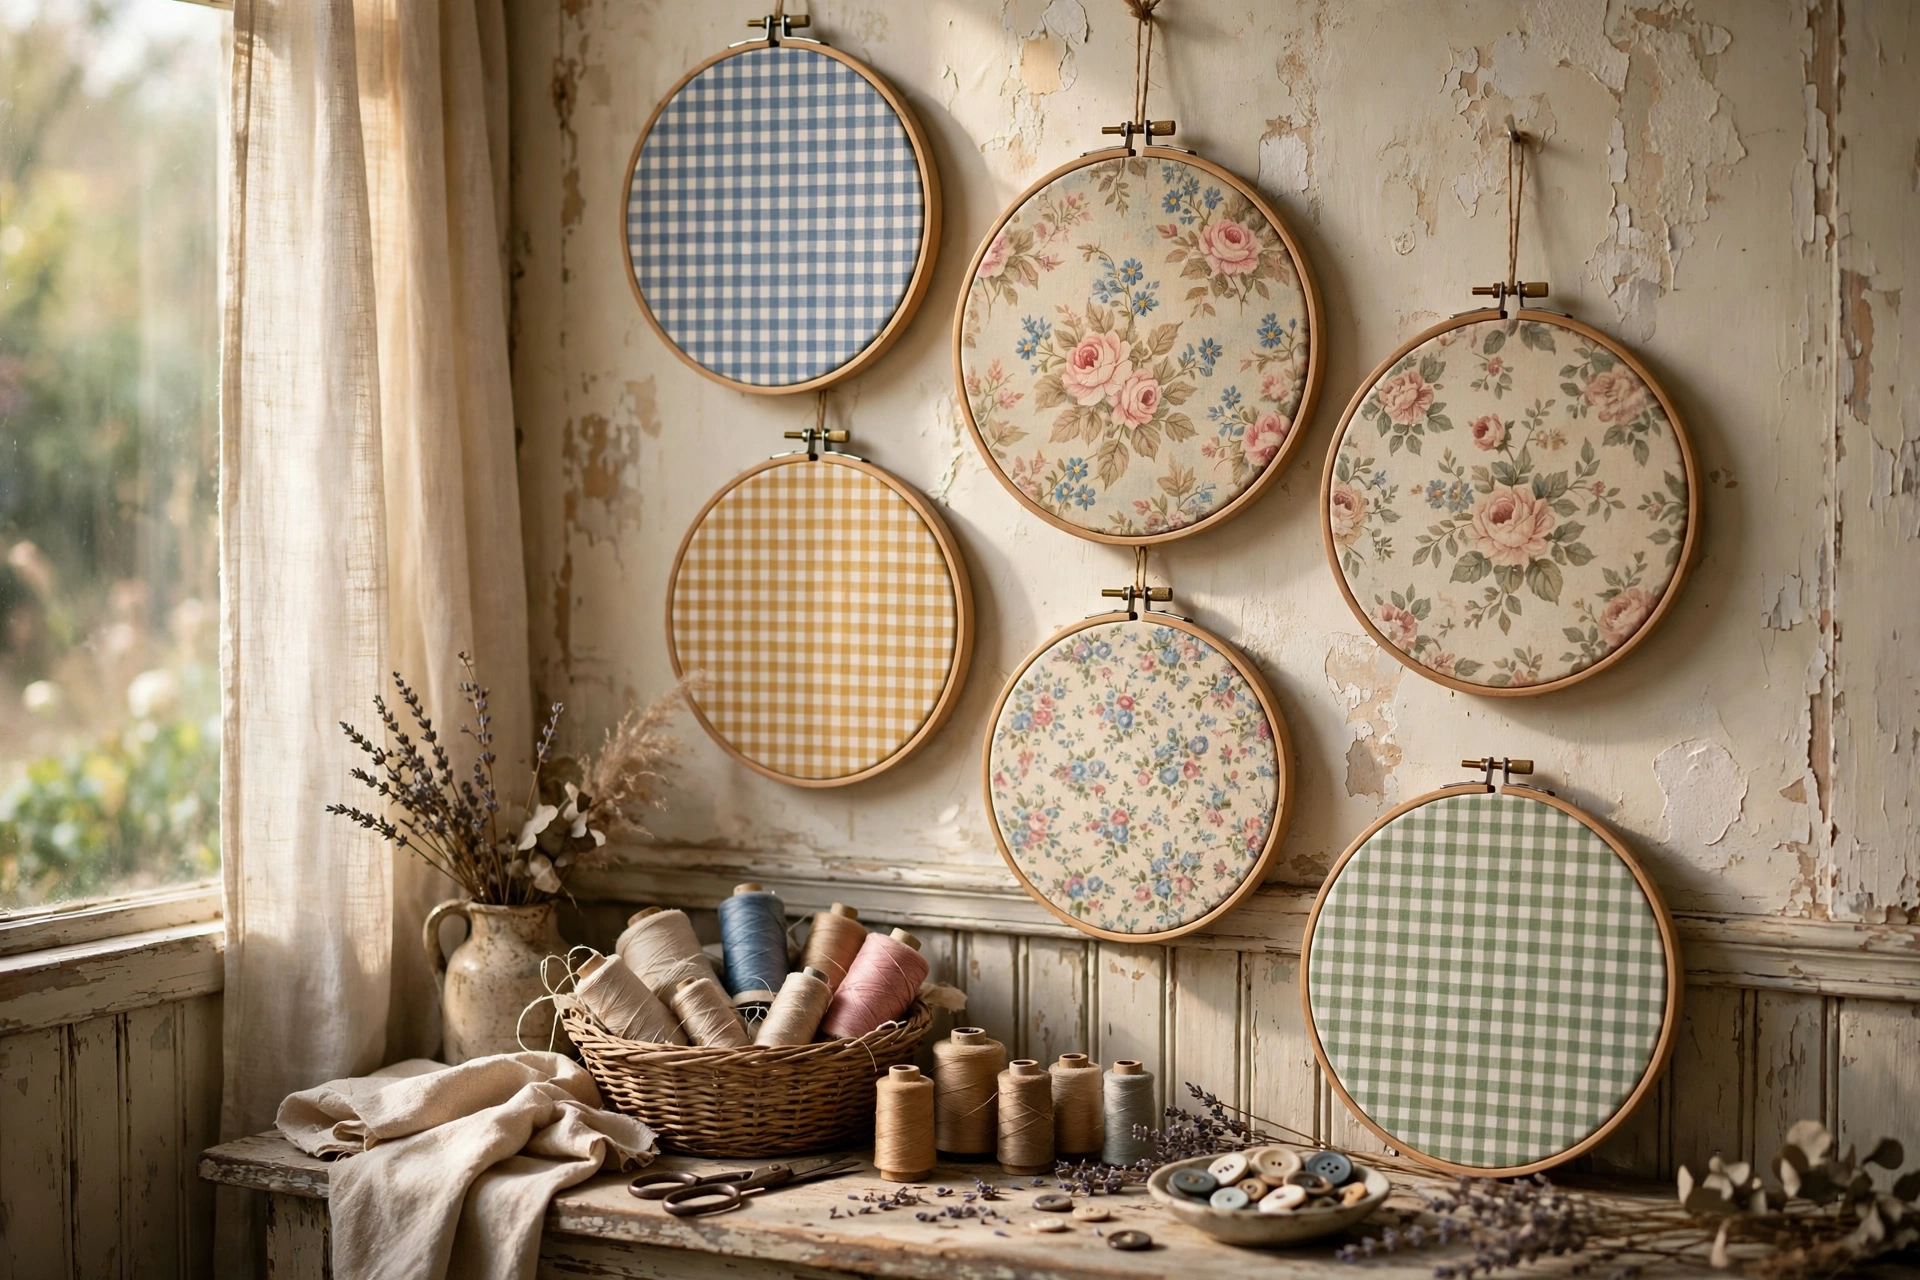
11. Frame Retro Fabric Swatches as Wall Art
Some of the prettiest wall art in a vintage craft room costs nothing at all: fabric you already own. Retro florals, gingham, polka dots, and feedsack prints look wonderful stretched in embroidery hoops or framed behind glass, and a row of them makes a gallery that is unmistakably yours. Cut swatches from leftover fabric, old curtains, or a worn quilt that is too damaged to use whole, and arrange them by color — creams and whites together, soft blush and muted greens together — so the wall feels calm instead of chaotic. Embroidery hoops are the cheapest frames: they cost very little, they hold the fabric taut, and the wooden ring adds warmth. If you sew, this is also a lovely way to use the small pieces too pretty to throw away. Change the swatches with the seasons — light florals in spring, warm plaids in autumn — and the wall never gets stale. It is personal, it is practically free, and no two rooms will ever have the same one.
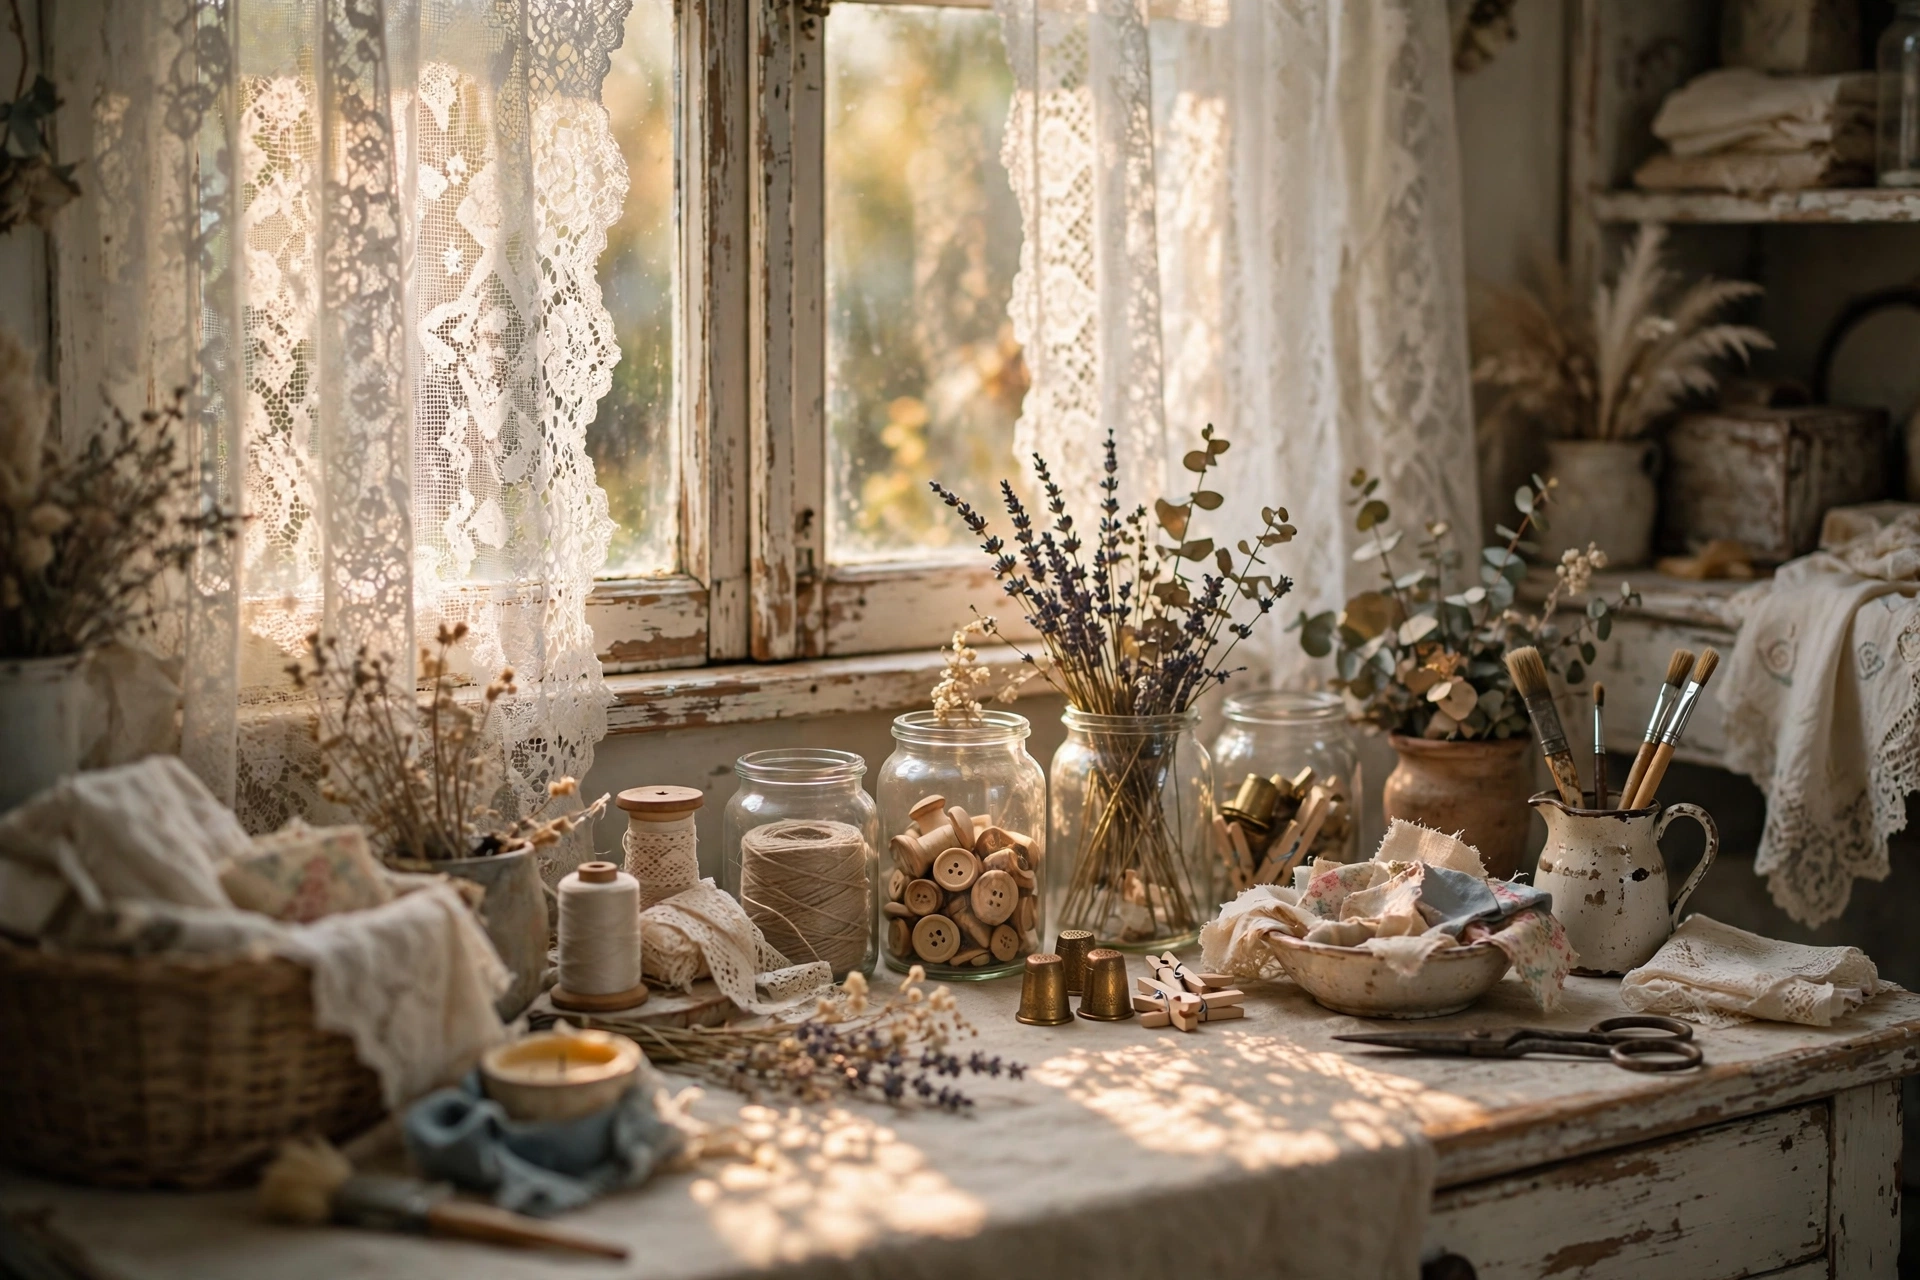
12. Soften the Light with Lace Curtains
Light is everything in a craft room, and lace curtains are how a vintage room handles it. Sheer lace diffuses harsh sunlight into a soft glow that flatters the whole room, protects vintage textiles and papers from direct sun, and still lets you see out. Hang them on a simple rod — an old brass or black iron rod suits the room better than anything shiny and new — and let them fall just past the windowsill or to the floor. Thrift stores are full of lace curtains and lace tablecloths that can be cut down and hemmed into curtains, and a slightly yellowed vintage panel often looks better than a new white one. If your window is small, one panel pulled to one side is enough; a full pair can overwhelm a tiny room. For privacy without losing light, layer a lace panel behind a heavier curtain you can draw at night. The effect is immediate: the same room feels softer, older, and calmer the moment the lace goes up.
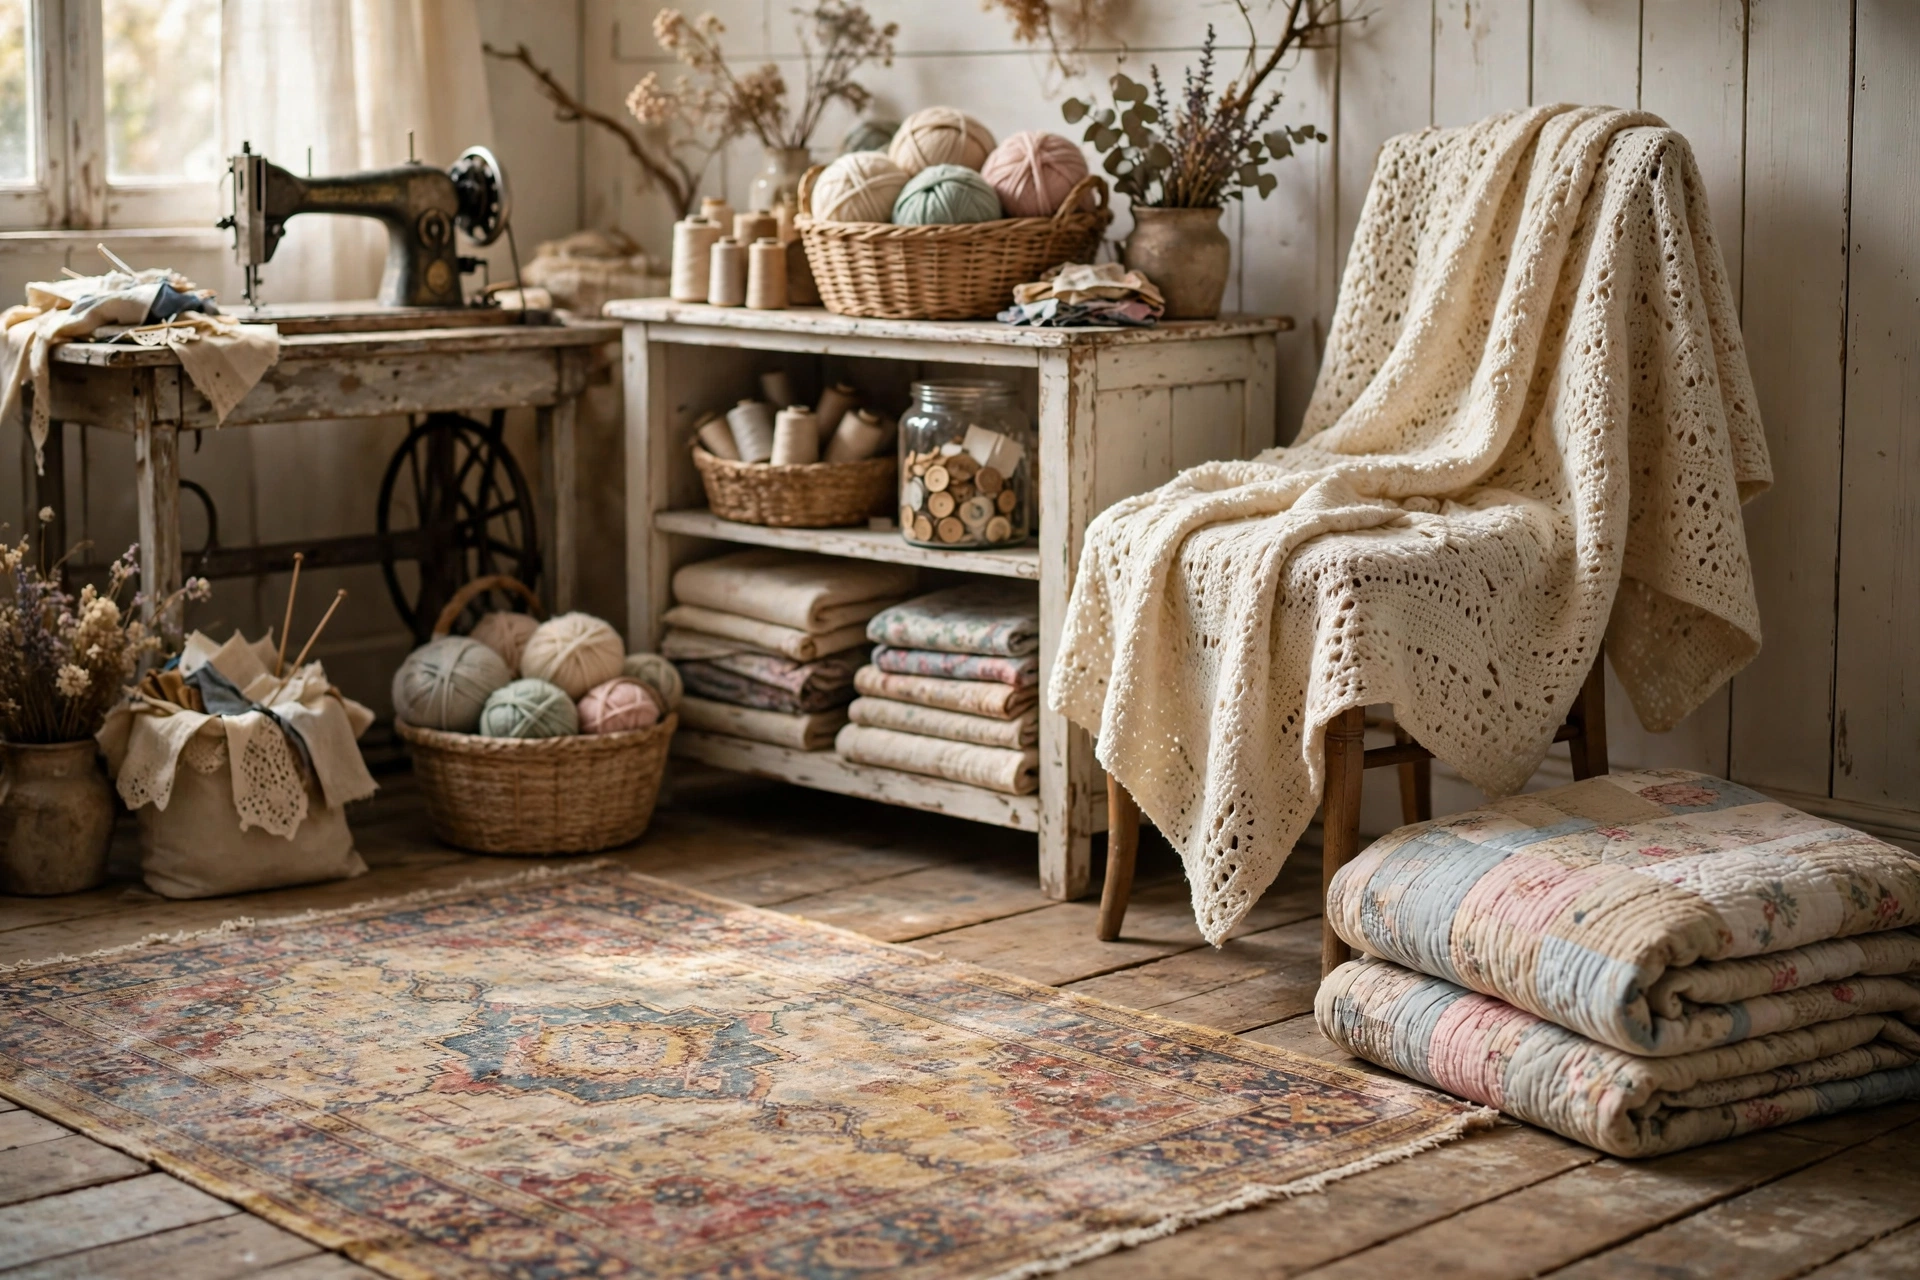
13. Layer a Vintage Rug and Soft Textiles
A craft room floor takes a beating — dropped pins, paint drips, chair wheels — and a vintage rug is the forgiving answer. A faded Persian-style rug, a braided rag rug, or a worn kilim hides small stains, softens a hard floor, and adds the pattern and color a vintage room needs at ground level. Layer it with a smaller rug on top if you want more texture, or drape a quilt over the back of a chair and a crocheted throw across a basket. The textiles do more than decorate: they absorb sound, warm up a cold room, and make a long crafting session more comfortable underfoot. When you shop for a used rug, check the backing for damage and give it a good shake and vacuum before it comes inside; a rug pad underneath keeps it from sliding and protects the floor. Keep the rug’s colors in the same family as the rest of the room — faded reds, soft blues, warm creams — so it ties the space together instead of fighting it.
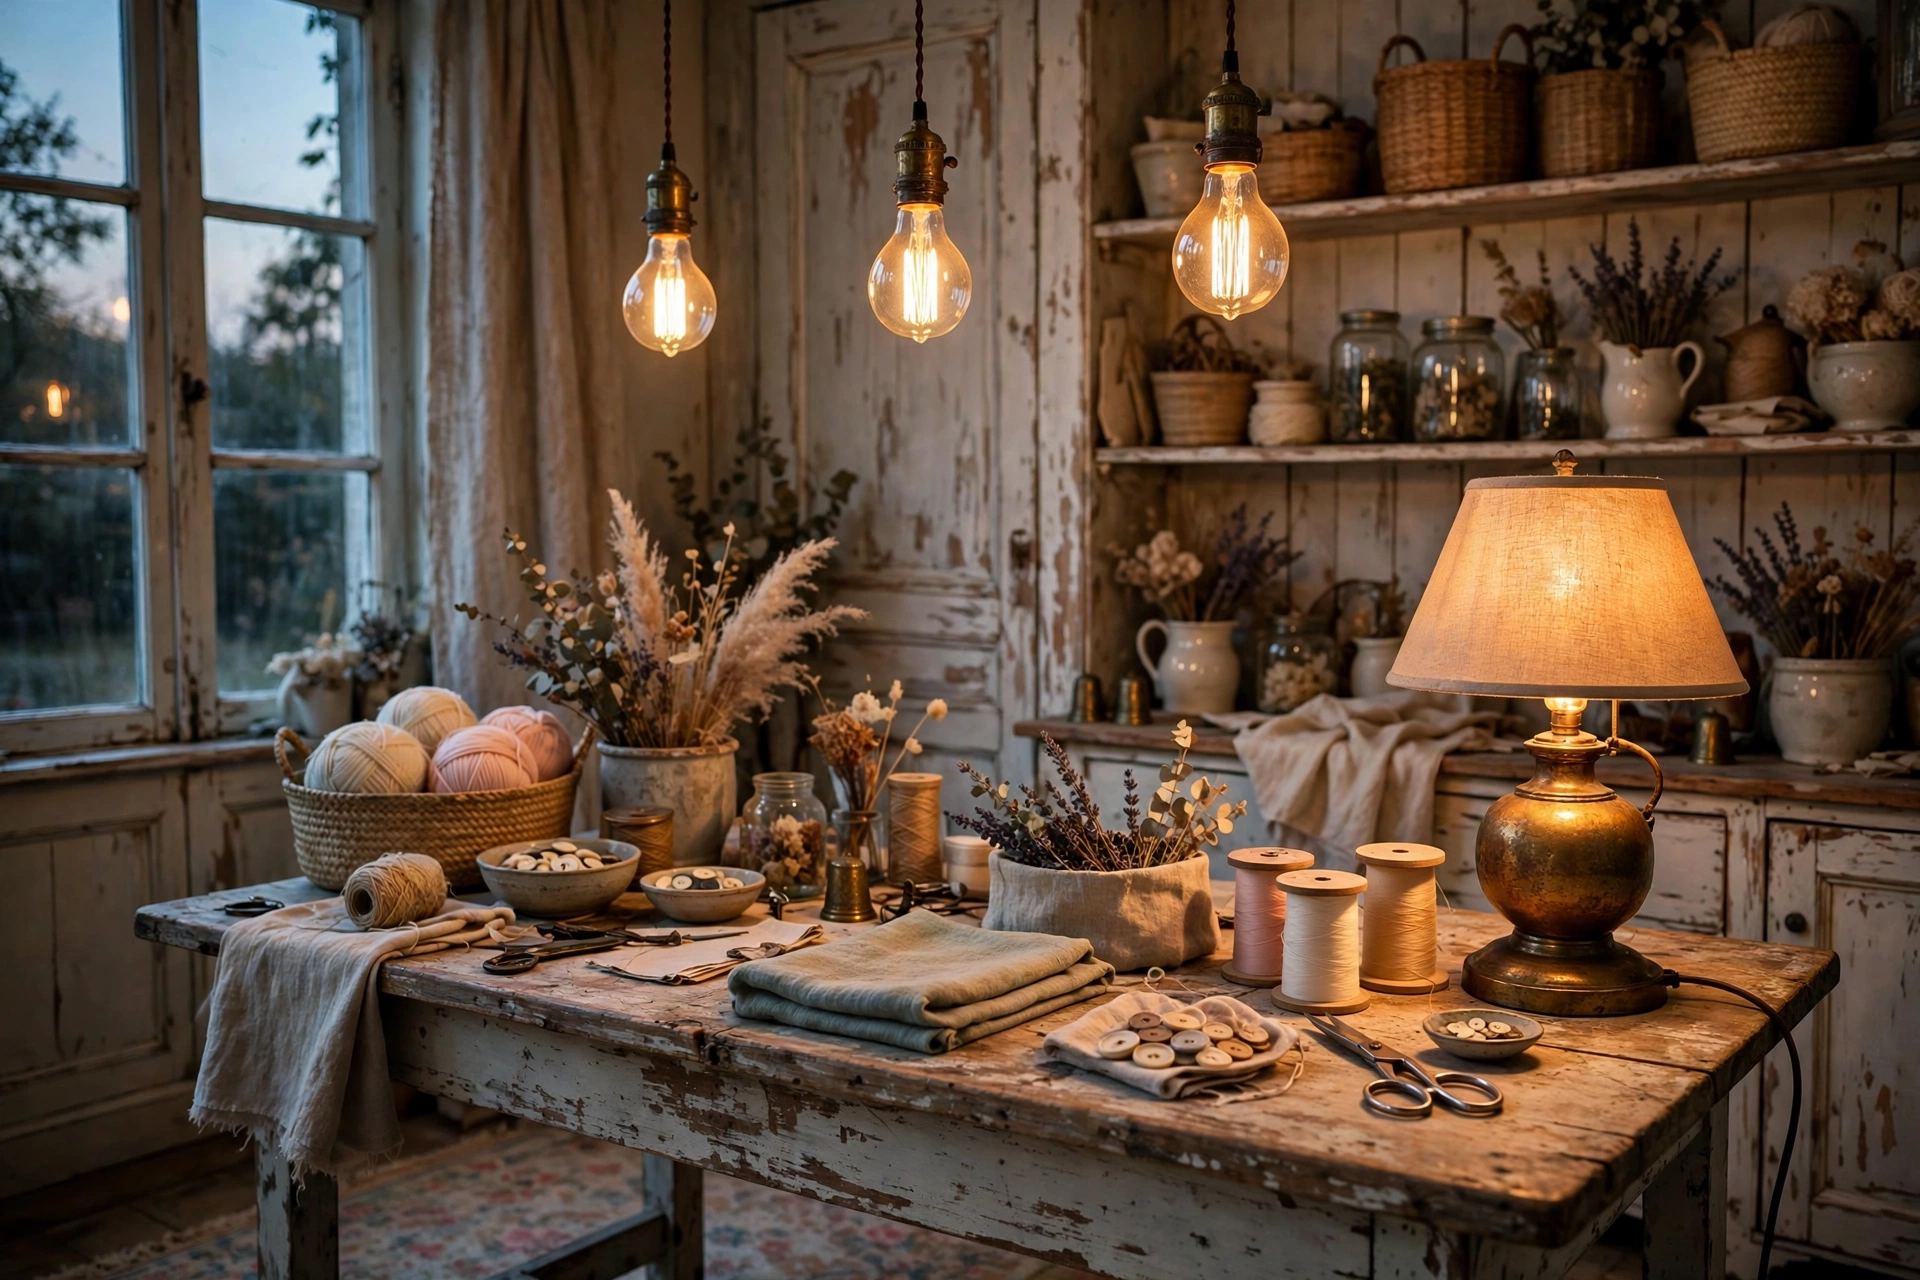
14. Warm the Room with Edison Bulbs and Vintage Lighting
Good lighting makes or breaks a craft room, and vintage-style lighting does the job while adding character. Edison bulbs — with their visible filaments and warm amber glow — suit pendant lights, a desk lamp, or a simple string of bulbs along a shelf. Pair them with a real task lamp for detailed work, because Edison bulbs are atmospheric rather than bright, and close work like sewing or painting needs focused light. Look for lamps with brass, ceramic, or milk-glass bases at thrift stores; a new shade in linen or burlap can make an old lamp look intentional. Hang a small chandelier or a beaded pendant over the desk if the ceiling allows it — it turns the work surface into the room’s focal point. Keep the color temperature warm throughout the room so the light feels consistent, and add a dimmer if you can; being able to soften the light in the evening makes the room feel like a retreat instead of a workshop. Our vintage classroom decor ideas show the same warm-lighting trick in another vintage space.
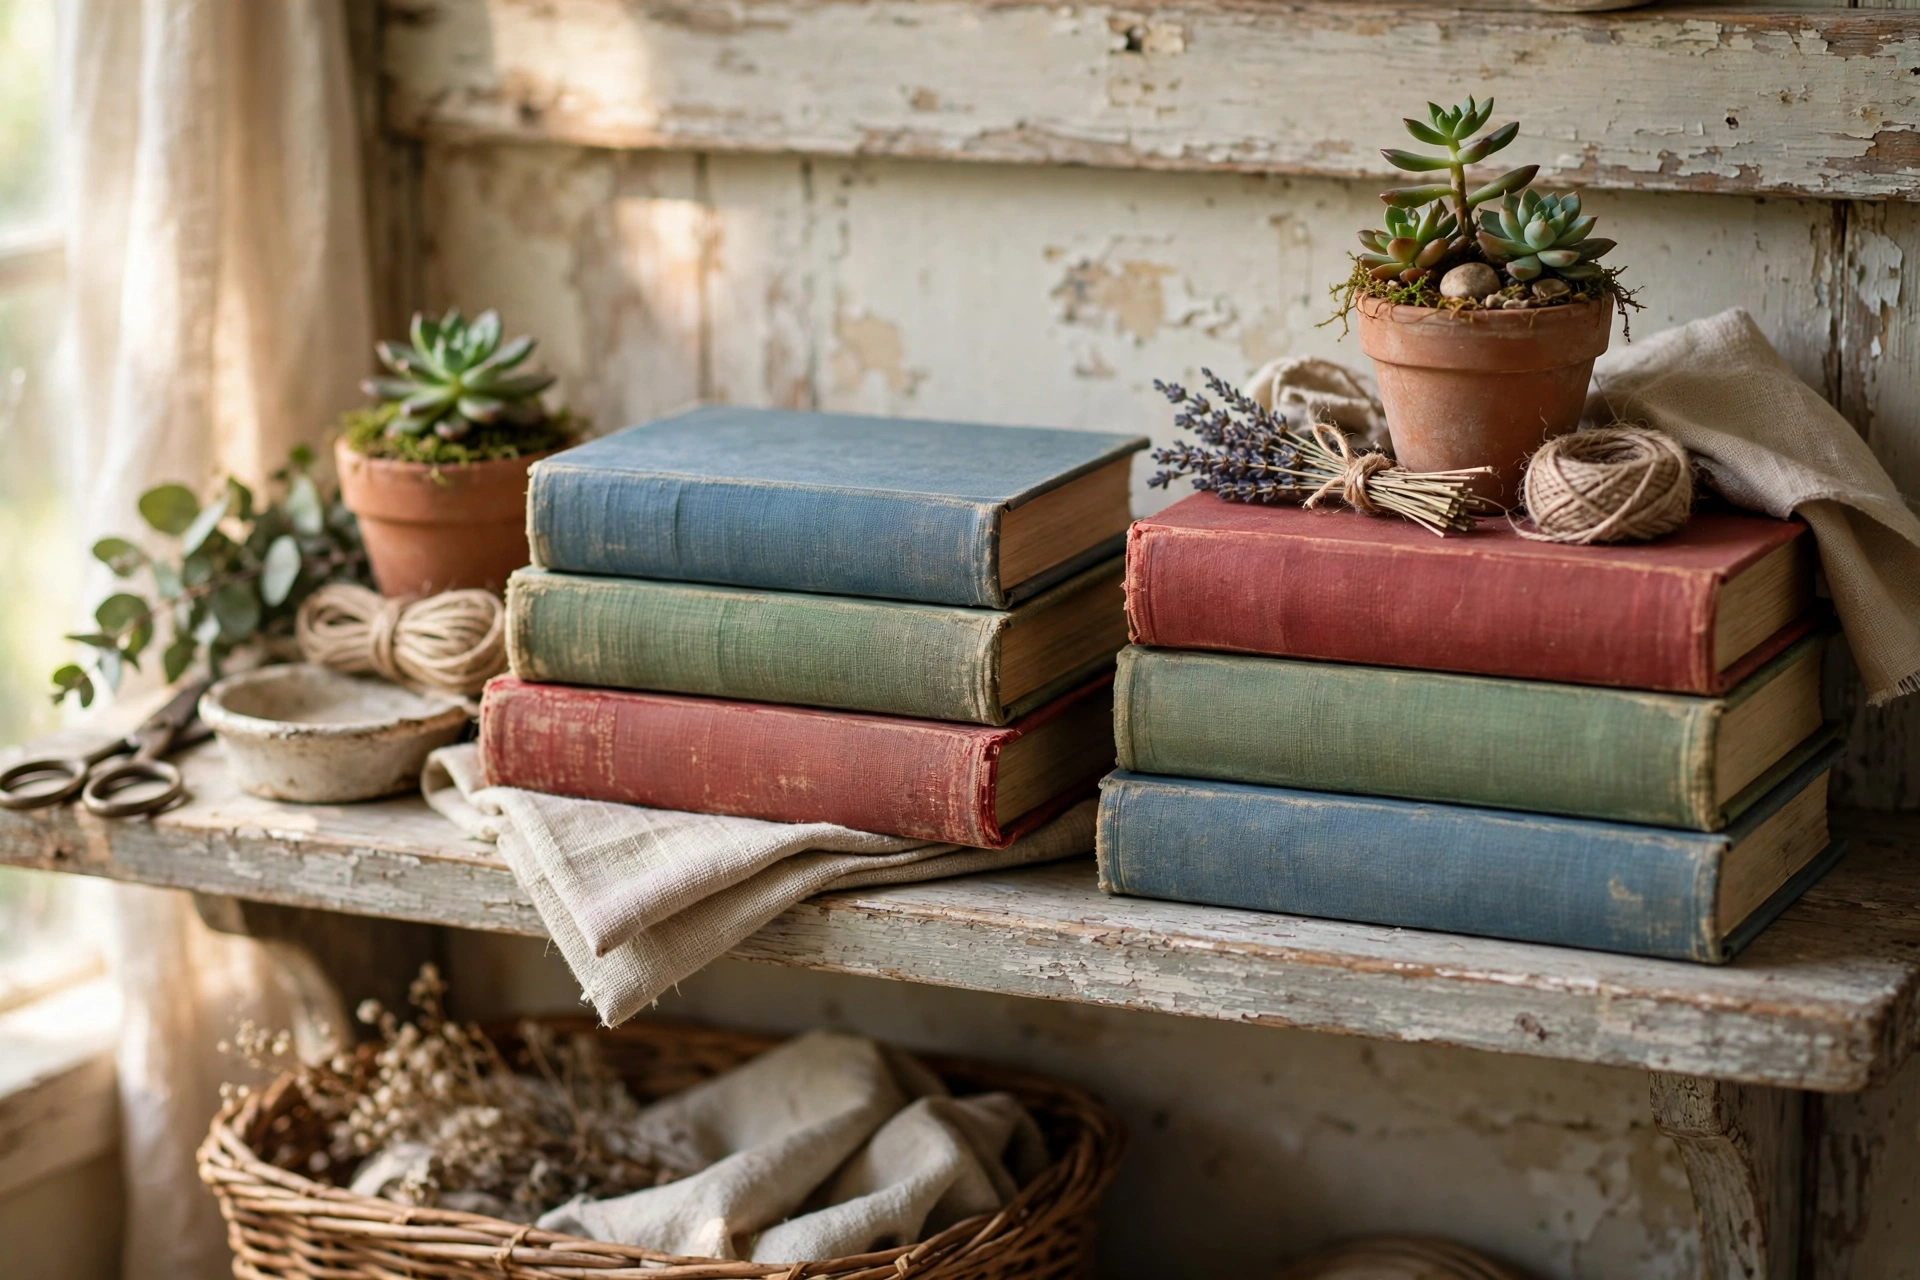
15. Style Old Books as Decor and Risers
Old books are the easiest vintage styling in the world: they cost almost nothing, they are everywhere, and they work in a dozen ways. Stack a few cloth-bound books on a shelf for color, lay one open under a jar to raise it to a better height, or stand a row of them on a desk as a bookend for your current project. Books with faded cloth covers in muted reds, greens, and blues look best; remove the dust jackets and the spines do the work. A stack of three books of different sizes makes a perfect riser for a small plant or a lamp, which adds height to a flat shelf. Keep the books you actually read on a low shelf where you can reach them, and use the purely decorative ones up high. If a book is falling apart, it still has a use — its pages make beautiful gift wrap, journal covers, or bunting for the room. One caution: keep old books away from damp and direct sun, or their pages will yellow and curl faster than you would like.
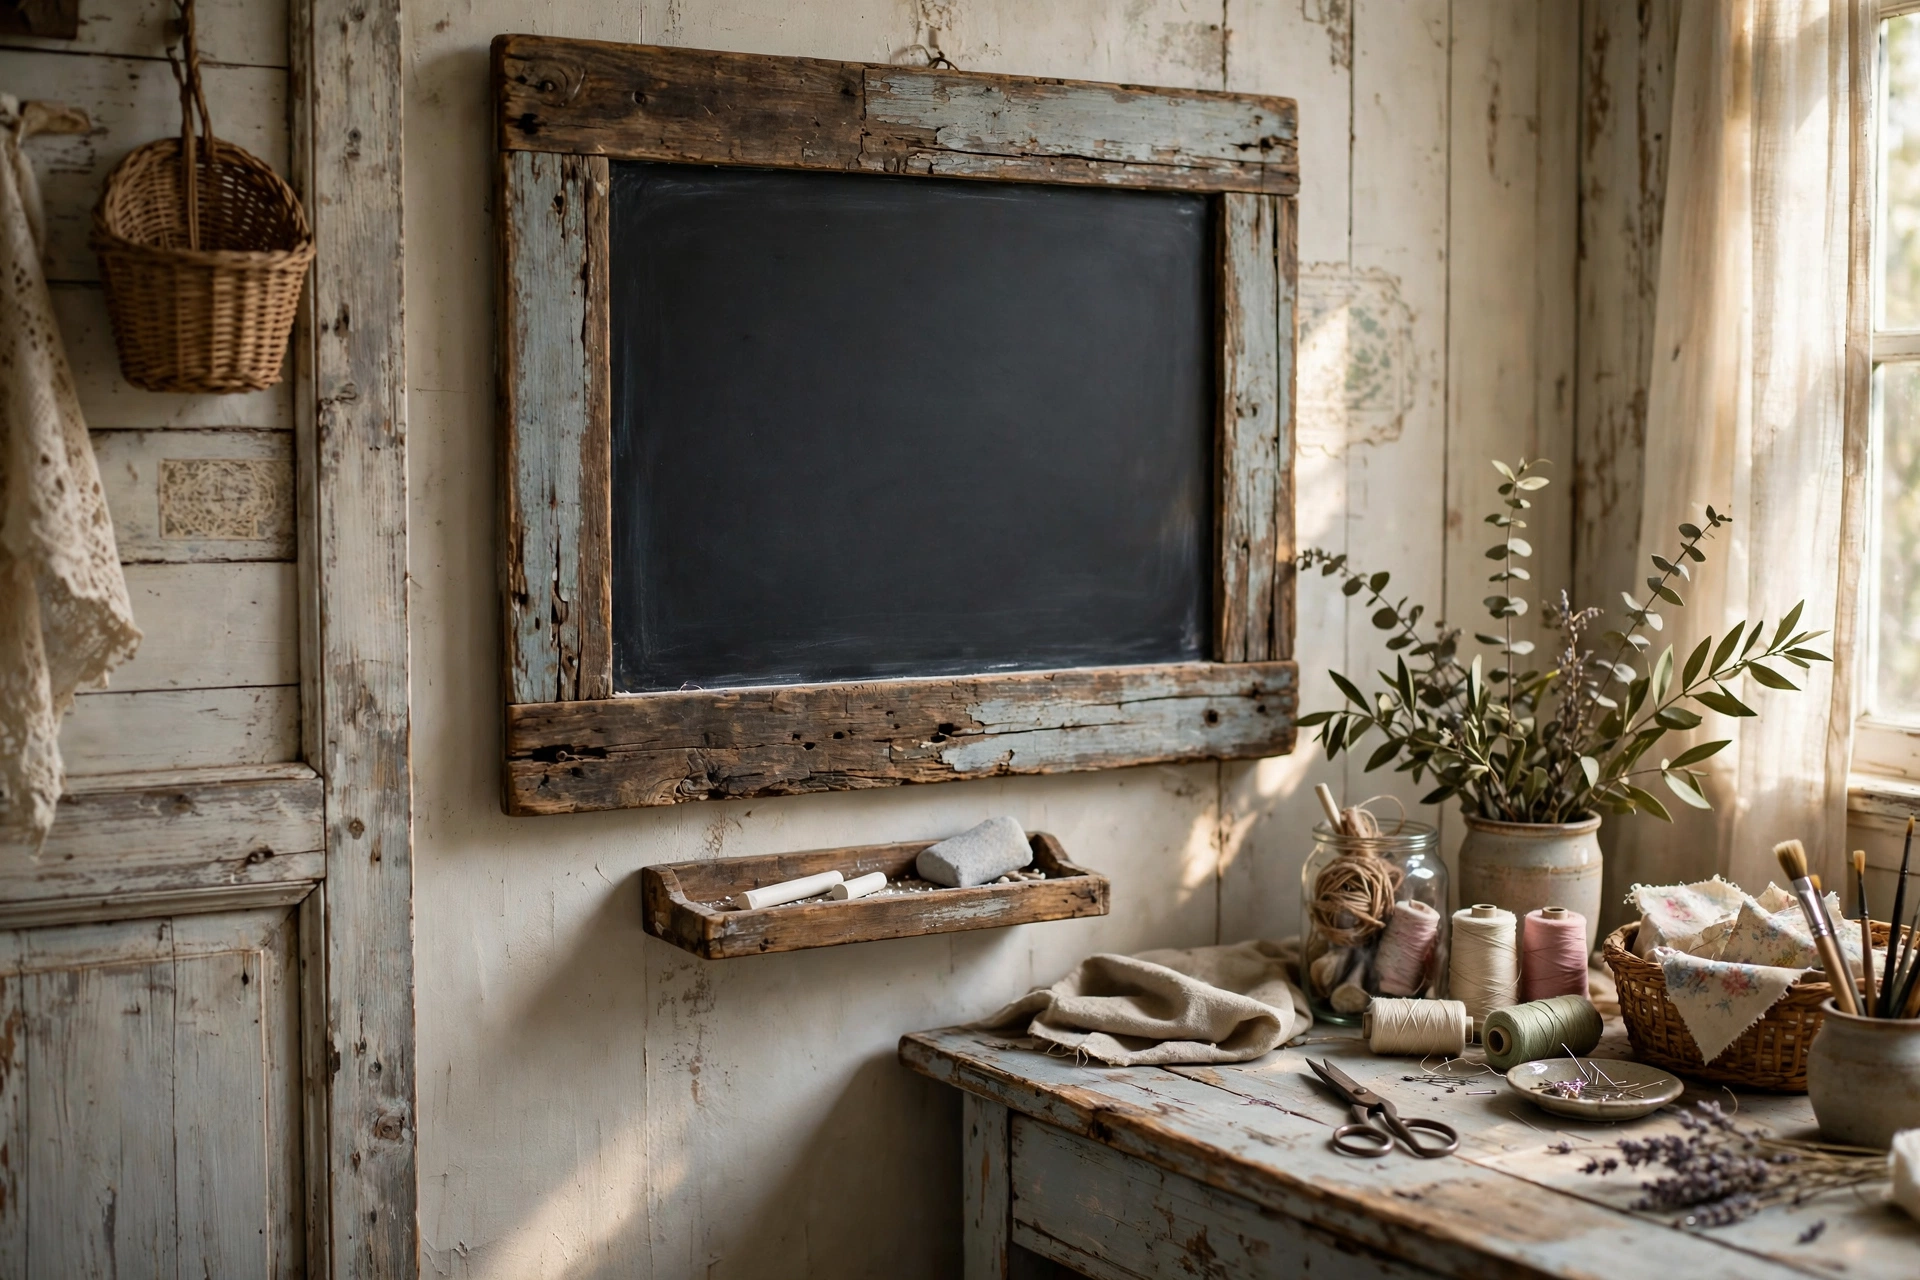
16. Paint Chalkboard on Reclaimed Wood for a Message Board
A chalkboard made from reclaimed wood is part message board, part decoration, and entirely vintage in feel. Take a weathered board — an old fence plank, a piece of barn wood, a shelf off a broken cabinet — sand it lightly, and paint it with chalkboard paint. Frame it with a few strips of the same wood or an old picture frame, and hang it where you will see it: beside the desk for a to-do list, by the door for reminders, or above the cutting table for measurements you look up constantly. Chalk wipes off and rewrites in seconds, which makes it more useful than a printed chart for a room that changes projects weekly. The wood’s knots and grain show through the paint just enough to keep it from looking new, which is exactly the effect you want. Prime the wood first if it is very rough or stained, and give the paint two coats with a day to cure before you write on it. A small tray or a cup hooked underneath holds the chalk and an eraser.
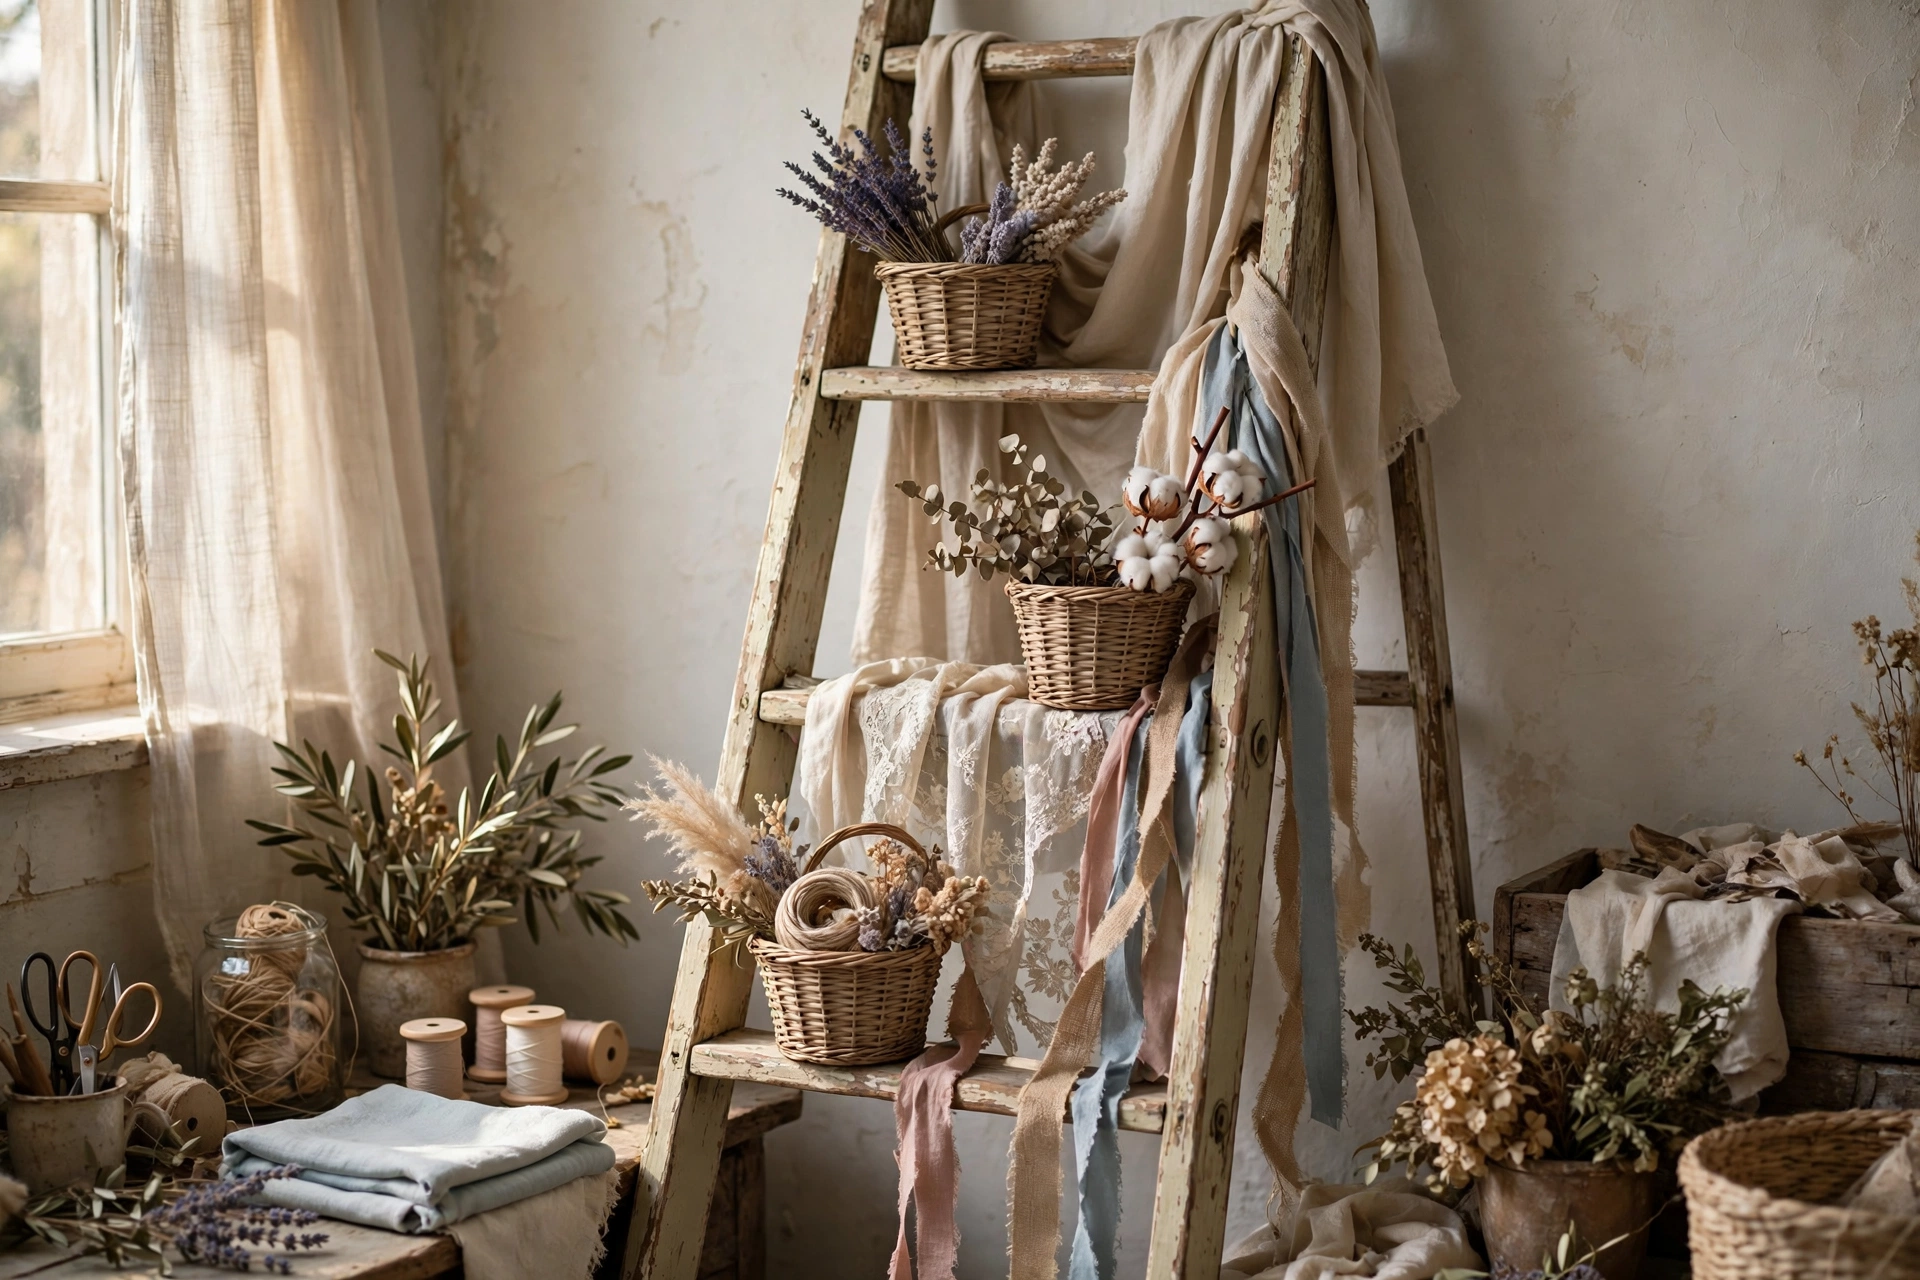
17. Lean a Vintage Ladder Against the Wall as a Display Shelf
A wooden ladder is a display shelf that needs no drilling and fits anywhere. Lean an old ladder against the wall and drape fabric over the rungs, hang ribbons and washi tape from it, or rest small baskets and jars on the steps. A short step ladder works beside a desk as a side table, while a tall ladder fills an awkward empty corner that nothing else suits. Look for ladders with solid rungs and no wobble at flea markets and salvage yards; a coat of chalk paint or a light sanding is usually all the cleaning they need. If the ladder is very old, check it for splinters and give the rungs a quick sand before you use it. The ladder also solves a real storage problem: it holds the things you want visible and within reach — current fabric, a work-in-progress, a favorite quilt — without taking up floor space. When the room changes, the ladder moves in seconds. For more budget-friendly storage thinking, our genius IKEA hacks show how simple pieces can work hard in a craft space.
Frequently Asked Questions
What makes a craft room vintage?
A vintage craft room gets its look from age and patina rather than newness: solid wood furniture with wear, thrifted finds, natural materials like glass, linen, and wicker, and a soft, muted color palette. The style comes from pieces that look collected over time — an old desk, mason jars, lace, a sewing machine — rather than a matching set bought at once.
Where can I find vintage furniture for a craft room on a budget?
Thrift stores, estate sales, flea markets, and salvage yards are the best sources, and many pieces cost far less than new furniture of the same quality. Look for solid wood with good bones; cosmetic flaws like chipped paint or sticky drawers are usually easy fixes. Check local online marketplaces too, where people often give away old dressers and desks.
How do I keep a vintage craft room organized without losing the charm?
Give every category of supply one fixed home — jars for small things, a dresser for fabric, a pegboard for tools — and use closed storage for the messy stuff so the open shelves stay styled. A quick five-minute reset at the end of each crafting session keeps the room from drifting back into clutter.
What colors work best in a vintage craft room?
Soft, muted tones suit the style best: cream, sage green, dusty blue, blush pink, and warm wood tones, with faded reds or mustard as accents. Keep the walls light and let the color come from the supplies, textiles, and furniture — that way the room stays calm even when the shelves are full.
Can a small craft room still look vintage?
Yes — small rooms often suit the style better, because a few well-chosen pieces go further in a tight space. One thrifted desk, a shelf of mason jars, lace at the window, and a vintage rug are enough to set the mood. Use the walls and the back of the door for storage so the floor stays clear.
How do I mix vintage pieces with modern craft supplies?
Let the vintage pieces be the furniture and the display, and let the modern supplies live inside them. Store a cutting machine in a dresser drawer, keep new tools in old tins, and hang modern supplies on a vintage pegboard. The contrast works when the old pieces set the tone and the new tools stay mostly out of sight.
A vintage craft room does not need to be finished all at once — in fact, it should not be. The rooms that feel most charming are the ones that grow slowly: a desk found at an estate sale, a jar collected on a holiday, a quilt handed down from family. Start with one anchor piece and one wall, add storage that looks as good as it works, and let the details accumulate. The 17 ideas above give you a full room to work toward, but even three or four of them will change how the space feels. The best vintage craft room is not the one with the most old things in it — it is the one where everything in it has a reason to be there, and where you actually want to sit down and make something.