

25 Popcorn Ceiling Ideas: Complete Guide to Removal, Covering & Painting
25 Popcorn Ceiling Ideas: Complete Guide to Removal, Covering & Painting
That bumpy popcorn ceiling has been staring down at you for years, and you finally have three ways to deal with it: scrape it off, cover it up, or paint it into something you actually like. Each path works, but each one suits a different ceiling, budget, and tolerance for mess — and the wrong choice can turn a weekend project into a month of regret. The one rule that comes before all three is safety: if your home was built before the 1980s, test for asbestos before you touch a single bump. Once that is settled, these 25 popcorn ceiling ideas walk you through every real option, from the classic wet-scrape removal to shiplap cover-ups, tin tiles, and a sprayer paint job that makes the texture disappear. Pick the path that fits your ceiling first, then steal the finishing ideas that make the result look intentional.
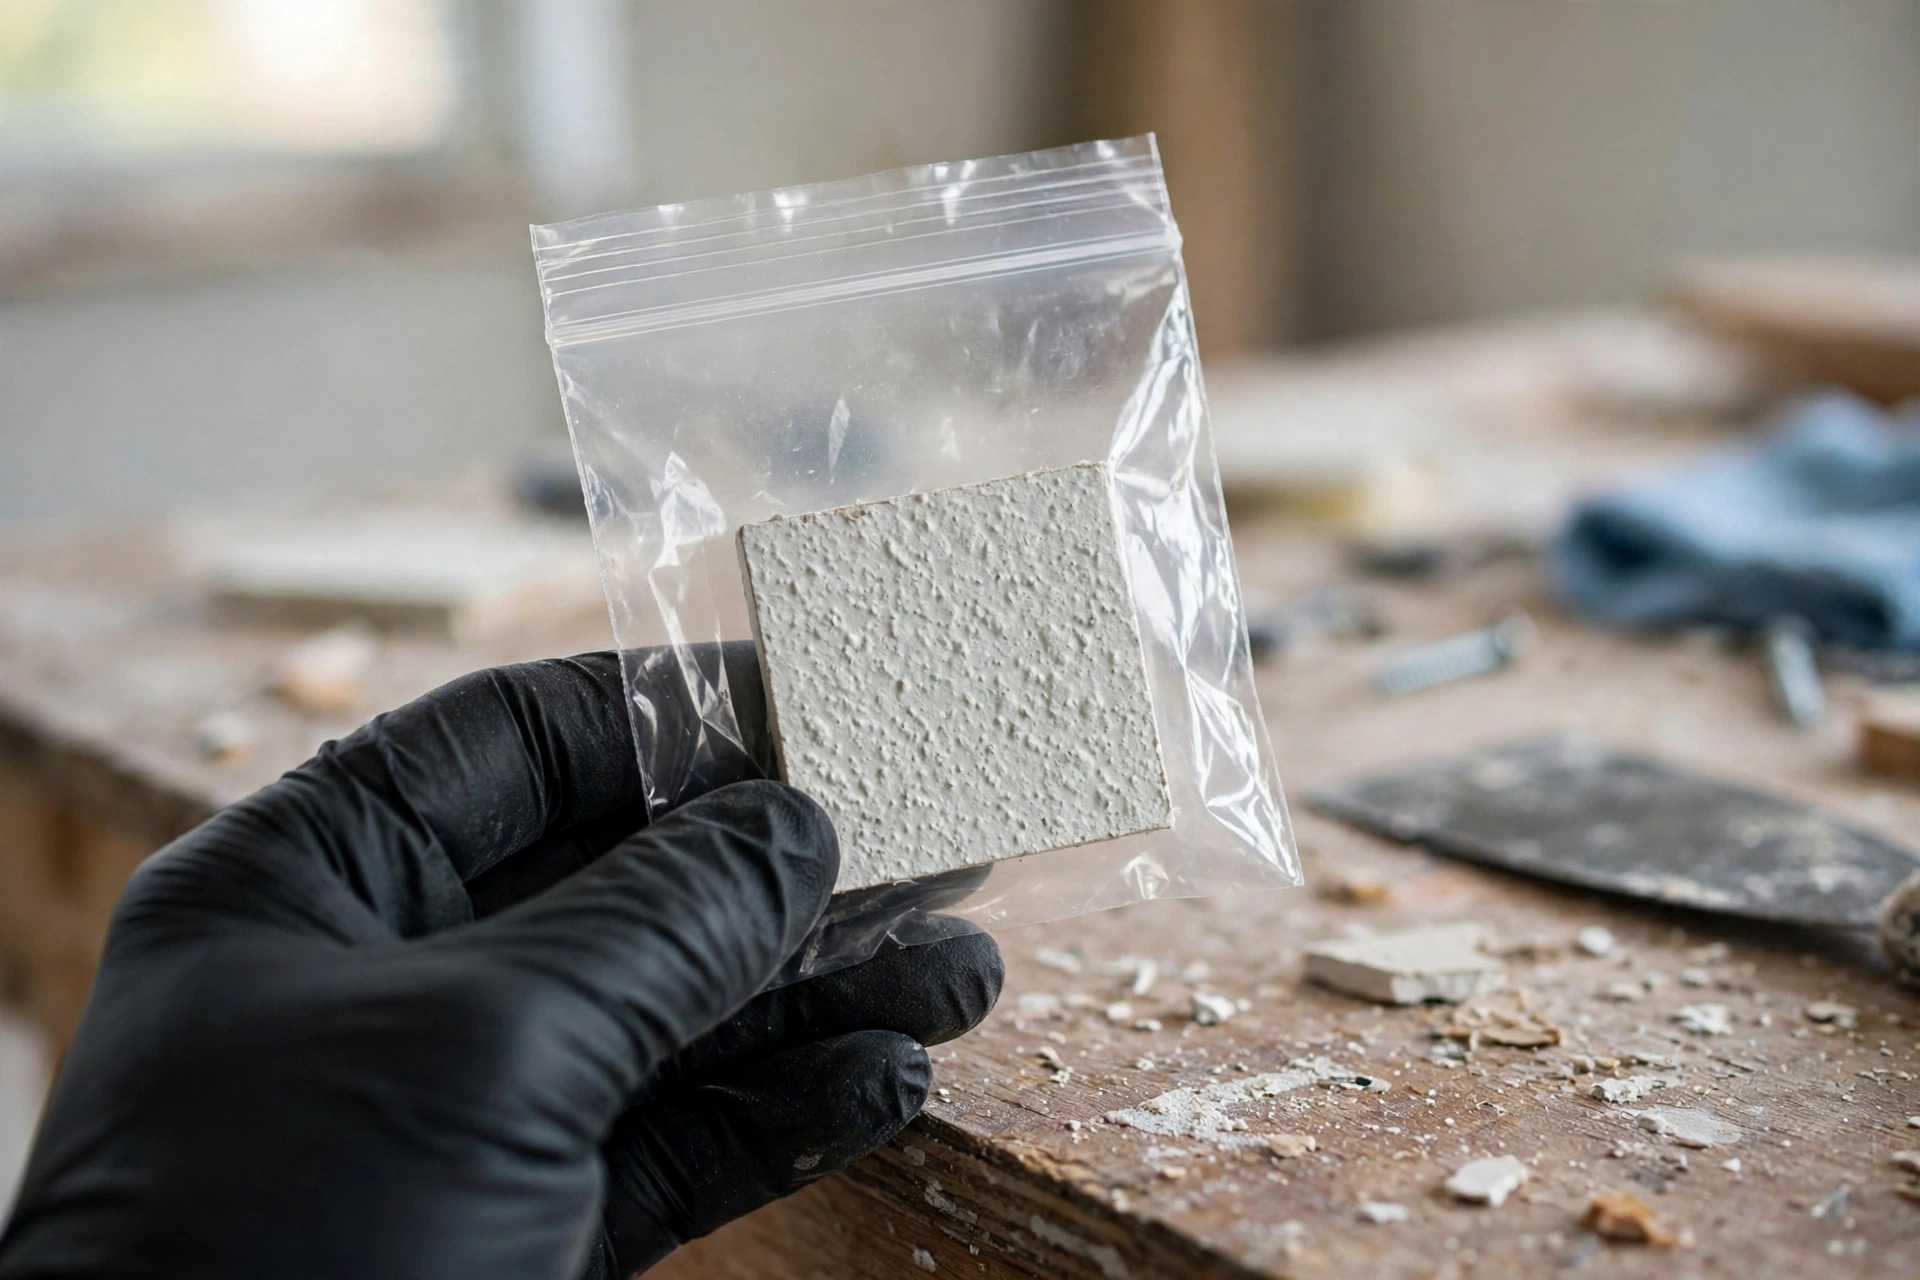
1. Test for Asbestos Before You Touch Anything
Before a scraper, sprayer, or paint roller comes anywhere near your ceiling, find out what is in it. Popcorn texture installed before the 1980s commonly contains asbestos, and the only way to know for sure is a laboratory test of a small sample — age alone never confirms it, and looking at it tells you nothing. You can buy a mail-in test kit or hire a local professional to take the sample for you, and either way you should not sand, scrape, or drill the texture while you wait for results. If the test comes back positive, stop: the removal job belongs to a licensed abatement contractor, not a weekend DIYer. If it comes back negative, you are clear to choose any of the ideas below. This single step costs little and takes a few days, and it is the difference between a satisfying project and a serious health risk for everyone in the house.
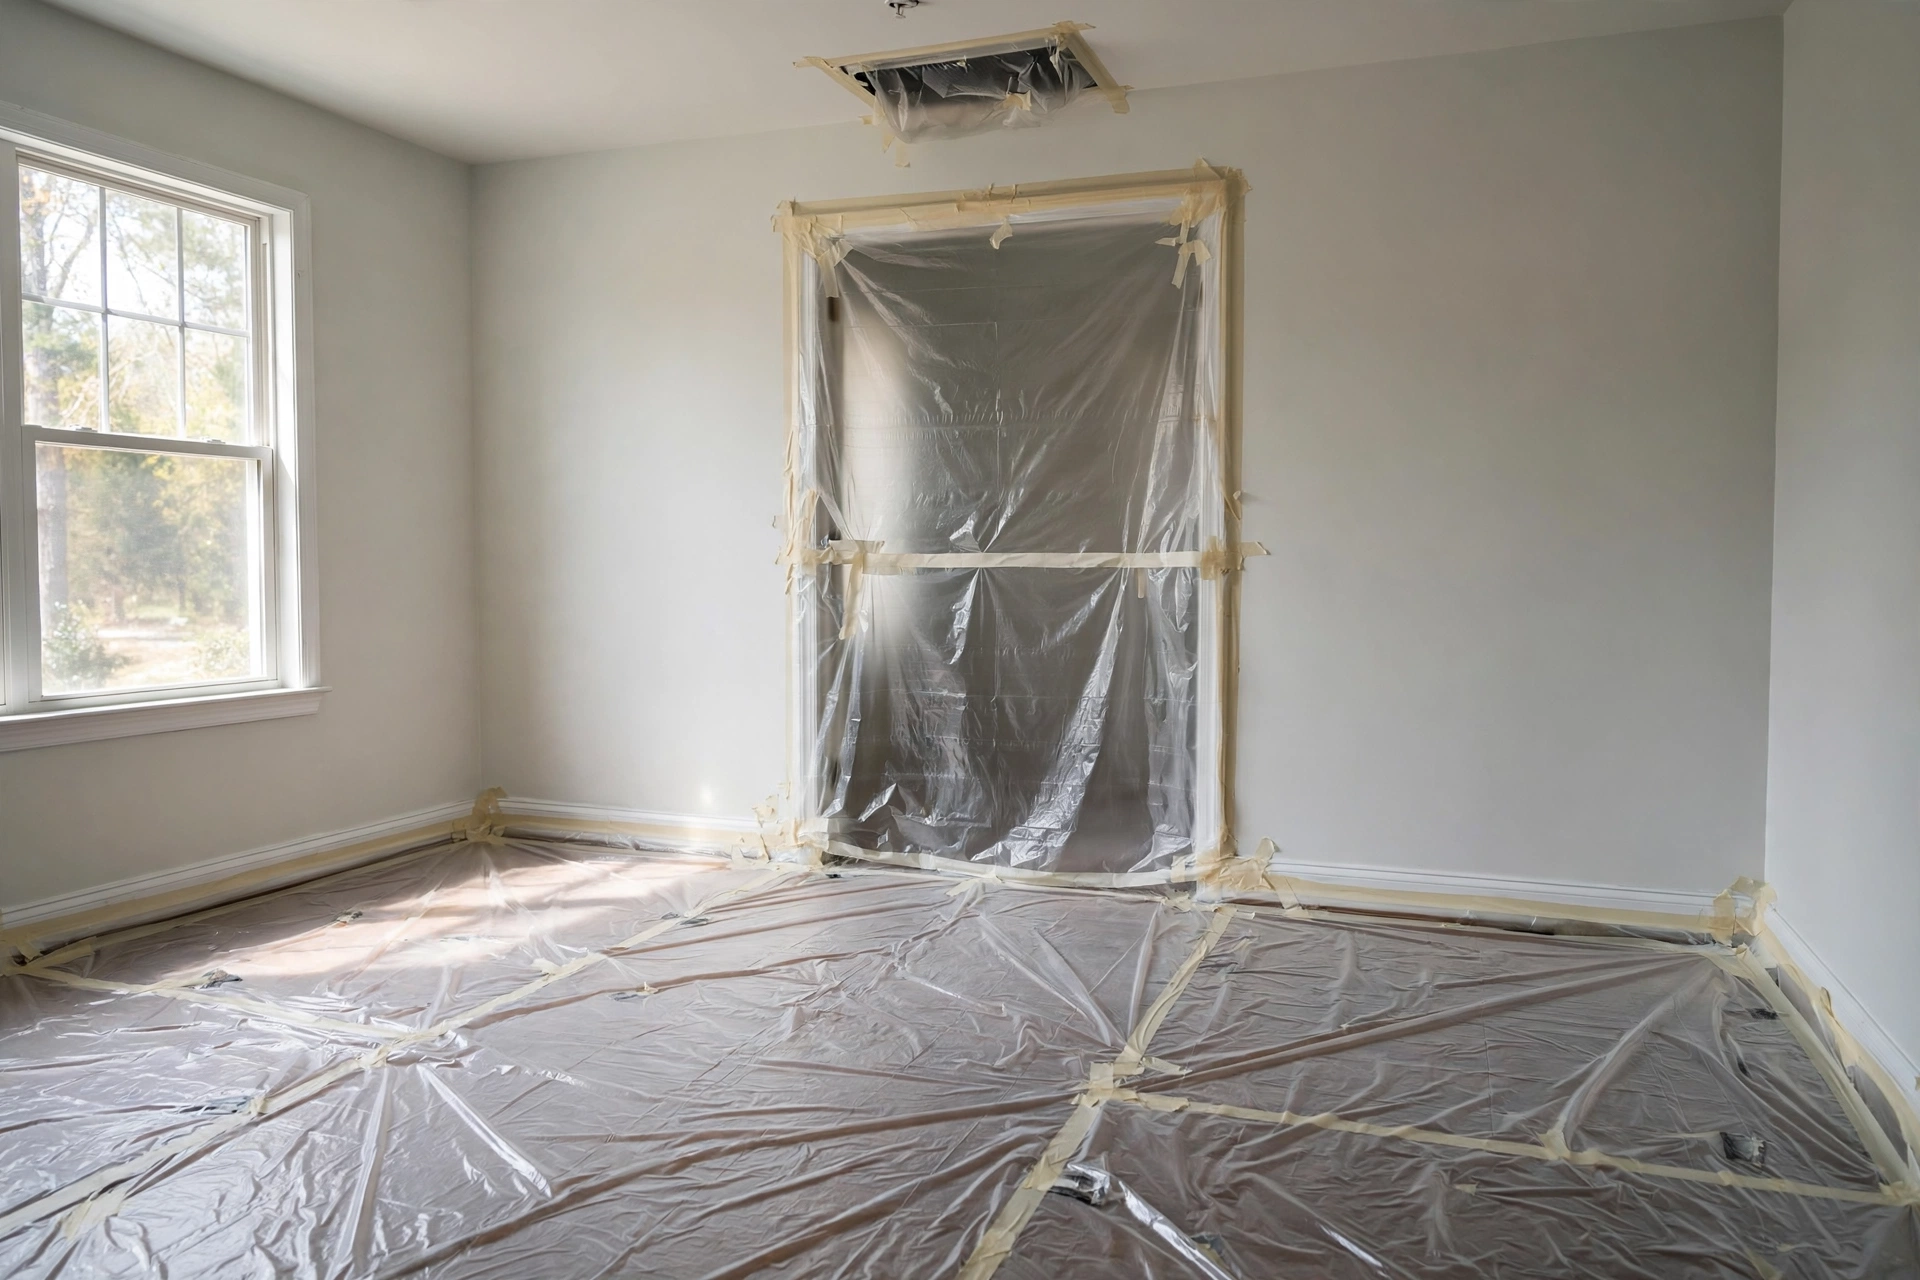
2. Seal the Room Like a Work Zone
Removing a popcorn ceiling is one of the messiest jobs in home renovation, and the dust does not stay in the room unless you make it stay. Before you start, pull out every piece of furniture you can, then cover the floor with heavy plastic sheeting taped at the seams. Seal every doorway with plastic and painter’s tape, cover the vents and outlets, and hang a sheet over the hallway opening so the rest of the house stays clean. A box fan in a window, blowing outward, keeps a gentle draft moving away from the living areas. This setup takes less than an hour and saves hours of cleaning later — and it keeps dust out of your heating system, where it can circulate for weeks. Treat the room like a construction zone from the start and the cleanup becomes a quick roll-up instead of a deep clean.

3. Gear Up: Respirator, Goggles, and Coveralls
Even a ceiling that tested negative for asbestos throws off a cloud of fine dust when it comes down, and a paper dust mask is not enough for it. Wear a properly fitted N95 or P100 respirator, sealed safety goggles, disposable coveralls, and heavy-duty gloves for the whole job — not just the scraping part. The respirator matters most, because ceiling dust hangs in the air long after each pass, and you will be working directly underneath it with your face pointed up. Tape the coverall cuffs to your gloves so dust cannot creep up your sleeves, and wear a hat or hood to keep it out of your hair. Set a clean change of clothes and a trash bag outside the sealed doorway so you can strip off the dusty gear before walking through the house. Good gear is cheap; breathing this dust for a weekend is not worth skipping it.
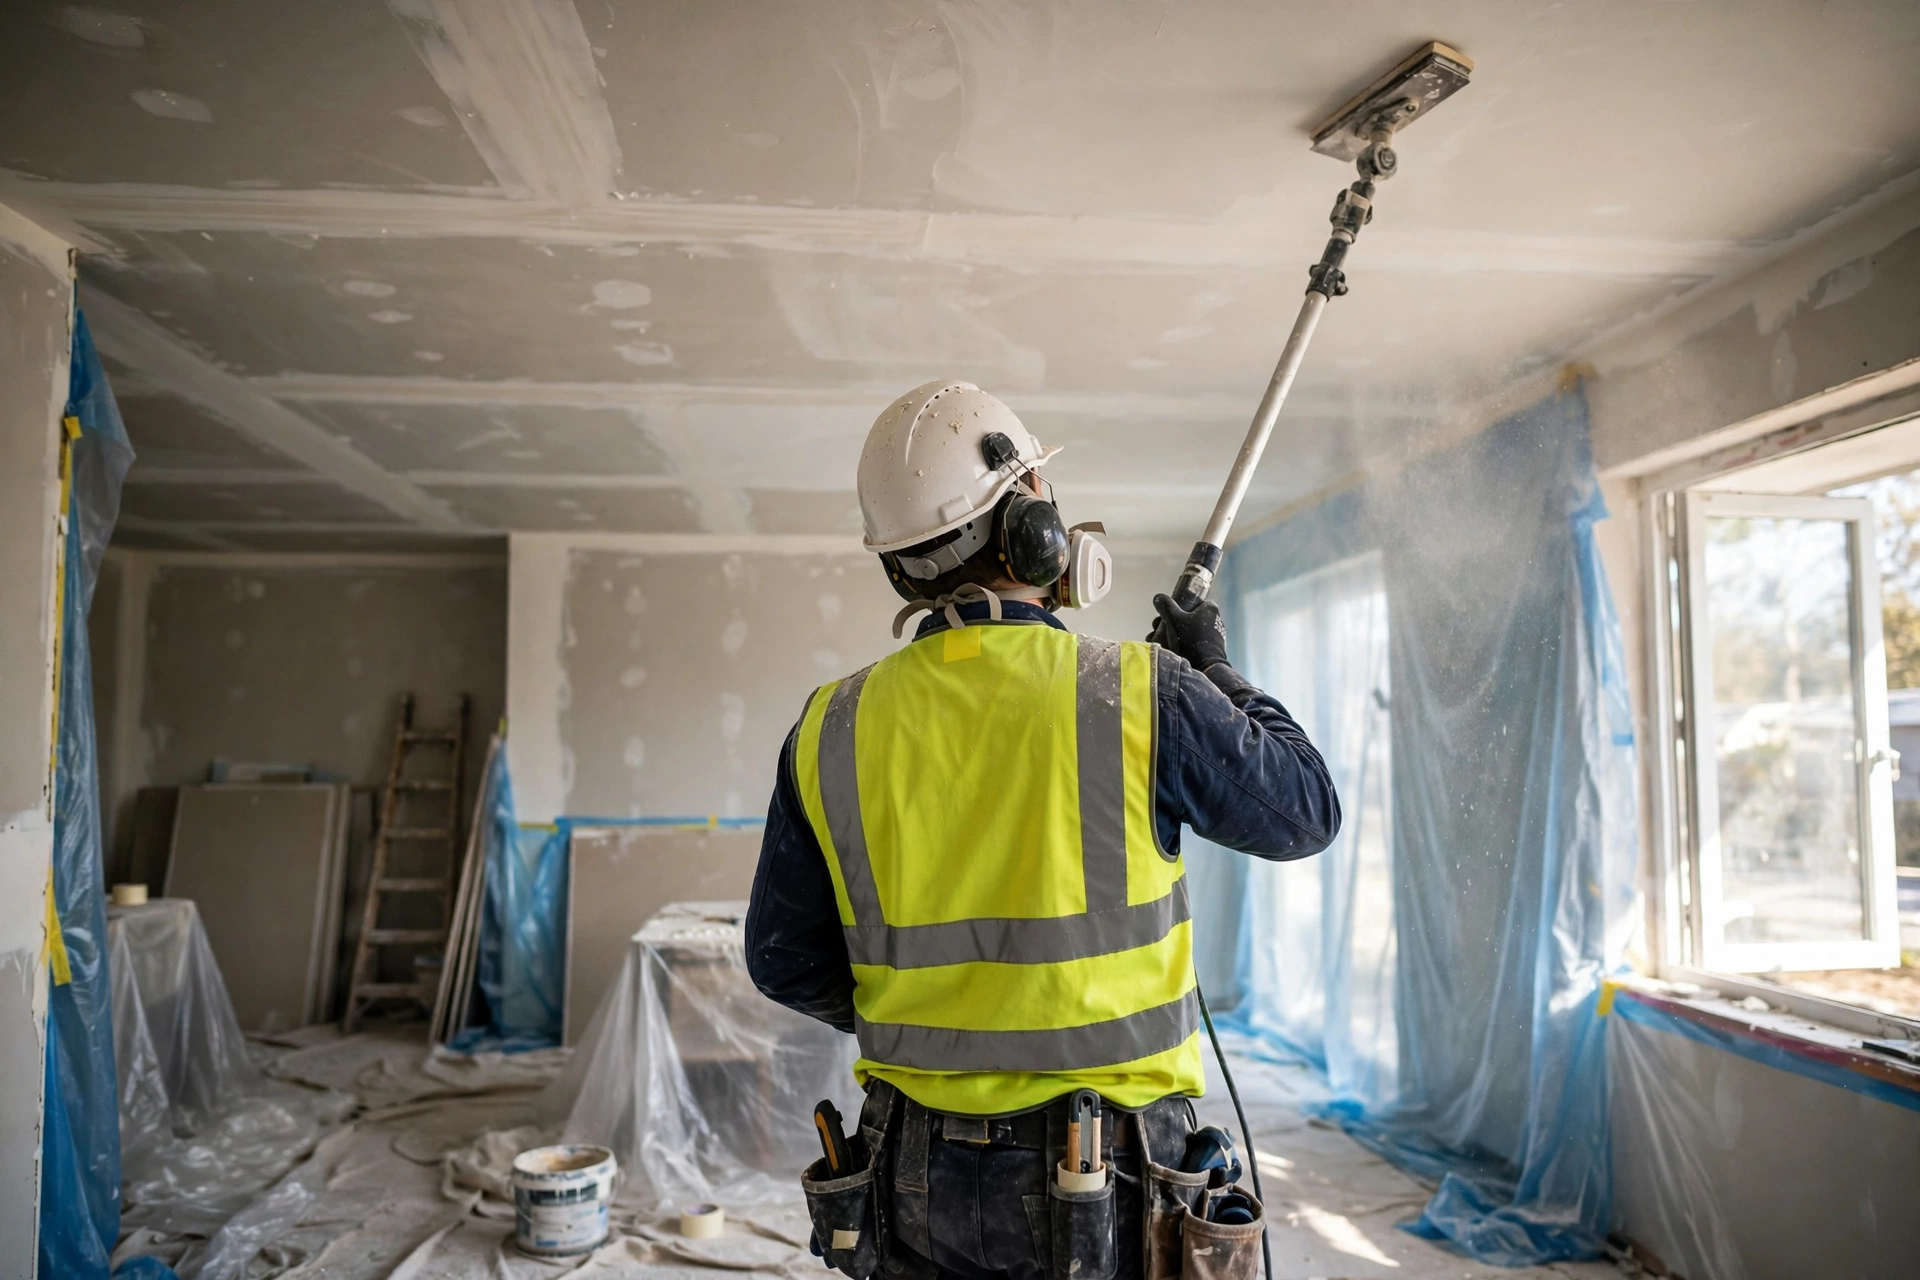
4. Know When to Hire a Pro Instead
DIY pride is a poor reason to take on the wrong ceiling. Hire a professional when the asbestos test is positive, when the ceiling is very high or vaulted, when the texture is painted over and will not soften, or when the room is large enough that the job would take you a week of evenings. A licensed crew brings containment, negative-air machines, and disposal that a homeowner cannot easily match, and for asbestos work that is not optional — it is the law in most places. Even for a clean, unpainted ceiling, a pro crew can often finish a whole house in a day or two, including the skim coat and paint, which is worth it if your time is short. Get two or three local quotes before deciding, and ask exactly what is included: removal, repairs, priming, and painting are often priced separately. Knowing your limit is not quitting; it is how the ceiling actually gets finished.
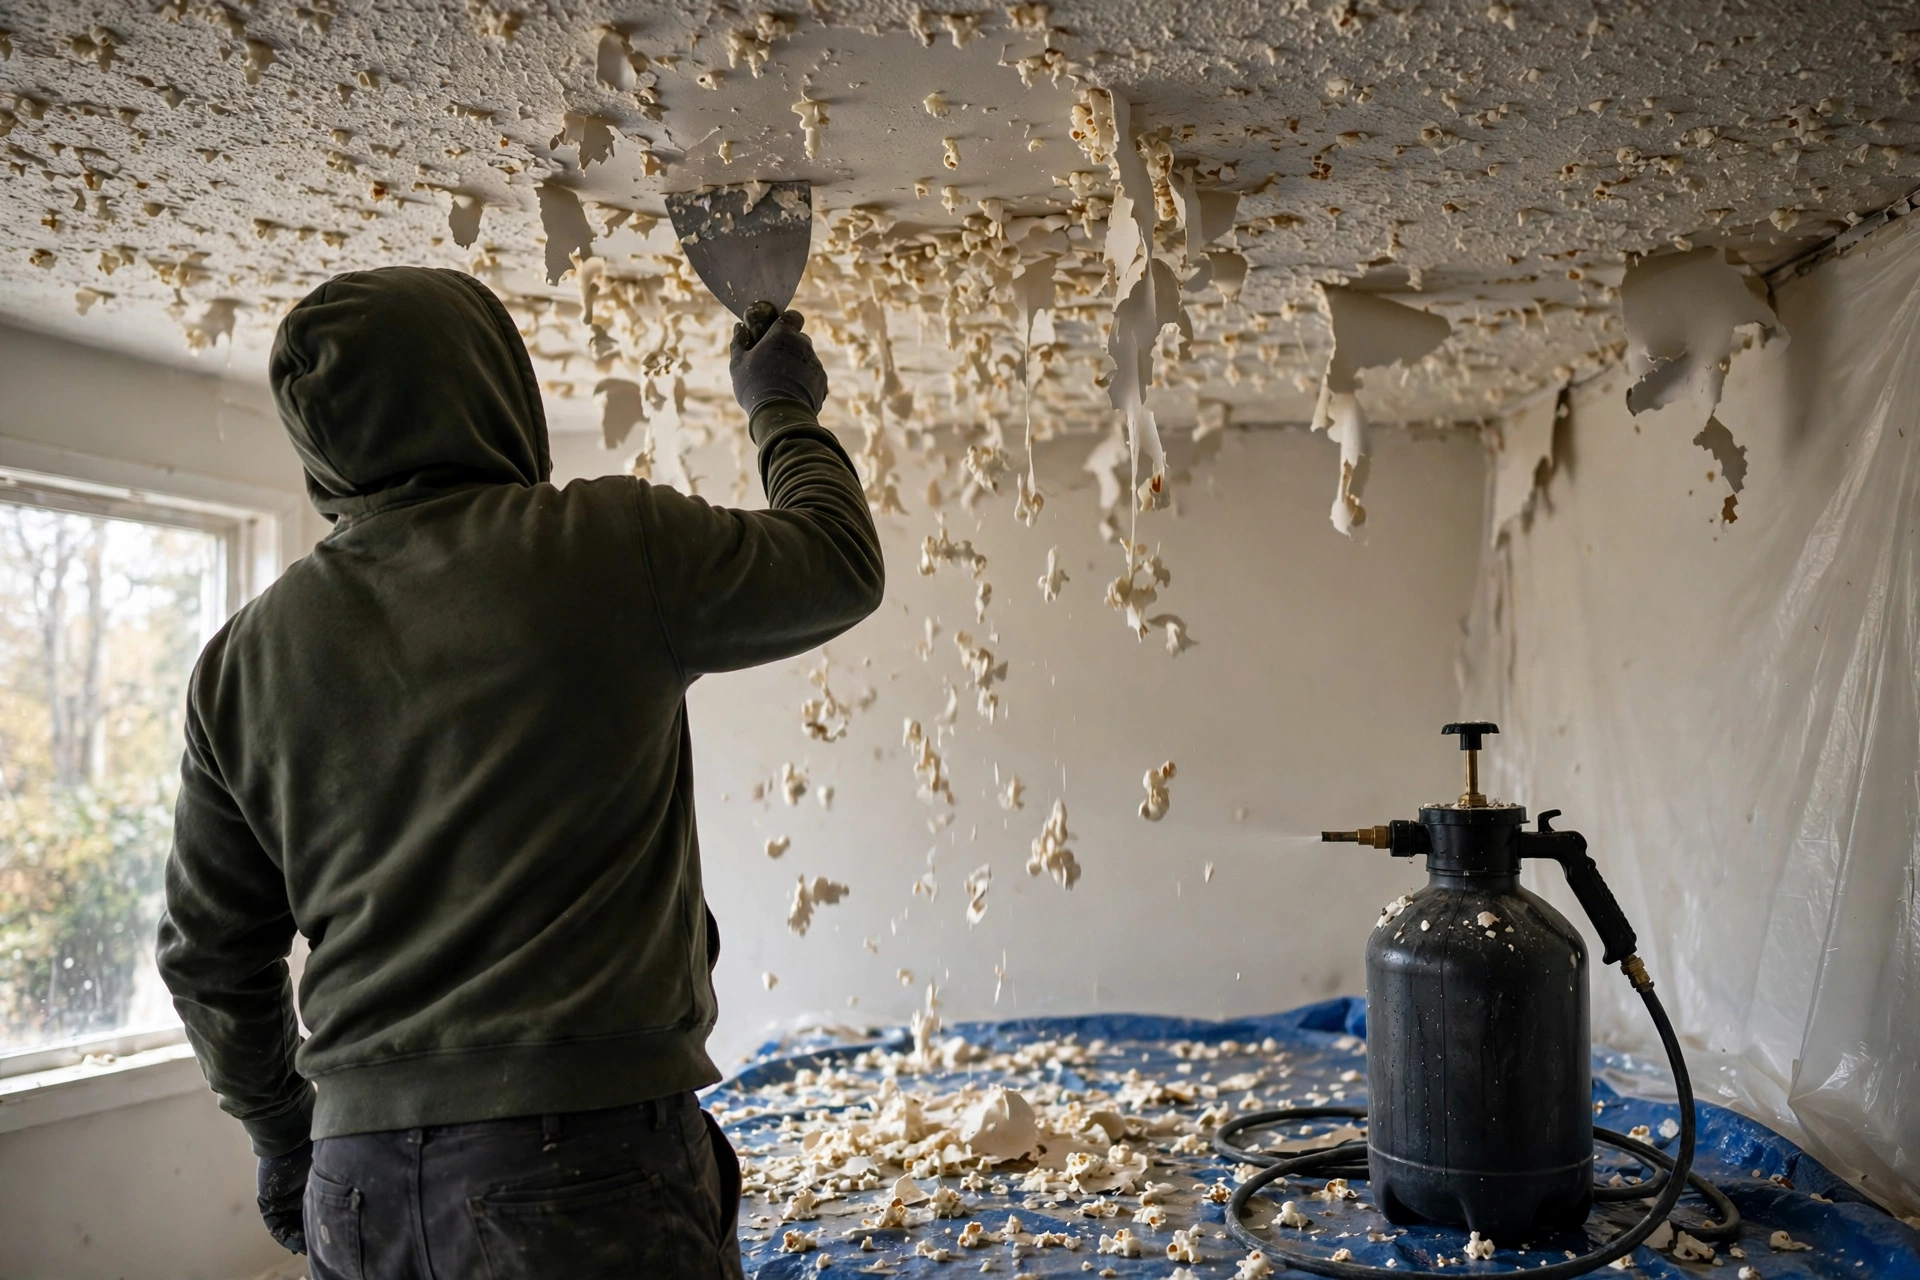
5. Wet-Scrape: Mist, Wait, and Scrape
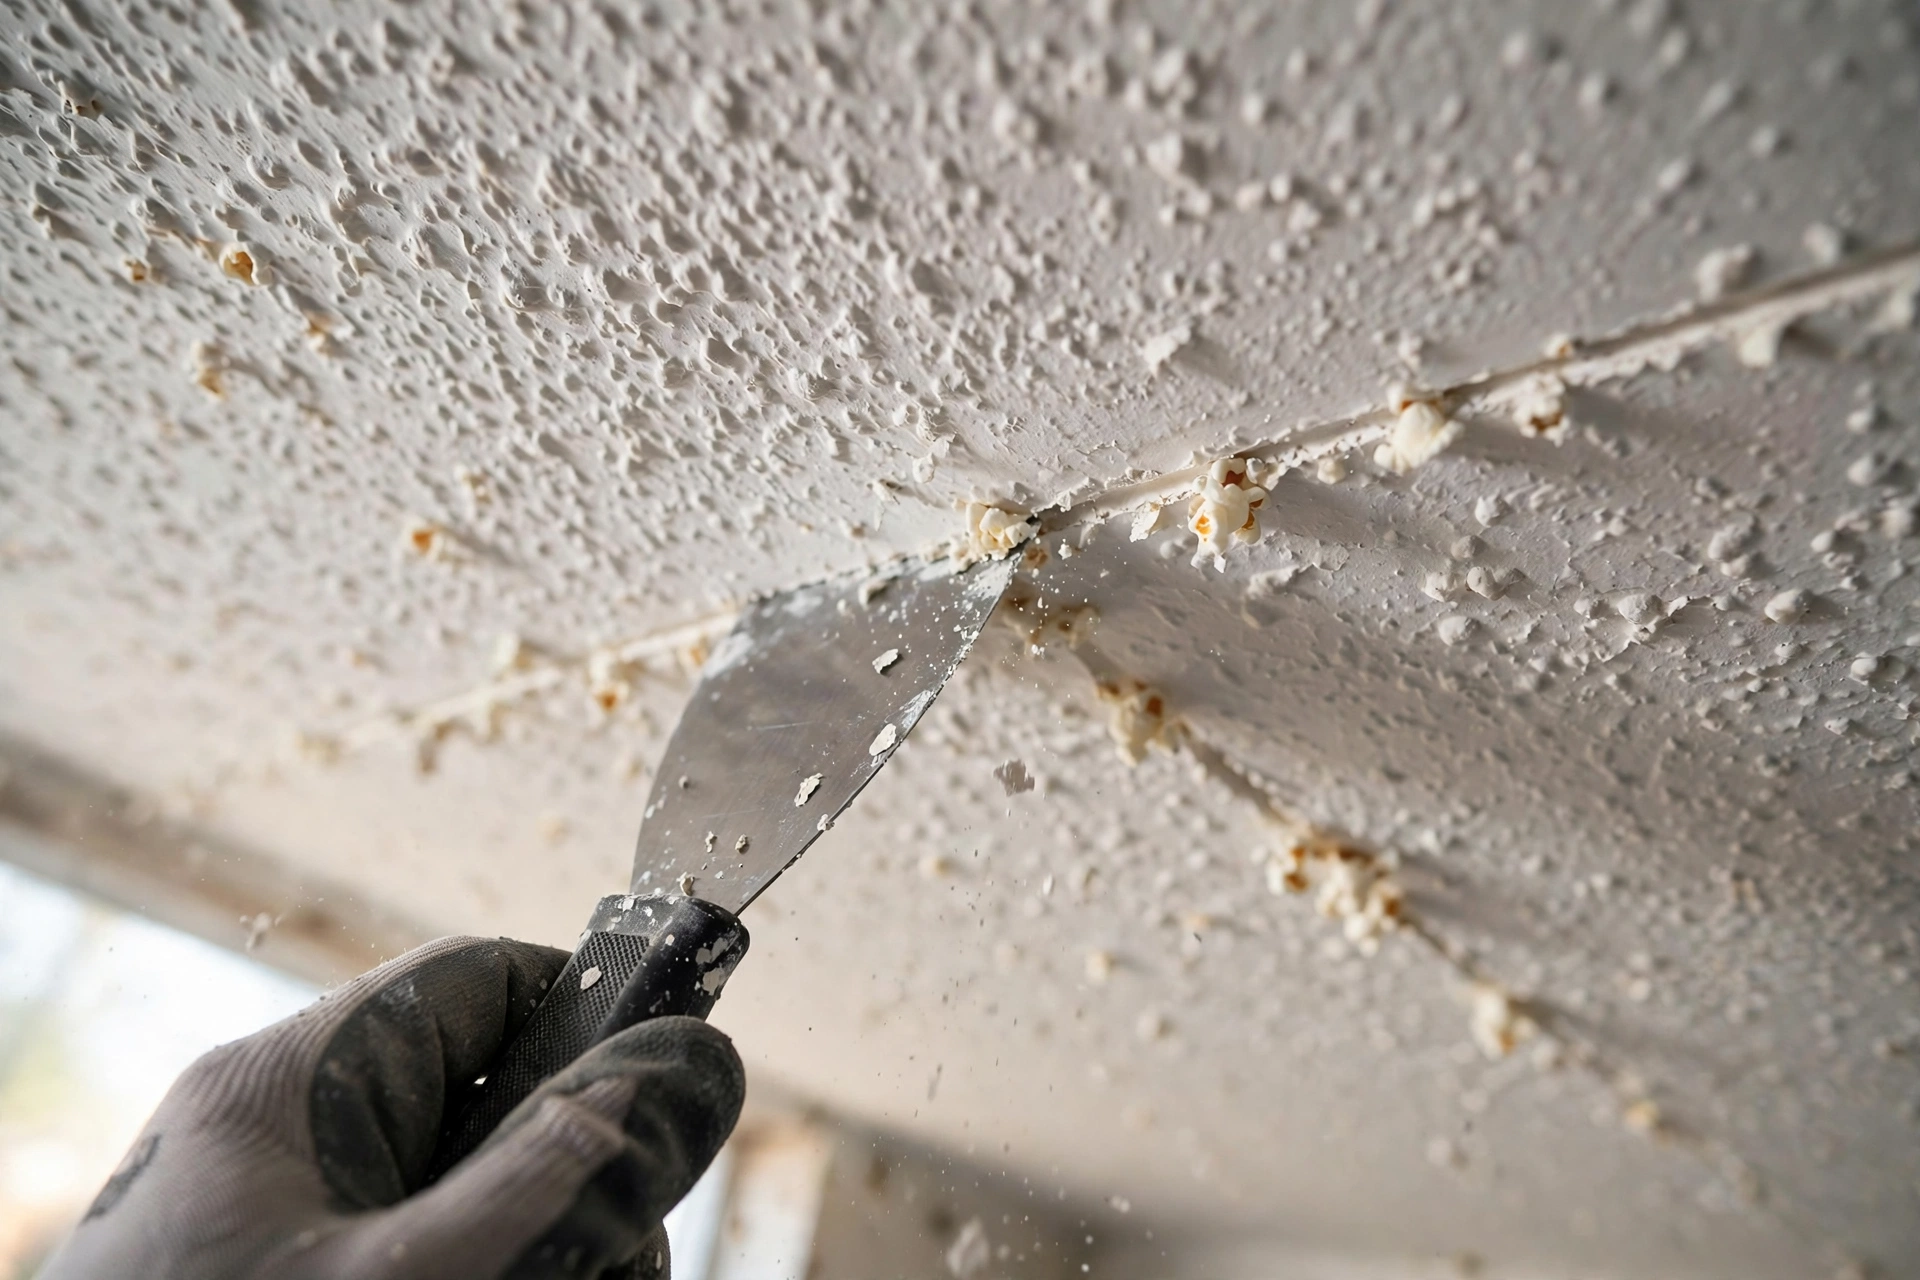
Wet-scraping is the classic removal method, and it works because water does two jobs at once: it softens the texture so it peels off in sheets, and it keeps the dust down. Fill a garden pump sprayer with warm water and a few drops of dish soap, then mist one small section of ceiling — about a four-by-four-foot square — until it is damp but not dripping. Wait ten to fifteen minutes for the water to soak in, then push a wide drywall knife or a dedicated ceiling scraper across the section and watch the texture come off in soft curls. Work toward the center of the room, and keep a mud pan or a bag under the blade to catch the debris. If a section resists, spray it again and give it more time rather than gouging the drywall underneath. Patience here is everything: a well-soaked ceiling scrapes off in an afternoon, while a dry one fights you all weekend.
6. Tackle a Painted Popcorn Ceiling Differently
If a previous owner painted over the popcorn texture, water alone will not cut it — the paint seals the bumps and blocks the soak. Expect this ceiling to take longer, and plan for it: score the surface lightly with a drywall knife or a texture-removal tool to break the paint seal, then mist and wait twice as long before scraping. Some people have better luck with a wallpaper steamer or a chemical texture softener made for painted ceilings, applied in sections and left to work before the scraper comes out. Test one small hidden corner first to learn how your ceiling responds, because some painted textures barely soften at all. If the texture refuses to budge after a fair attempt, that is useful information, not failure — it means covering the ceiling or hiring a pro is the smarter path, and you will have spent an hour finding out instead of a weekend fighting it.
7. Steam the Texture Off
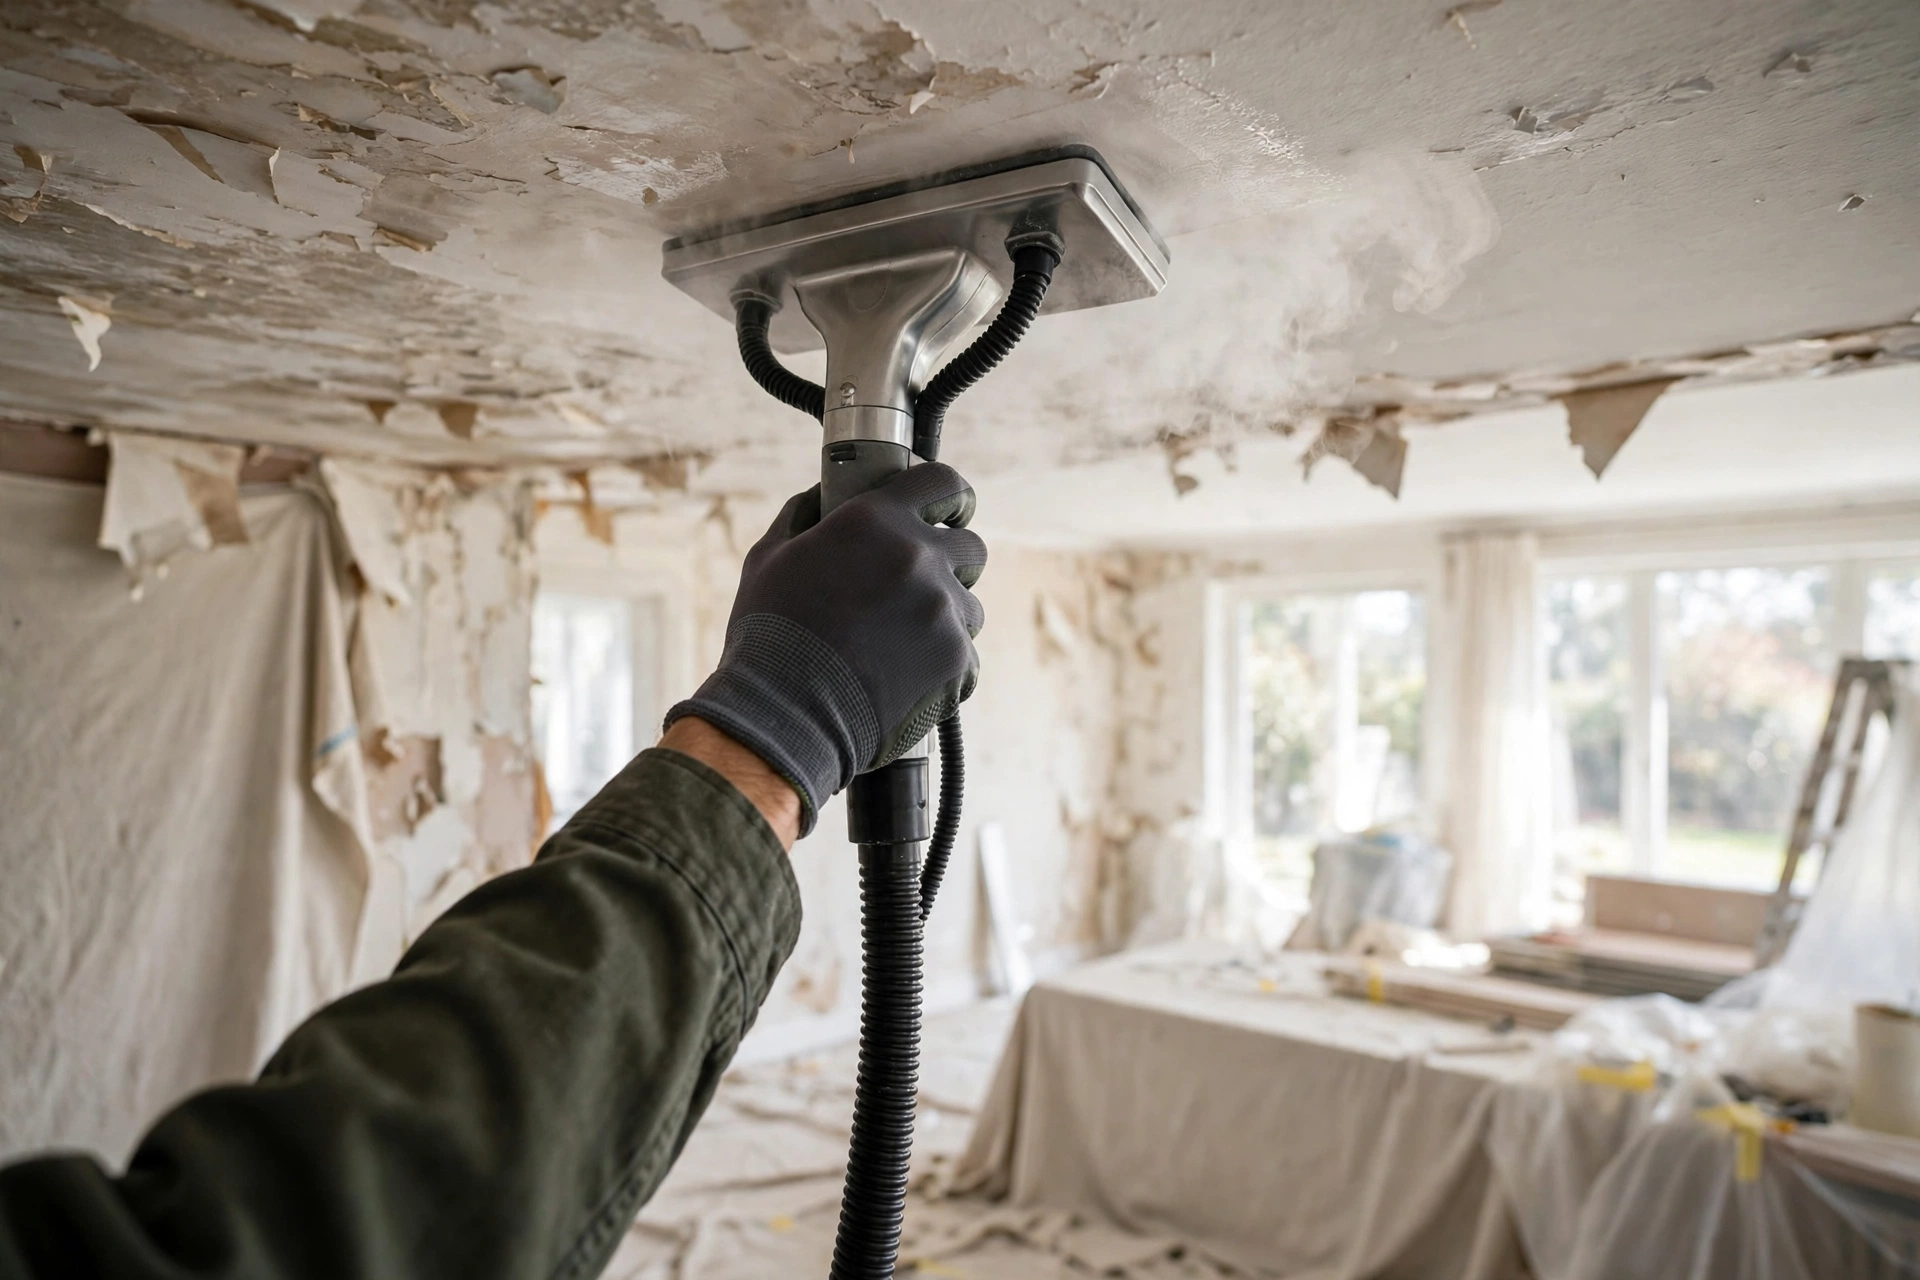
A wallpaper steamer is the secret weapon for stubborn popcorn ceilings, especially painted ones that shrug off a spray bottle. Hold the steam plate against one section for fifteen to twenty seconds and the heat and moisture together soften both the texture and the paint sealing it, so the scraper glides through instead of chattering across hard bumps. Work in the same small sections as wet-scraping — steam, scrape, move on — and keep a towel handy, because condensation drips are part of the deal. A steamer also helps on ceilings where the texture was applied thickly or where the drywall underneath is fragile, since the softened material comes away with far less force. You can rent one for a day at most tool-rental shops, and for a single room it often pays for itself in saved time and saved drywall. Pair it with a wide scraper and the two tools do the work of a whole crew.
8. Use a Scraper With a Collection Bag
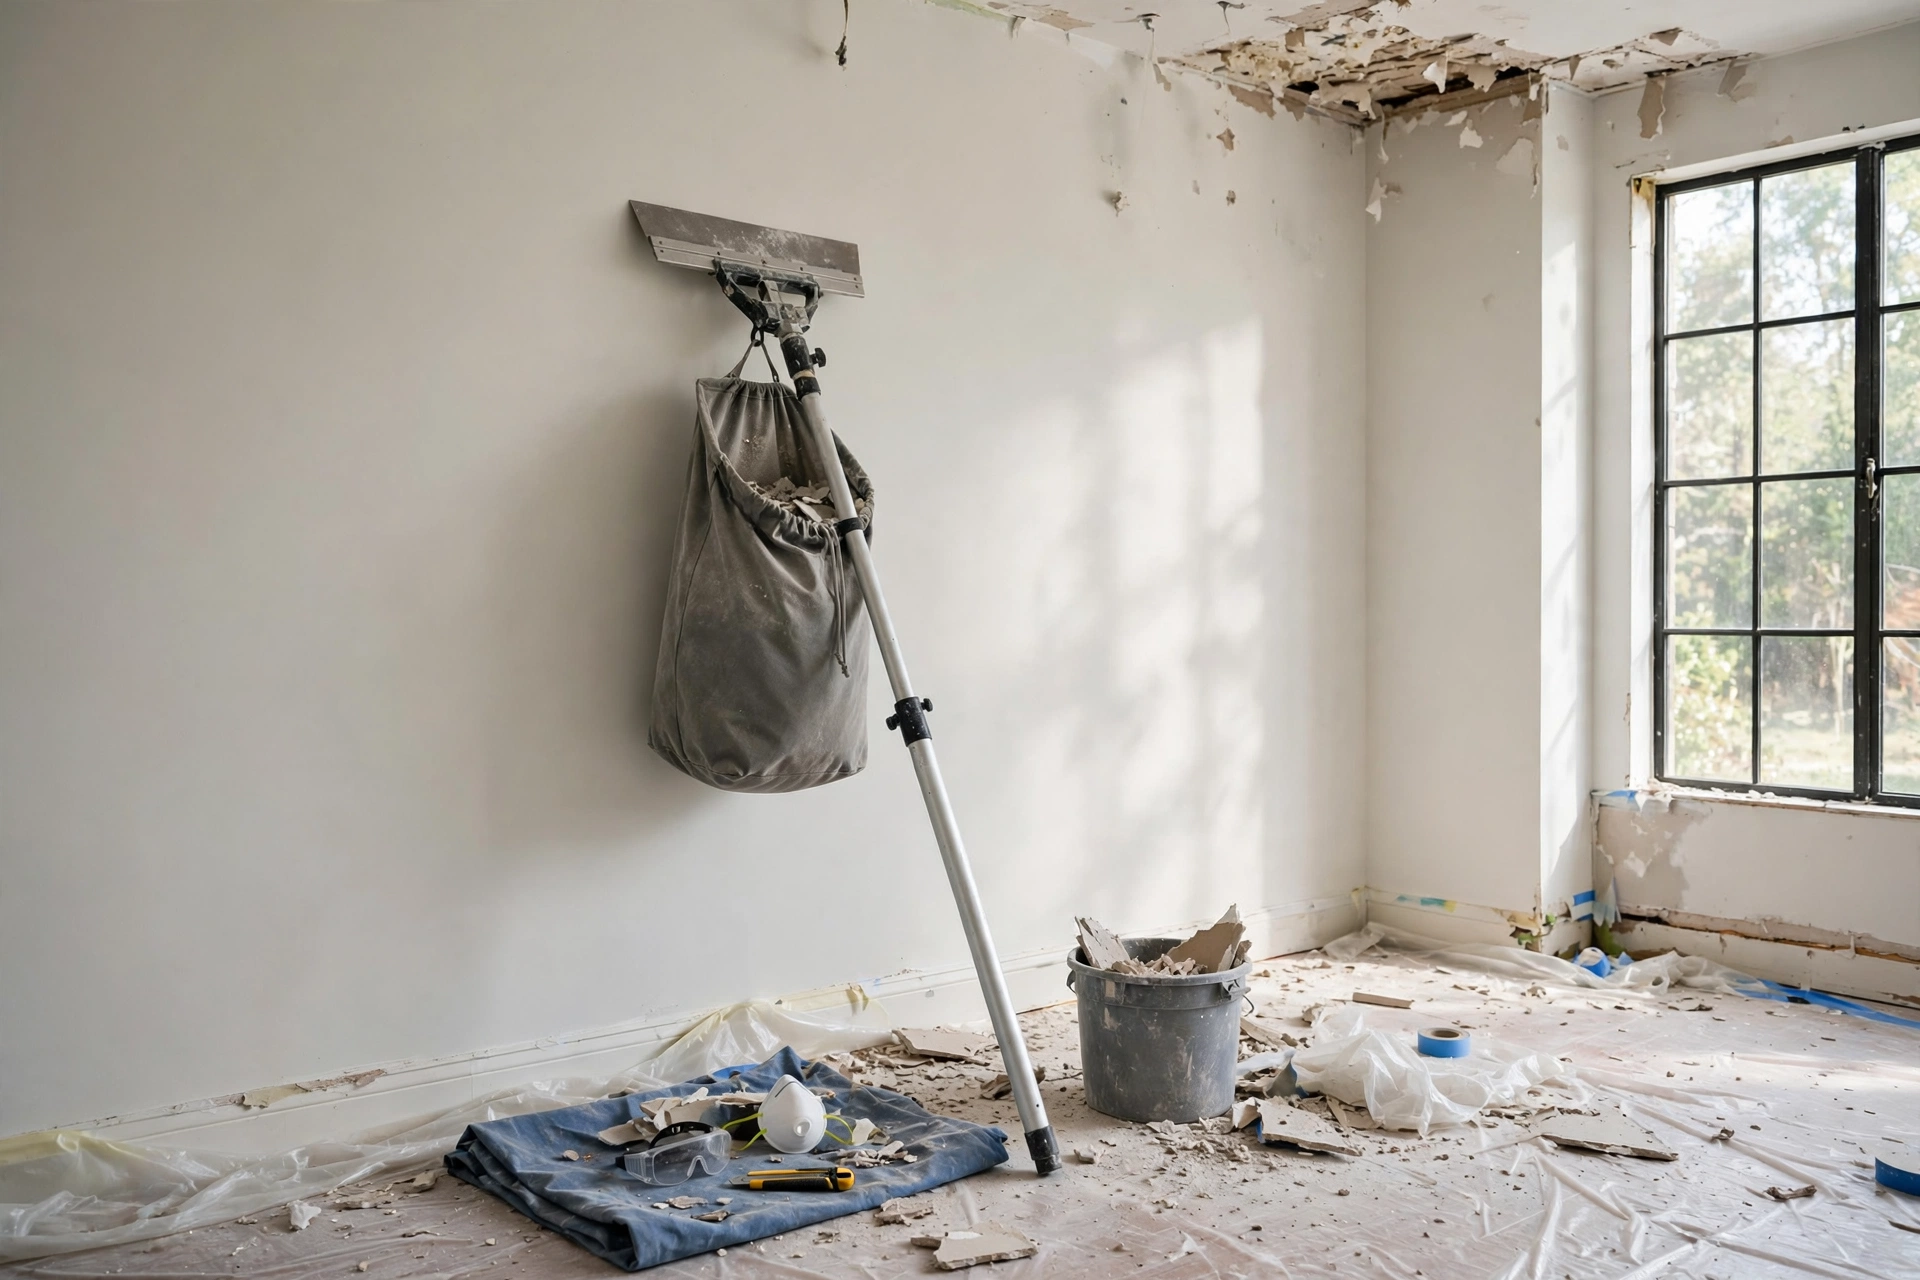
The mess is the worst part of removal, and a ceiling scraper with an attached collection bag fixes most of it. The tool is a wide blade on a pole with a bag clipped beneath it, so the texture you scrape falls straight into the bag instead of raining onto your floor, your hair, and everything you forgot to cover. It works best on ceilings that have been well misted, where the texture comes off in damp clumps rather than dry dust. Empty the bag often — a full bag gets heavy fast when you are holding it overhead — and line it with a trash bag so emptying takes seconds. The pole keeps you off the ladder for most of the ceiling, which is easier on your neck and shoulders over a long day. It is a small investment that turns the dirtiest step of the project into the cleanest, and your floor will thank you.
9. Work in Small Sections, Room by Room
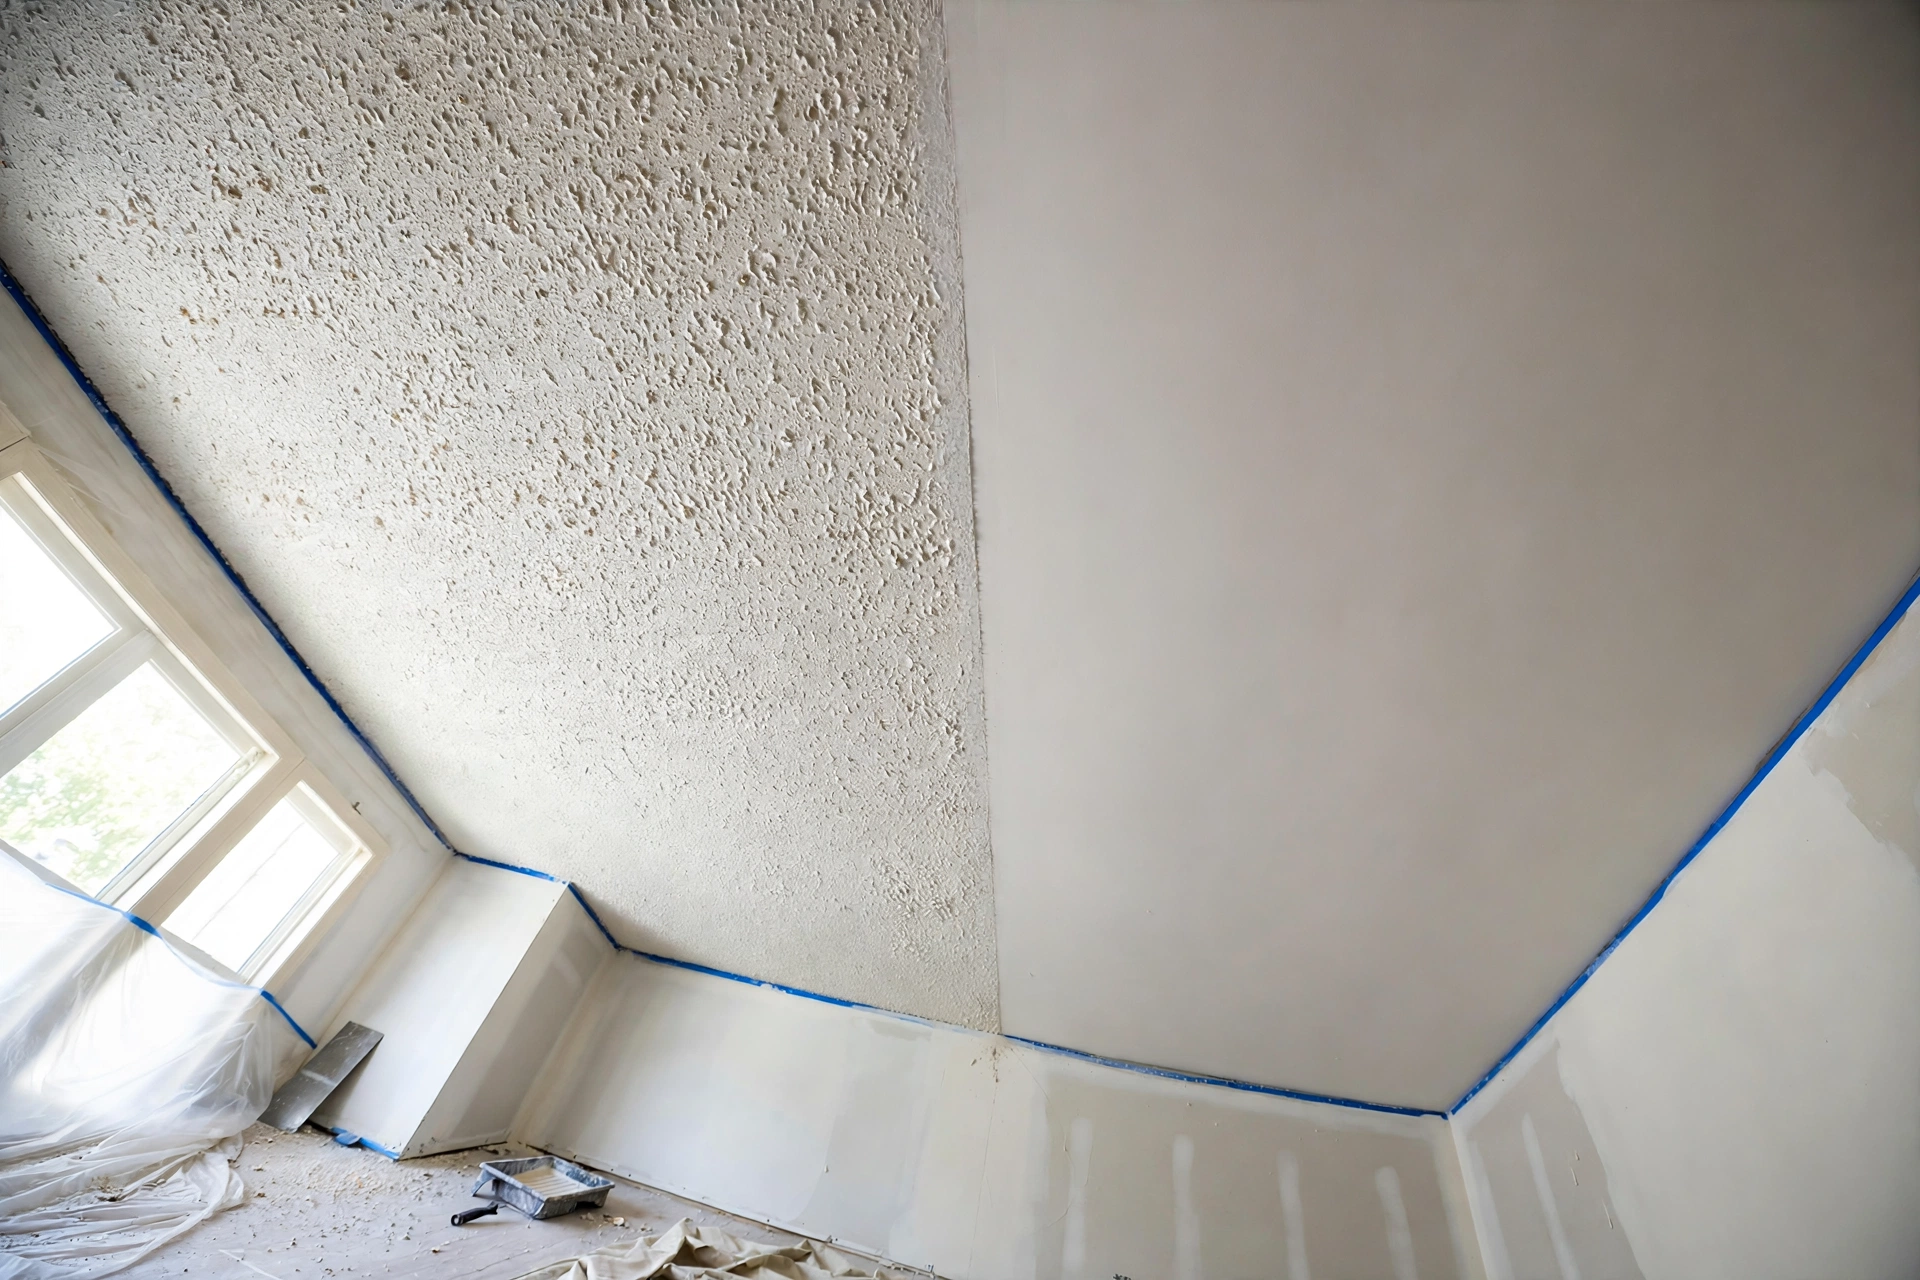
The fastest way to stall a ceiling removal is to wet the whole ceiling at once and then try to scrape it before it dries. Work in sections of about four by four feet, finishing each one completely — mist, wait, scrape, bag the debris — before you move to the next. Small sections keep the texture at exactly the right dampness when the scraper reaches it, and they give you natural stopping points if you need a break. Do one room at a time rather than starting three ceilings at once, so you always have a finished space to show for the effort and the house never feels like a construction site everywhere. Mark your progress with painter’s tape along the edge of the finished area so you never lose track of where you stopped. Slow, sectioned work looks unhurried on paper, but it is the method that actually finishes ceilings.
10. Skim-Coat for a Glass-Smooth Finish
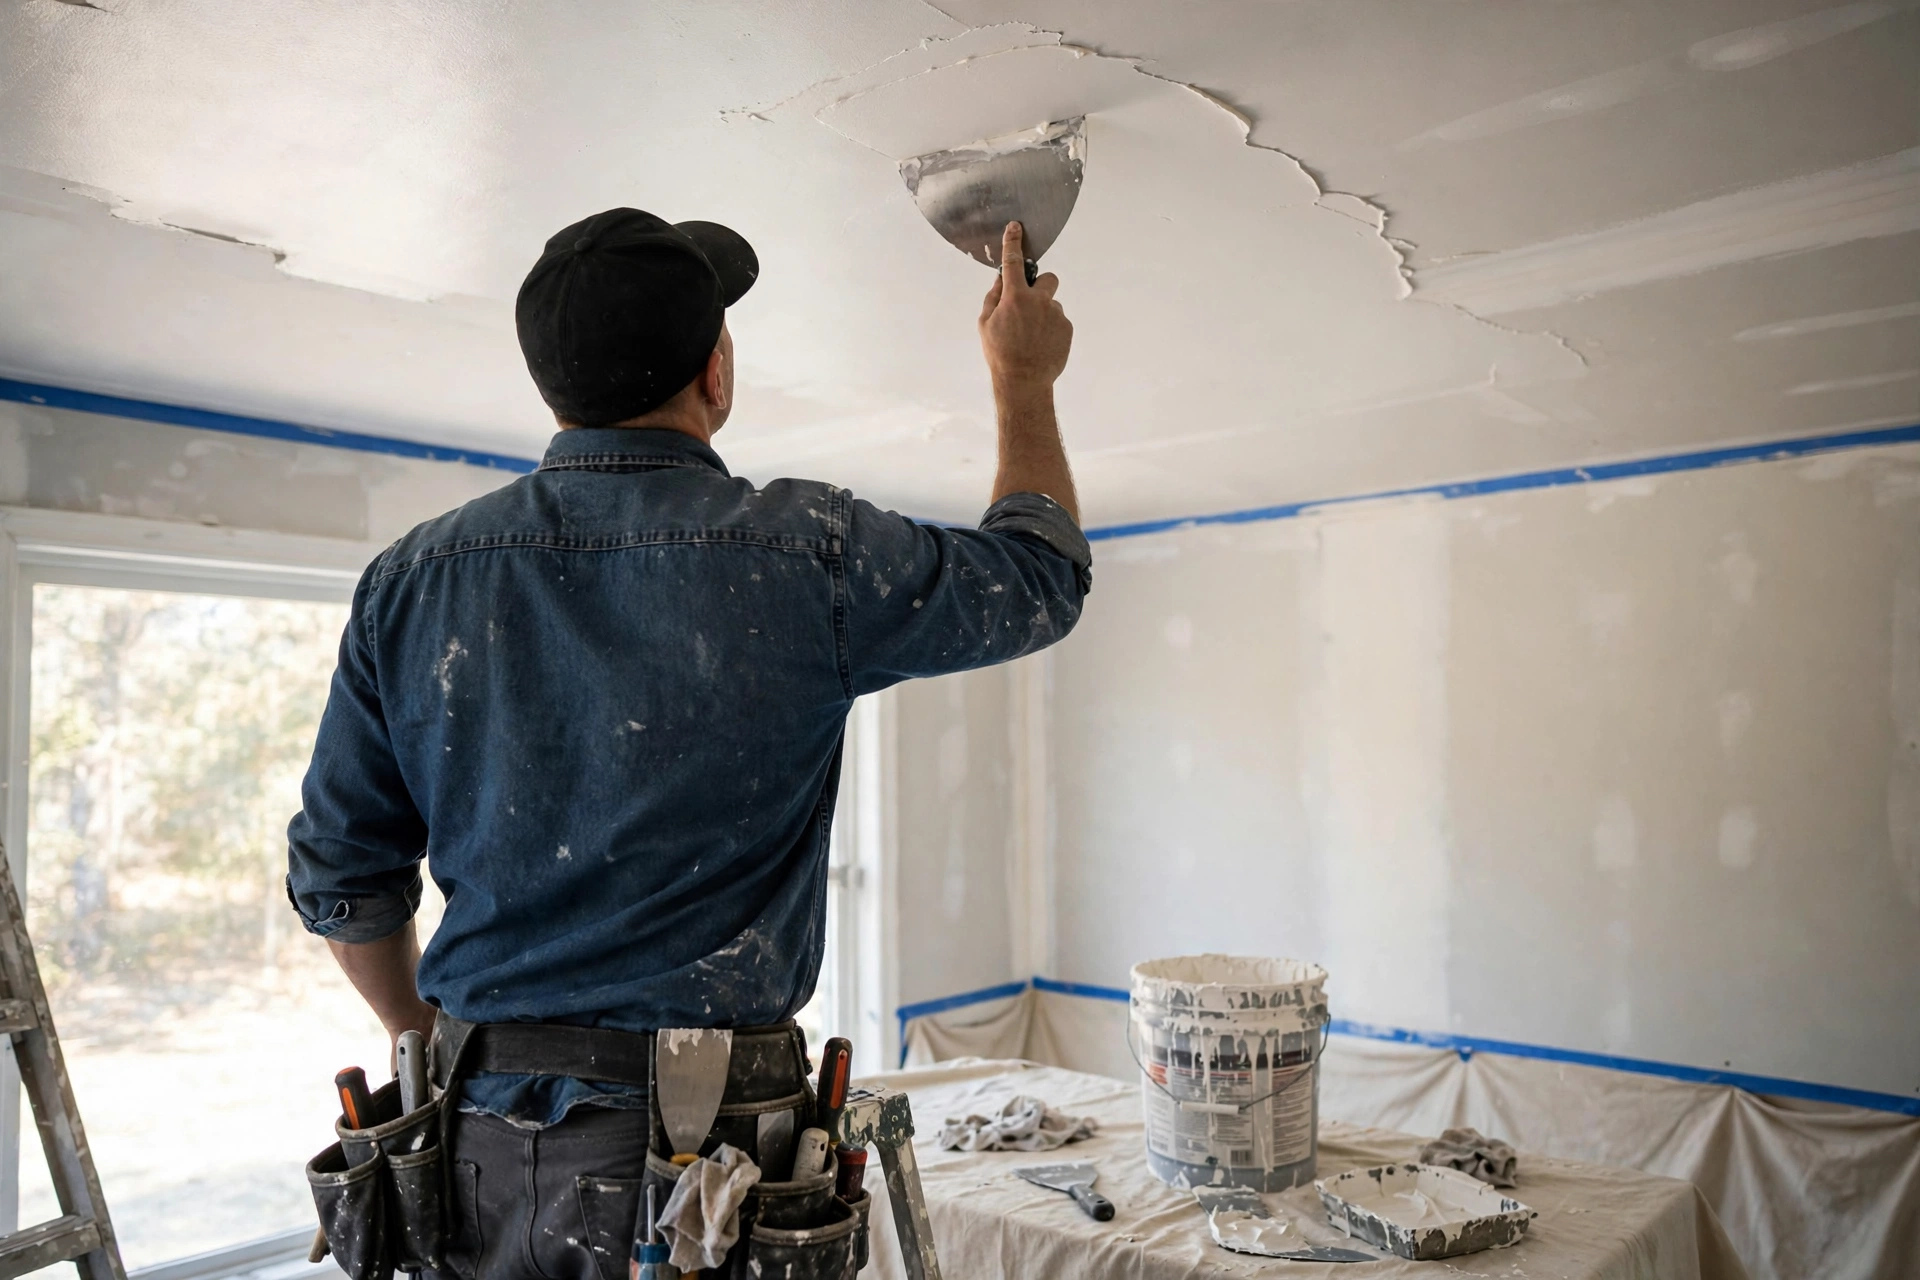
Scraping leaves a ceiling that is flat but not flawless — there will be ridges, small gouges, and ghost patterns where the texture used to be. A skim coat fixes all of it: a thin layer of joint compound spread across the whole ceiling with a wide drywall knife, feathered out so thin you can barely see it go on. Most ceilings need two or three coats, with a light sanding between each, and the first coat always looks worse than the ceiling you started with, which is normal. Keep the compound thin and the knife at a low angle, and work under a bright work light held at an angle so every ridge casts a shadow you can see and fix. It is the slowest step of the project and the one that decides whether the ceiling looks professionally finished or merely scraped. Take your time here — a good skim coat is what makes guests assume you hired someone.
11. Sand and Spot-Repair the Gouges
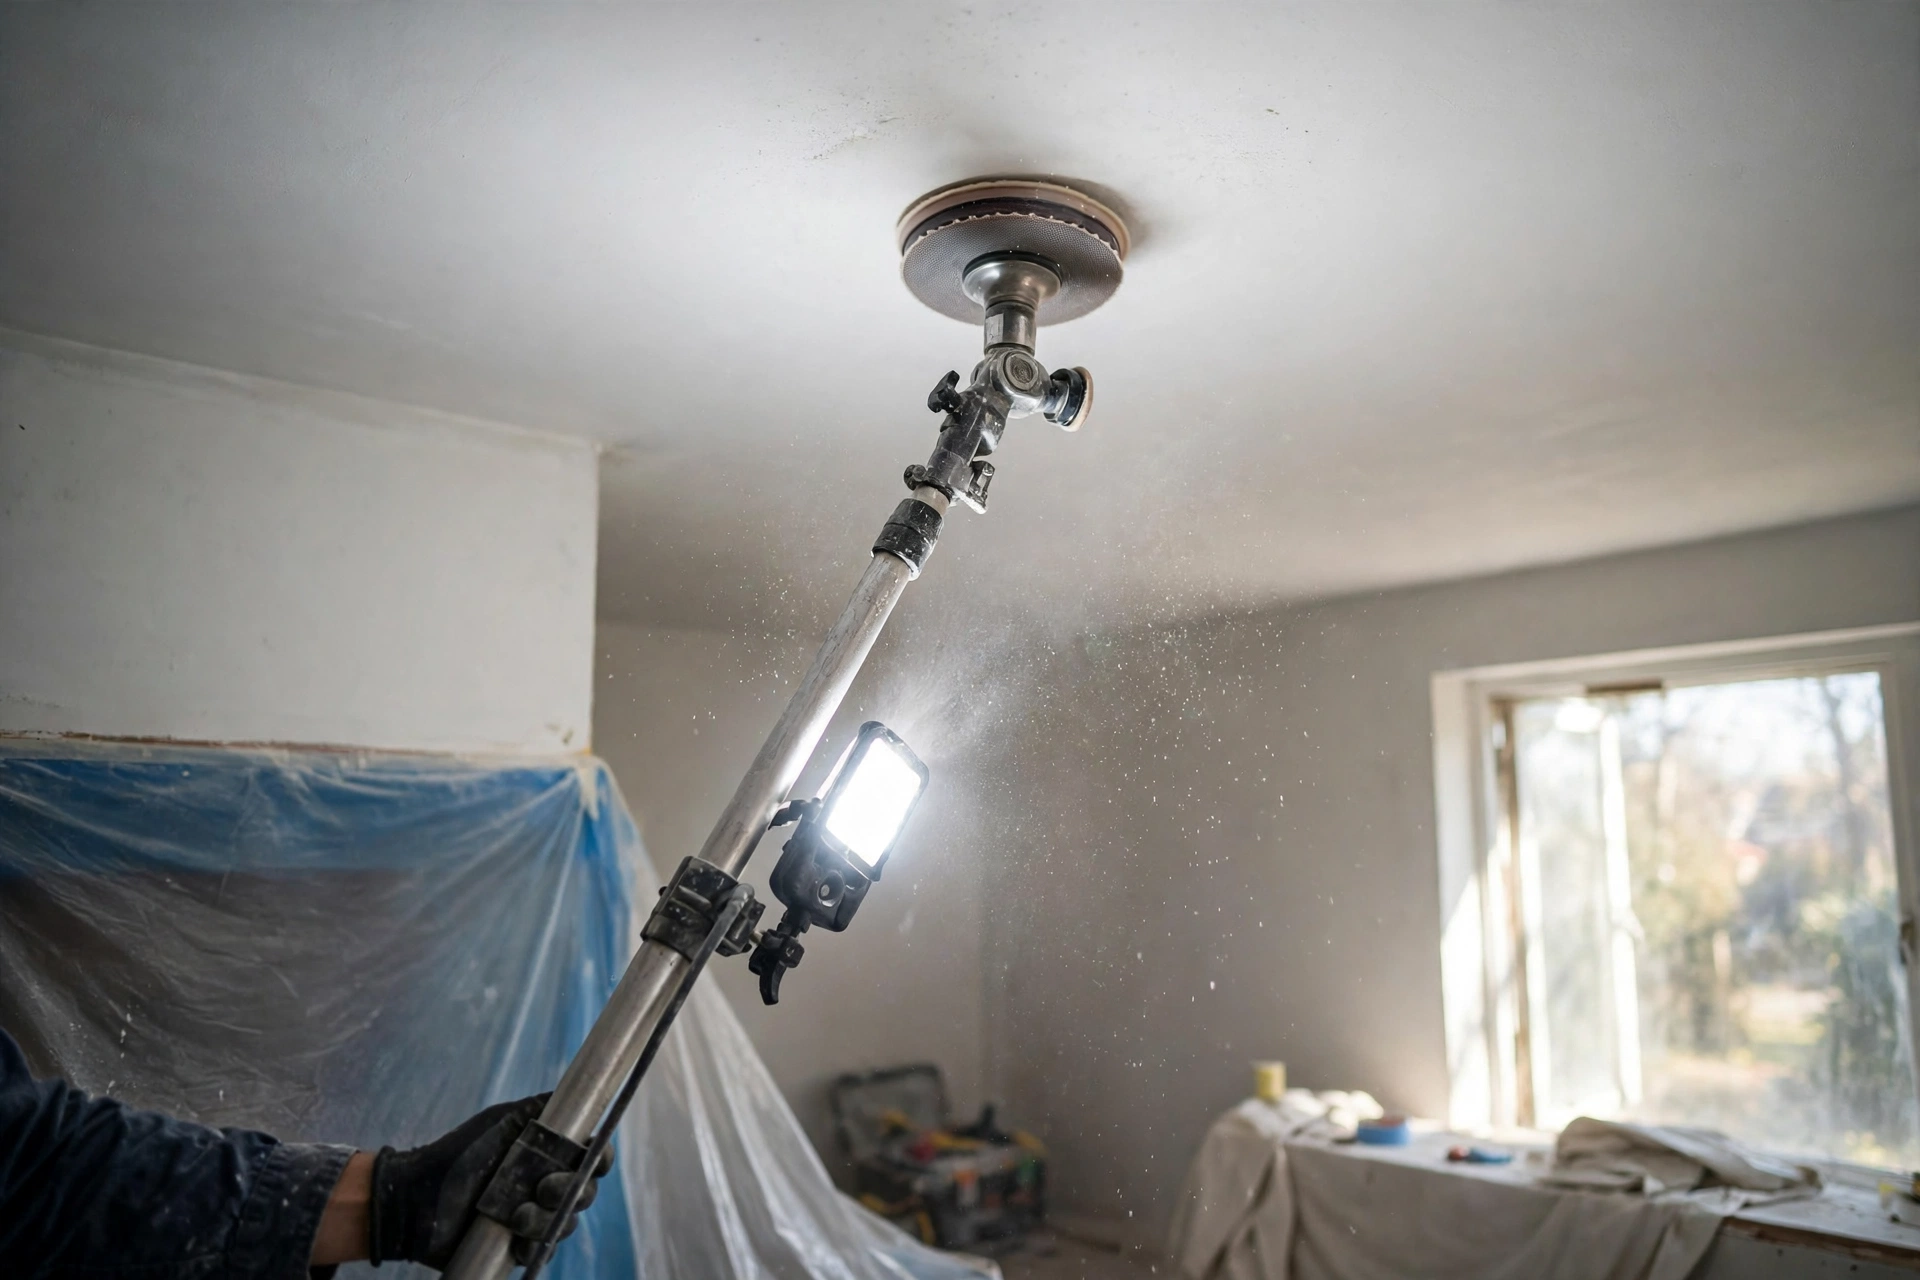
Even a careful scraper leaves a few battle scars — nicks where the blade dug in, low spots where the texture pulled a little drywall paper with it. After the skim coat dries, sand the whole ceiling lightly with a pole sander and fine-grit sandpaper, then walk the room with a work light held flat against the surface to find every flaw the daylight hides. Fill the gouges with a dab of joint compound, let it dry, sand it flush, and repeat until the light shows nothing. Wear your respirator for sanding too — this is the dustiest step of the whole job — and vacuum the ceiling with a brush attachment before priming so no dust sits under the paint. Spot-repair is fussy, unglamorous work, but it is the last ten percent that makes the first ninety percent look good.
12. Cover It With a New Layer of Drywall
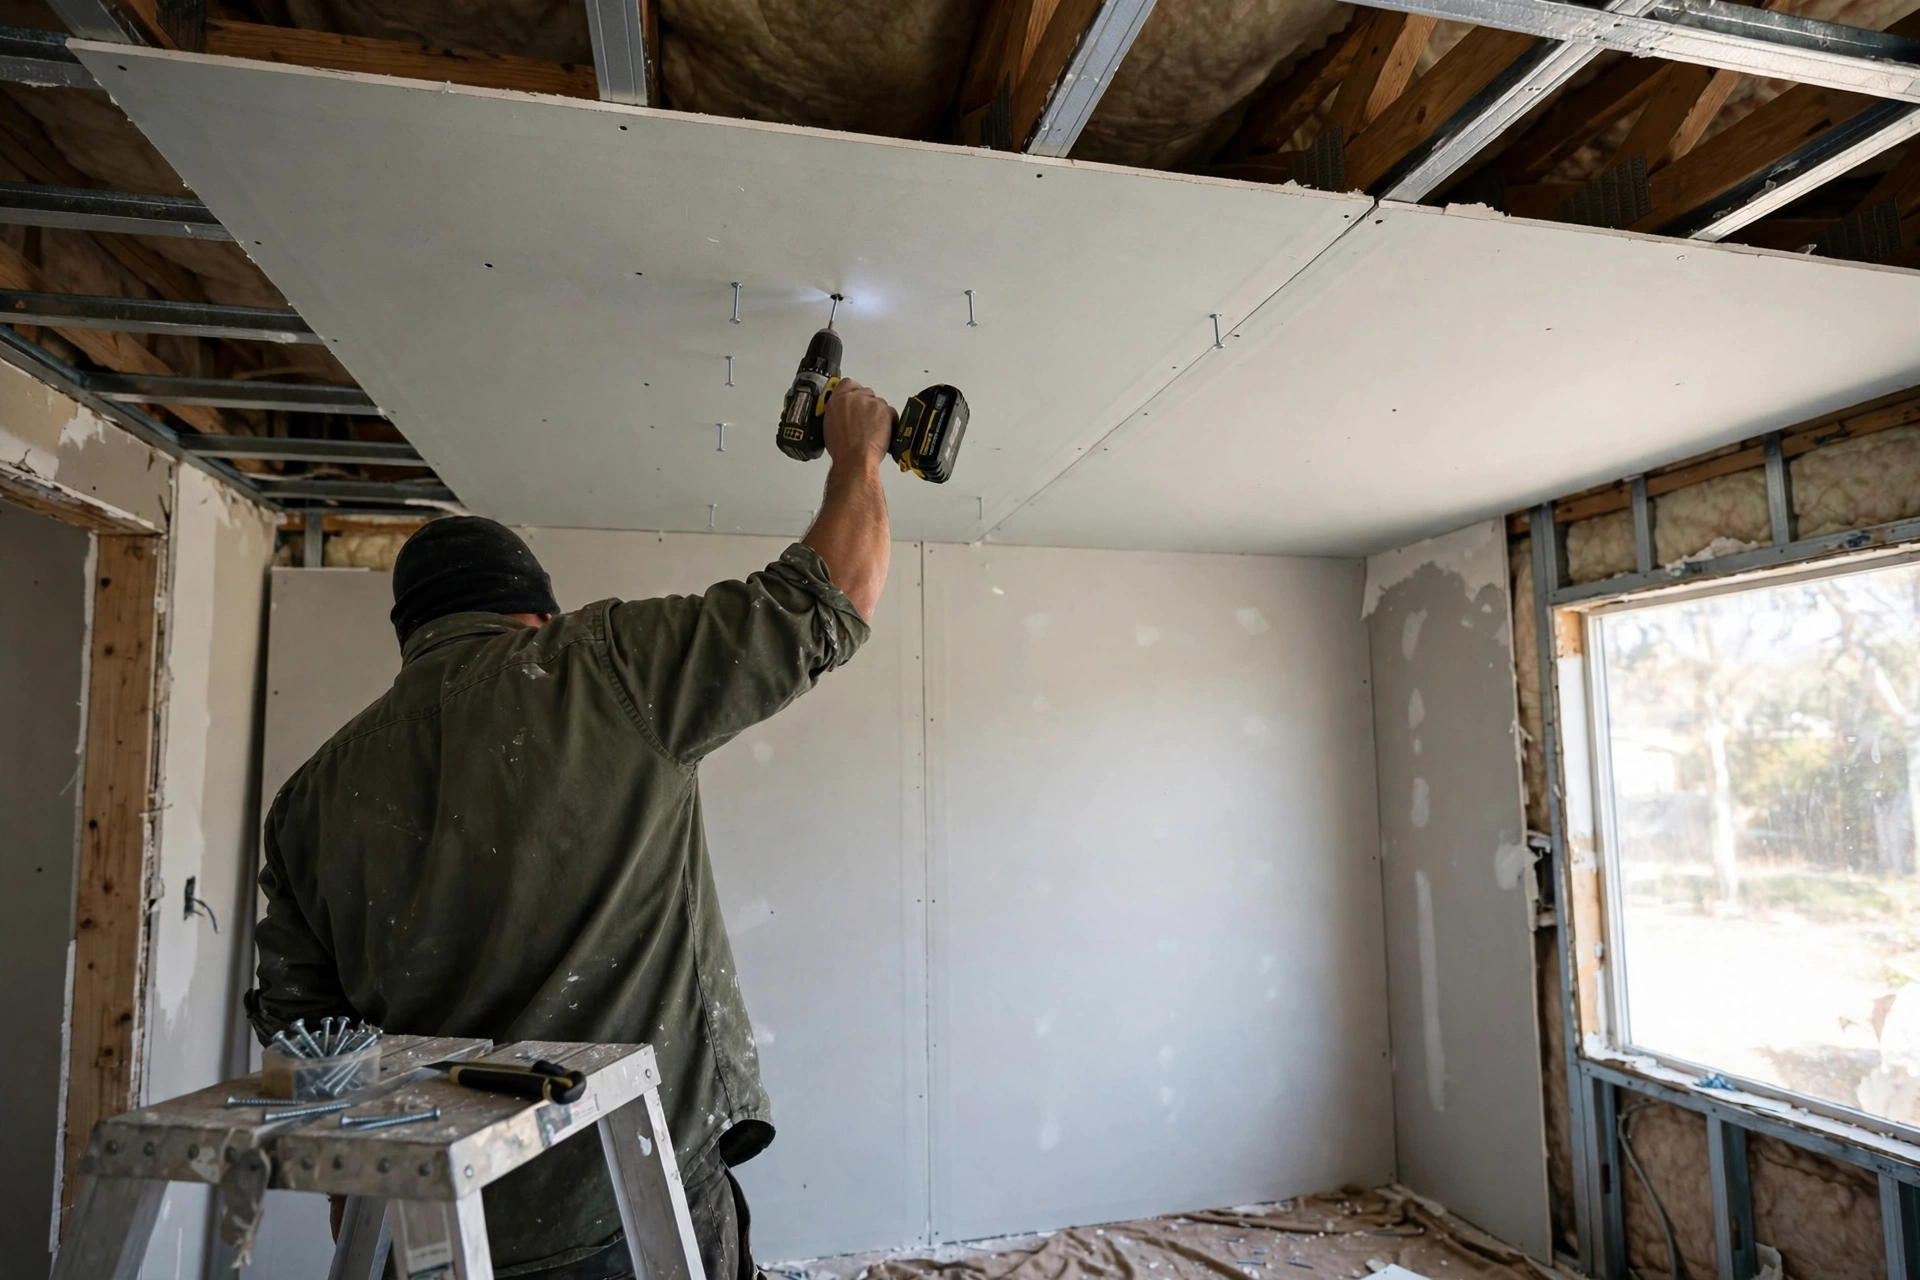
If scraping sounds like a week you do not have, a drywall overlay skips it entirely: screw thin quarter-inch drywall sheets straight over the popcorn ceiling and into the joists, then tape the seams, skim them, and paint. The room loses less than half an inch of height, the mess stays near zero, and the result is a brand-new flat ceiling with no scraping, no dust, and no skim-coating a whole surface. The catch is finding the joists through the texture — a good stud finder and a few test screws will map them — and the edges where the new ceiling meets the walls will need trim or crown molding to look finished. This is also the right answer when the texture is painted, damaged, or hiding asbestos that must stay sealed rather than disturbed. For a big room or a whole house, it is often faster and cheaper than removal.

13. Hide It Under Wood Planks
Wood planks turn a ceiling you want to hide into the best-looking surface in the room. Tongue-and-groove pine, cedar, or reclaimed boards nail straight over the popcorn texture into the joists, so there is no scraping and no dust — and the finished ceiling adds warmth that flat drywall never will. You can run the planks in one direction to stretch a narrow room, or on the diagonal for a more designed feel, and you can leave them natural, whitewash them, or paint them the same color as the walls for a calmer look. Our roundup of cheap wood ceiling ideas has plenty of plank styles and finishes to borrow. Budget for trim around the edges and for a nail gun, which makes the job go three times faster than a hammer. It is the cover-up that does not look like a cover-up at all.

14. Cover It With Shiplap
Shiplap is the farmhouse answer to a popcorn ceiling, and it installs the same way wood planks do: boards screwed or nailed over the texture and into the joists, with the signature small gap between each board doing the decorative work. Painted white, shiplap makes a low room feel taller and a dark room feel brighter, and the clean horizontal lines give the eye something orderly to follow instead of random bumps. It works in bedrooms, living rooms, and kitchens alike, and it hides uneven texture better than flat panels because the gaps break up the surface. Buy the boards pre-primed to save a coat of paint, and rent a brad nailer if you do not own one — the job goes from a weekend to a single day. Add a simple trim board where the shiplap meets the wall and the ceiling looks like it was always meant to be there.

15. Try Beadboard Panels
Beadboard gives you the charm of shiplap with less work and less weight. The panels come in large sheets with the bead pattern already milled in, so you can cover a whole ceiling in a few sheets instead of dozens of boards, and they are light enough to install with construction adhesive plus a few nails into the joists. Painted white, beadboard reads classic and cottagey; painted a soft color, it adds personality without shouting. It is especially kind to old ceilings, because the narrow bead grooves hide small dips and bumps that would show through flat drywall. Cut the panels around light fixtures with a jigsaw, and finish the edges with a slim trim molding. For a bedroom or a porch ceiling, beadboard is the fastest route from dated texture to a ceiling you actually notice — in a good way.
16. Install Decorative Tin Ceiling Tiles
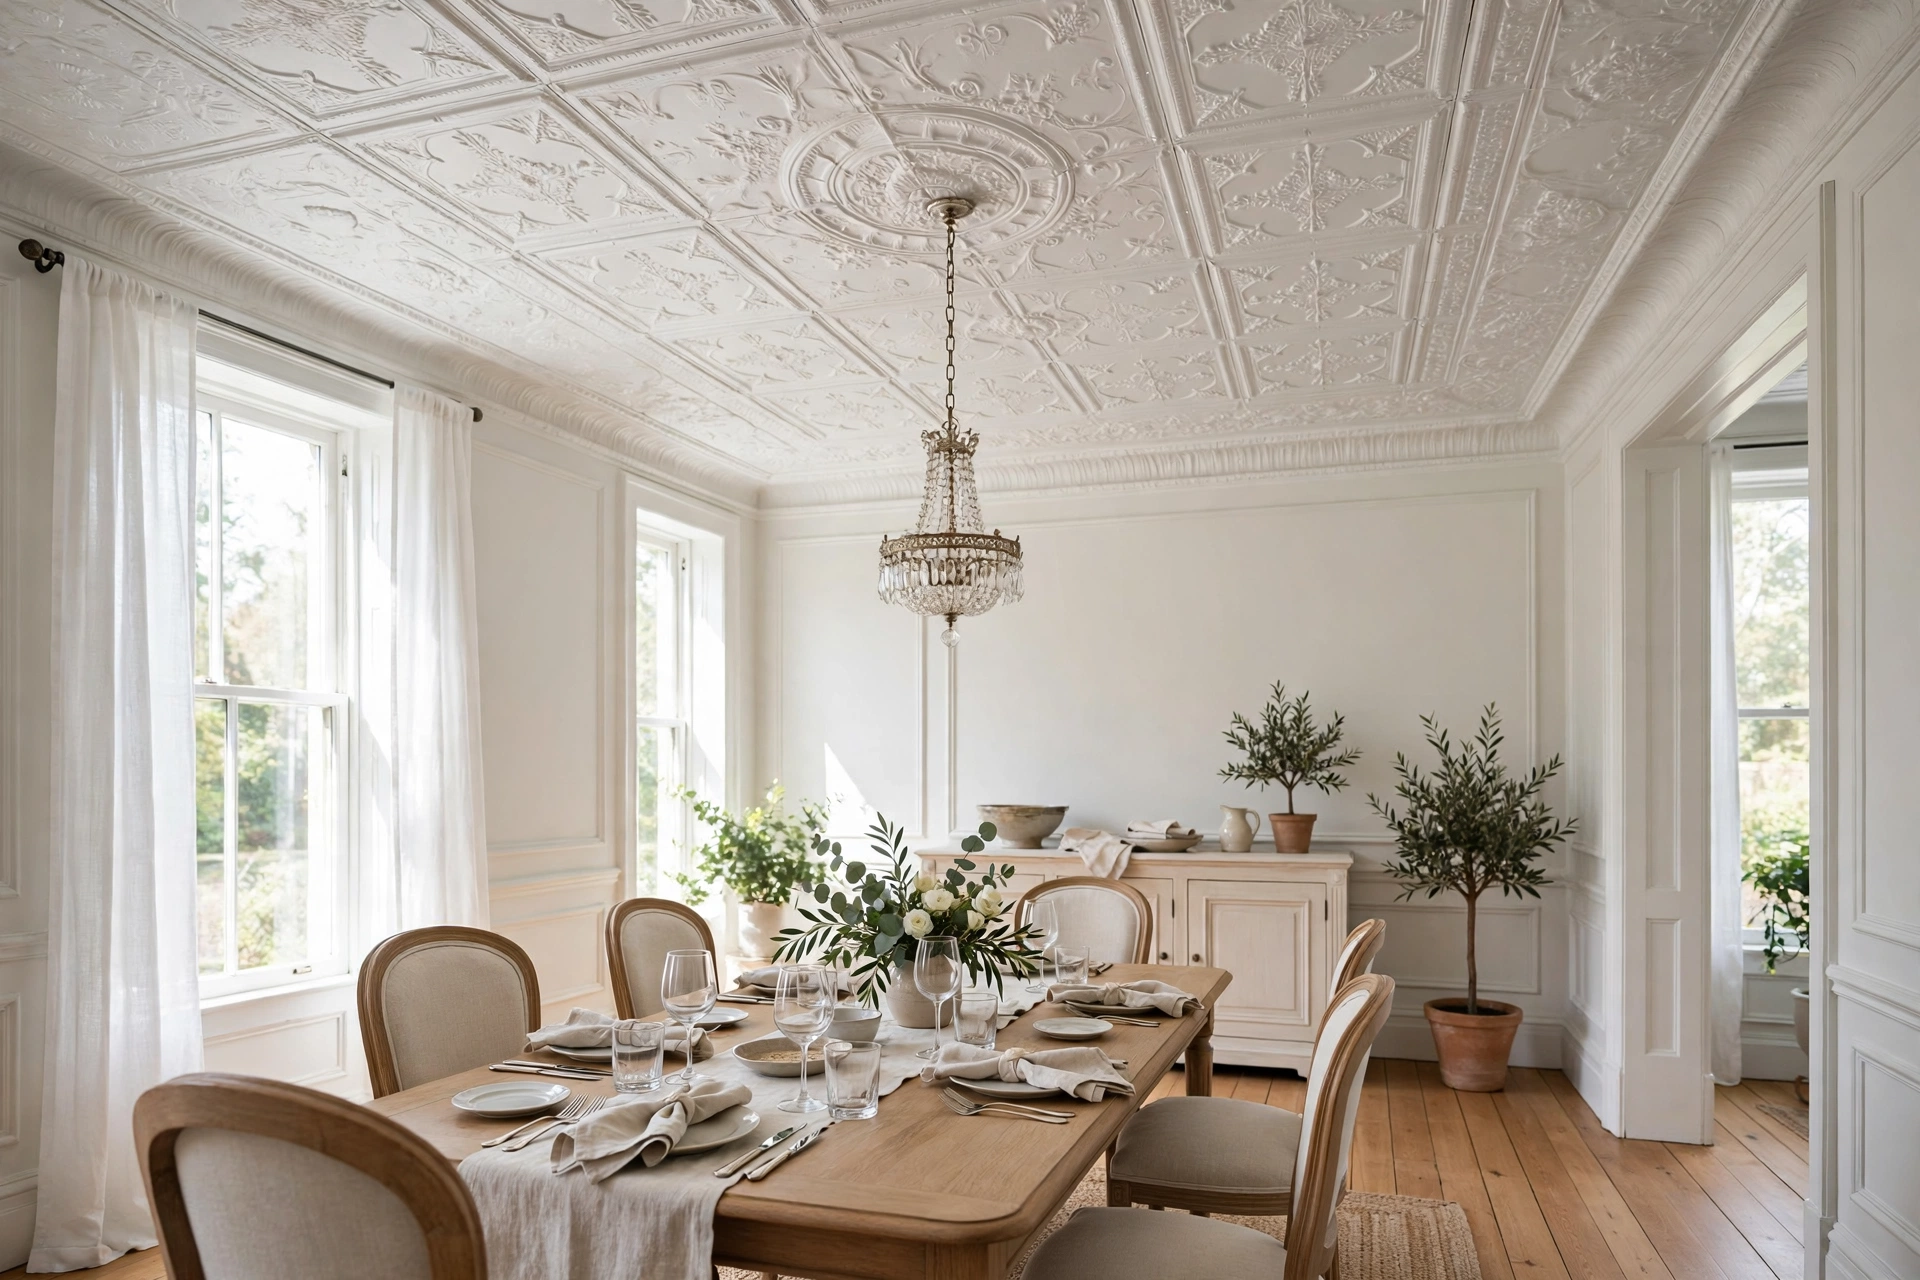
Decorative tin tiles are the boldest cover-up on this list, and they have history on their side — pressed-metal ceilings dressed up homes and shops for over a century. Modern tiles come in lightweight metal or PVC, in patterns from simple squares to ornate Victorian florals, and they glue or nail directly over the popcorn texture. Painted white they look crisp and architectural; painted black or bronze they turn a dining room ceiling into a statement. The tiles are thin, so they cost you almost no headroom, and the pattern itself hides any unevenness in the texture underneath. Plan the layout from the center of the room outward so the cut tiles land evenly at the edges, and use matching trim strips to cover the seams. It is the cover-up for a ceiling you want people to look at.
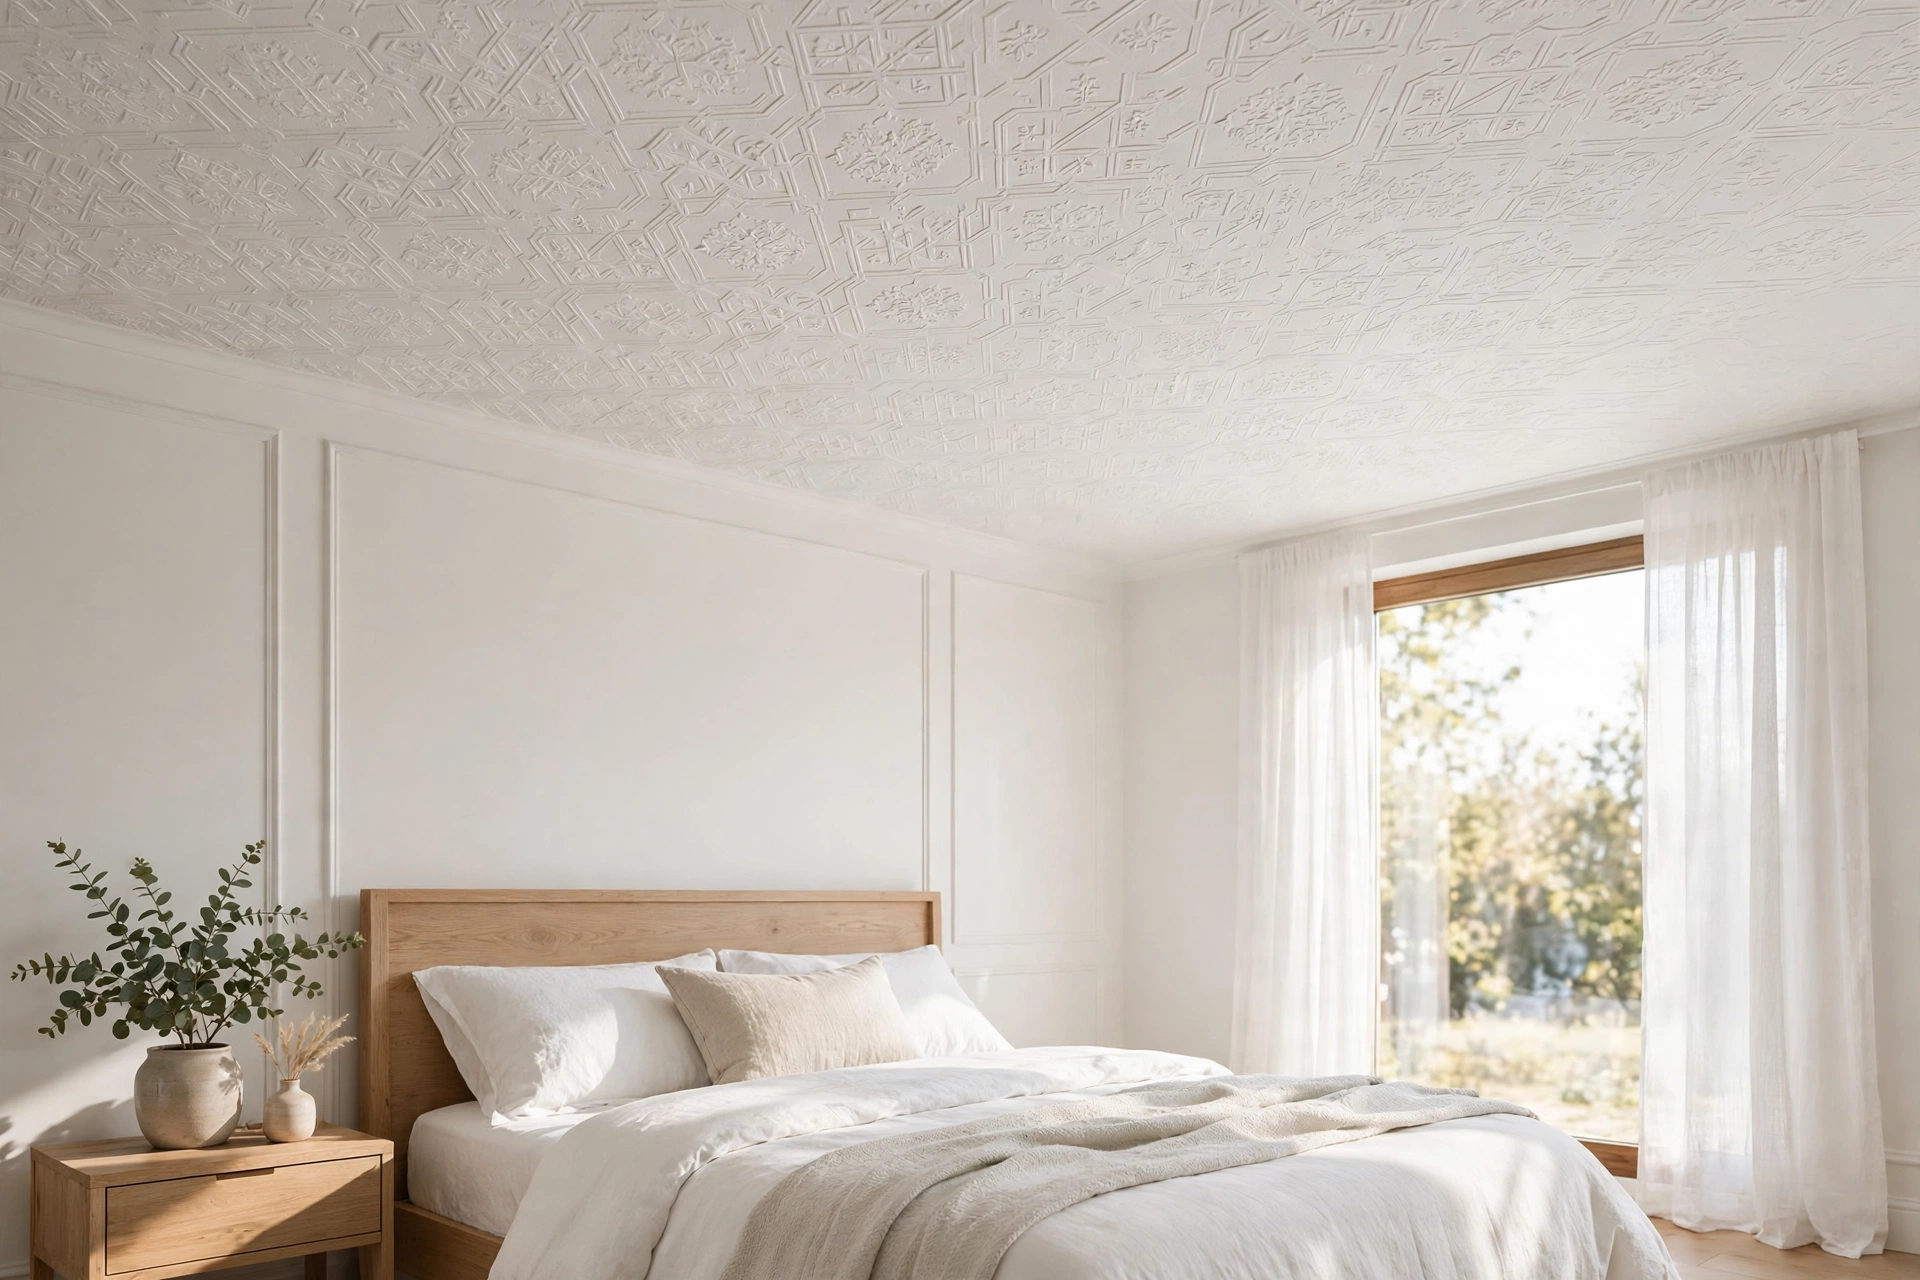
17. Paper Over It With Ceiling Wallpaper
Heavy embossed wallpaper — the paintable kind sold for ceilings — is the most underrated popcorn cover-up there is. The thick paper bridges the bumps instead of following them, and once it is painted, the ceiling reads as a soft, patterned surface rather than a textured one. Choose a subtle pattern for a calm room or a bold geometric for a space that can carry it, and use a heavy-duty paste made for ceiling work so the paper stays put overhead. You will want a second pair of hands for this one: holding a wet sheet of paper above your head while smoothing it flat is a two-person job, and a folding work platform beats a ladder for reaching the middle of the room. Two coats of ceiling paint over the paper, and nobody will guess what is underneath.

18. Stretch a Fabric Ceiling Over It
A stretch fabric ceiling is the renter-friendly cover-up: a track system mounts around the perimeter of the room, and a sheet of fabric or vinyl stretches across it like a drum skin, hiding the popcorn texture completely. There is no dust, no scraping, and no permanent change to the ceiling itself, which makes it ideal for rentals and for rooms where you want to hide wiring, pipes, or stains as well as texture. White fabric keeps the room bright; a warm linen tone softens a stark space; and a printed fabric can turn the ceiling into art. The track hides behind a slim trim, and the whole system comes down cleanly if you move. It is the only option here that leaves the original ceiling untouched, and for some rooms that is exactly the point.

19. Add Faux Beams Over the Texture
Faux wood beams do not cover the whole ceiling — they distract from it, which is sometimes better. A few hollow beams running across the room break the popcorn surface into panels, and the eye reads the beams, not the bumps between them. The beams are light enough to glue and screw into the joists, and they come in finishes from rough reclaimed barnwood to smooth dark walnut, so they suit a farmhouse kitchen as easily as a modern living room. Space them evenly, run them in the direction that makes the room feel longer, and add a matching trim board where each beam meets the wall for a finished look. Pair them with a fresh coat of paint on the texture itself and the ceiling stops being a problem and starts being a feature — the beams get the compliments, and the popcorn just fades into the background.
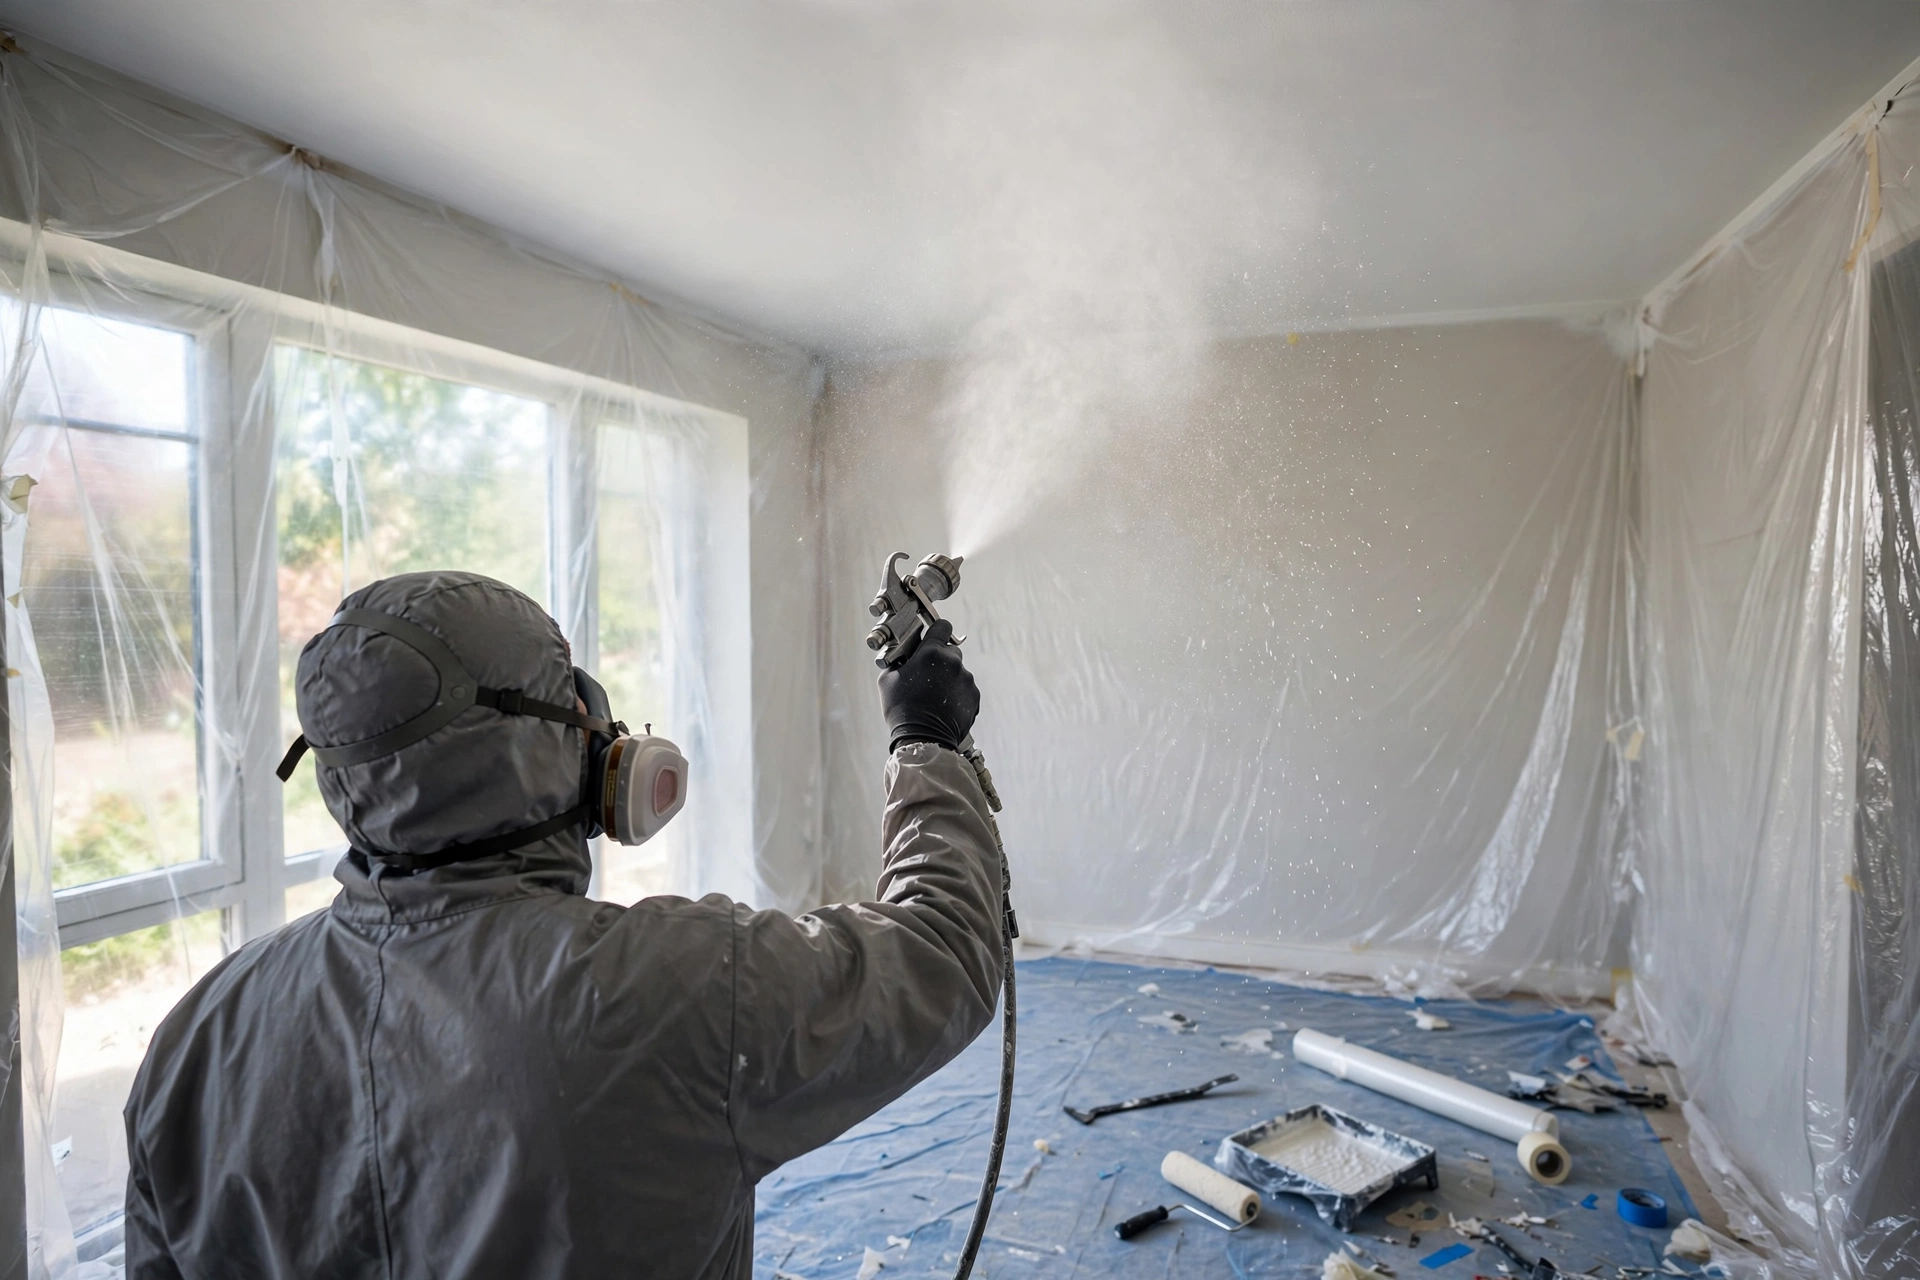
20. Paint It With a Sprayer
If the texture is in good shape and you simply hate the way it looks, a paint sprayer is the fastest way to make it disappear into the background. A sprayer pushes paint into every bump and crevice evenly, which a roller can never quite do, and a whole room takes an hour instead of a day. Rent an airless sprayer, thin the ceiling paint slightly if the manual calls for it, and practice on a piece of cardboard first — the trick is steady, overlapping passes held about a foot from the surface. Mask everything: sprayer mist gets everywhere, so cover the walls, floors, and furniture completely and wear a respirator. Two light coats beat one heavy one, because heavy paint on popcorn texture can soften it and pull it off the ceiling. Done right, a sprayed ceiling looks fresh and intentional, and the texture reads as a subtle finish rather than a flaw.
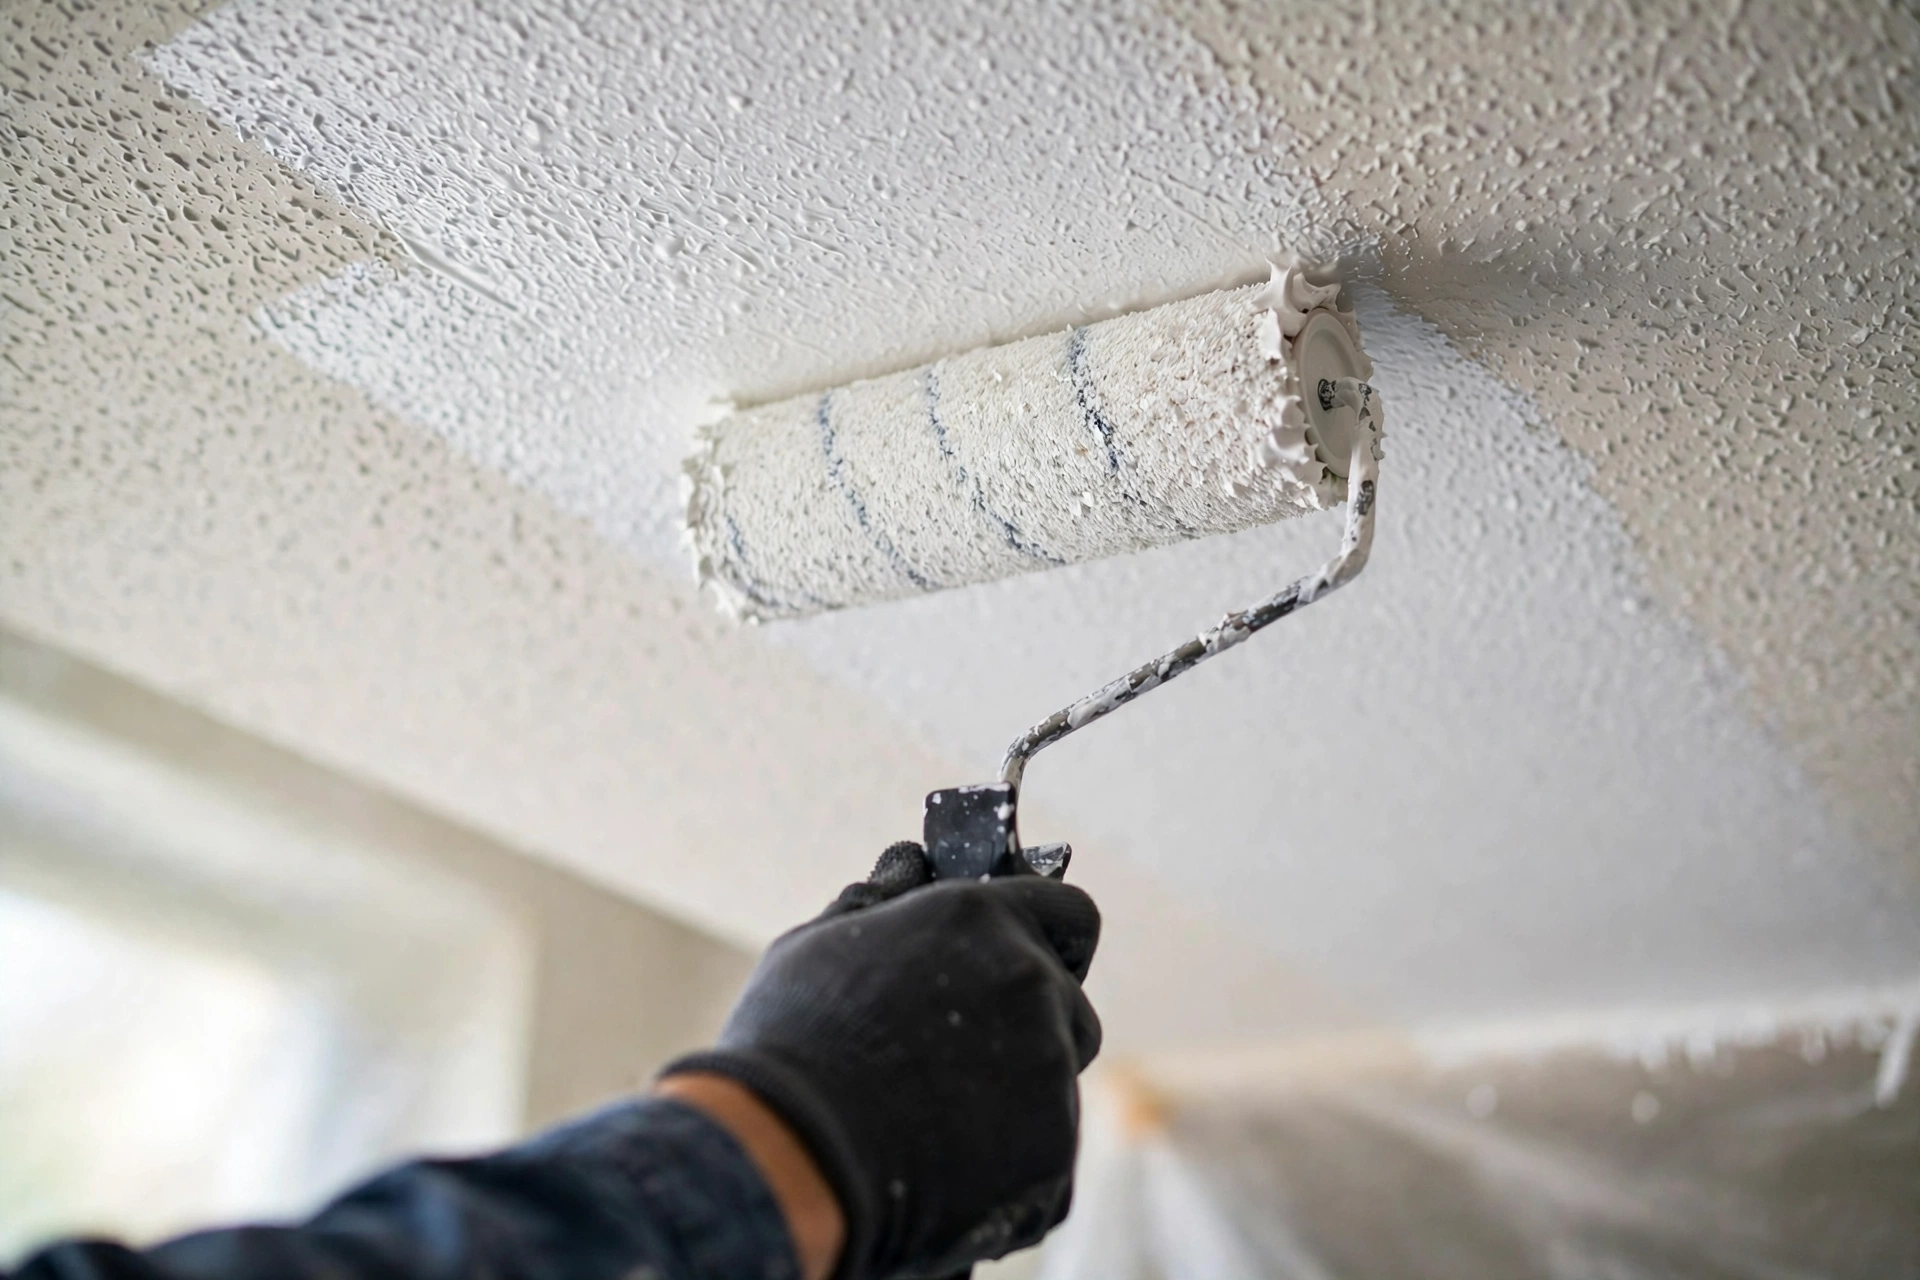
21. Roll It With a Thick-Nap Roller
No sprayer? A thick-nap roller is the classic way to paint a popcorn ceiling, and the nap is the whole secret: a three-quarter-inch nap reaches down into the bumps and coats them fully, where a standard roller just skims the tops and leaves holidays. Load the roller generously, roll in one direction first, then cross-roll the same section while it is still wet so the coverage is even. Work in small areas and keep a wet edge, because ceiling paint dries fast and lap marks show up badly on texture. Use a flat or matte ceiling paint — shine highlights every bump, while flat paint flattens the look — and prime first if the ceiling is stained or has never been painted. It is slower than spraying, but it needs no rental, no masking marathon, and no learning curve, which is why most homeowners still paint their popcorn ceilings this way.

22. Go Bright White to Lift a Low Room
Color is the cheapest renovation a popcorn ceiling can get, and bright white is the most useful one: a flat white ceiling reflects the most light and makes the room feel taller, which matters most in the low-ceiling rooms where popcorn texture is common. The white also makes the bumps less visible, because there are no shadows cast by a darker color to emphasize them. Choose a true ceiling white rather than the wall color carried up — ceiling paint is formulated flatter and brighter for exactly this reason — and give it two coats so the old yellowing disappears completely. If the room still feels low after the ceiling is white, paint the top few inches of the wall the same white to blur the line where wall meets ceiling. Our roundup of brilliant basement ceiling ideas has more tricks for low ceilings that pair well with this one. It is a one-afternoon change with an outsized payoff.

23. Make It a Bold Color Ceiling
The opposite move works too: instead of hiding the texture, own it with a bold ceiling color. A deep navy, forest green, or charcoal ceiling turns the popcorn texture into a deliberate surface, and in a room with white walls the contrast looks designed rather than dated. The trick is commitment — a timid mid-tone reads as a mistake, while a rich, saturated color reads as a choice. Paint the ceiling first, then cut in the walls, and use a flat or matte finish so the color stays soft and does not throw glare. This works best in rooms with good natural light and at least one strong feature — a fireplace, a big window, a dark floor — that anchors the drama. It is the idea for a ceiling you were going to live with anyway, and it costs exactly one can of paint to try.

24. Color-Drench the Whole Room
Color-drenching — painting the walls, ceiling, and trim all in one color — is the boldest way to make a popcorn ceiling vanish, because with no contrast at the ceiling line the eye stops registering where the wall ends and the texture begins. A soft warm white drench makes a small room feel calm and seamless; a deep green or moody blue drench makes a bedroom feel cocoon-like and expensive. The texture actually helps here, because the same color on a bumpy surface reads slightly different from the same color on a flat wall, which adds a subtle depth the eye enjoys. Use the same sheen throughout or go one step flatter on the ceiling, and carry the color onto the doors for the full effect. It is a one-color commitment, but it erases the ceiling problem entirely without touching the texture.

25. Frame the Finished Ceiling With Crown Molding
Whatever path you chose — scraped smooth, covered with planks, or freshly painted — crown molding is the finishing touch that makes it look professional. The molding hides the edge where the new ceiling meets the wall, which is exactly where DIY ceilings show their seams, gaps, and uneven cuts. Choose a simple profile for a modern room or a layered build-up for a traditional one, paint it the same white as the ceiling so the room reads taller, and cope the inside corners rather than mitering them for joints that stay tight as the house moves. Install it after the ceiling work is done and the paint is dry, and caulk the top and bottom edges for a seamless line. It is a half-day job that covers a multitude of small sins and makes the whole ceiling look like it was planned that way from the start.
Frequently Asked Questions
Is it safe to remove a popcorn ceiling yourself?
Yes, if the ceiling has tested negative for asbestos and you wear the right gear — a fitted respirator, sealed goggles, coveralls, and gloves — and seal the room before you start. If the test is positive, do not remove it yourself; hire a licensed abatement contractor. The danger is not the scraping itself, it is breathing the dust, so the test and the protective gear are what make the job safe.
How do I know if my popcorn ceiling has asbestos?
You cannot tell by looking. Ceilings installed before the 1980s are the ones at risk, but the only way to know is a laboratory test of a small sample. Mail-in test kits are available, or a local professional can take the sample for you. Never sand, scrape, or drill the texture to take a sample yourself unless the kit instructions specifically tell you how to do it safely.
Can you paint over a popcorn ceiling?
Yes, and it is the cheapest way to update one. Use a paint sprayer for the most even coverage, or a thick-nap roller with a three-quarter-inch nap if you are rolling by hand. Choose a flat or matte ceiling paint, prime first if the ceiling is stained or has never been painted, and apply two light coats rather than one heavy one, which can soften the texture and pull it loose.
Can I cover a popcorn ceiling with drywall?
Yes. Thin quarter-inch drywall sheets screw straight over the texture and into the ceiling joists, then the seams are taped, skimmed, and painted like any new ceiling. You lose less than half an inch of height, there is almost no mess, and it is the right answer when the texture is painted, damaged, or must stay sealed rather than disturbed.
What is the cheapest way to update a popcorn ceiling?
Painting is the cheapest — a can or two of ceiling paint and a thick-nap roller. After that, beadboard panels and ceiling wallpaper are the lowest-cost cover-ups, because they install fast with basic tools. Removal is the most expensive in time rather than money, and a drywall overlay or wood planks sit in the middle on materials but save days of labor.
How long does popcorn ceiling removal take?
A single average room usually takes a weekend for a DIYer: a day to scrape, and another day for skim coating, sanding, priming, and painting, with drying time between coats. Painted texture, high ceilings, and large rooms all add time, and the skim coat is the step most people underestimate. If the whole house needs doing, a professional crew can often finish in a couple of days.
Conclusion
A popcorn ceiling is not a life sentence — it is a decision with three good answers. If you want it gone, test it, seal the room, and wet-scrape it off, then skim-coat and paint for a ceiling that looks brand new. If you want it hidden, cover it with drywall, wood planks, shiplap, beadboard, or tin tiles, and let the new surface do the talking. And if you want the fastest win, paint it — bright white to lift the room, a bold color to own the texture, or a full color-drench that erases the ceiling line altogether. Whichever path you pick, start with the asbestos test, respect the dust, and finish with the details: a good skim coat, two coats of paint, and a run of crown molding. The ceiling you have been avoiding will be the one you stop noticing — and that is exactly the point.