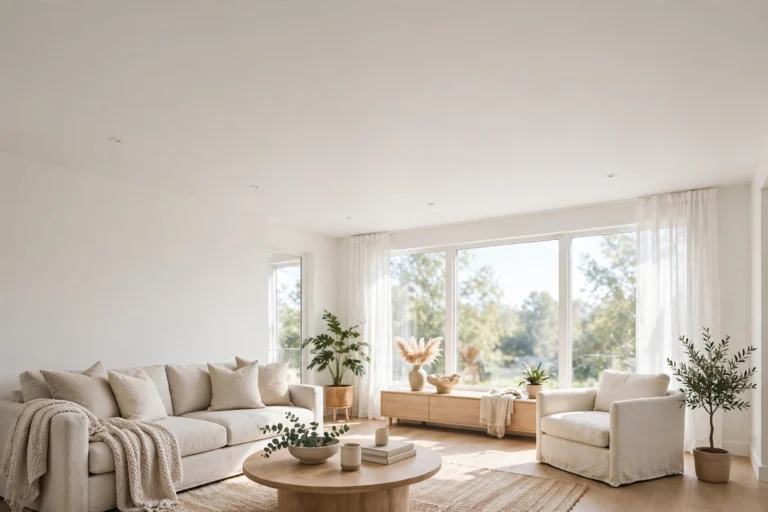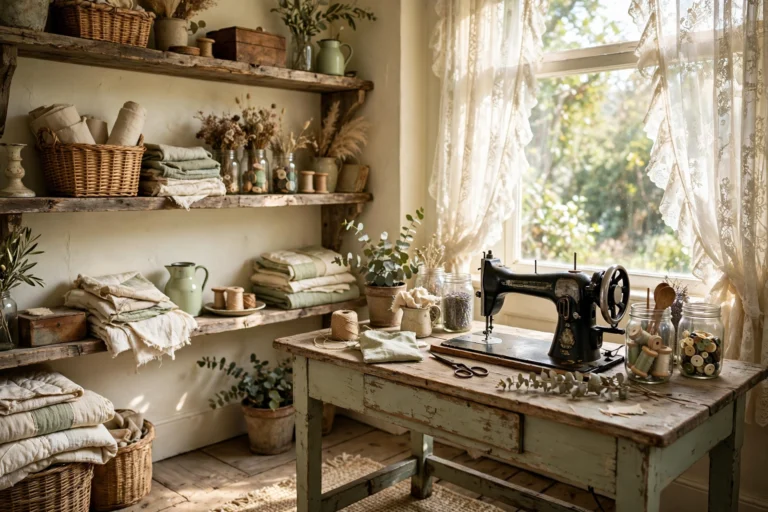
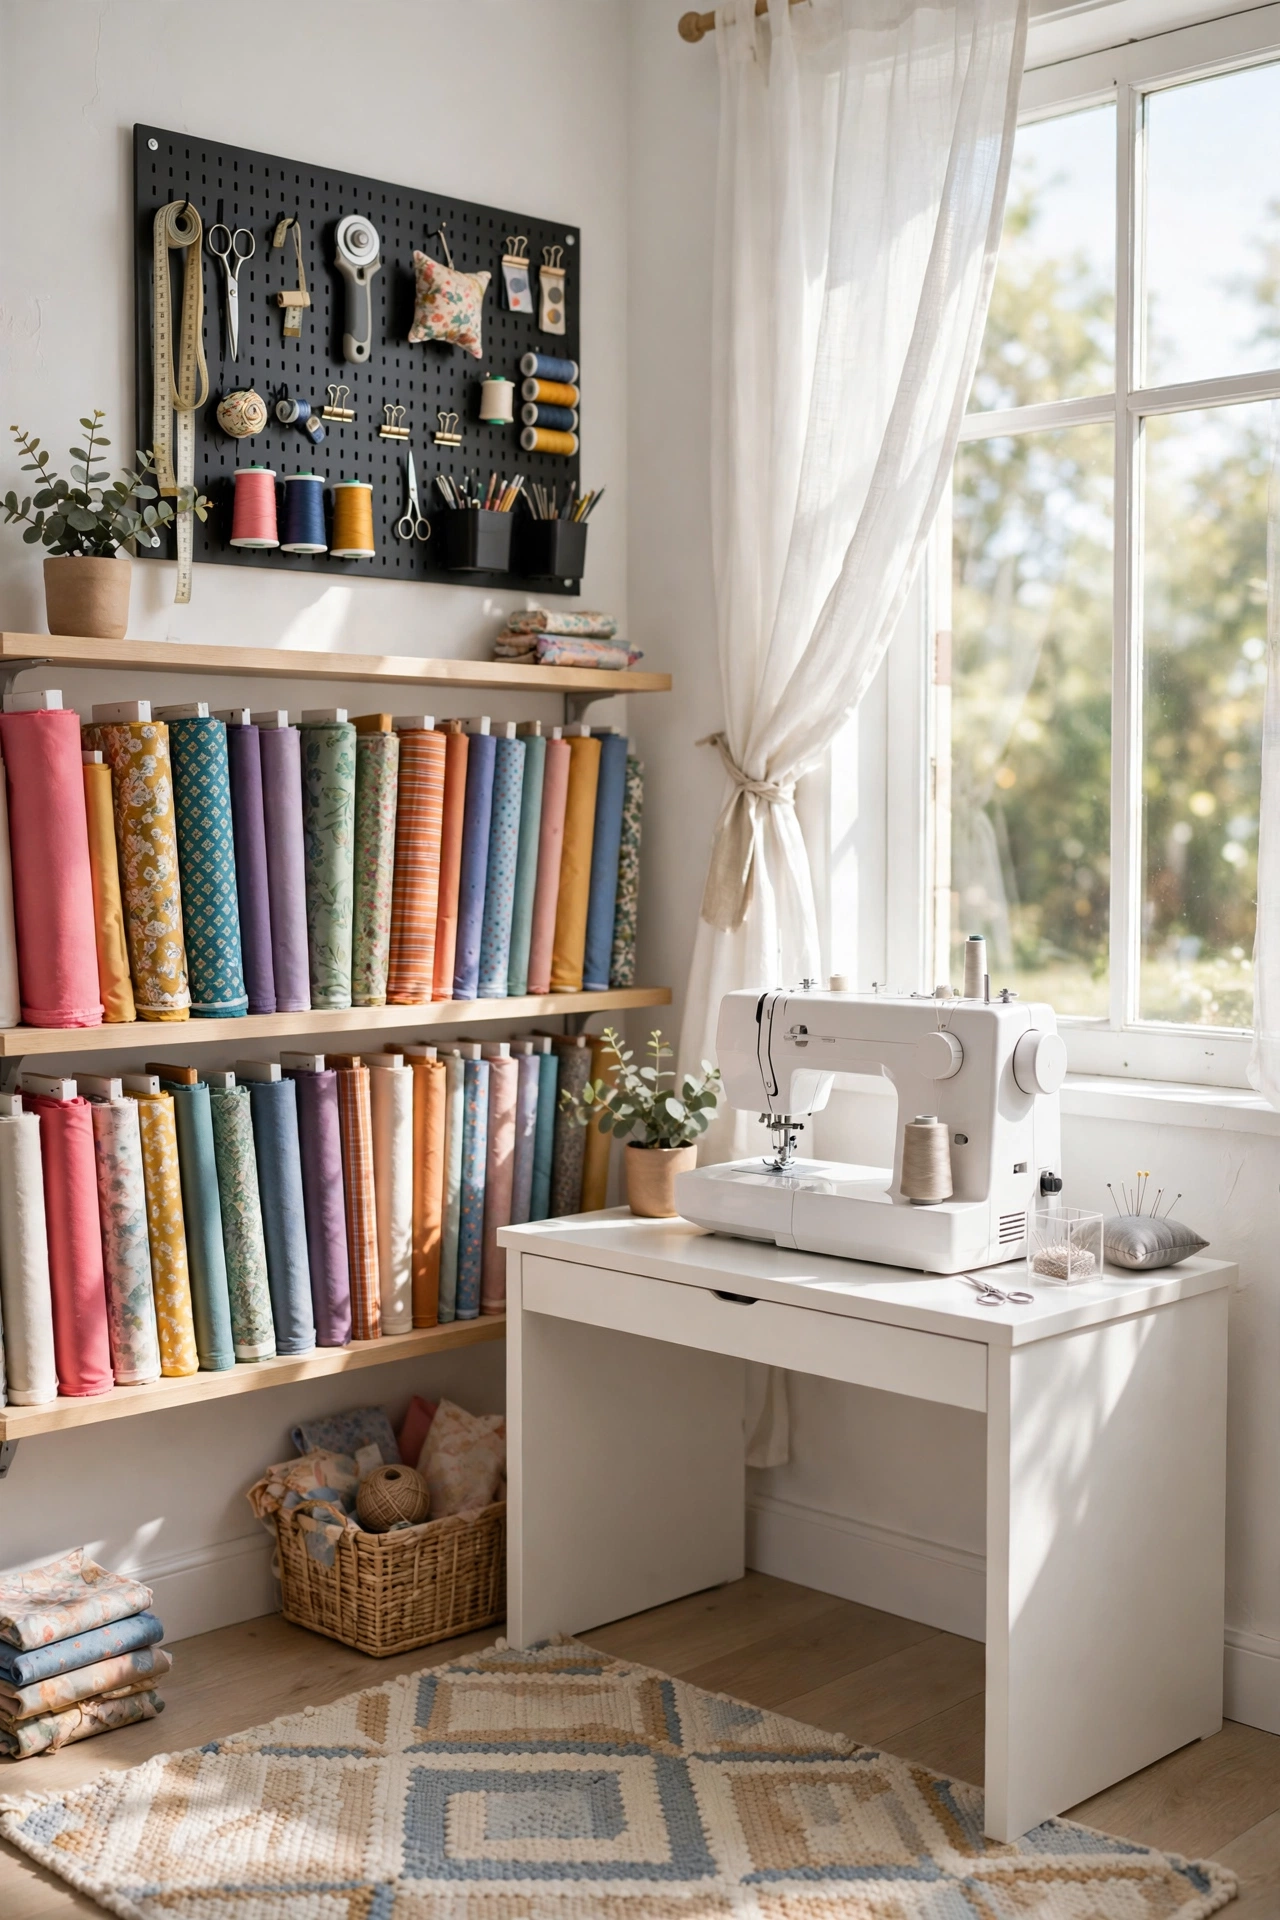
21 Small Sewing Room Ideas That Make Every Inch Count
21 Small Sewing Room Ideas That Make Every Inch Count
A small sewing room is not a problem to solve — it is a workflow to design. Most sewing happens in three moves: cut, sew, press. When those three stations are cramped into one cluttered table, every project turns into a shuffle of fabric piles, lost scissors, and cleared surfaces. When they are arranged as a tight triangle with storage going up the walls instead of across the floor, even a spare bedroom corner or a converted closet can sew like a studio. The 21 ideas in this guide cover the whole system: layouts that fit tiny rooms, cutting and pressing setups that fold away, wall and hidden storage for fabric and notions, light that lets you see true colors, and habits that keep the room usable. Every idea works on its own, and together they turn a small space into a sewing room you actually want to sit down in.
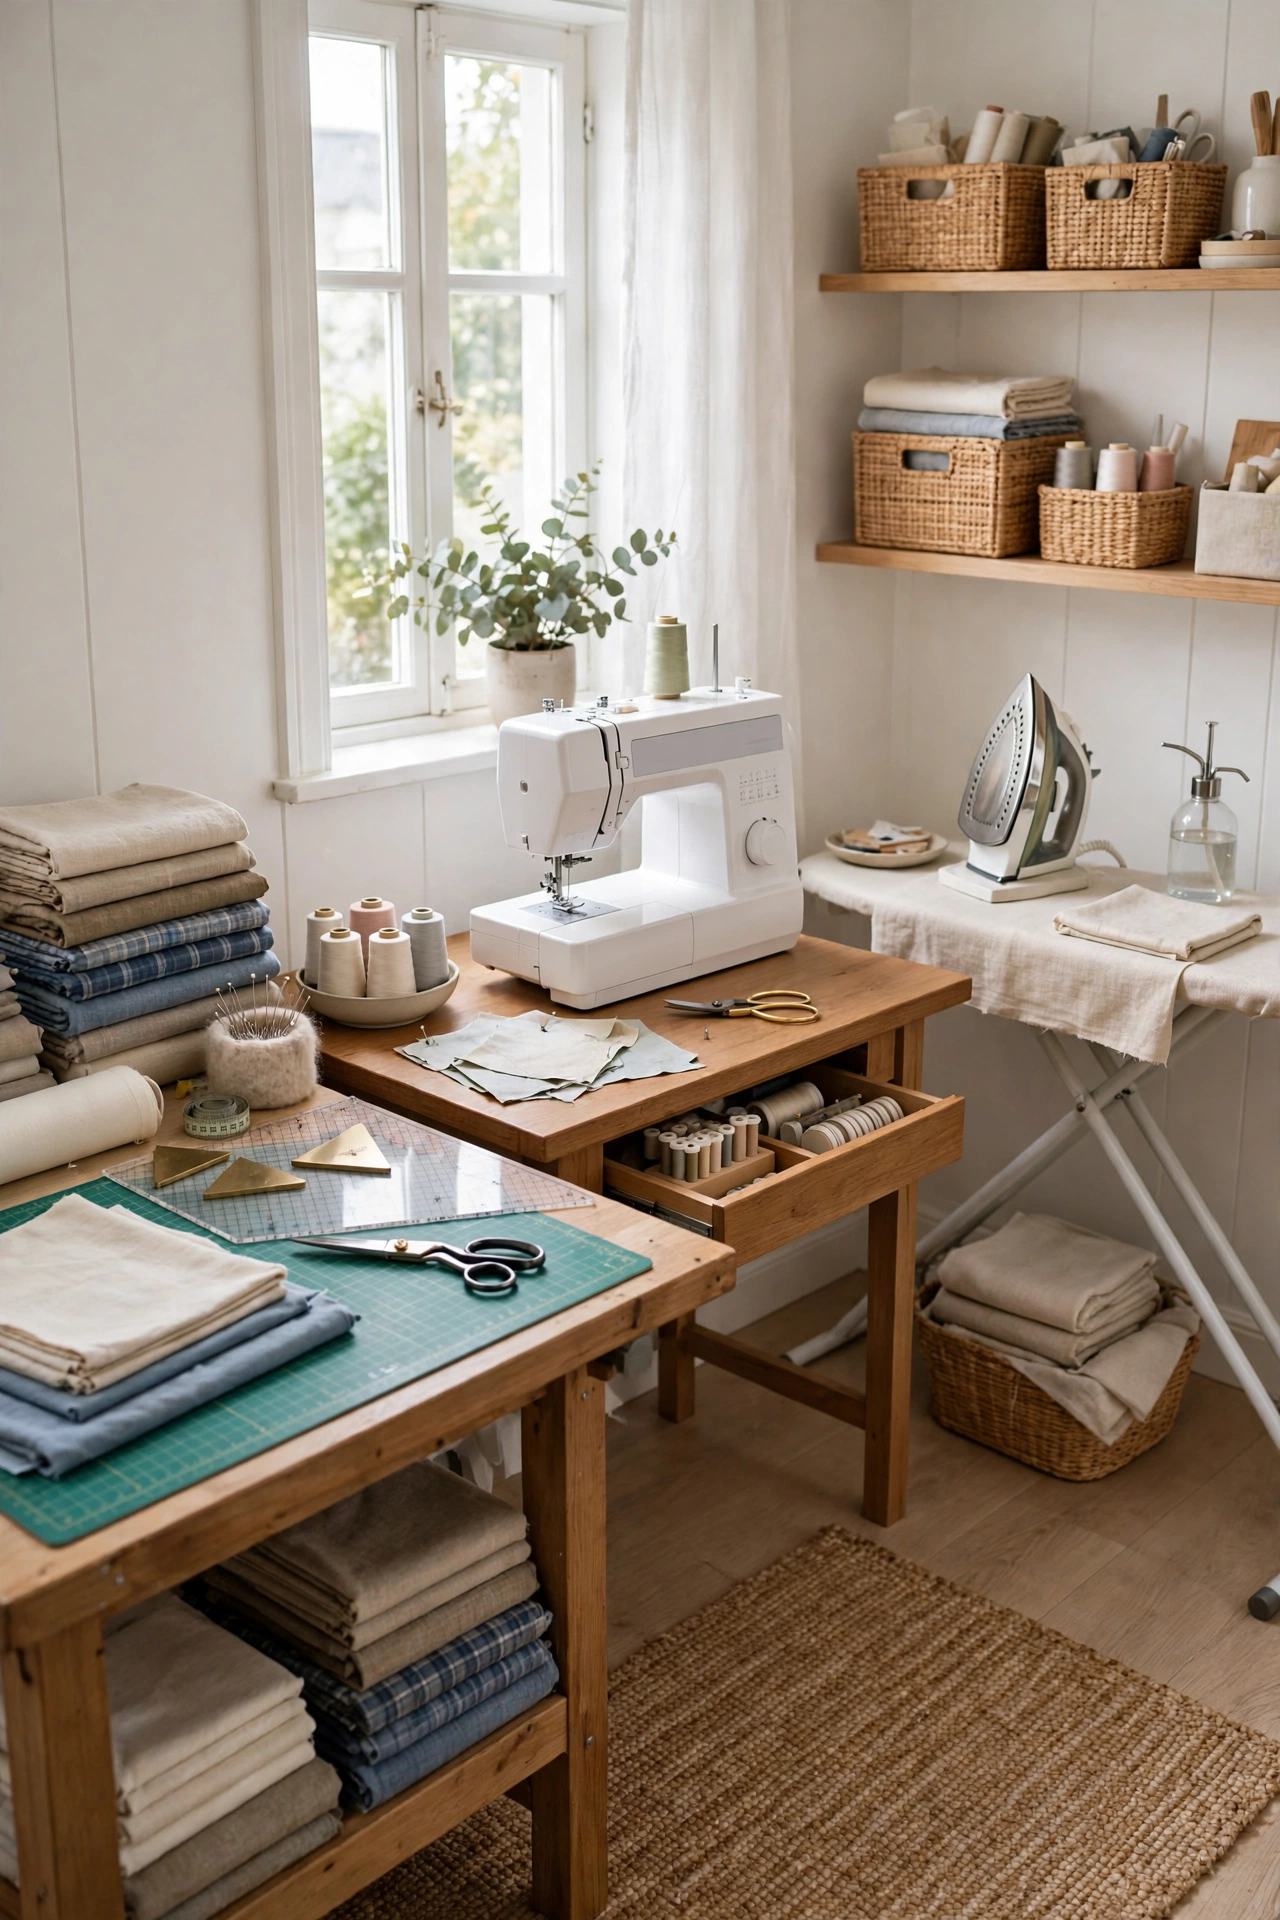
1. Zone the Room Before You Buy Anything
The first move in a small sewing room costs nothing: divide the space into three zones — cutting, sewing, and pressing — before a single piece of furniture arrives. In a room this size, zoning is more important than furniture, because it decides how far you walk between tasks. Put the cutting surface on one wall, the machine on the next, and the pressing station close enough to reach without crossing the room. Even in a room barely bigger than a closet, three small territories beat one crowded table. Sketch the triangle on paper first, measure the walking gaps, and only then decide what to buy. A room planned around the work you actually do feels twice as big as a room planned around the furniture you happen to own.
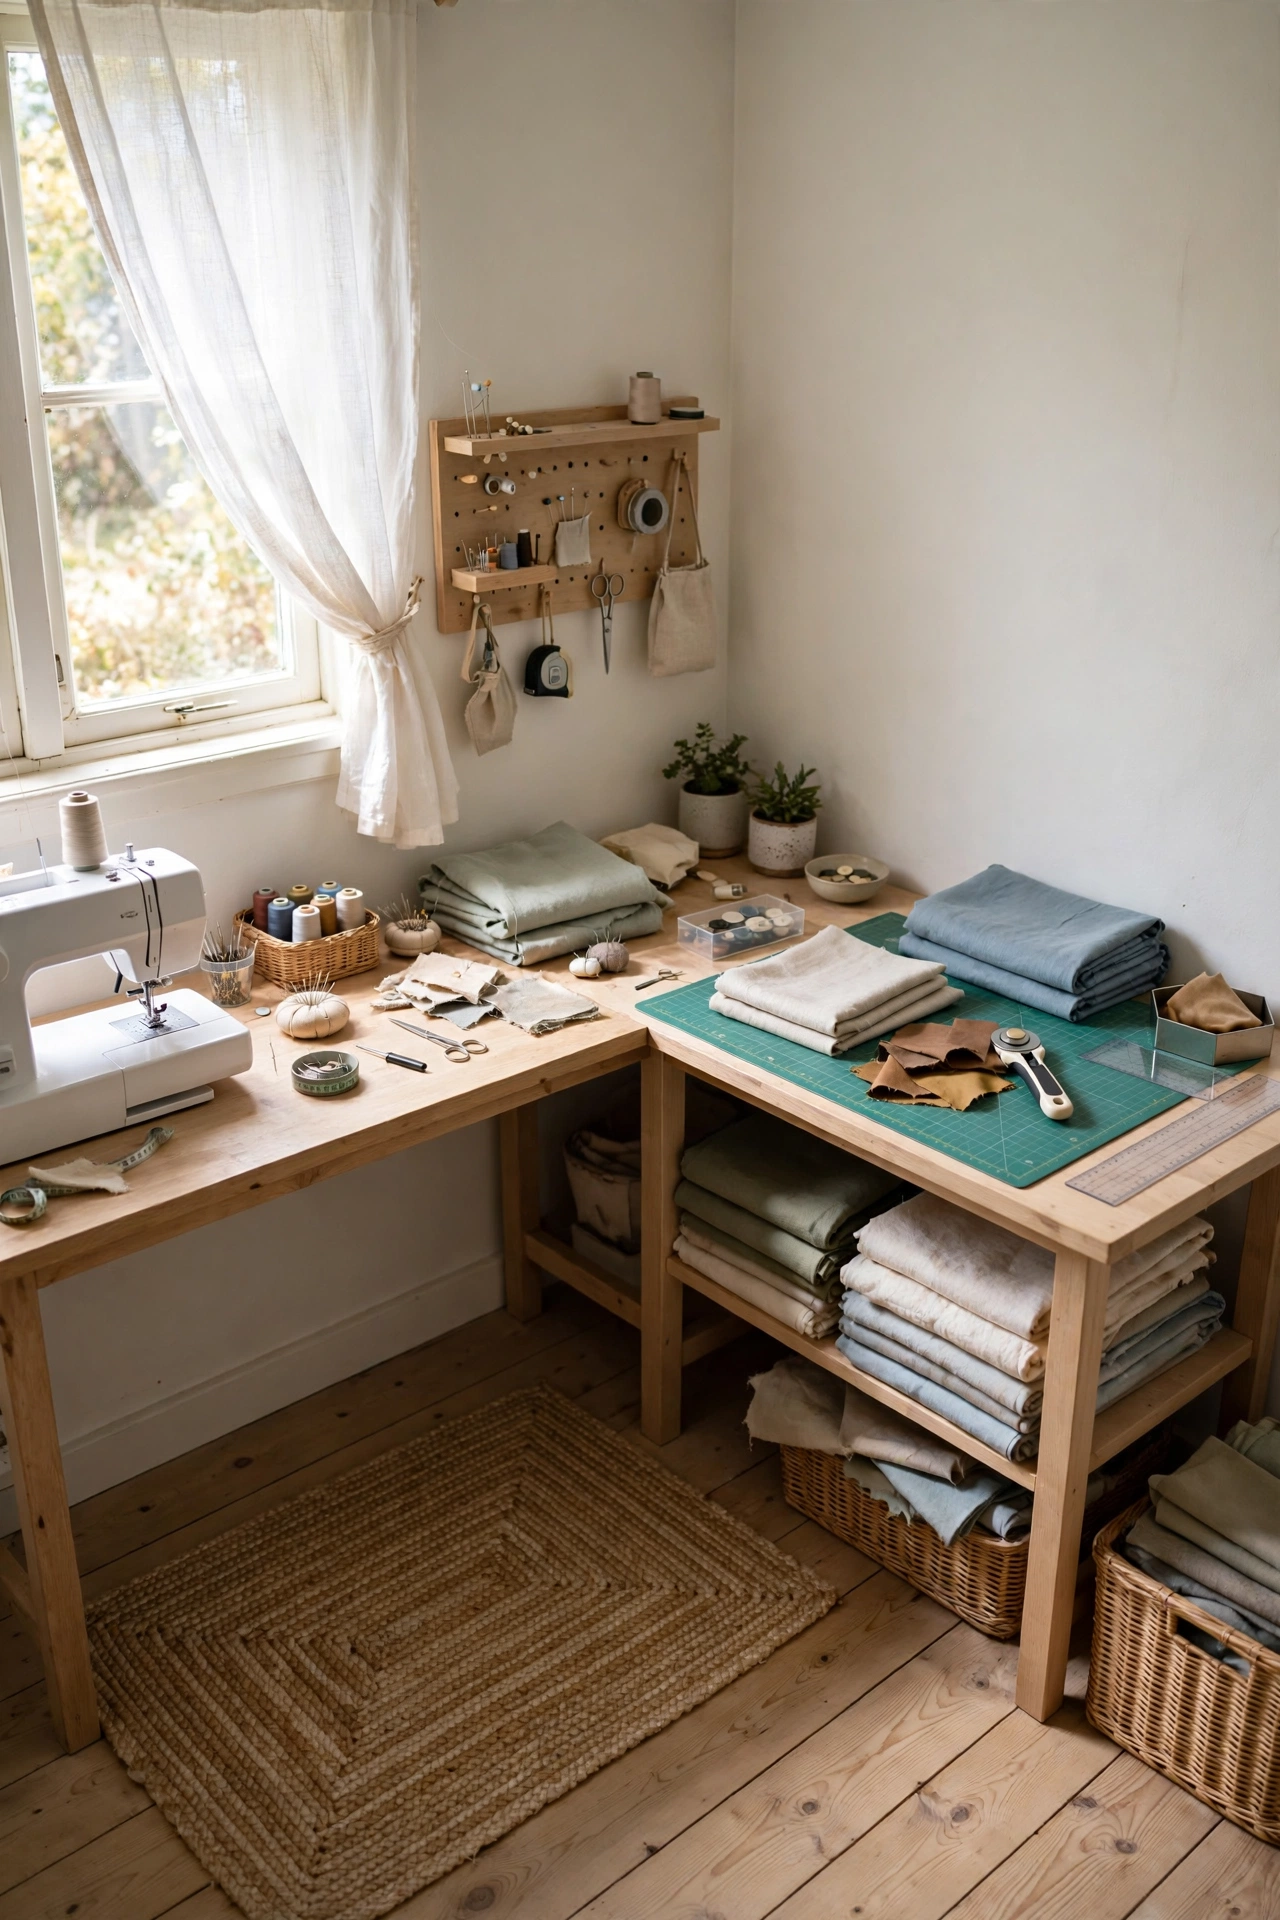
2. Arrange an L-Shaped Layout Along Two Walls
The L-shaped layout is the most space-efficient arrangement for a small sewing room, and it suits almost any rectangular room. Run your sewing machine desk along one wall and your cutting or pressing surface along the adjoining wall, meeting in the corner. You sit at the machine, swivel your chair, and you are at the cutting table — no walking, no carrying fabric across the room. The corner where the two runs meet is the perfect home for a tall shelf, a thread rack, or a small ironing station, since corners are otherwise wasted. Keep the third wall free for storage — shelves, a pegboard, or a narrow dresser — and leave the center of the room open so you can step back and lay out fabric on the floor when a project demands it.
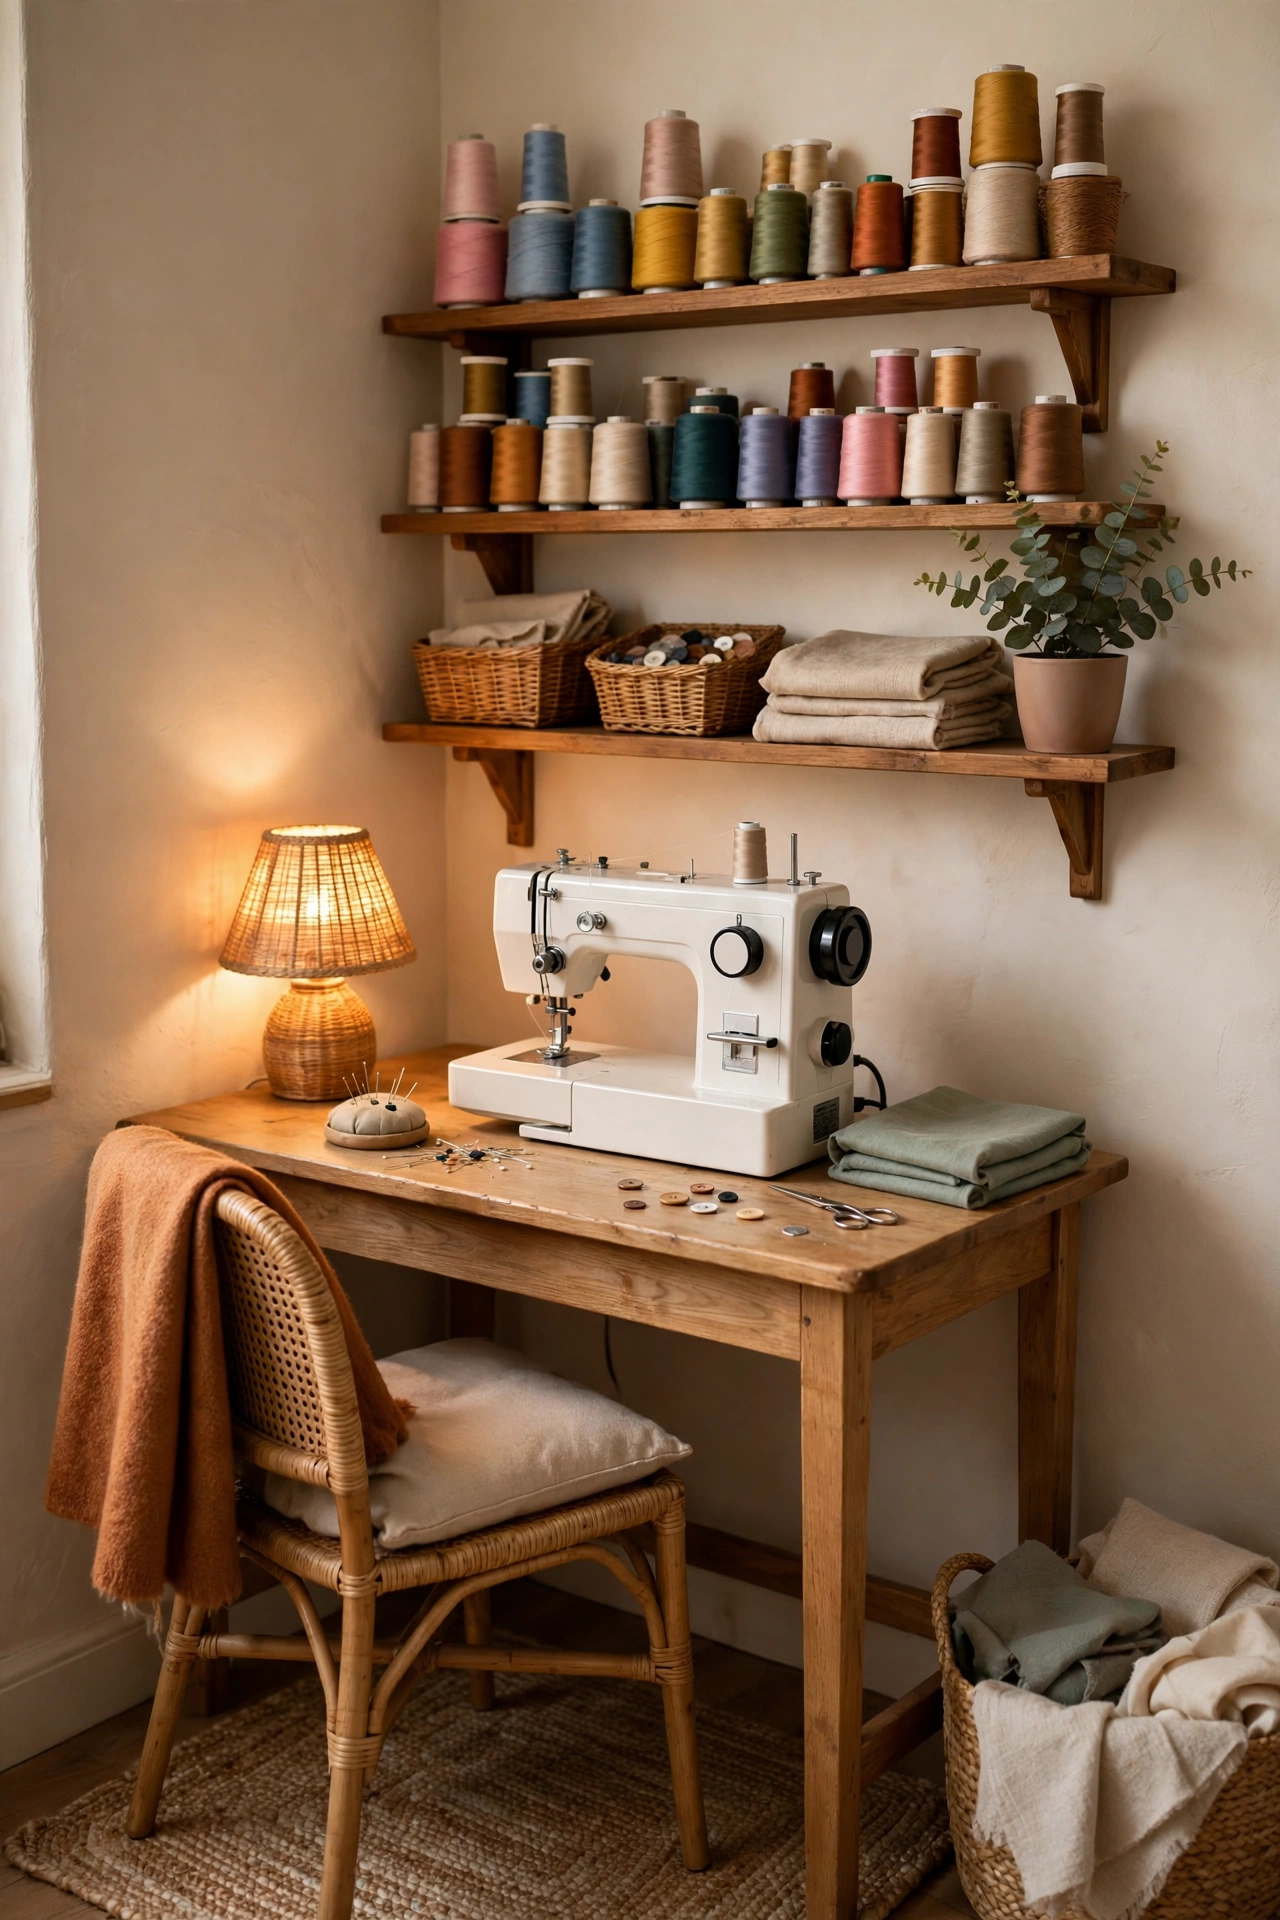
3. Claim a Corner for a Compact Sewing Nook
If you do not have a whole room, a corner is enough. A compact desk, a comfortable chair, and a shelf above are all a sewing nook really needs — the rest is smart storage. Choose a desk just deep enough for your machine plus a few inches of fabric in front of it, around 24 inches, and keep the desk against the wall so the machine’s needle faces the room. Mount a small shelf or a pegboard on both walls of the corner so your scissors, rulers, and thread live within arm’s reach instead of on the desk. A corner nook works best when the chair can tuck fully under the desk, because the moment the chair sticks out, the nook starts swallowing the room. Add a clip-on lamp and a small rug to mark the territory, and the corner reads as a room of its own.
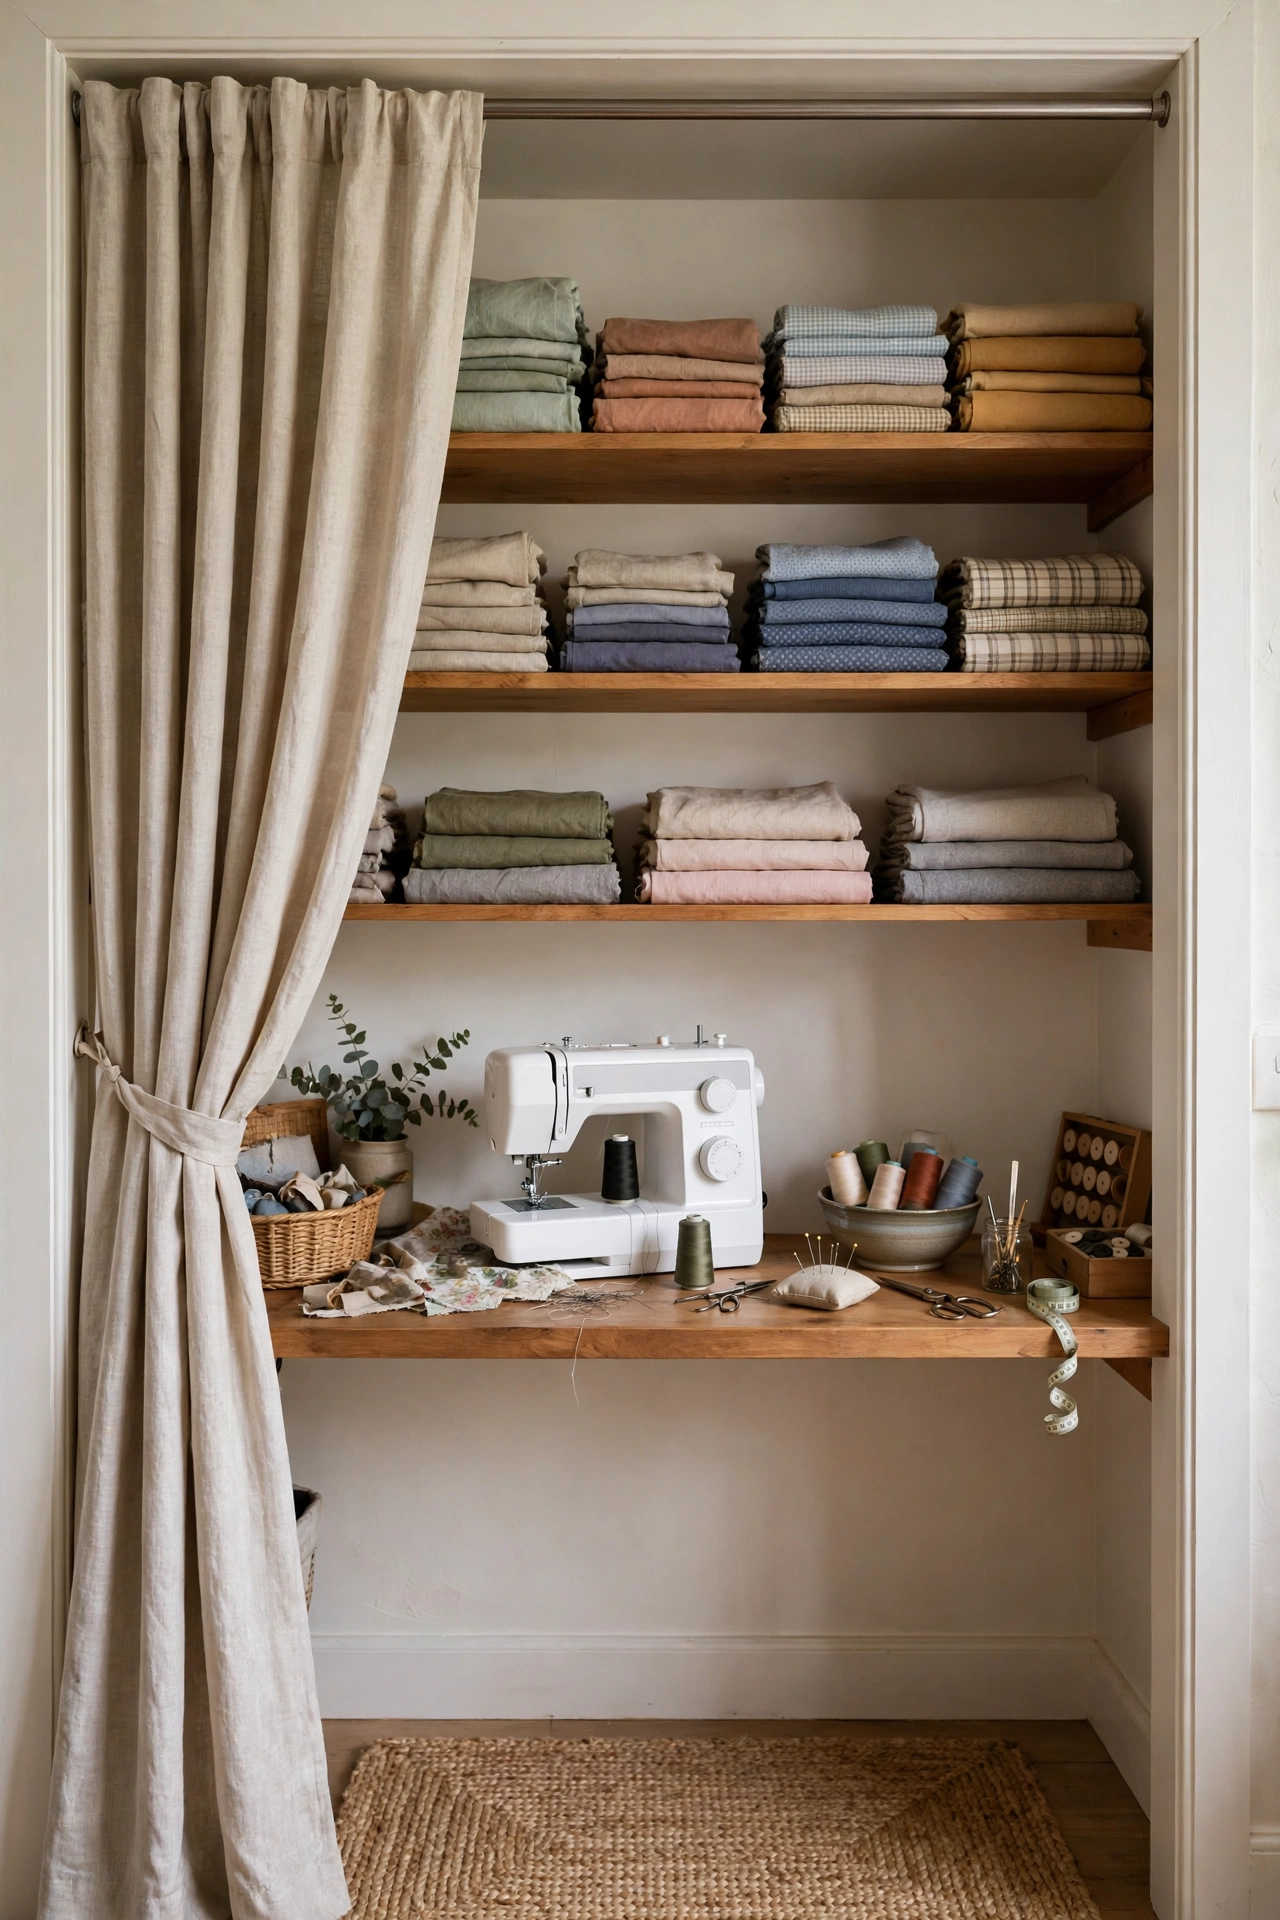
4. Turn a Closet into a Sewing Station
A spare closet is one of the best small sewing rooms you can get, because it already has a door you can close on the mess. Remove the closet doors — or swap them for a curtain — and fit a desk across the back wall at machine height, with shelves above it for fabric and notions. The closet’s shallow depth, usually around 24 inches, is exactly right for a sewing desk, and the side walls are perfect for a pegboard on one side and a thread rack on the other. Add a small LED strip under the top shelf, because closets are dark, and a chair that slides fully under the desk so you can close the curtain when guests arrive. A closet sewing station is the ultimate small-space trade: you lose a closet and gain a room that disappears on demand.
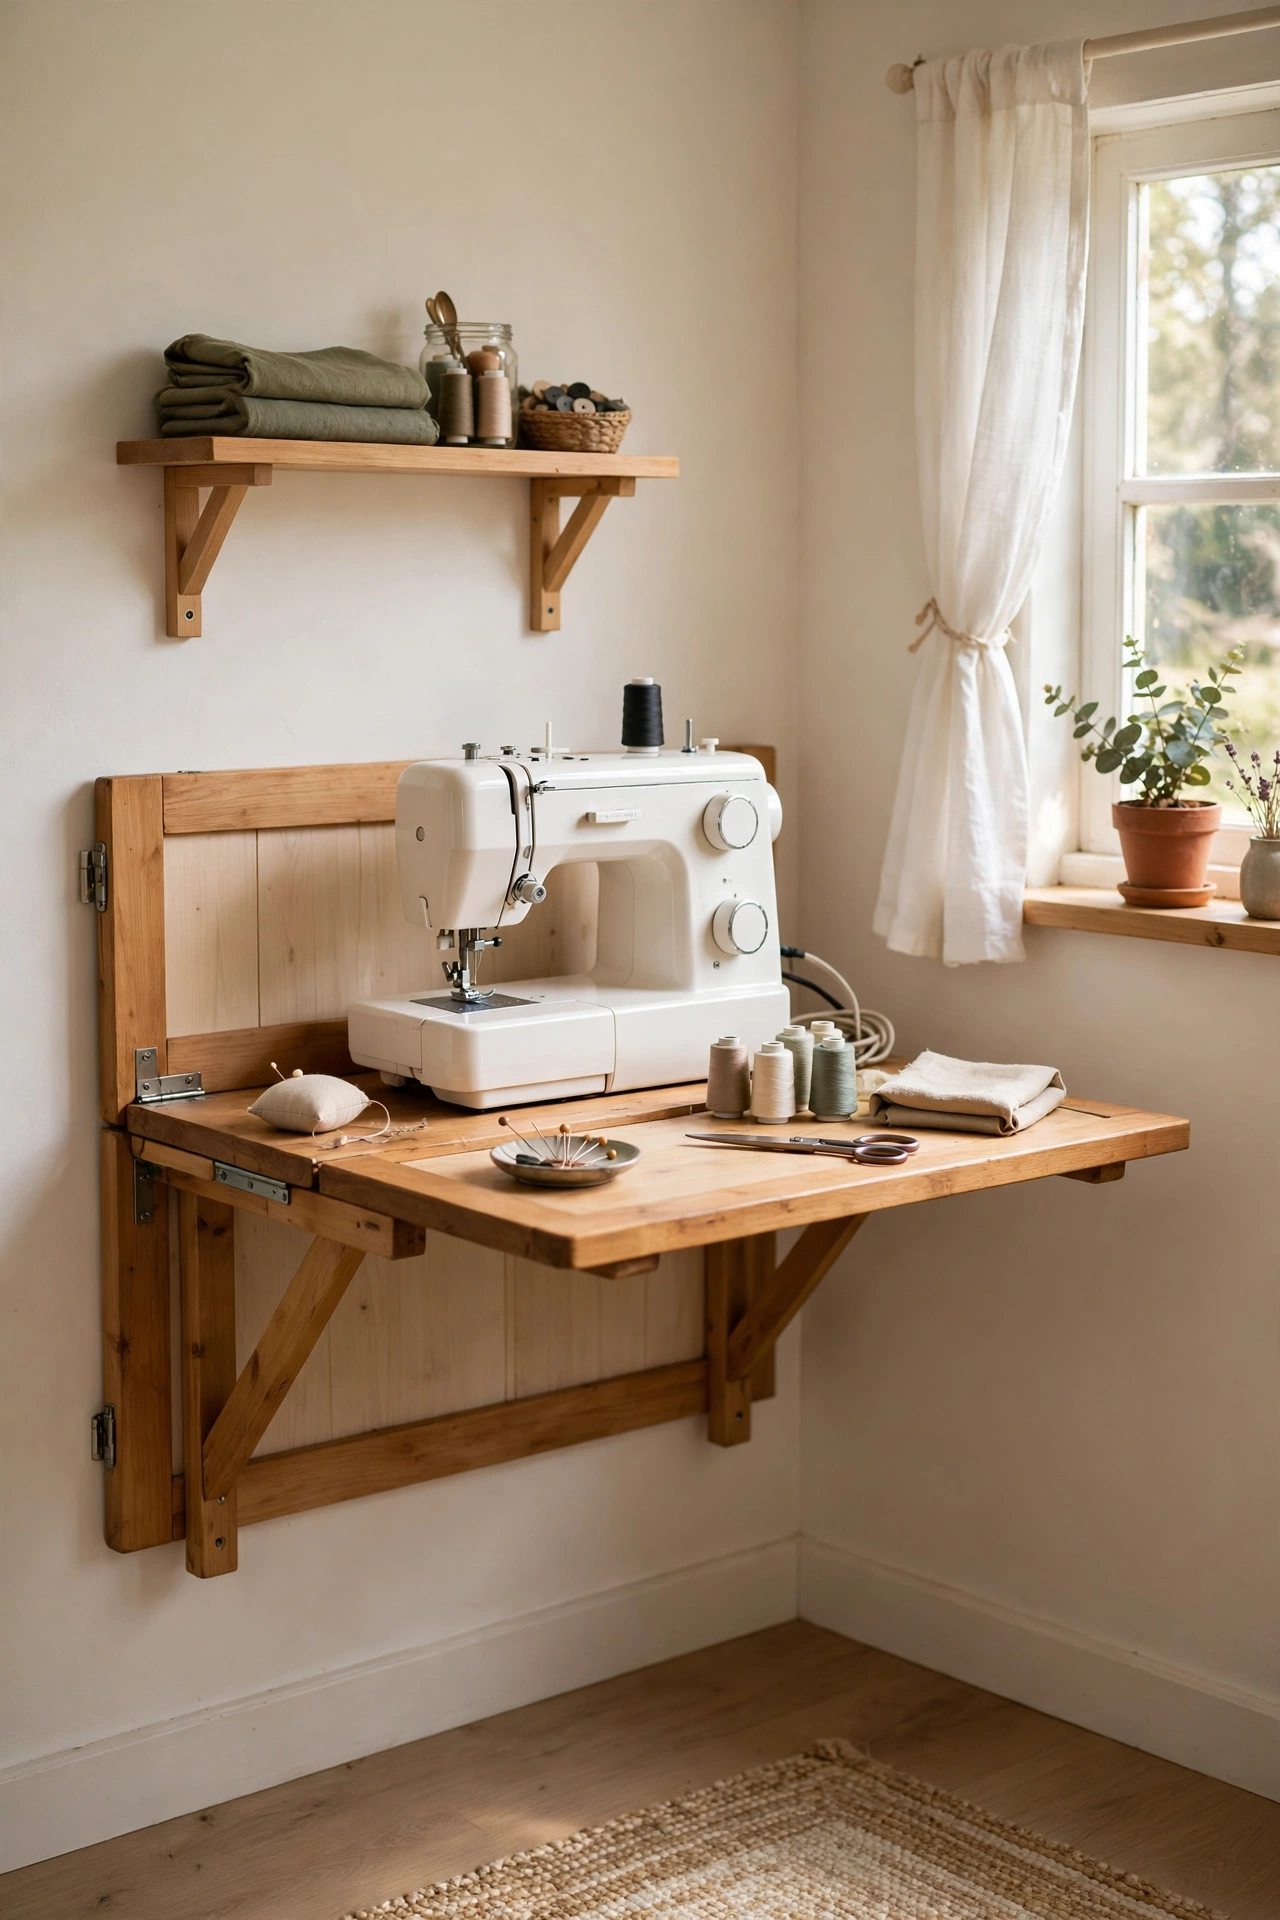
5. Mount a Fold-Down Table on the Wall
A fold-down table is the single best piece of furniture for a sewing room that has to share its space with a guest room, an office, or a bedroom. Mounted on the wall at machine height, it folds flat when you are done and opens into a full work surface in seconds. Choose a table at least 36 inches wide so your machine and a small cutting mat can sit side by side, and mount it at the height your elbows like — usually around 29 to 30 inches for sewing. Brackets that lock in the open position are essential; a table that wobbles while you sew is worse than no table at all. Below the table, a narrow shelf or a couple of hooks hold your most-used tools, so opening the table is the only setup your sewing session needs.
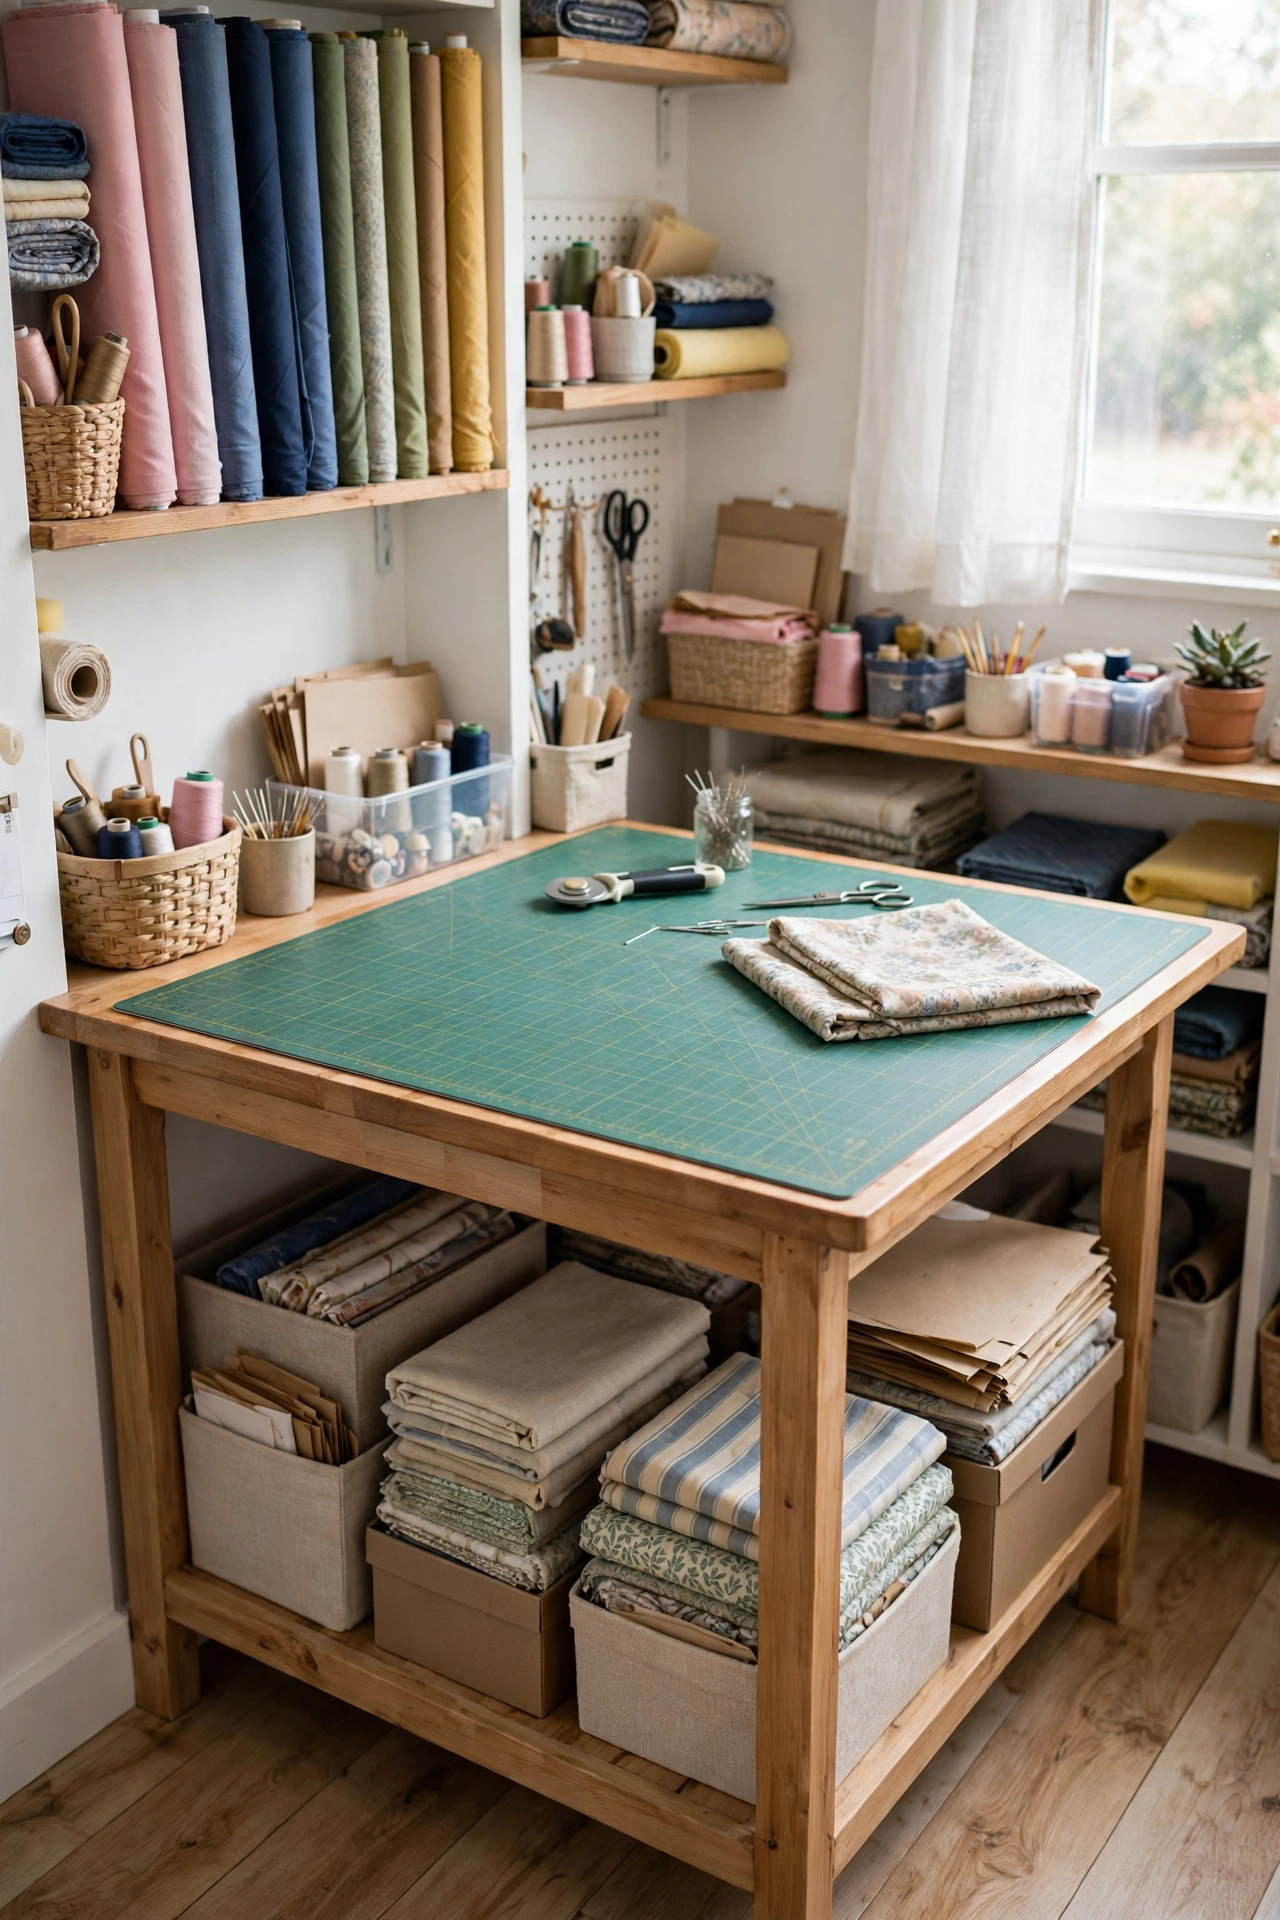
6. Set Up a Counter-Height Cutting Table
Cutting is the task that needs the most space and causes the most backache, so it deserves a proper table of its own. A counter-height cutting table — 34 to 36 inches tall — lets you cut standing up with a straight back, and the space underneath it is prime storage real estate. Fit the table with a large self-healing cutting mat, and store fabric bolts, pattern boxes, or a rolling cart underneath it so no square inch is wasted. If a dedicated cutting table will not fit, a dresser or a sturdy console at counter height does the same job: the drawers hold fabric, and the top holds the mat. The rule is simple — never cut on a low table or the floor if you can help it, because your back will pay for every project you finish there.
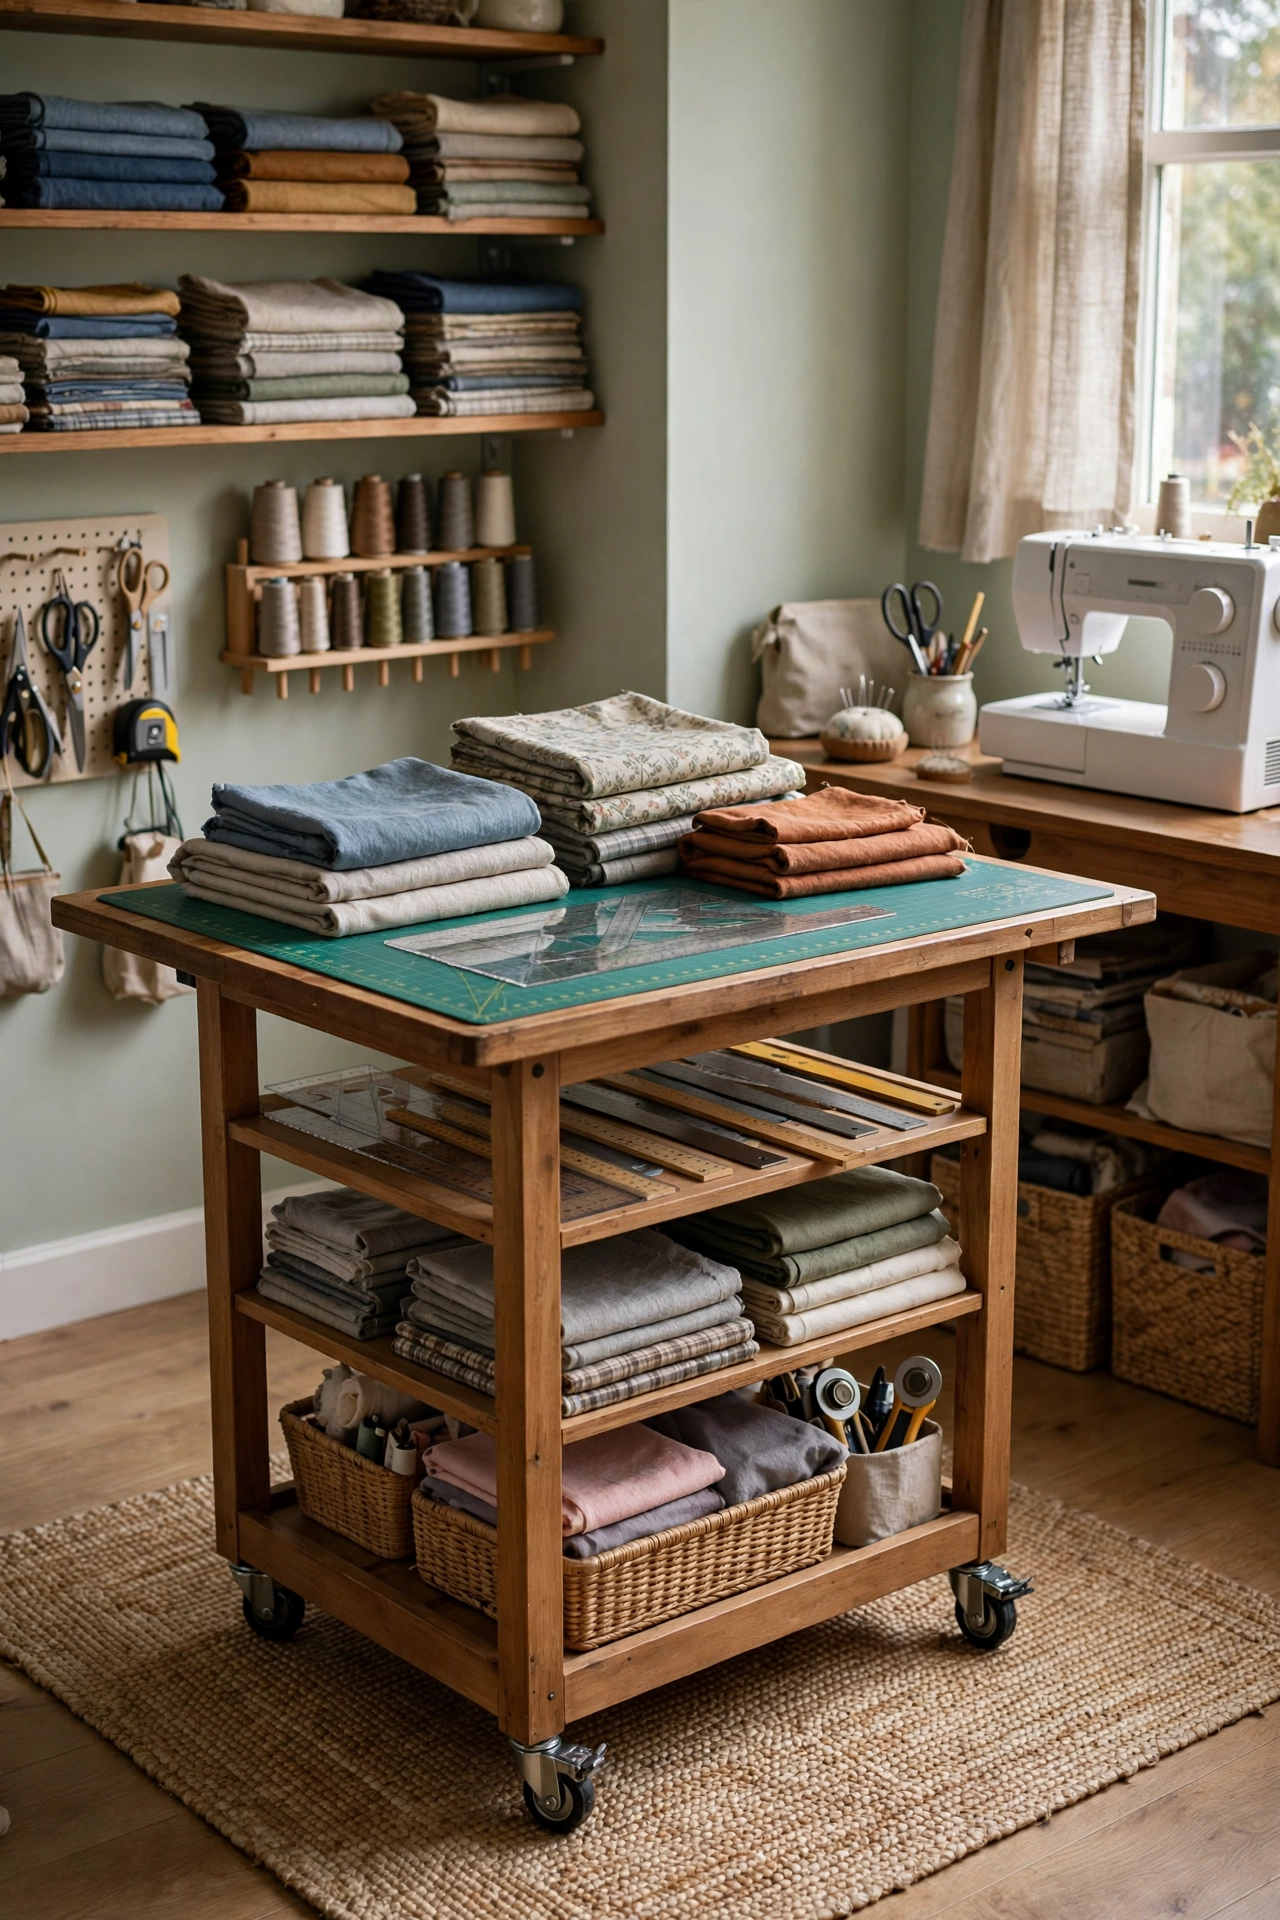
7. Roll a Cutting Island on Casters
A rolling cutting island gives you the big flat surface quilting and garment projects need, without permanently giving up the floor space. Build or buy a table on locking casters — around 48 inches long and 24 inches deep is a good small-room size — and roll it to the center of the room when you cut, then push it back against the wall when you sew. The shelves or drawers underneath hold your cutting tools, rulers, and rotary cutters, so everything for the cutting step travels with the table. Locking casters matter: unlock them to move, lock them to cut, because a table that drifts mid-cut ruins fabric. When the island is parked against the wall, its top becomes a display shelf for plants, a lamp, or your latest finished project.
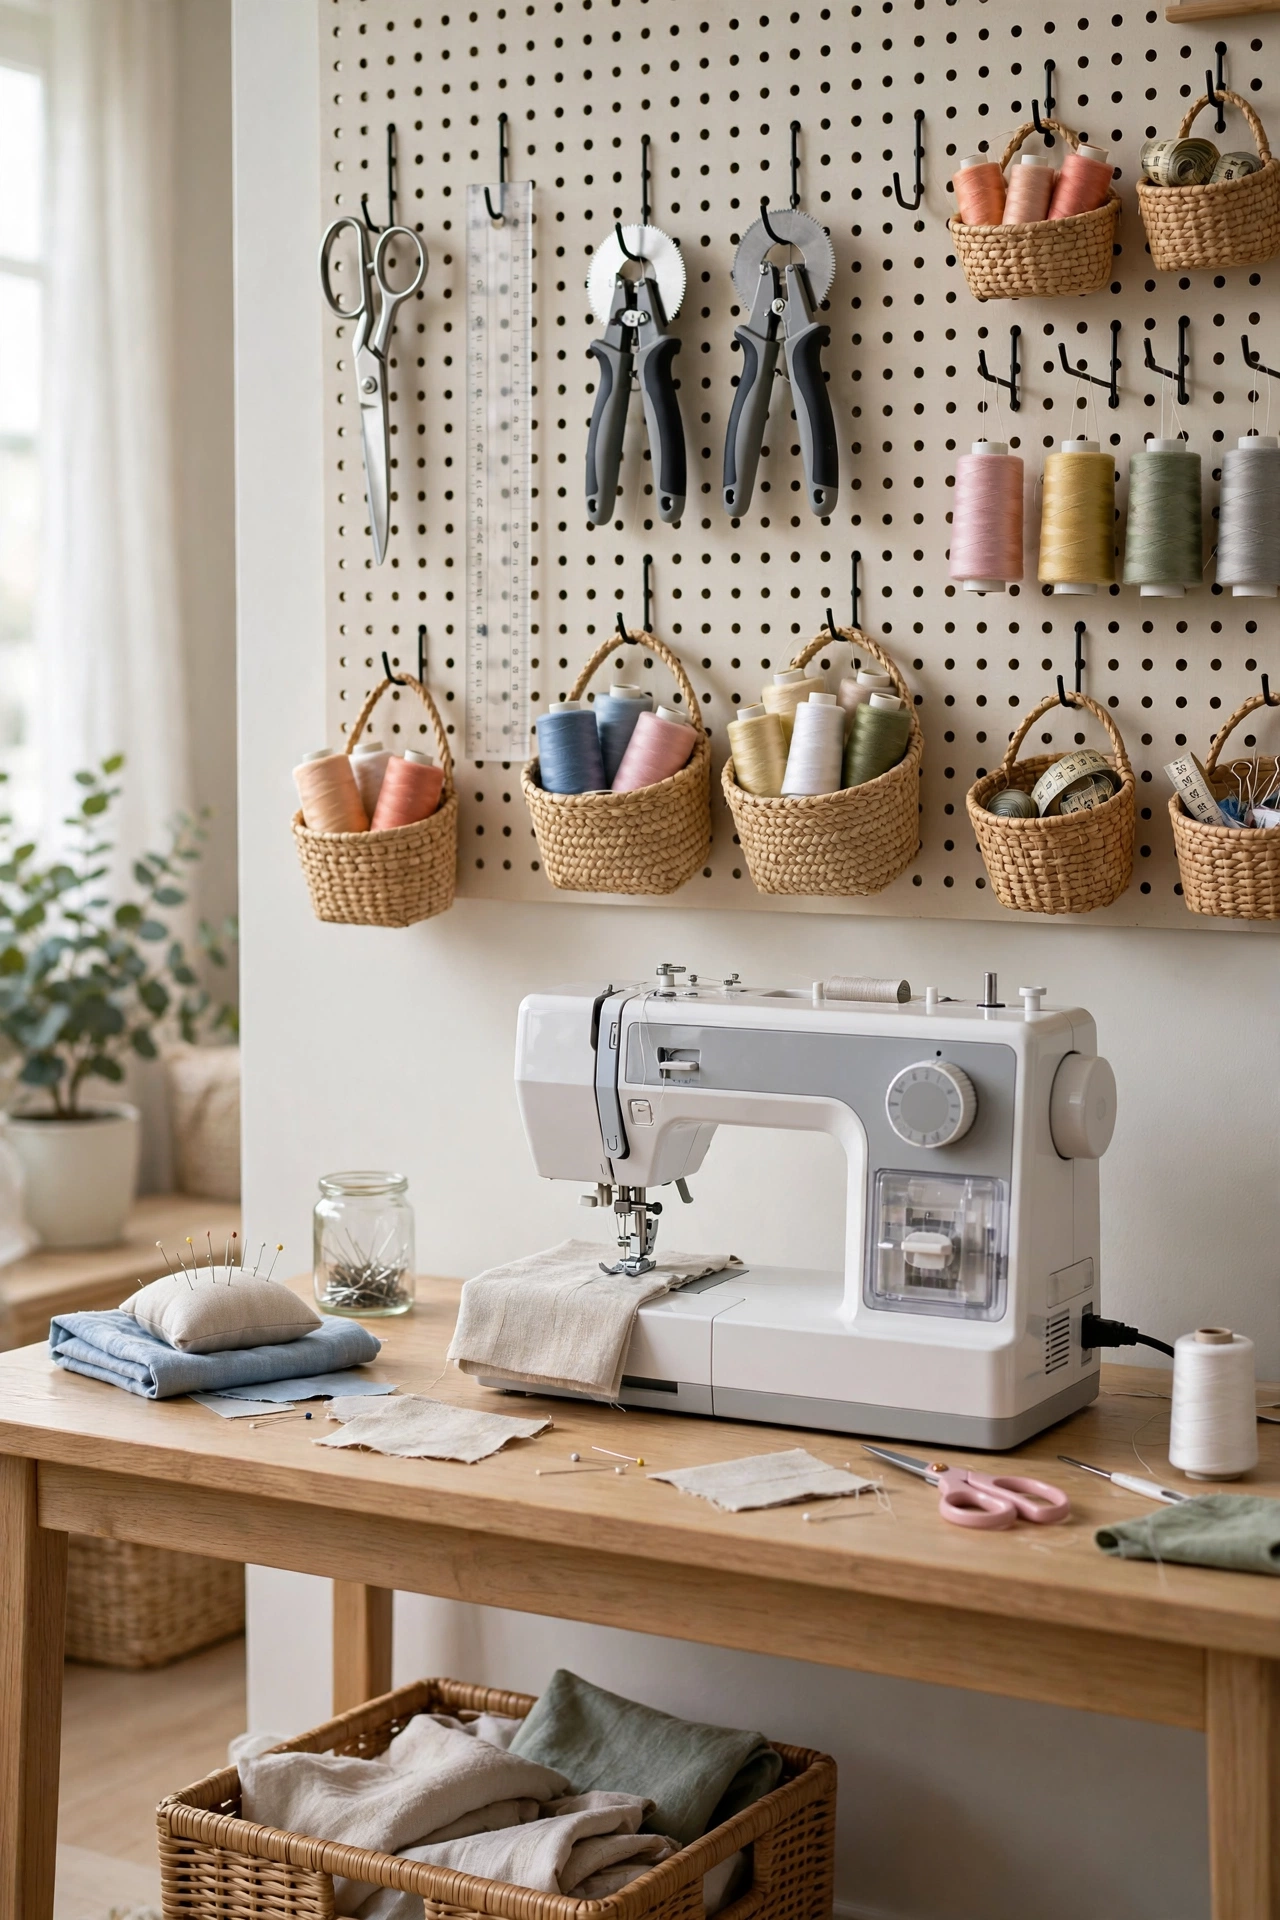
8. Hang a Pegboard Wall Above Your Machine
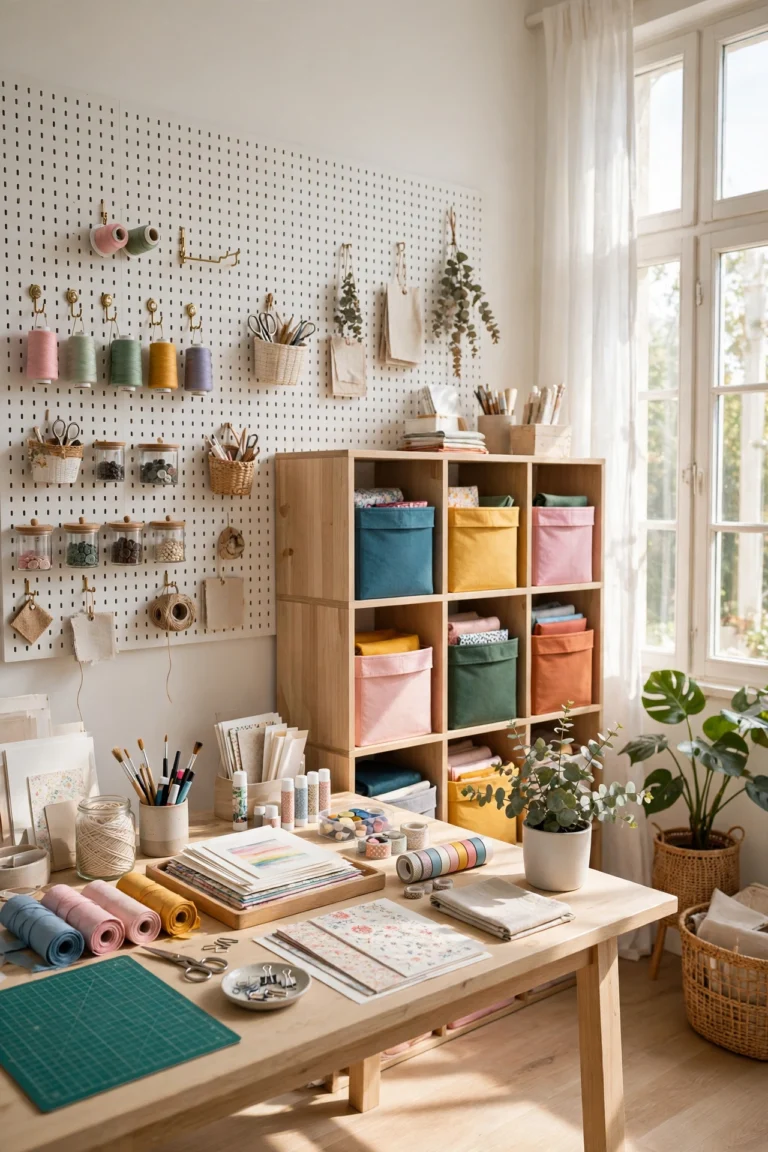
A pegboard above your sewing machine is the fastest way to clear your desk without losing anything. Scissors, rotary cutters, rulers, measuring tape, and seam rippers all hang on hooks within arm’s reach, and small baskets clipped to the pegboard hold bobbins, needles, and marking tools. The trick is to hang only what you use every session — a pegboard crammed with every tool you own becomes visual clutter instead of organization. Group similar tools together, hang the heaviest items lowest, and leave a little empty space so the board can grow with your habits. Paint the pegboard the same color as the wall if you want it to disappear, or a soft accent color if you want it to be a feature. Either way, it turns a blank wall into your most useful piece of storage.
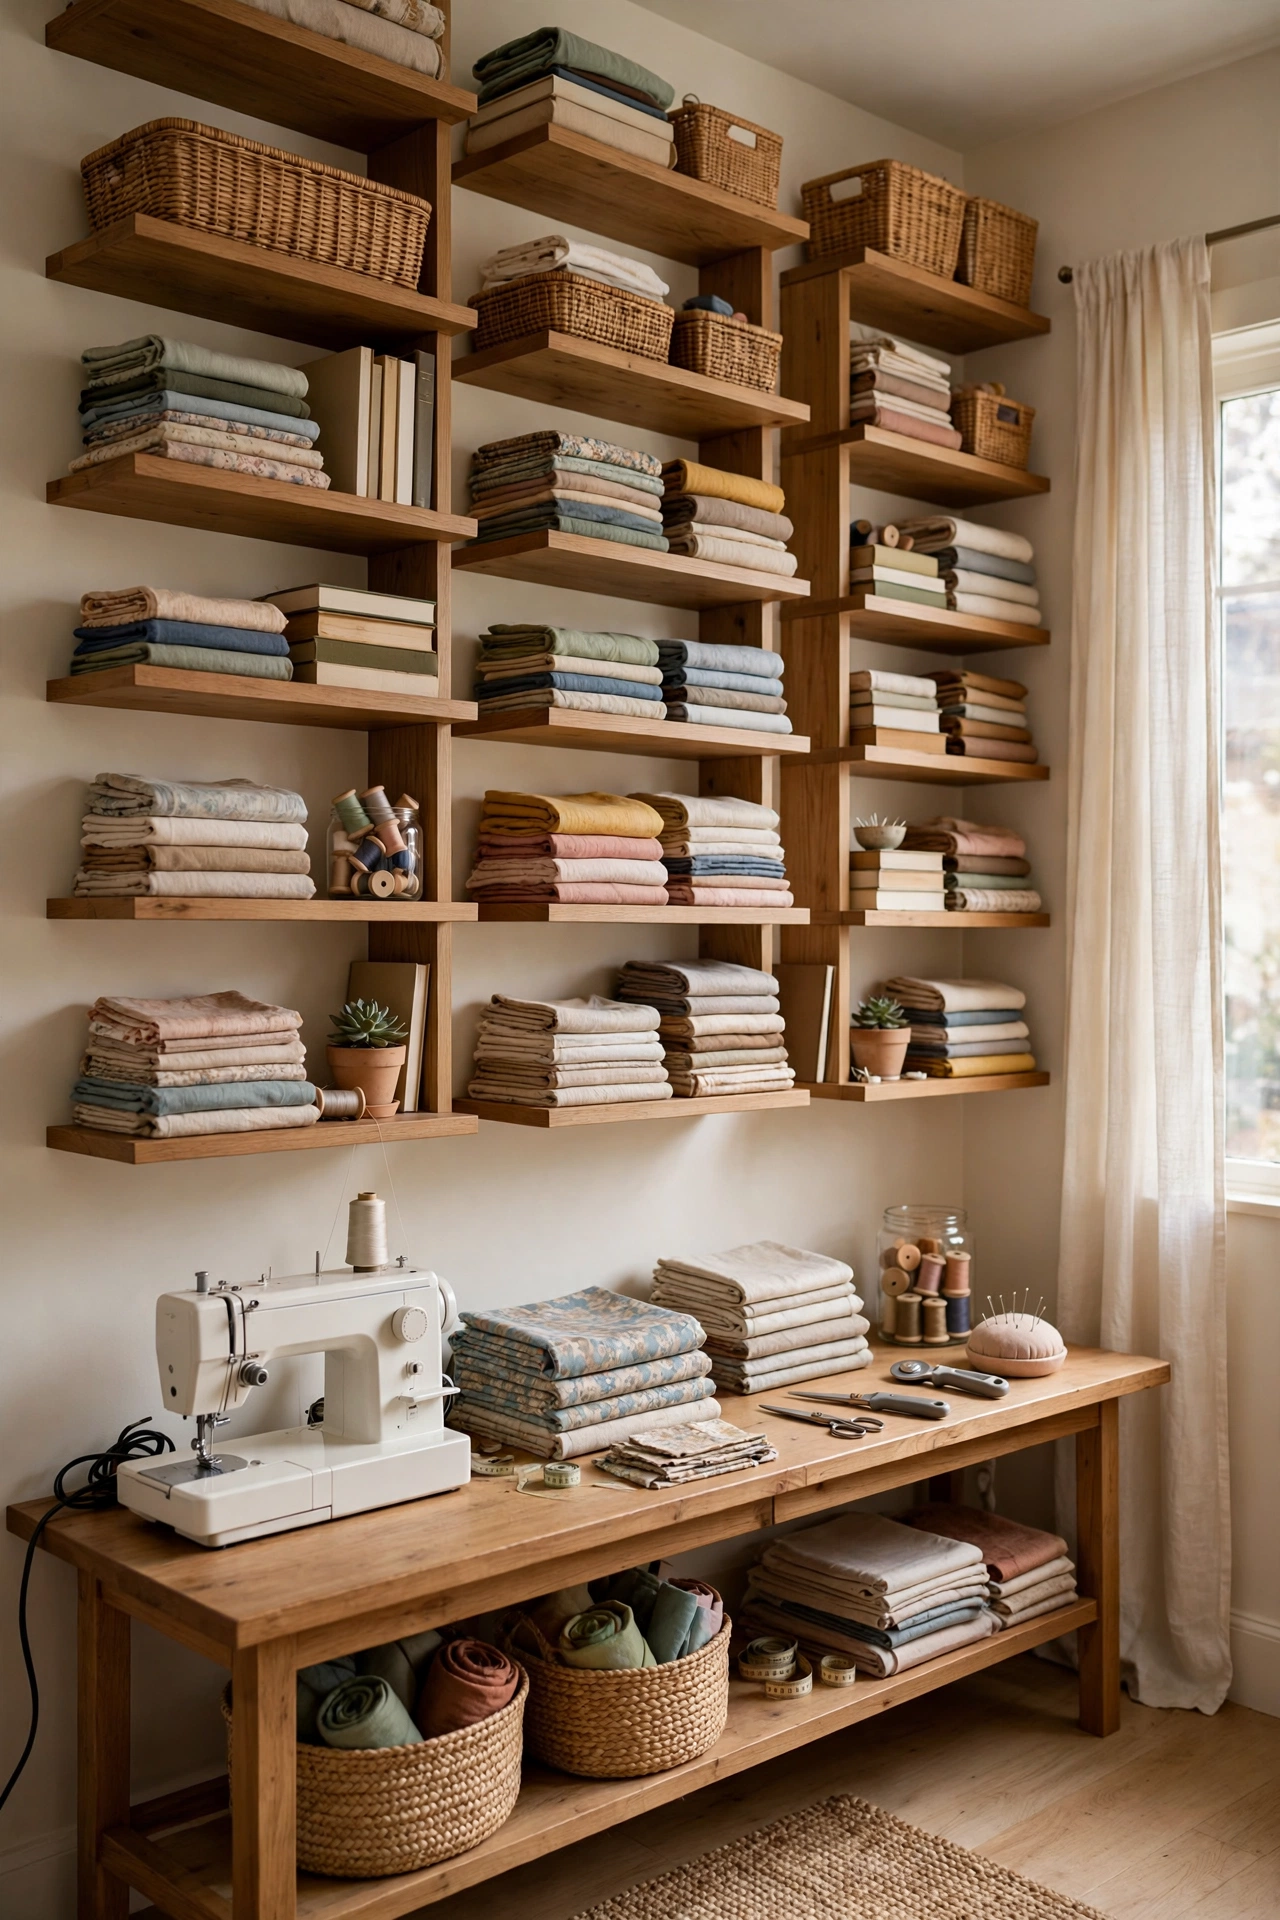
9. Run Floating Shelves Up to the Ceiling
When floor space is gone, the only direction left is up. Floating shelves mounted high on the wall hold the supplies you use least often — pattern books, seasonal fabric, reference guides, and display pieces — while keeping your eye-level shelves free for daily tools. Run one long shelf close to the ceiling around the room’s perimeter for the lightest items, and keep the shelves you reach every day at shoulder height or below. Brackets and shelf depth matter in a sewing room: 10 to 12 inches is deep enough for folded fabric stacks and baskets, but shallow enough to keep the room from feeling closed in. Our staggered floating shelves ideas show how a shelf wall can look intentional instead of improvised. Label the high shelves, because a box you cannot identify from the floor is a box you will never open.
10. Display Thread on a Wall-Mounted Rack
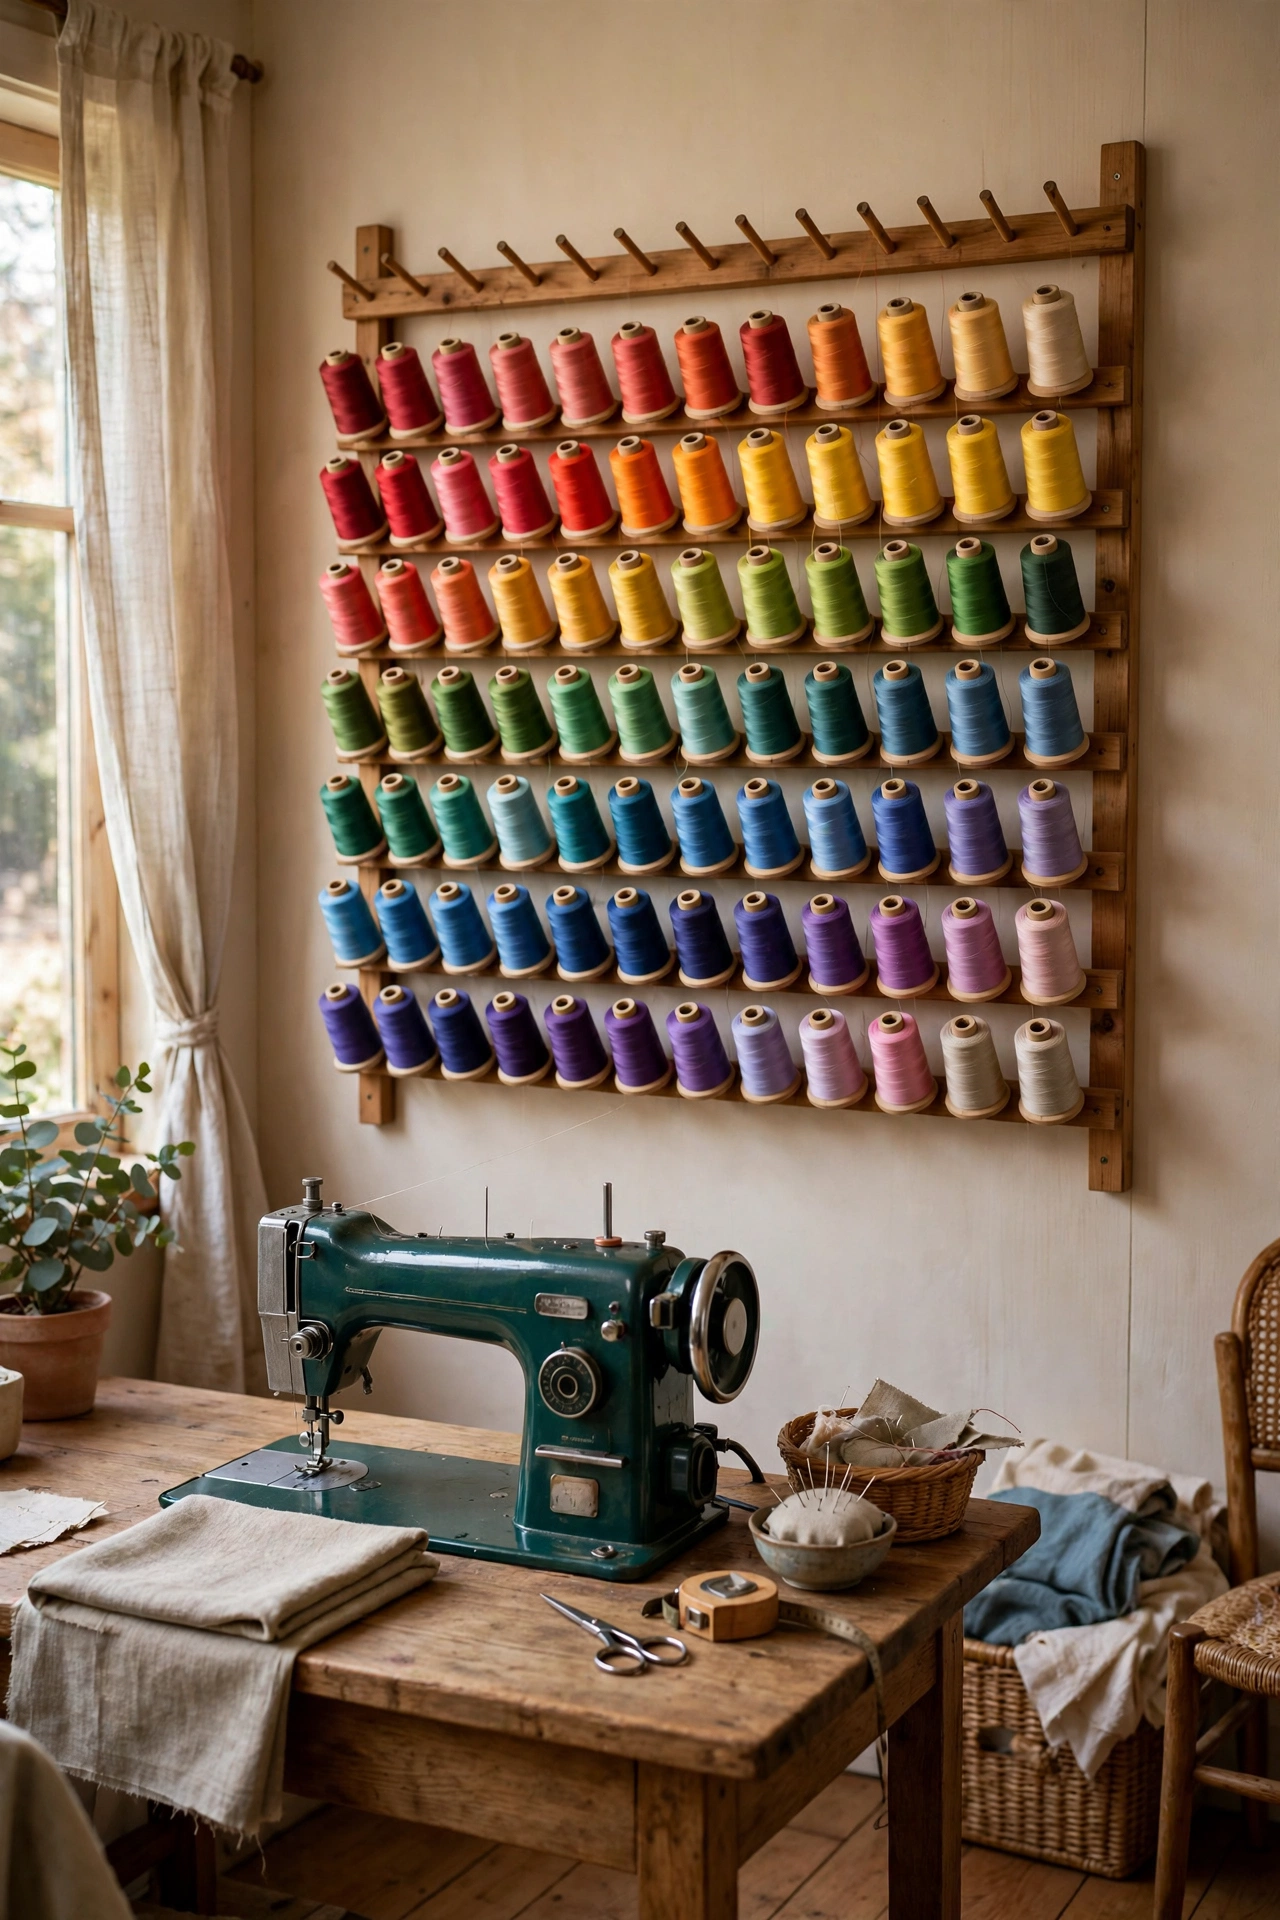
A wall-mounted thread rack does two jobs at once: it stores every spool where you can see it, and it turns your thread collection into the room’s best decoration. Mount the rack at eye level beside or above your machine, arrange the spools by color family, and you will never again dig through a drawer for the right shade — you will see it from your chair. Wooden racks suit traditional and vintage rooms, while clear acrylic racks keep the focus on the colors themselves. Keep the rack away from direct sunlight, which fades thread over time, and reserve one shelf or drawer for specialty threads — metallics, heavy topstitching, and serger cones — that do not fit the rack. A full, colorful thread wall makes even the smallest sewing room feel like a professional studio.
11. Keep a Slim Rolling Cart as a Sidecar
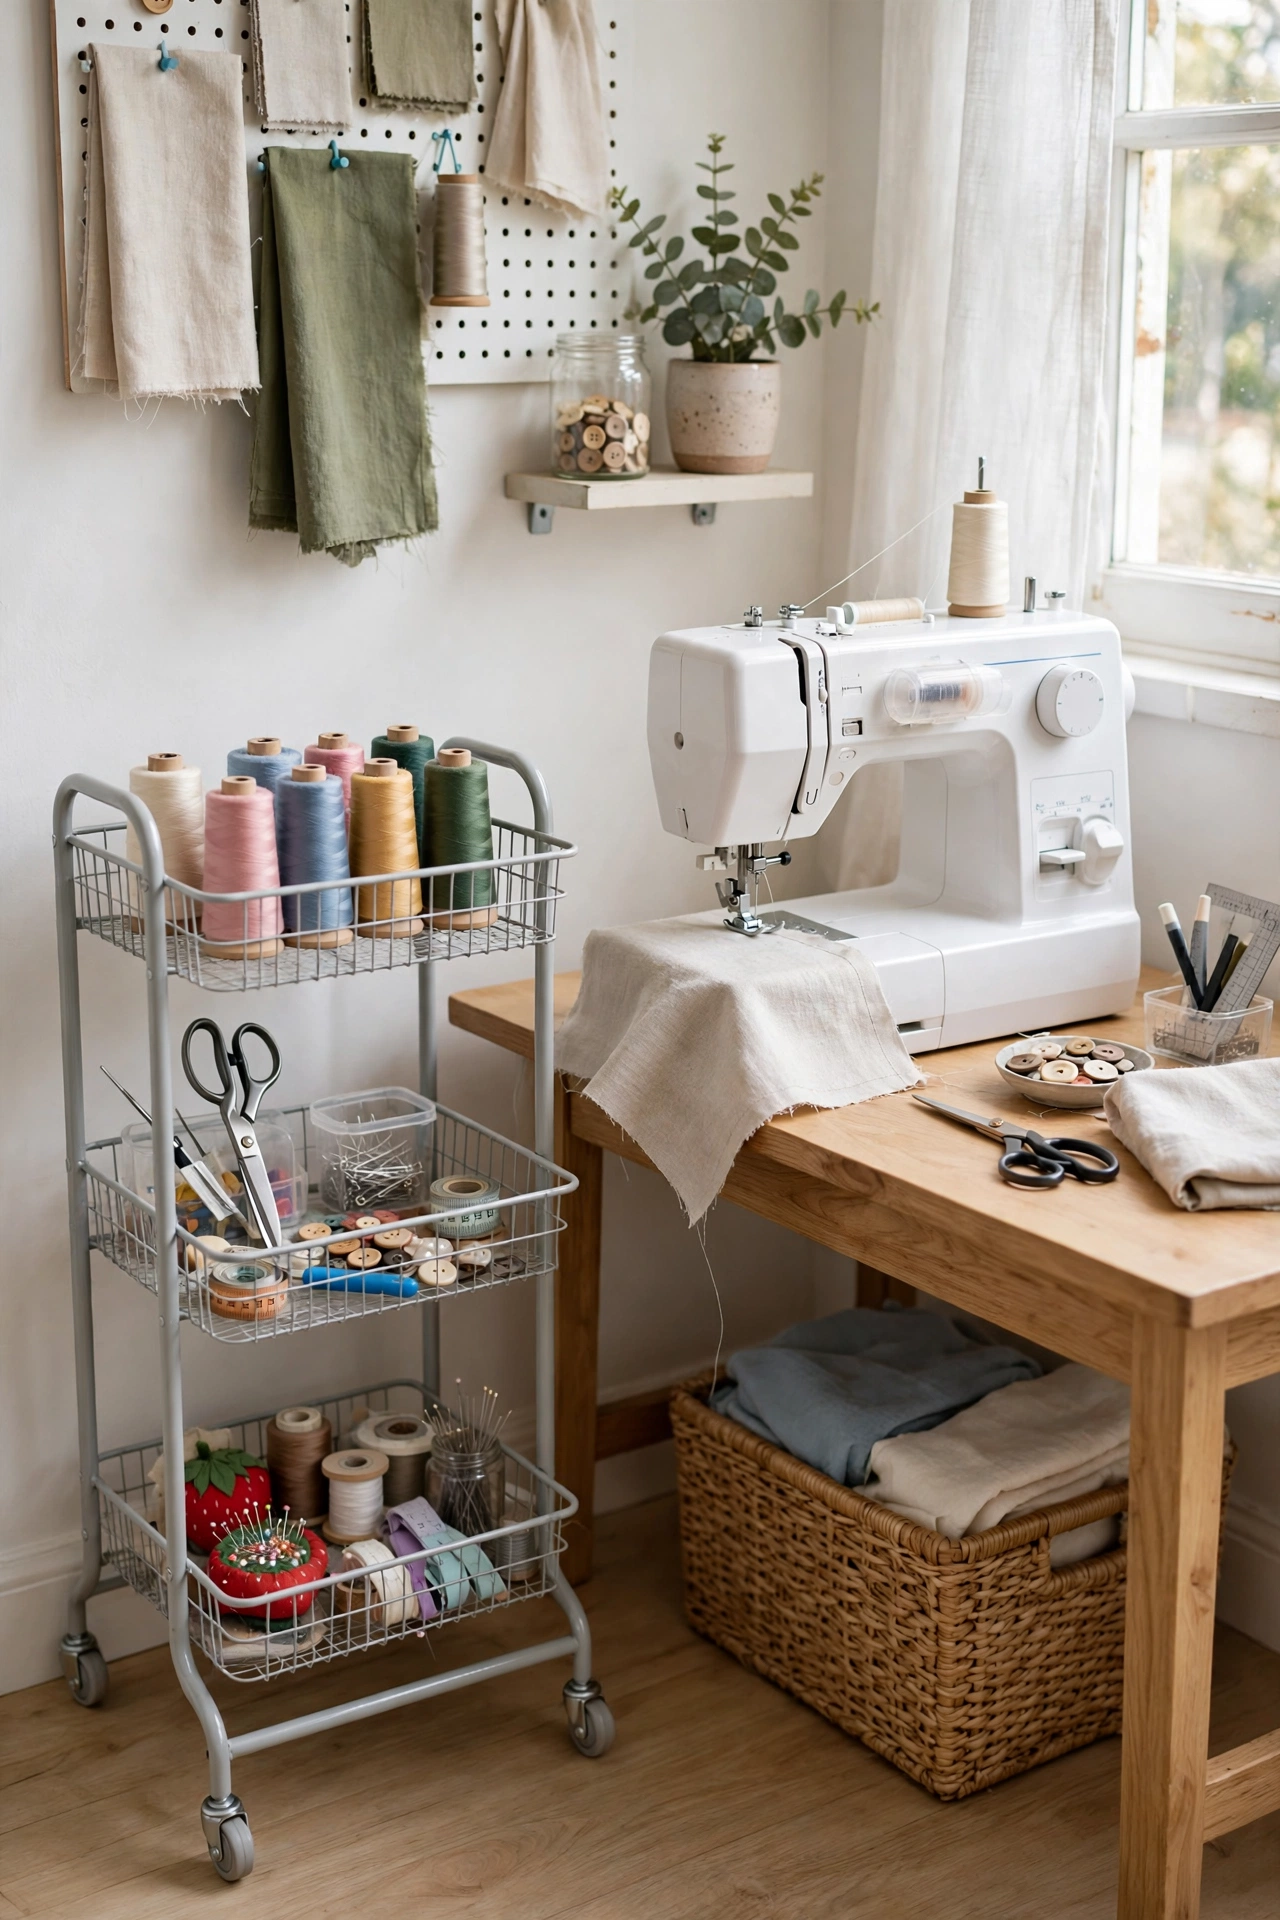
A slim rolling cart parked beside your machine is the small sewing room’s best friend. With two or three tiers, it holds your scissors, thread, pins, bobbins, and measuring tools in a footprint barely wider than a sheet of paper, and it rolls to wherever you are working — next to the machine, beside the cutting table, or out of the way entirely. Look for a cart with a top tray deep enough to catch runaway pins and a bottom tier that fits fabric or pattern envelopes. The famous three-tier craft cart works beautifully here, and our genius IKEA hacks include several ways to customize one for sewing. The real advantage is flexibility: when a project changes, the cart changes with it, and when you are done, it tucks into a gap between furniture that nothing else could use.
12. Fold Fabric into Cubbies by Color
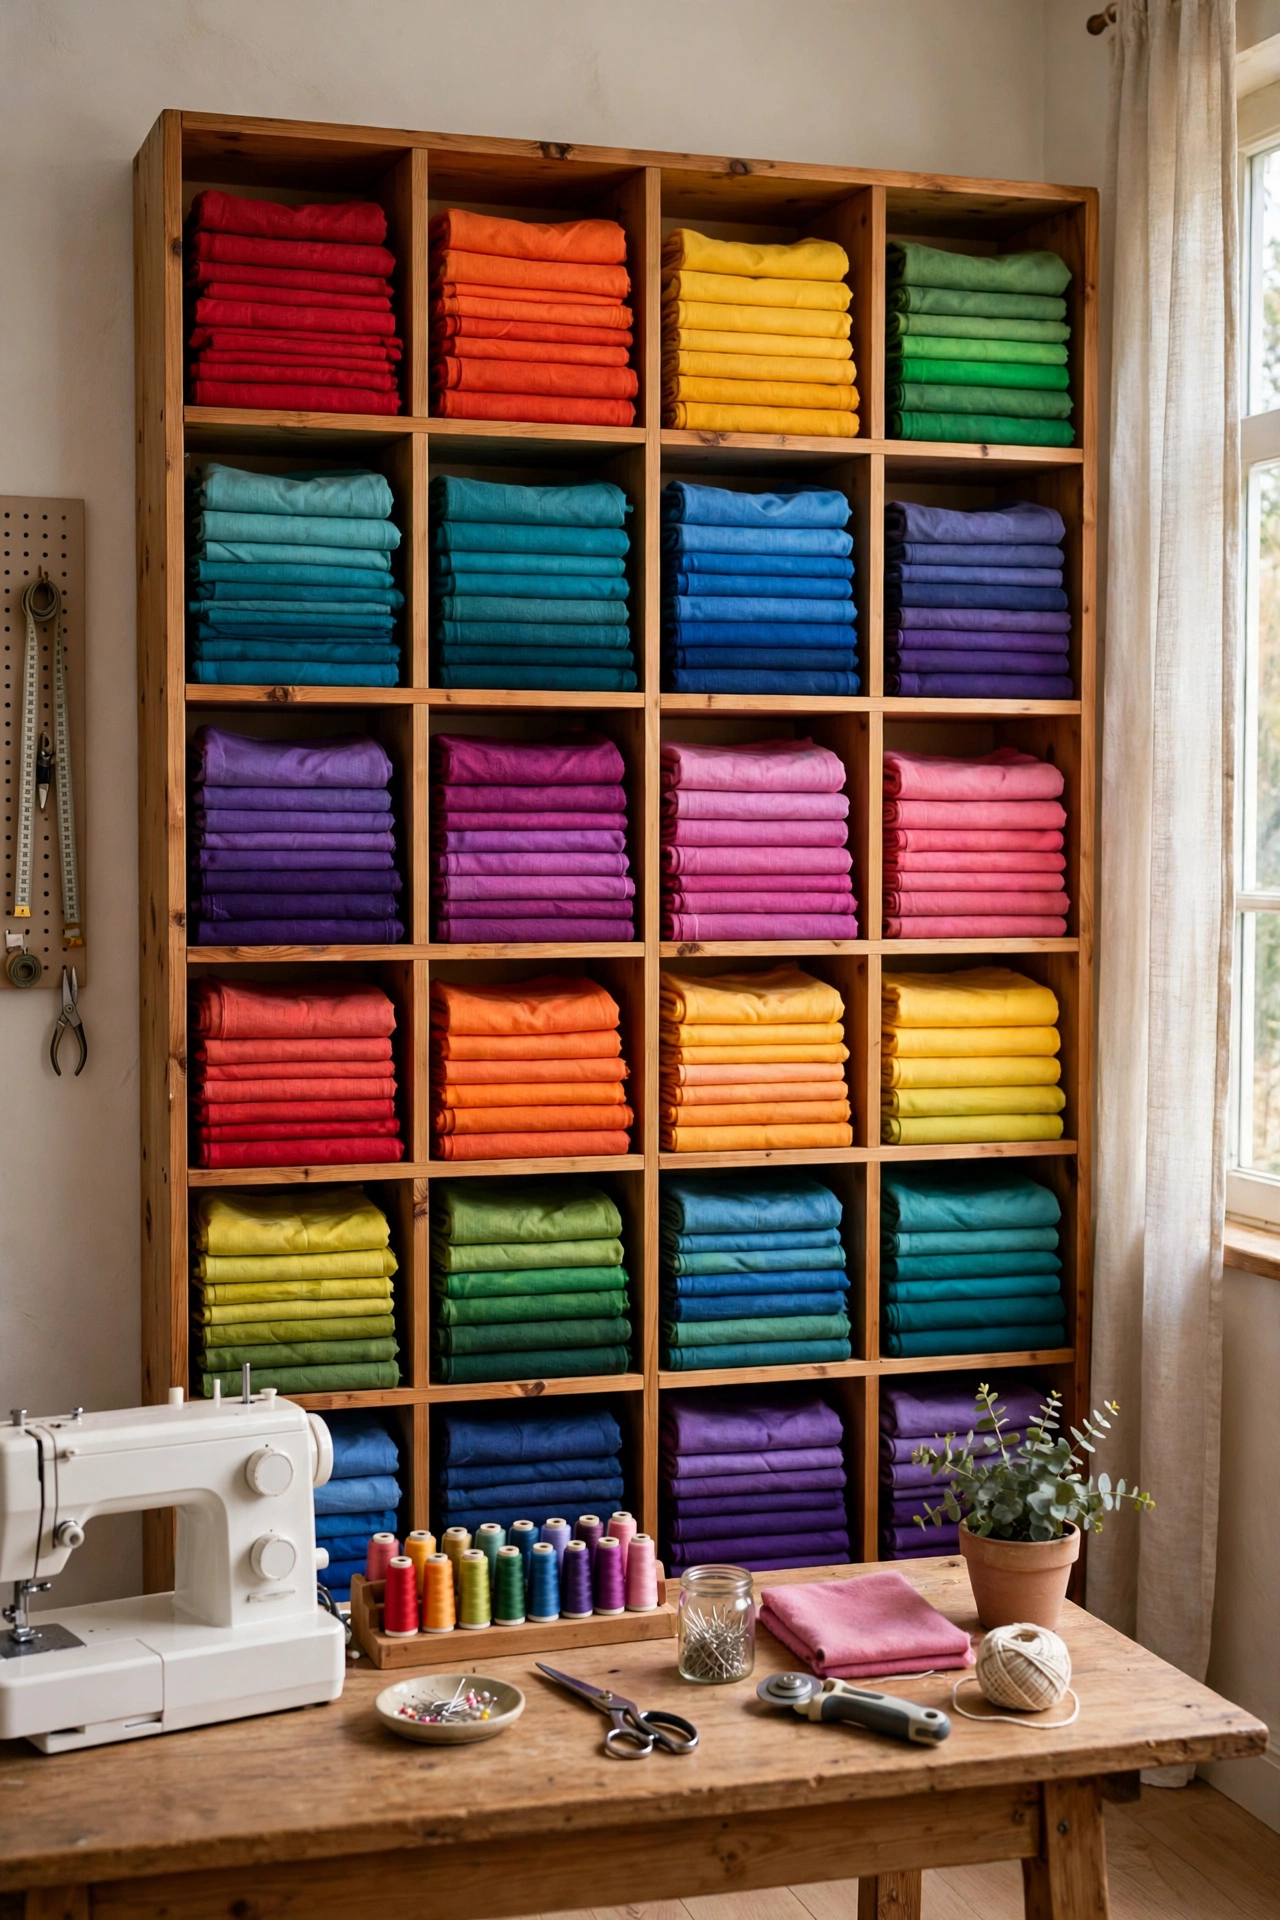
Fabric is the bulkiest thing in a sewing room, and the fastest way to tame it is to fold it into open cubbies sorted by color. Cubby shelves — a bookcase turned on its side, a cube storage unit, or built-in niches — let you see every fabric at a glance, so you stop buying duplicates of colors you already own. Fold each piece the same way, to the same size, so the stacks look neat and you can pull one piece out without collapsing the rest. Sort by color first, then by fabric type within each color, and keep a small basket in one cubby for scraps too good to throw away. If open cubbies feel too busy, add matching fabric bins to the lower cubes for the fabric you use least. Our craft room storage ideas use the same cubby system for all kinds of supplies, and it works just as well for fabric alone.
13. Sort Notions into Clear Labeled Bins
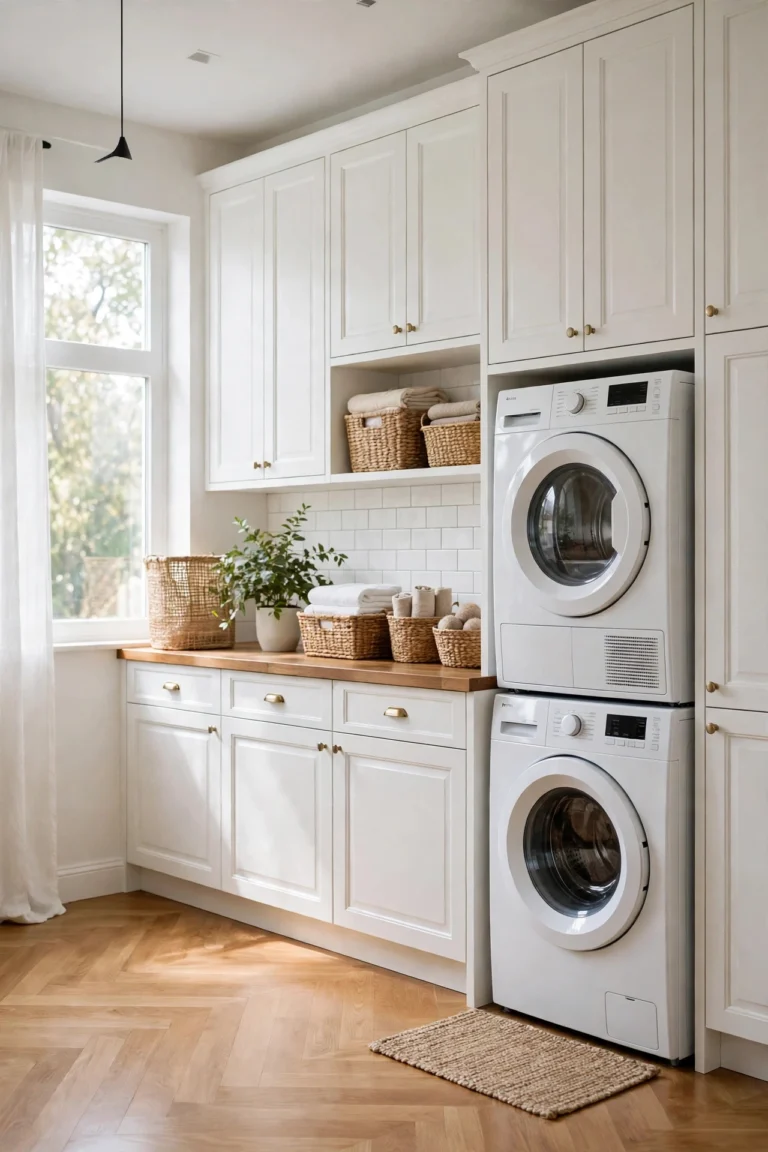
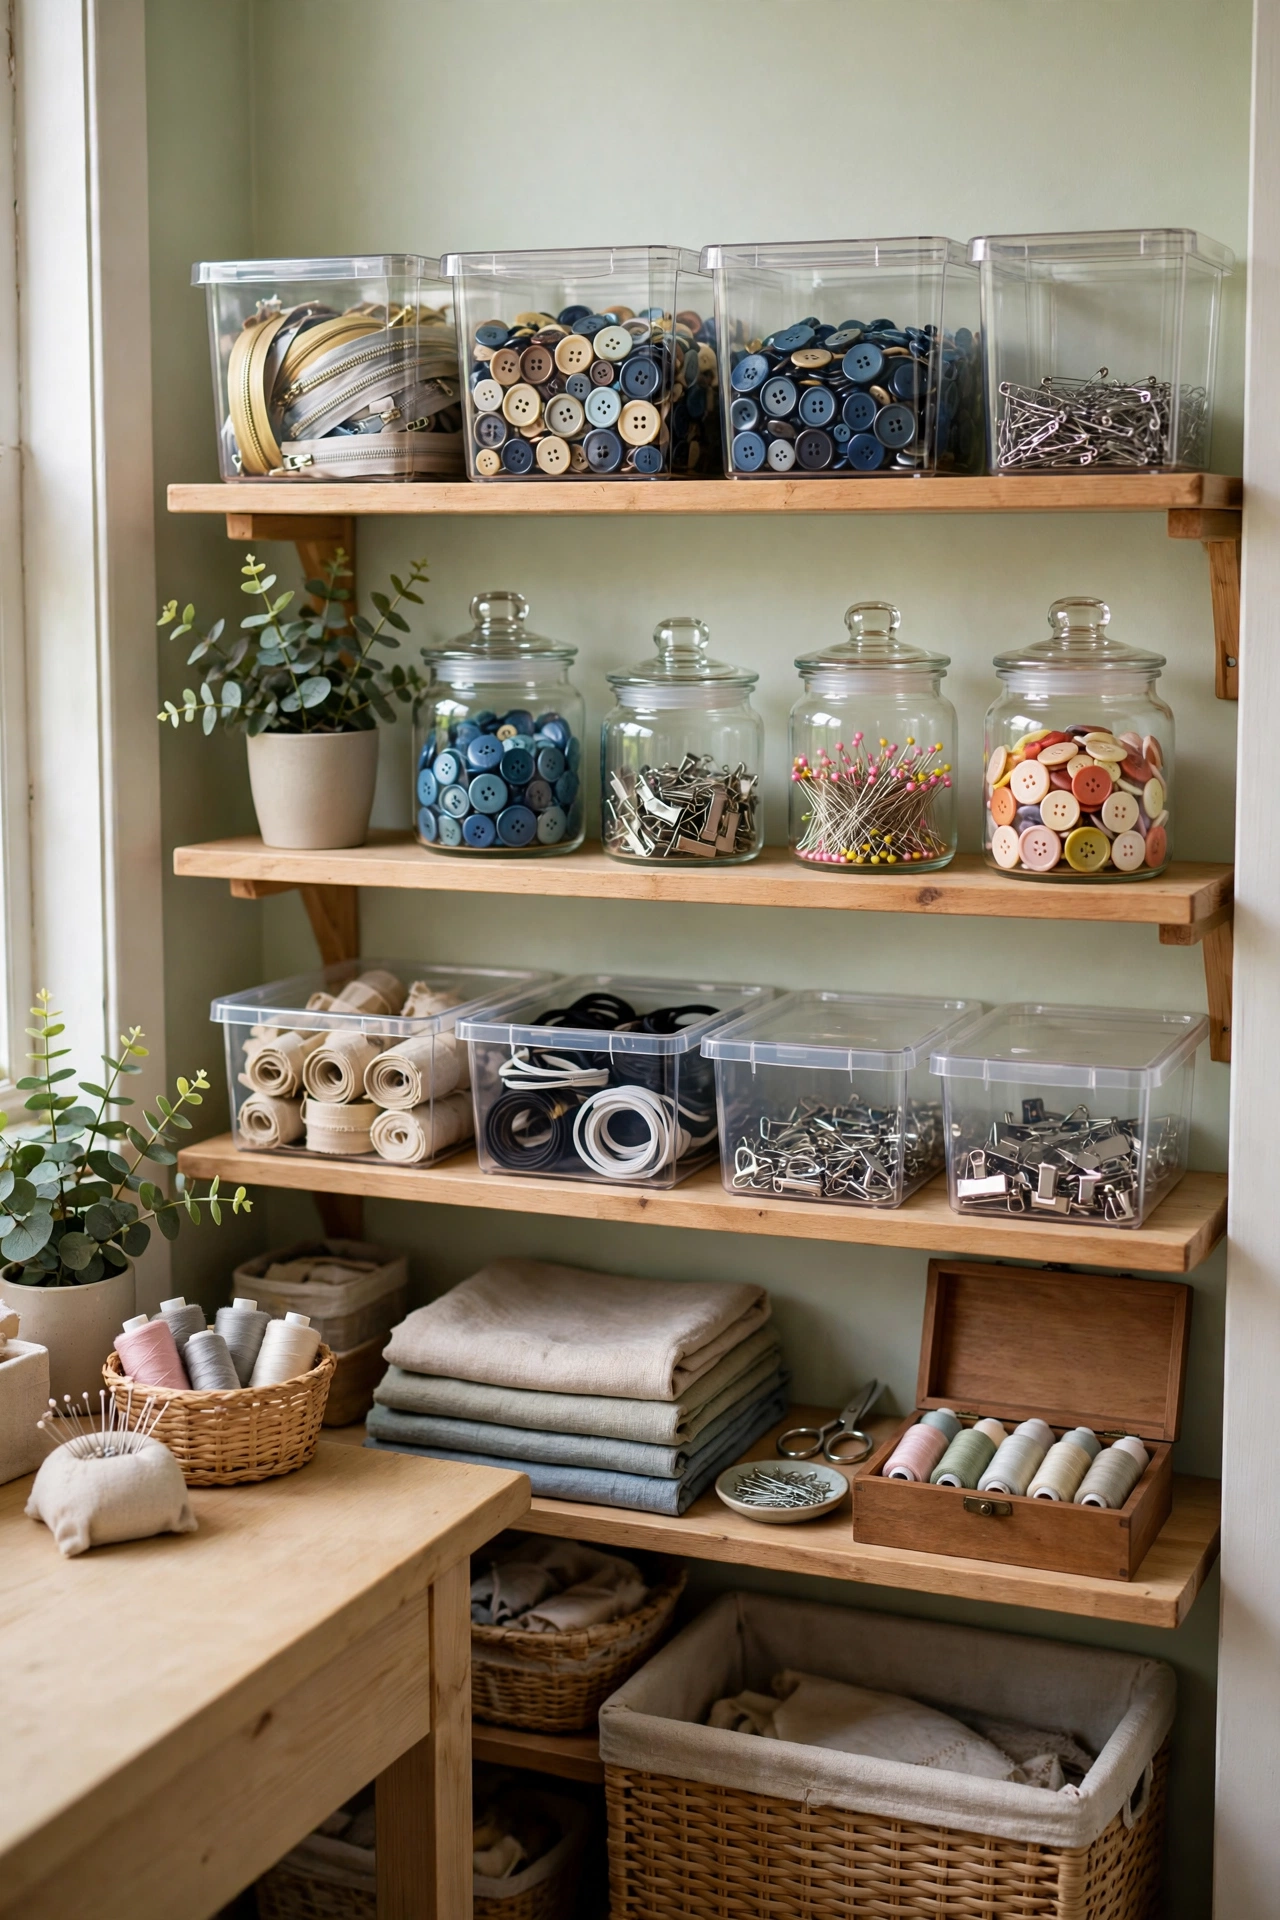
Buttons, zippers, snaps, elastic, and bias tape are small, numerous, and impossible to find when they live in one big box. Sort them into small clear bins or jars, label each one, and store the bins on a shelf or in a shallow drawer where you can read the labels at a glance. Clear containers matter more than pretty ones in a sewing room, because you need to see what is inside without opening every lid. Group notions by type — all zippers together, all buttons together — and keep the ones you use weekly at the front. A label maker, or even masking tape and a marker, turns a jumble into a system you can actually maintain. For the bigger small-space picture, our laundry room ideas show how the same clear-bin-and-label discipline keeps another hardworking small room under control.
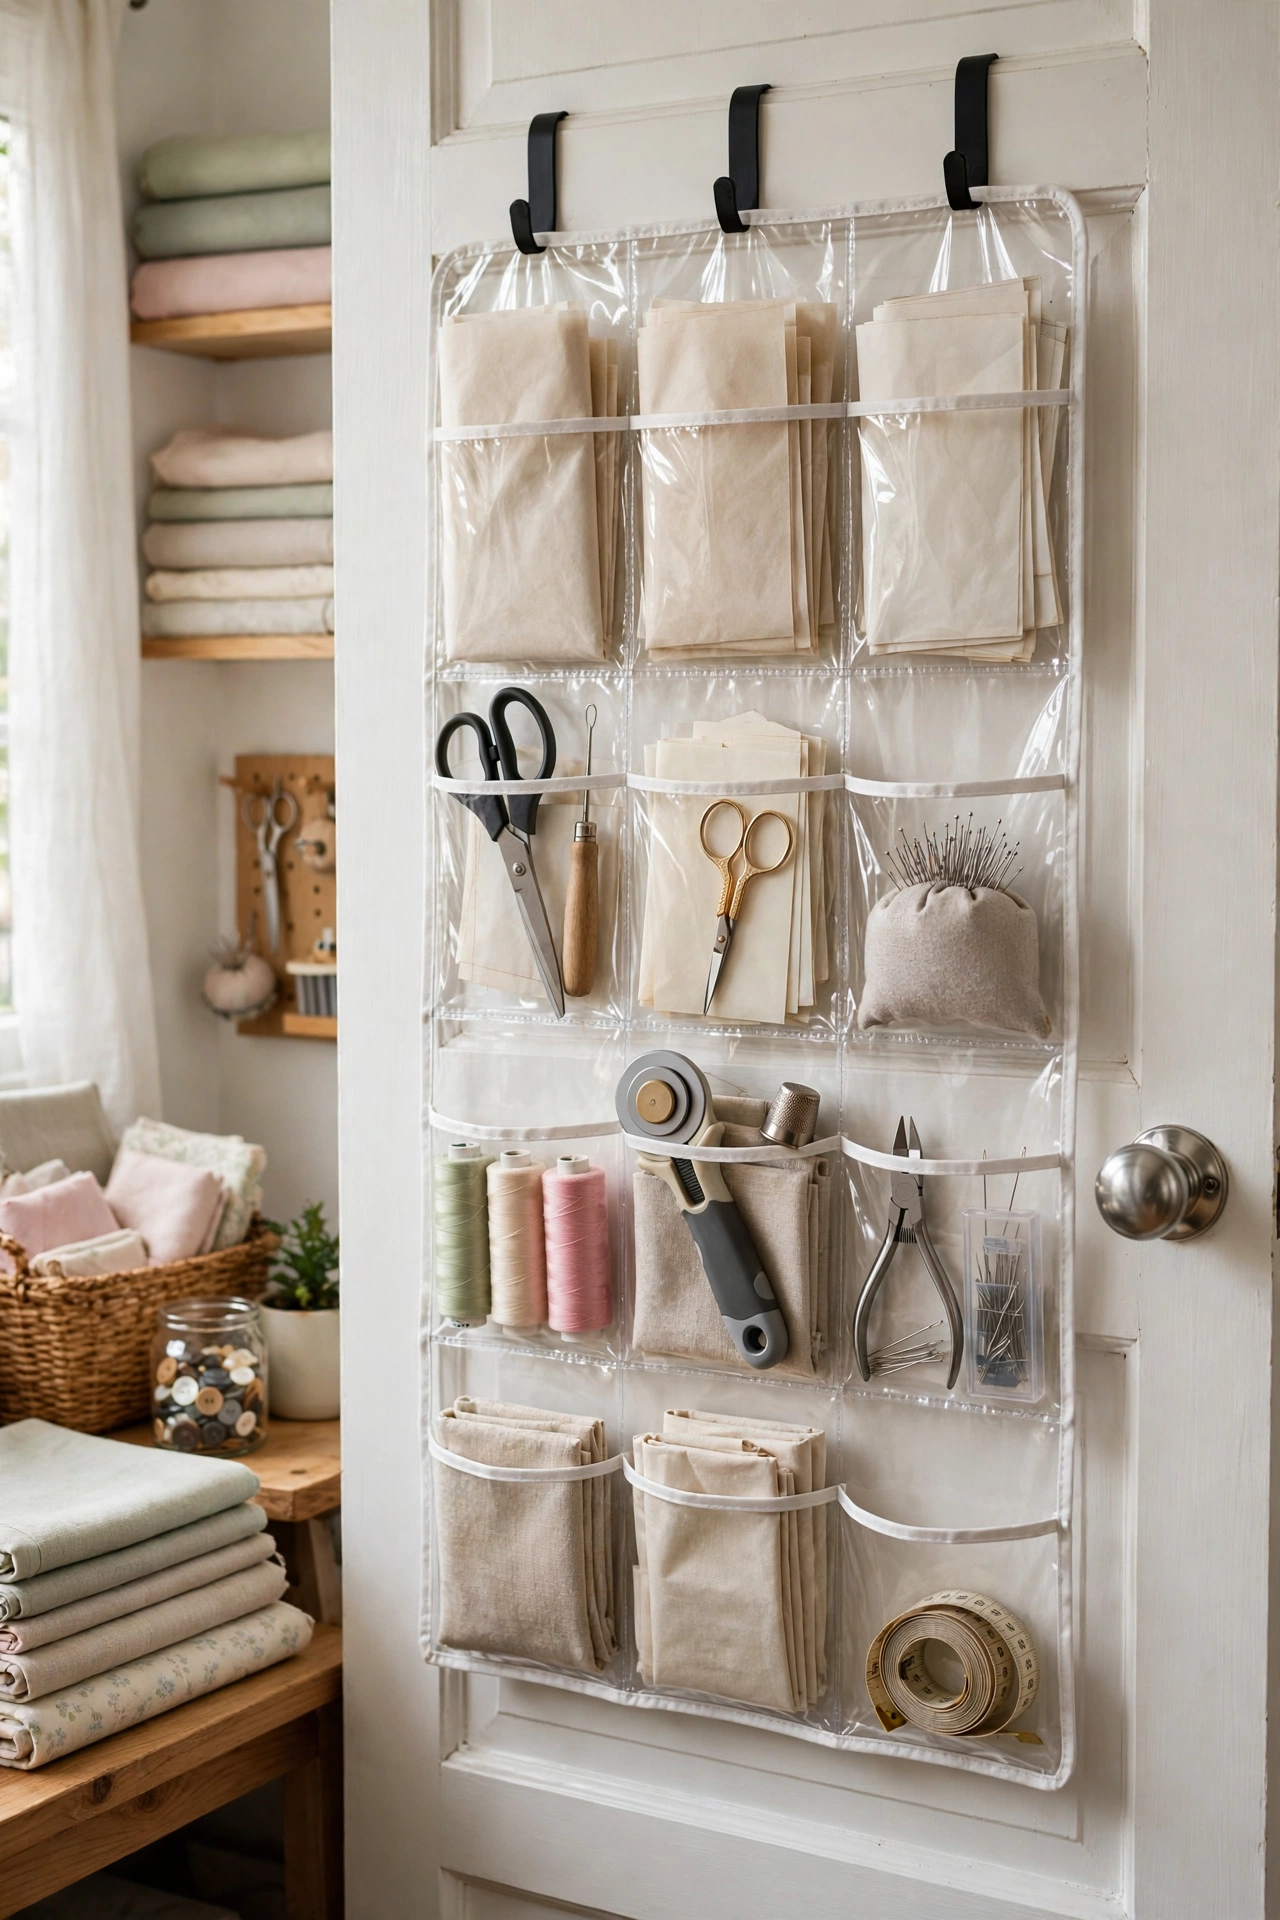
14. Use Over-the-Door Organizers for Patterns and Tools
The back of a door is free storage that most sewing rooms ignore. A clear over-the-door pocket organizer holds pattern envelopes upright where you can read them, plus scissors, rulers, rotary cutters, and rolls of interfacing in the deeper pockets. It takes zero floor space, zero wall space, and zero installation — it just hangs there. Use one organizer for patterns, sorted by garment type, and another on a closet door for tools and supplies you reach for often. Keep the heaviest items in the lowest pockets so the organizer does not swing, and choose clear pockets over fabric ones so you can see what is inside. It is the cheapest storage upgrade in this whole guide, and it frees a shelf or a drawer for something that actually needs one.
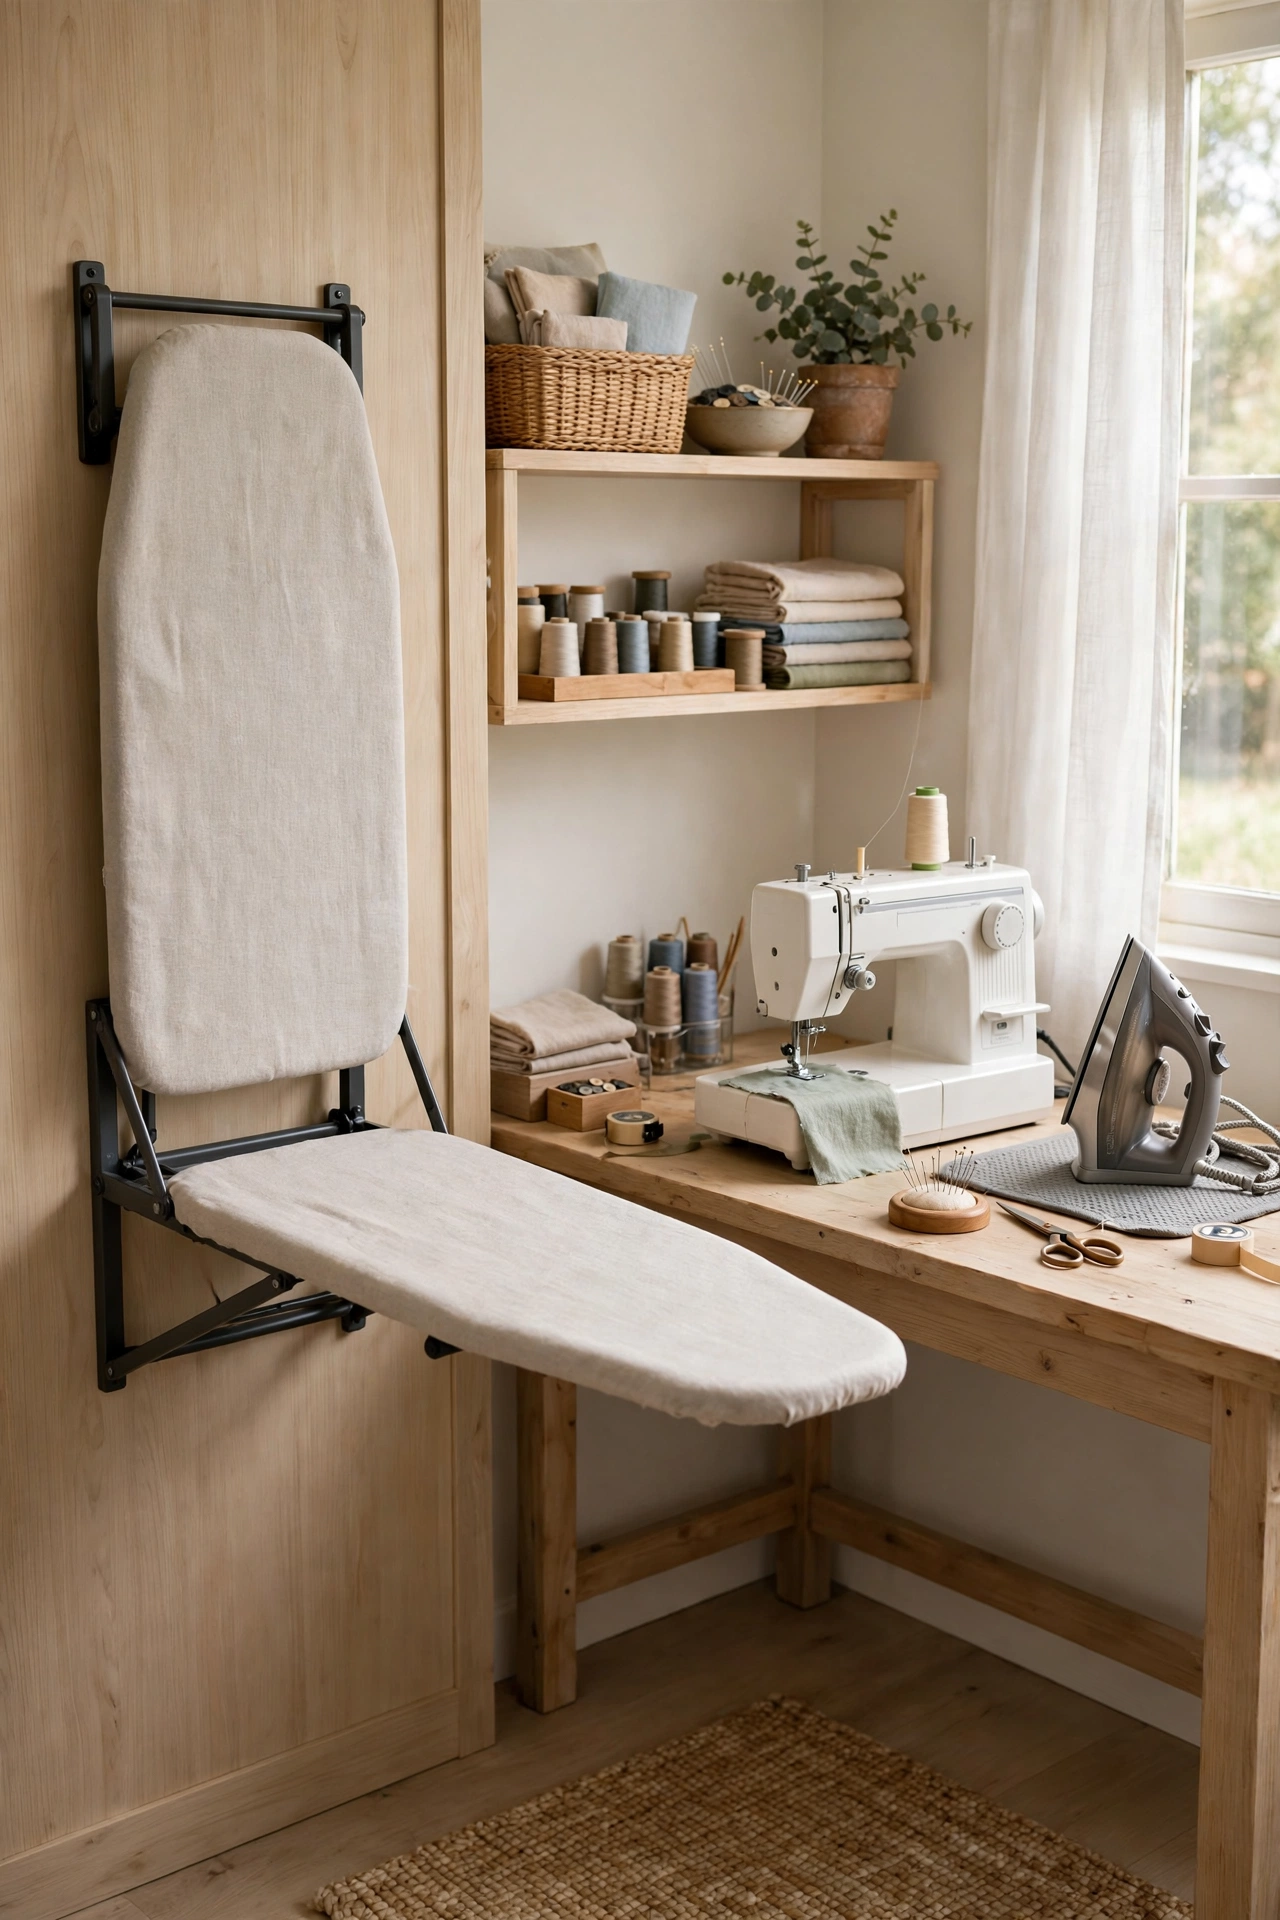
15. Mount a Fold-Down Ironing Board
Pressing is half of sewing, but a full-size ironing board eats the floor of a small room. A wall-mounted fold-down ironing board solves it: it folds flat against the wall when you are done and opens to a full pressing surface in seconds, right beside your machine. Mount it at a height that lets you press standing up without hunching — usually around 36 inches — and keep the iron on a small heatproof shelf or a wall bracket next to it, so the whole pressing station is one reach away. If a wall-mounted board will not fit, a tabletop pressing mat on a heatproof pad turns any sturdy surface into a pressing station, and a sleeve board handles cuffs and small seams. Either way, the goal is the same: pressing should take one step, not a furniture rearrangement.
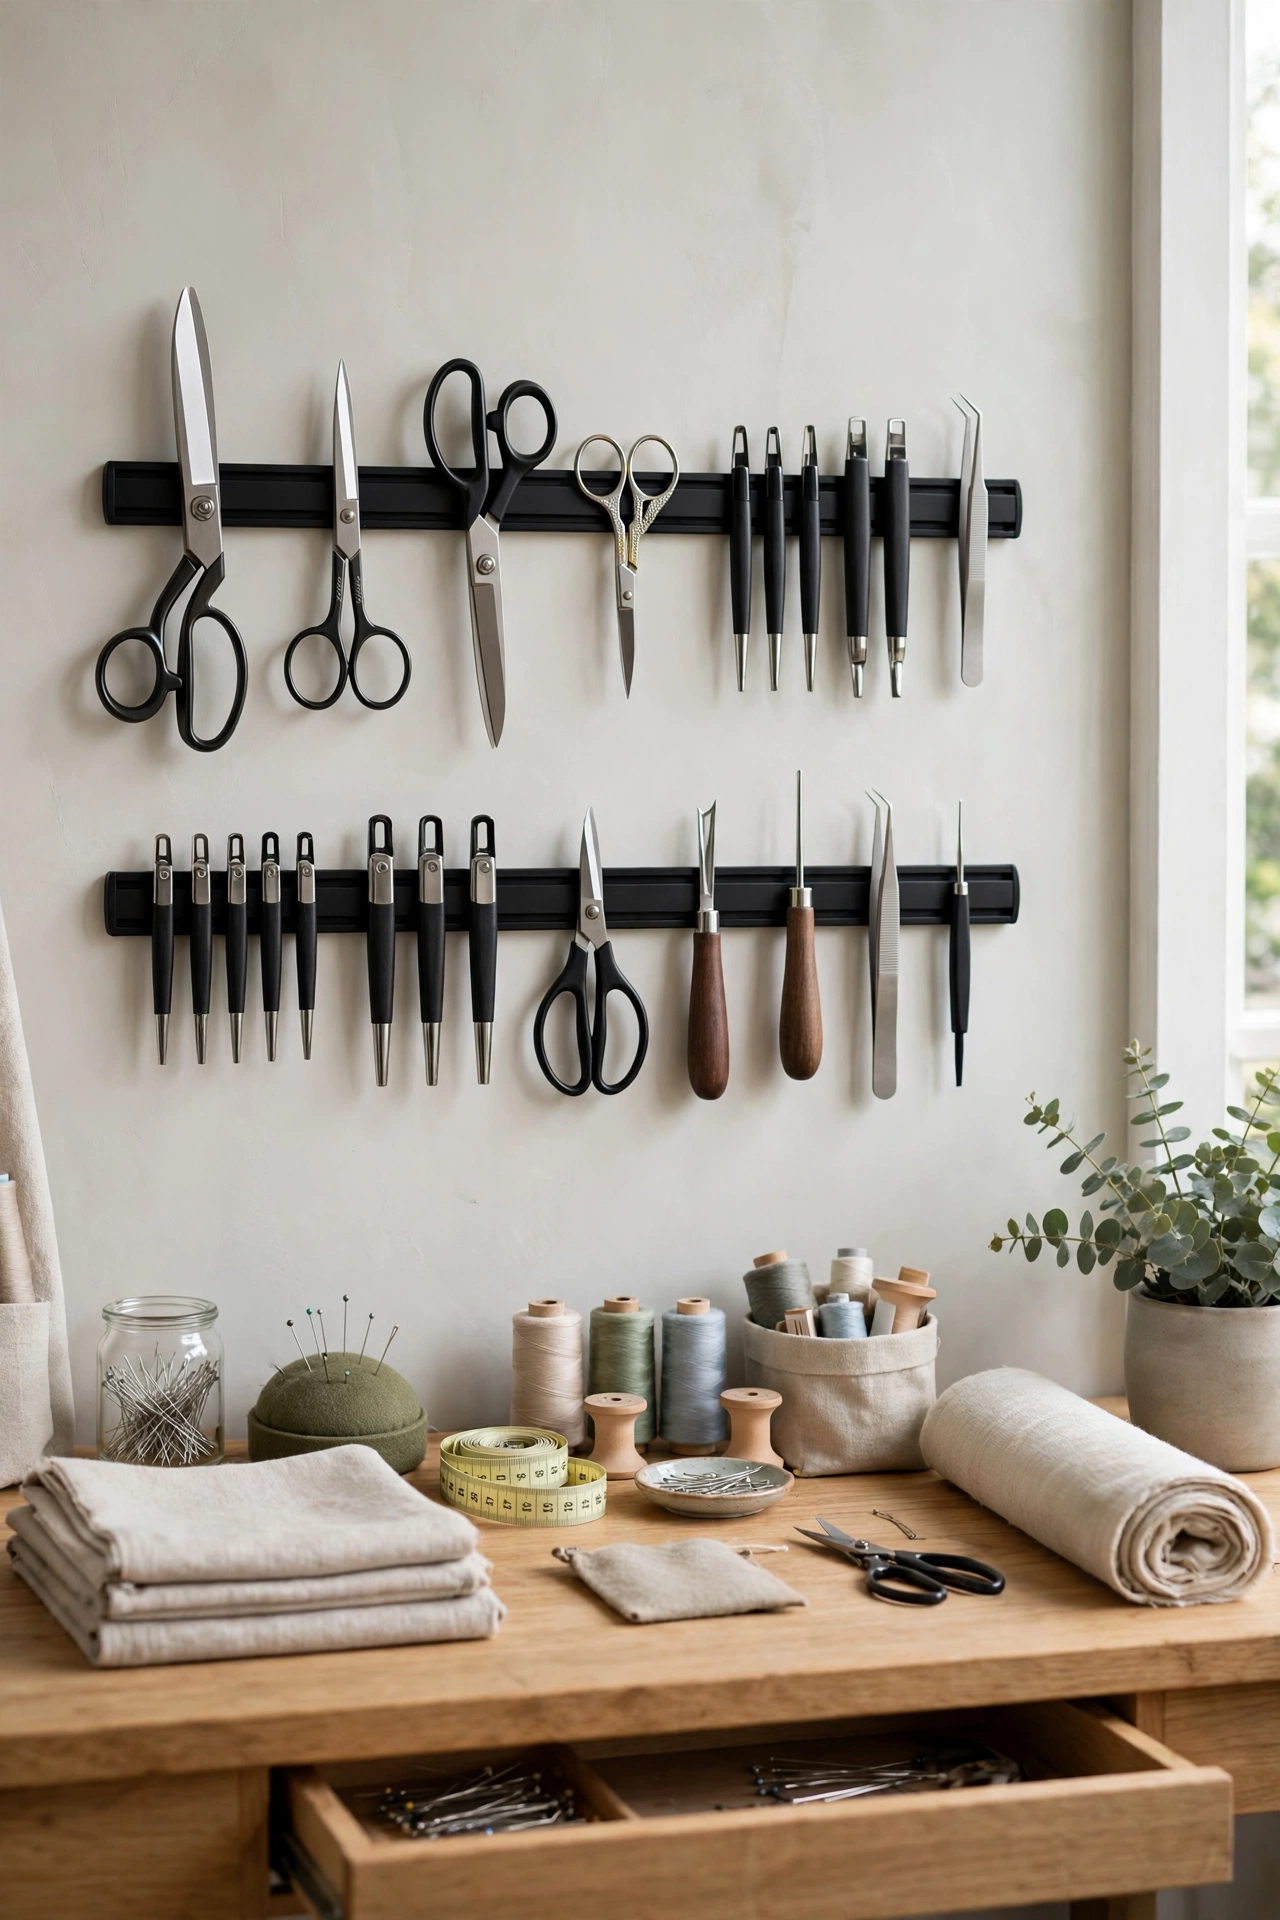
16. Stick Magnetic Strips for Metal Tools
A magnetic strip on the wall or the side of your desk is the smallest storage upgrade with the biggest payoff in a sewing room. Scissors, seam rippers, tweezers, needle holders, and pin cushions with metal bases all stick to it, visible and reachable, instead of rattling around in a drawer. Mount one strip beside your machine for the tools you grab mid-seam, and another near the cutting table for rotary cutters and shears. Keep the strip out of reach of your machine’s electronics and your phone, and mount it firmly — a strip that peels off the wall under the weight of good scissors is worse than no strip at all. A small magnetic bowl on the desk catches stray pins at the end of a session, so nothing sharp ends up on the floor. It is a five-minute install that saves you from the daily hunt for scissors.
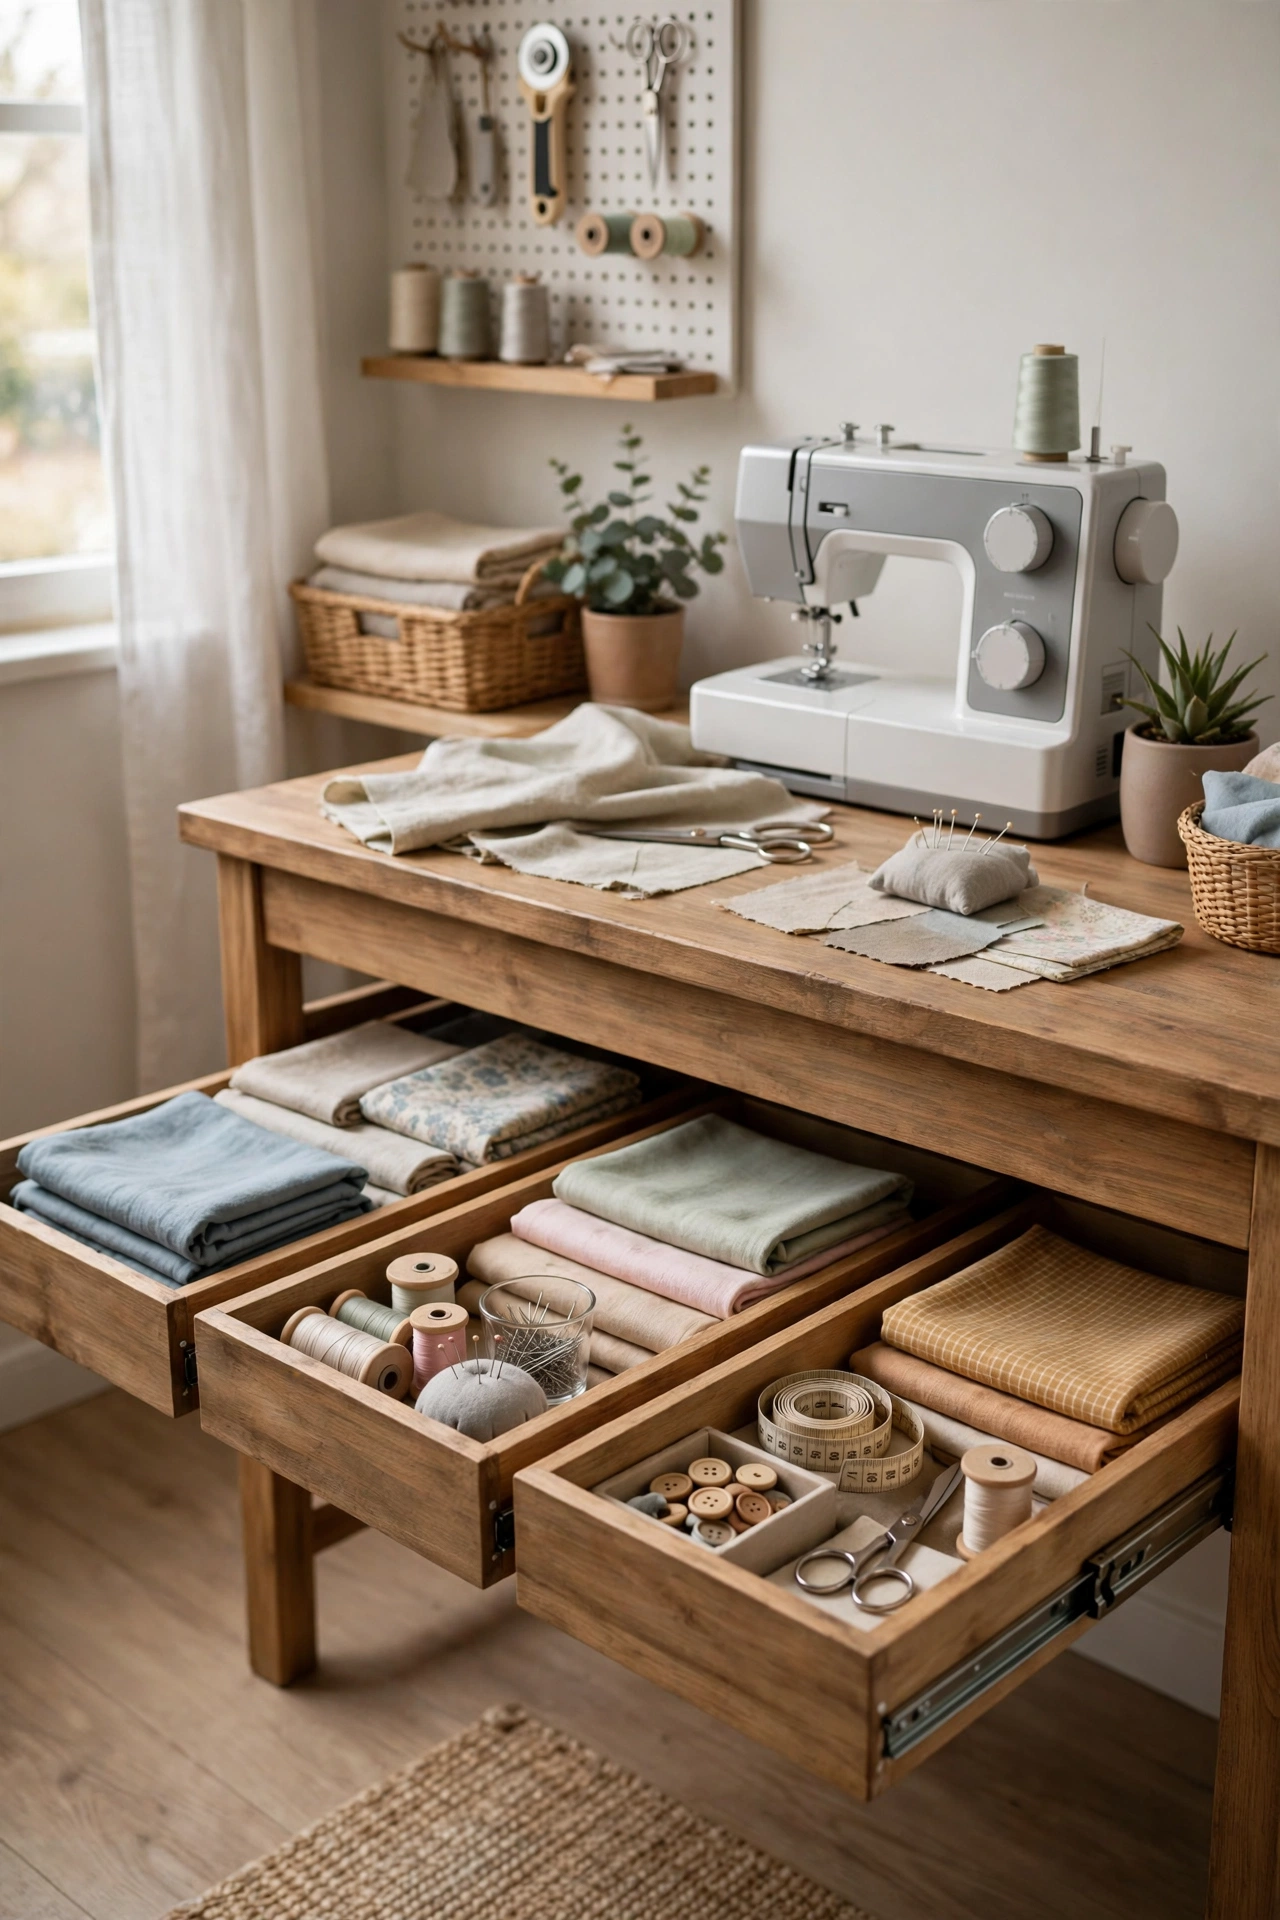
17. Slide Storage Under the Desk and Table
The space under your sewing desk and cutting table is storage you already own. Shallow bins, flat drawers, or a low rolling drawer unit slide underneath and hold fabric, patterns, and works in progress without taking a single inch of floor. Keep the bins shallow — six to eight inches tall — so they slide out easily and you can see what is inside without pulling them fully out. Label the front of each bin by project or by supply type, and reserve one bin as the “current project” bin so your in-progress work has a home that is not the desk surface. If your desk has no clearance underneath, raise it on short risers or swap the legs for taller ones. Under-desk storage is invisible, costs almost nothing, and keeps the room looking calm even mid-project.
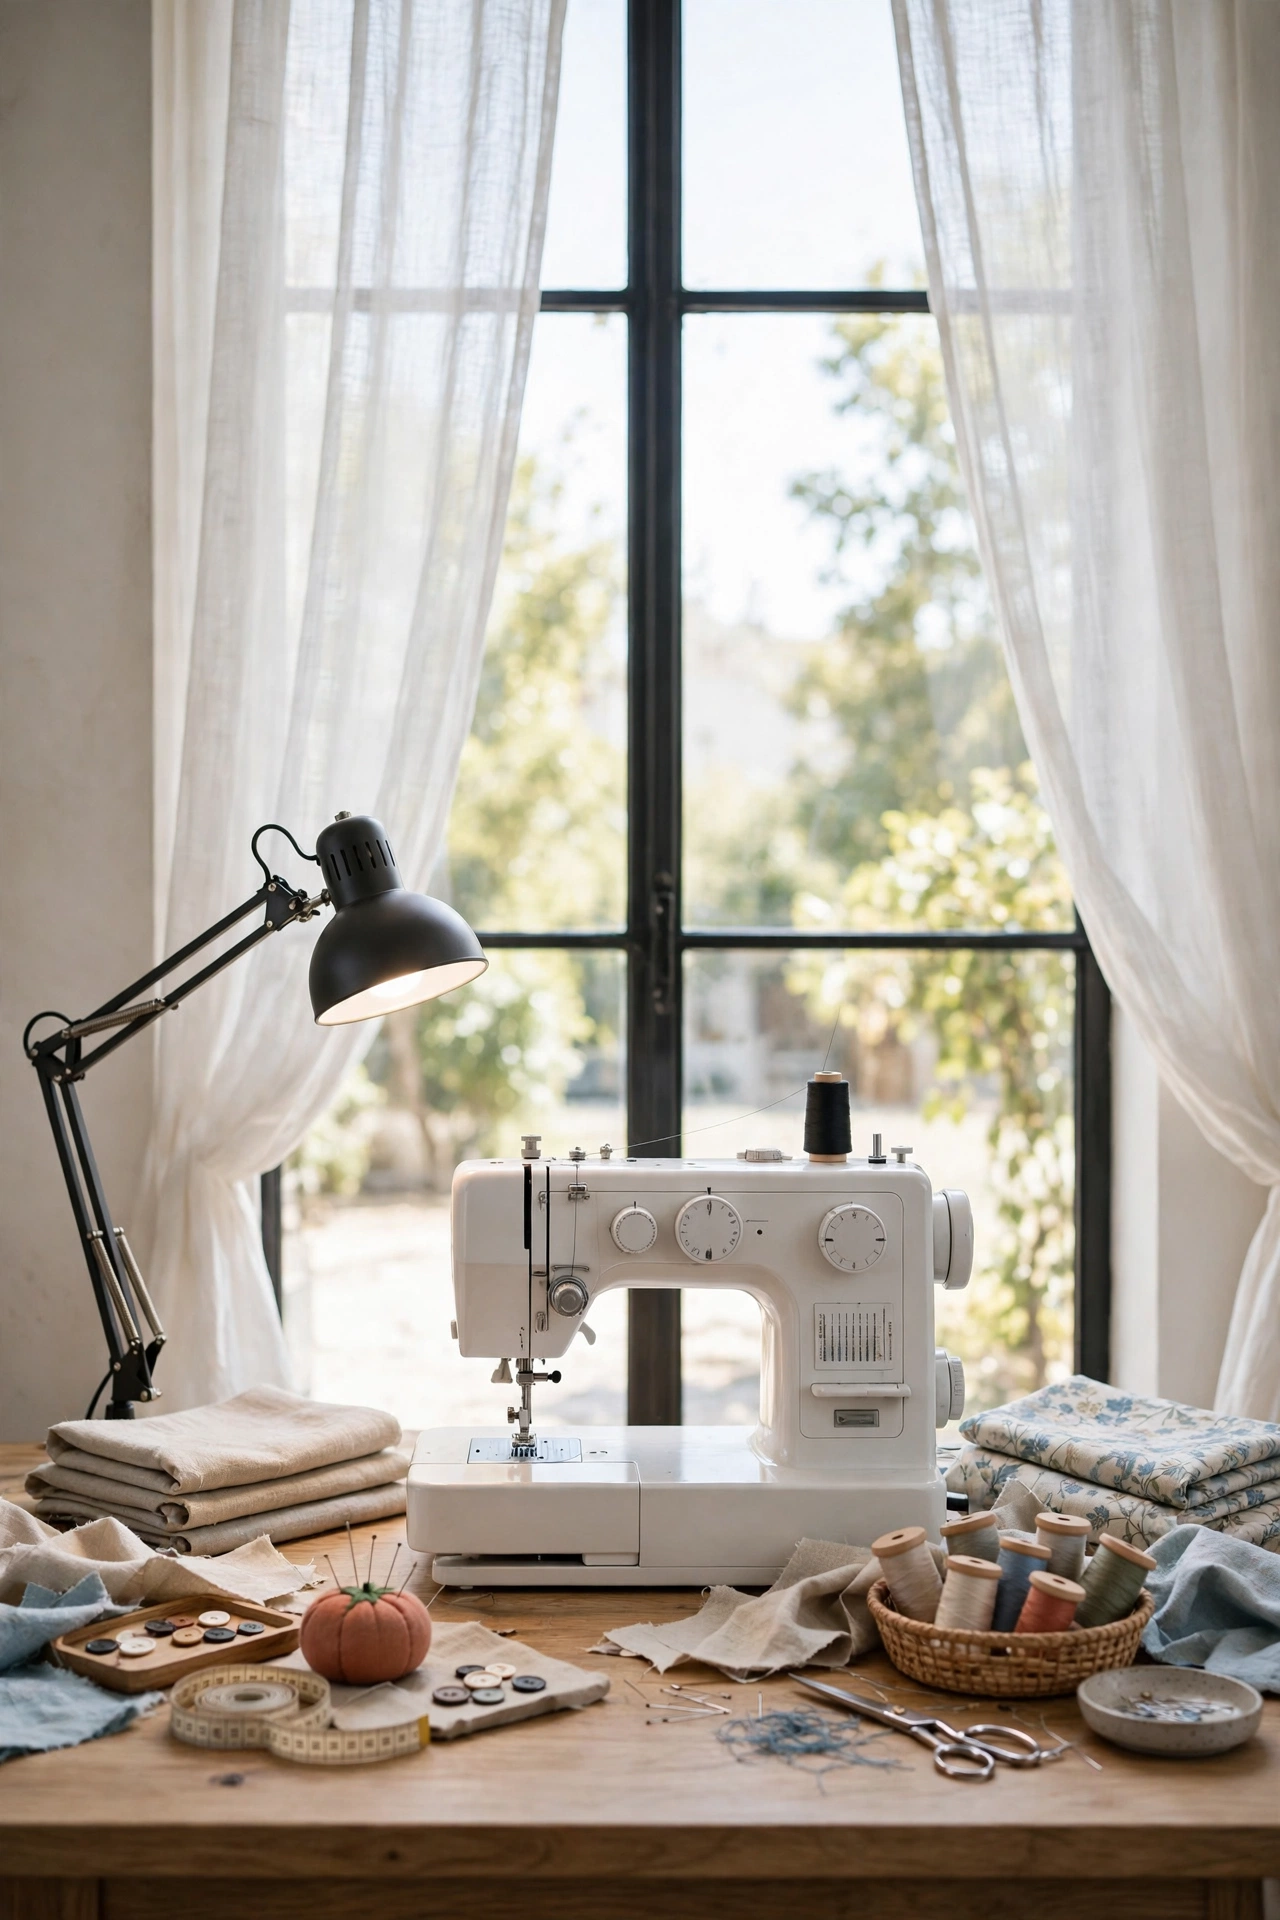
18. Put Your Machine by the Window and Add a Daylight Lamp
Natural light is the most underrated tool in a sewing room. It reduces eye strain, shows true fabric colors, and makes a small room feel larger. Put your machine table beside or facing a window whenever the room allows it, so daylight falls on your work from the side rather than from behind you, where it casts shadows on the needle. For evenings and windowless corners, add a daylight-balanced task lamp — a clip-on lamp on the desk or a small LED bar under a shelf — that mimics daylight color so your thread and fabric choices stay accurate. Avoid a single overhead light on its own; it creates shadows exactly where your hands are. Layer the window light, a task lamp, and a soft ceiling light, and the smallest sewing room feels bright and easy to work in.
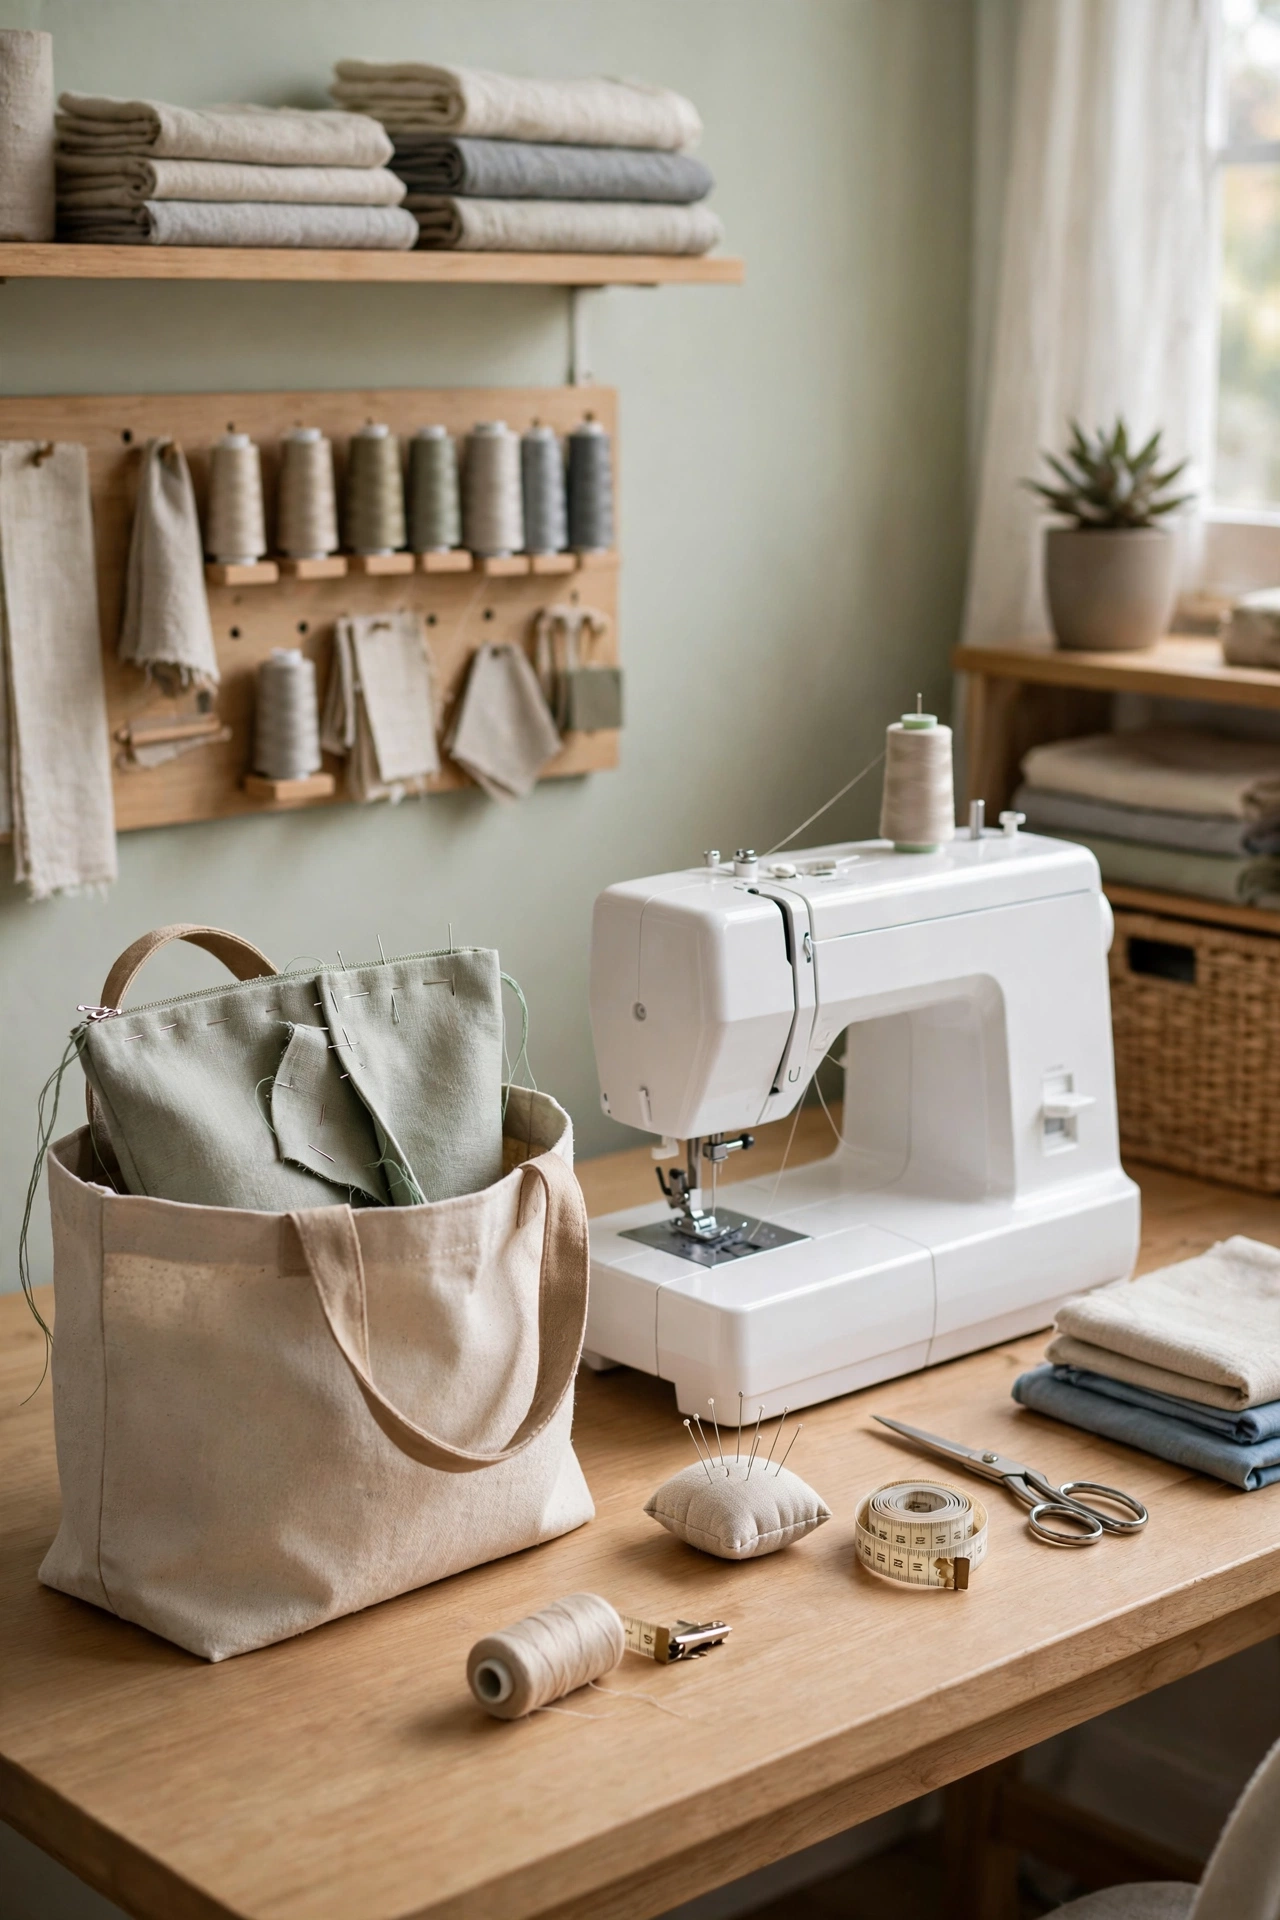
19. Follow the One-Active-Project Rule
The fastest way to make a small sewing room unusable is to have three projects out at once. The one-active-project rule fixes it: only one project lives near the machine, and every waiting project goes into its own bag or basket with its pattern, fabric, thread, and notions together. When you finish a session, the active project goes back in its bag too, so the desk is clear for tomorrow. The rule works because it separates the decision — what to sew next — from the workspace itself. A clear desk invites you to sit down; a desk buried under three half-finished projects invites you to walk past. Keep a small shelf or a stack of project bags near the door, and the room stays ready even when your sewing queue is long.
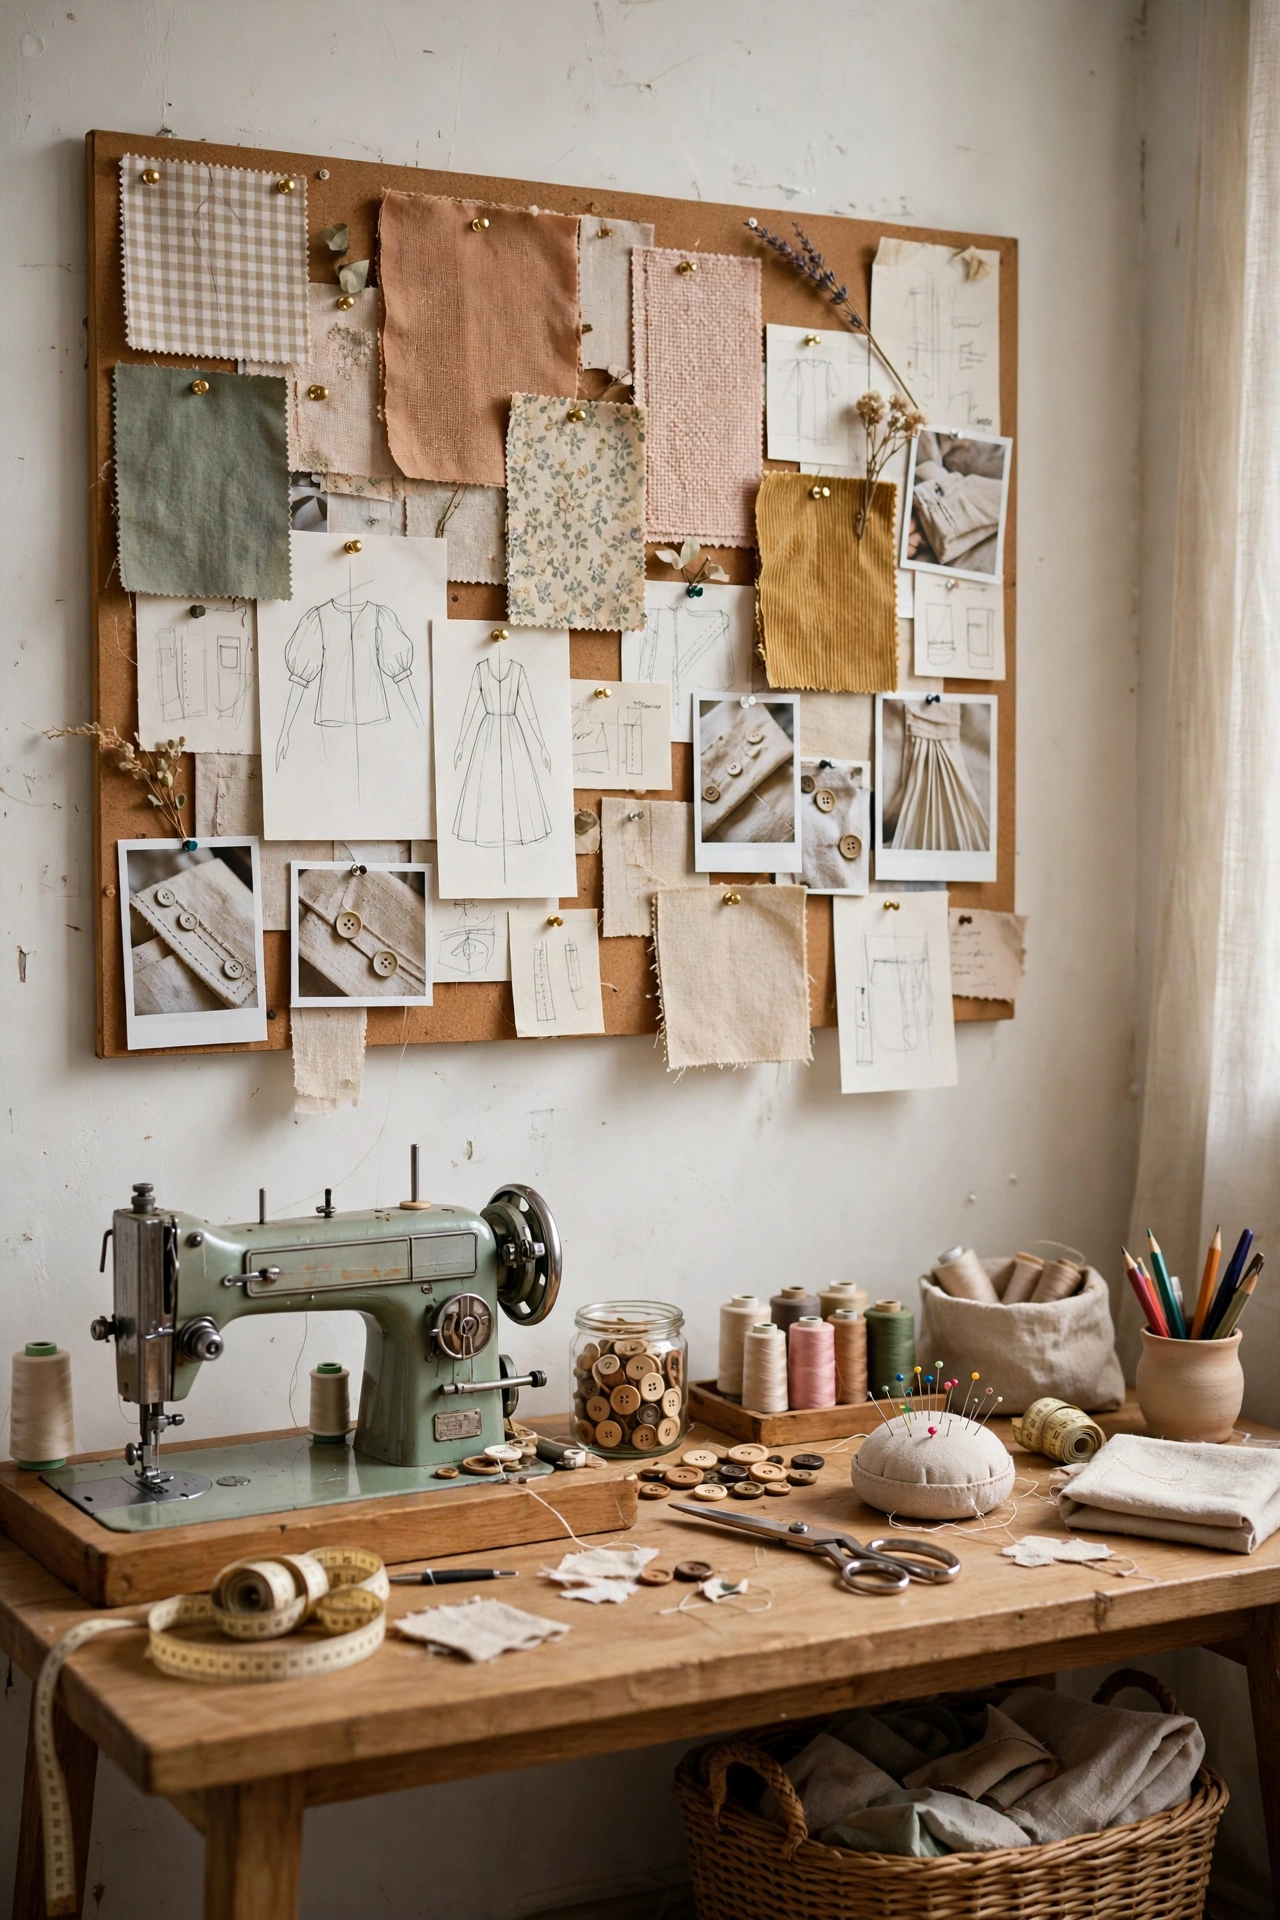
20. Build an Inspiration Board
A small sewing room still deserves one wall that is purely for joy. An inspiration board — a cork board, a fabric-covered panel, or a simple wire grid — holds fabric swatches, pattern ideas, sketches, photos, and color combinations for the projects you dream about. It costs almost no space, because it lives on the wall, and it does a real job: it keeps your ideas visible so they turn into projects instead of forgotten notes. Pin up the swatches for your next three projects and the board becomes a planning tool as well as decoration. Change it when your projects change, and keep it near your machine so you see it every time you sit down. A room that shows you what you love to make is a room you will keep coming back to.
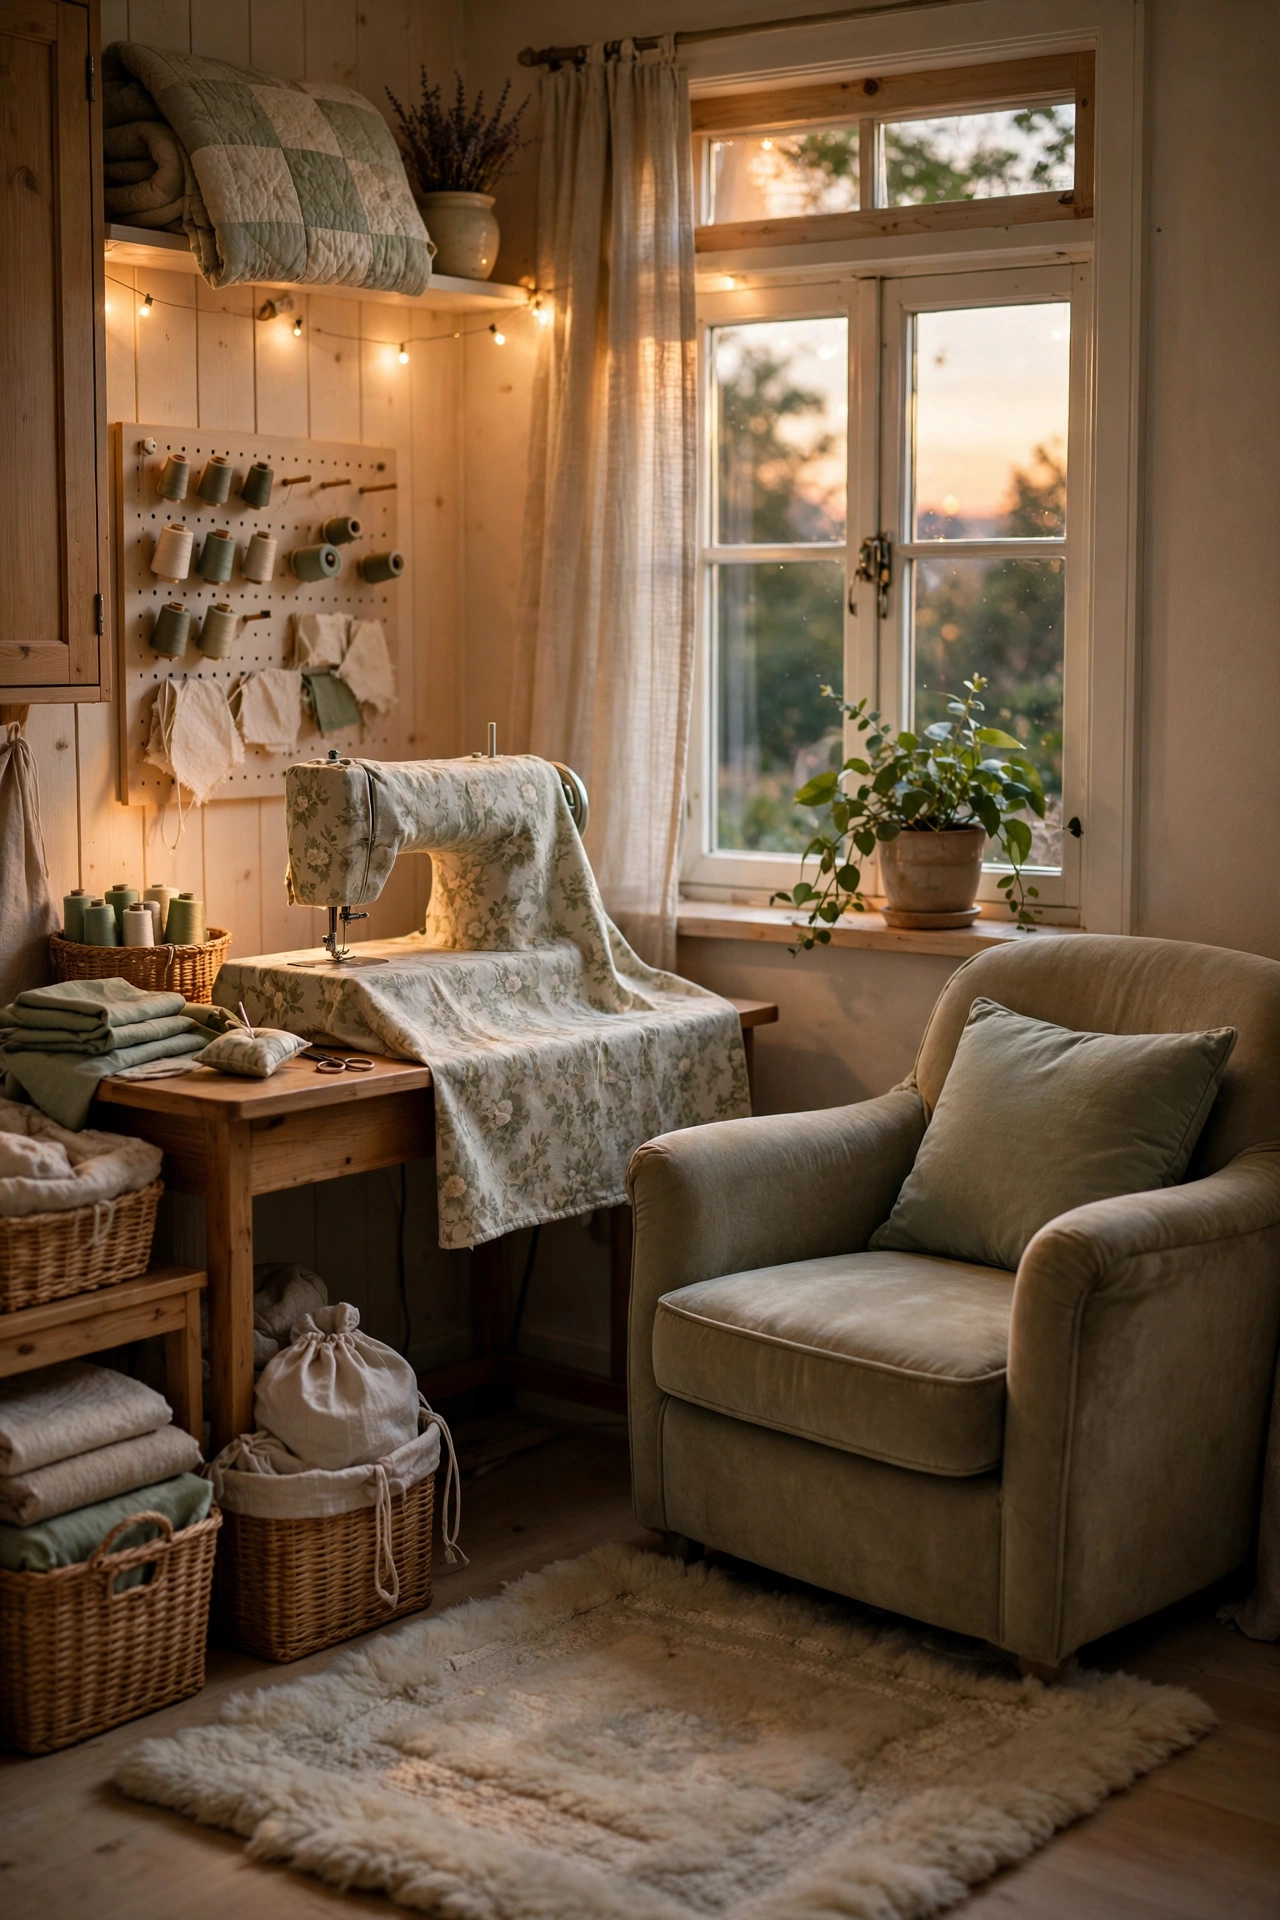
21. Add Cozy Finishing Touches
The last idea is the one that makes the room feel finished: a few cozy touches that cost almost no space. A small rug under your chair warms the floor and marks your territory. A cushion on the chair and a matching cover on your machine tie the room together and protect the machine from dust at the same time. A plant on the windowsill or a framed print on the wall gives the room a little life without taking up a work surface. Keep it to three or four touches — a rug, a cushion, a cover, and one piece of decor — because a small room with too many cozy things just feels cluttered again. Our vintage craft room ideas show how a few well-chosen details can make a workroom feel like a retreat. A sewing room that feels good is a sewing room you will actually use.
Frequently Asked Questions
How much space do I need for a small sewing room?
You need less than you think. A dedicated sewing corner can work in as little as 25 to 30 square feet — a desk, a chair, and a shelf — while a comfortable small sewing room is usually 60 to 100 square feet. What matters more than the square footage is the layout: three zones for cutting, sewing, and pressing, storage that goes up the walls, and furniture that folds or rolls away. A well-planned 60-square-foot room sews better than a cluttered 150-square-foot one.
What is the best layout for a small sewing room?
An L-shaped layout along two walls is the best starting point for most small rooms, because it puts the machine and the cutting table within a chair swivel of each other. A corner layout works for a single-machine sewer, and a long counter along one wall suits quilters and multi-machine setups. Whatever layout you choose, arrange it around the sewing work triangle — cutting, sewing, and pressing within a few steps — and keep the center of the room open so you can step back and lay fabric out on the floor when a project needs it.
How do I store fabric in a small sewing room?
Fold fabric into open cubbies sorted by color so you can see everything at a glance, and keep the fabric you use least on the highest shelves. Use clear bins for scraps and small cuts, and store one project at a time in its own bag with its pattern and thread. The key rule is visibility: fabric you cannot see is fabric you will forget, rebuy, and trip over. A cubby system with matching bins keeps even a large stash tidy in a small room.
Where should I put my sewing machine in a small room?
Put the machine on a desk beside or facing a window, so natural light falls on your work from the side and you can see true fabric colors. Keep the desk against a wall with a pegboard or shelf above it for the tools you use every session, and make sure the chair can tuck fully under the desk when you are done. If the room has no window, put the machine where a daylight task lamp can light the needle area without casting shadows from your hands.
How can I fit a cutting table in a small sewing room?
Use a table that earns its footprint twice: a counter-height cutting table with storage underneath, or a rolling island on locking casters that you push to the center of the room to cut and park against the wall to sew. A fold-down wall-mounted table is the best option when the room has to serve another purpose, and a dresser at counter height doubles as a cutting surface and fabric storage. Prioritize the cutting surface over the sewing desk when space is tight, because cutting needs more flat area than stitching does.
Can I set up a sewing room in a closet or a shared room?
Yes, and both work well. A closet becomes a sewing station with a desk across the back wall, shelves above it, and a curtain instead of doors — it even closes away the mess. In a shared room, a fold-down table, a rolling cart, and one-active-project storage let you set up in minutes and pack away just as fast. The trick in both cases is to keep your tools and your current project together in one portable kit, so setup is a single step instead of a chore.
Conclusion
A small sewing room works when it is designed around the way you actually sew. Start with the three zones — cutting, sewing, pressing — then build the storage up the walls, under the furniture, and onto the backs of doors. Choose furniture that folds or rolls away, keep only one project out at a time, and let the light and a few cozy touches make the room a place you want to sit in. You do not need all 21 ideas to see a difference. Pick the three that fit your room today — the pegboard, the rolling cart, and the one-project rule are a good start — and the room will already feel bigger. Then add the rest one at a time, and let the room grow with your sewing. If you want more small-space storage inspiration, our craft room storage ideas and genius IKEA hacks are a natural next read.