41 Laundry Room Ideas: The Complete Guide to Storage, Layout & Organization
41 Laundry Room Ideas: The Complete Guide to Storage, Layout & Organization
Most laundry rooms get whatever space is left over — a narrow closet, a corner of the basement, a pass-through on the way to the garage — and then they get blamed for being hard to use. The truth is that a laundry room does not need to be big to work well. It needs a layout that follows the order you actually do laundry in, storage that puts every supply within reach, and a few surfaces for folding, hanging, and drying. Get those three things right and the room stops being a chore to walk into. This guide covers all of it: seven layouts for every size of space, storage ideas that use the walls instead of the floor, folding and drying stations, a proper utility sink, and the finishing touches that make the room feel like part of your home instead of an afterthought. Work through the 41 ideas below, pick the ones that fix your biggest daily frustration first, and build from there.
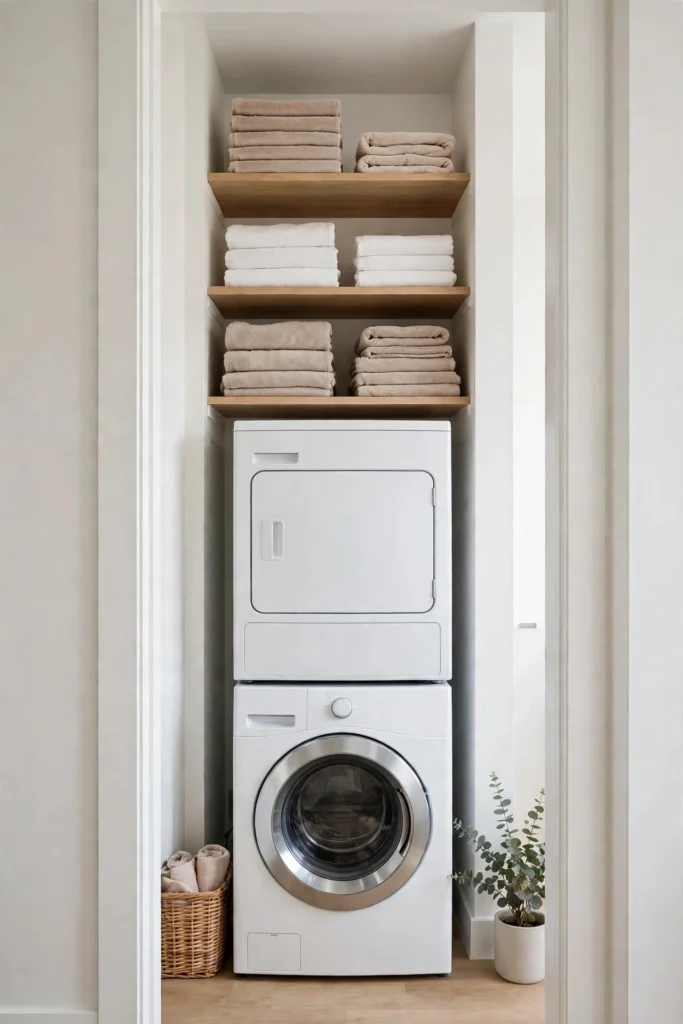
1. Stack the Washer and Dryer
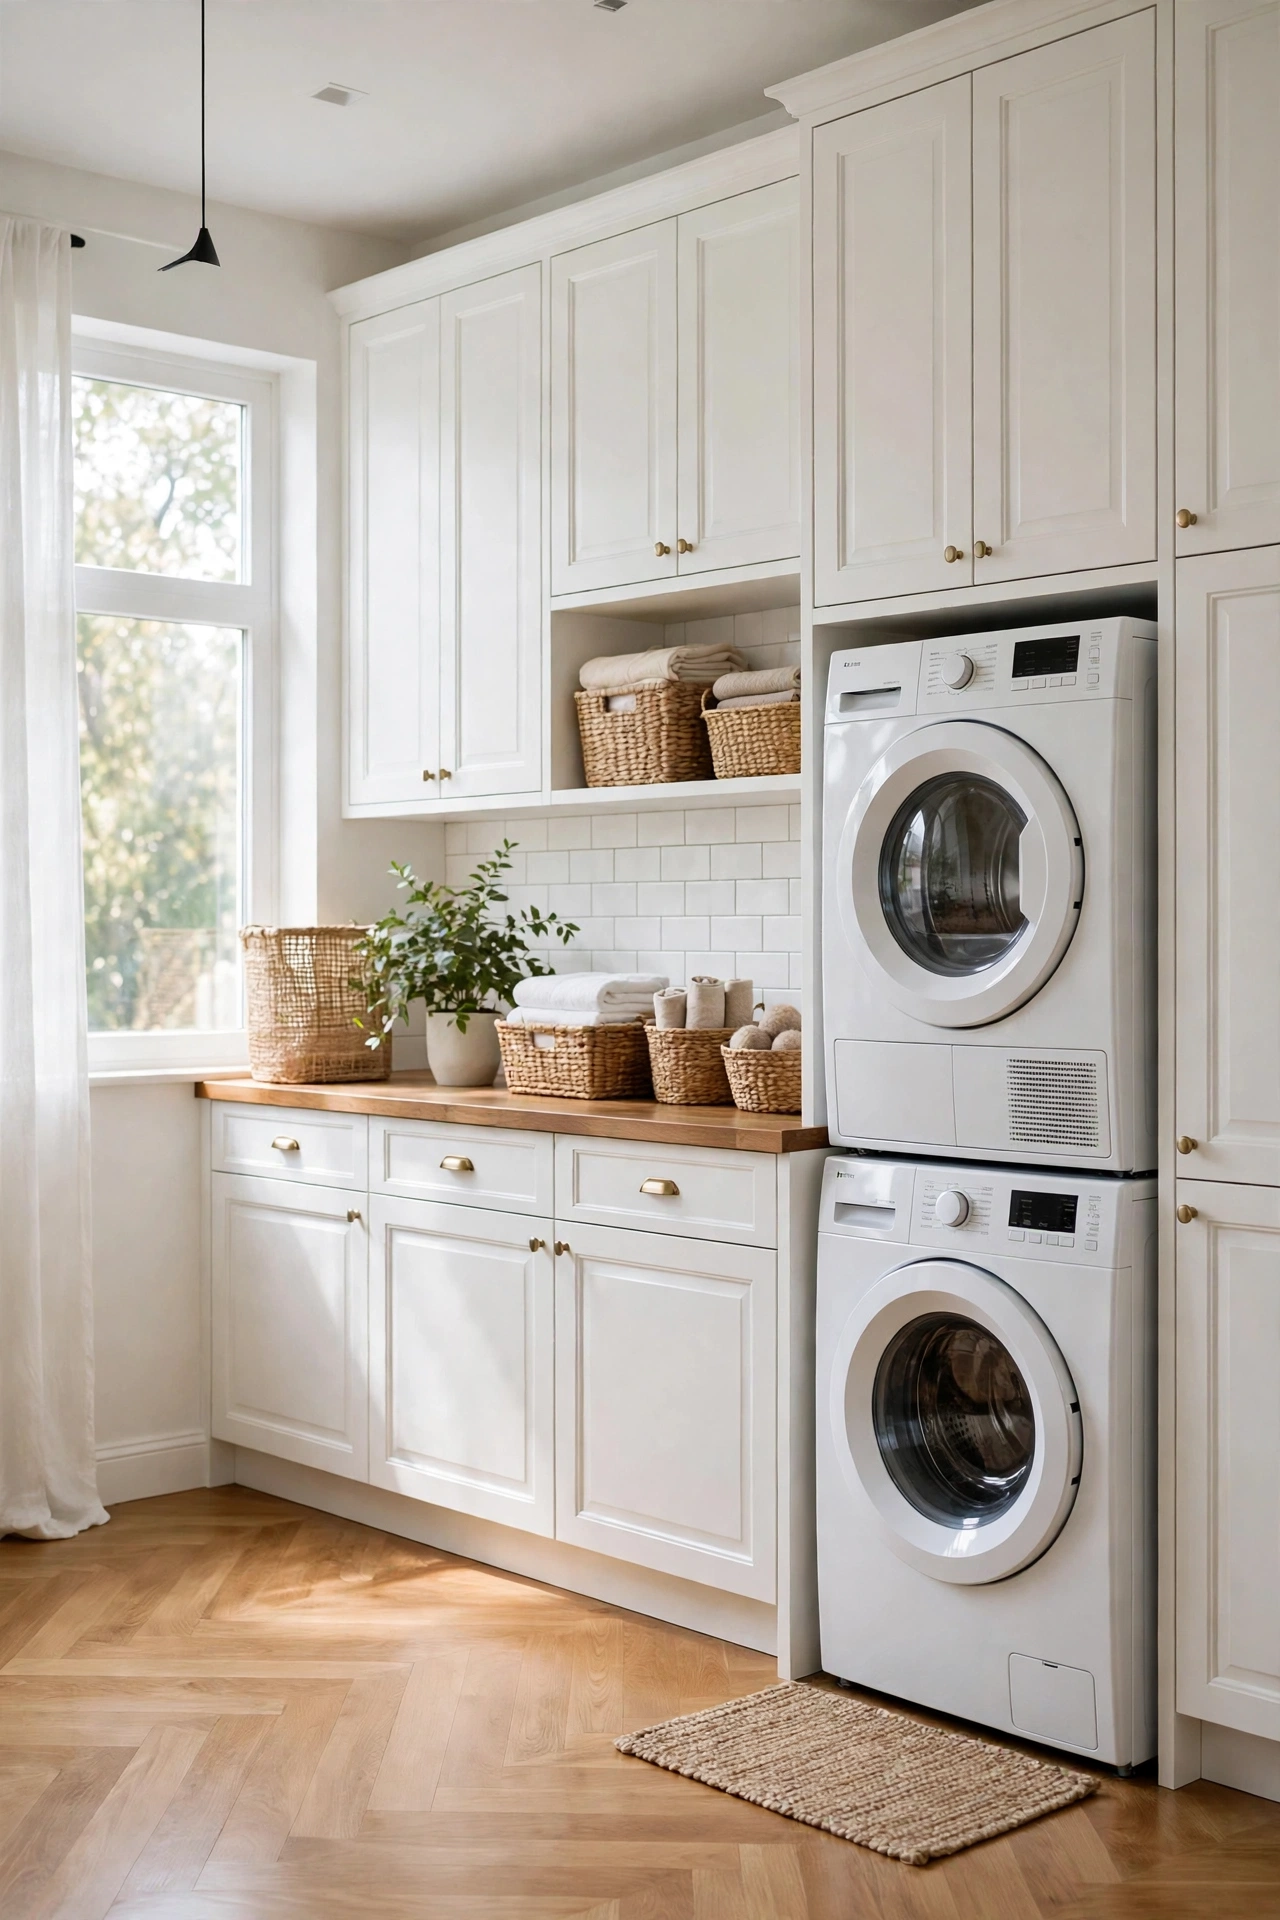
Stacking is the single biggest space saver in a small laundry room. A manufacturer stacking kit lets a front-load dryer sit safely on top of a matching front-load washer, which frees an entire machine’s footprint of floor space for something else — a tall shelving unit, a rolling hamper, a folding cart, or simply room to move. Before you commit, check your washer and dryer manuals: not every pair is designed to stack, and the kit must match your exact models. Measure the full height too, including the space the dryer door needs and any clearance your manual requires above the unit. In a laundry closet, stacking is often the difference between a cramped squeeze and a genuinely usable room, and the freed floor space usually pays for the kit many times over in storage you can actually reach.
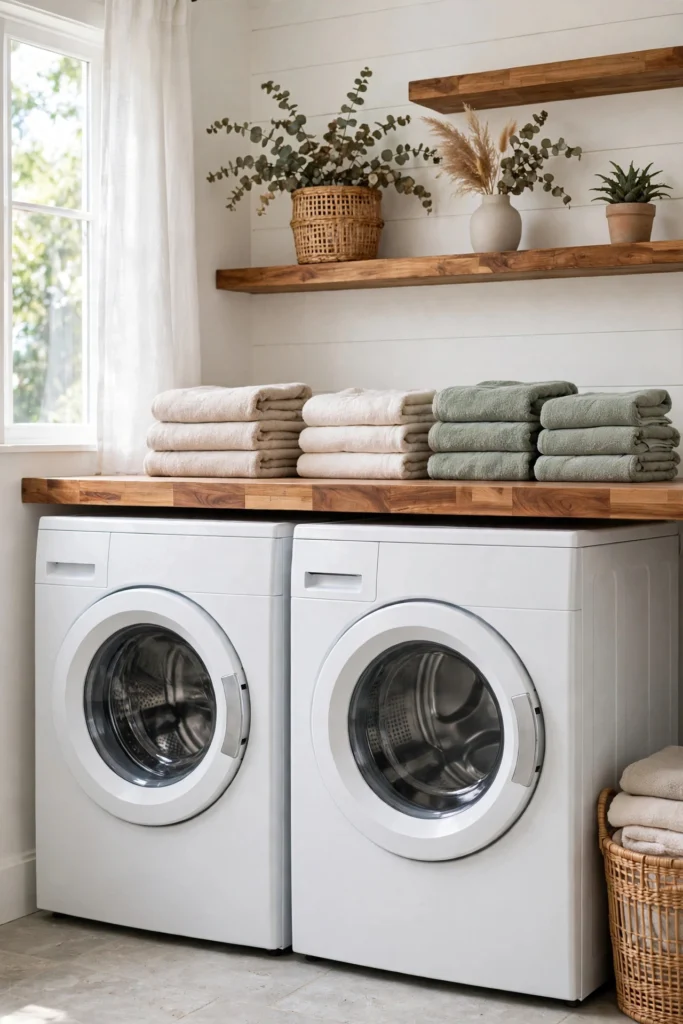
2. Go Side-by-Side with a Counter on Top
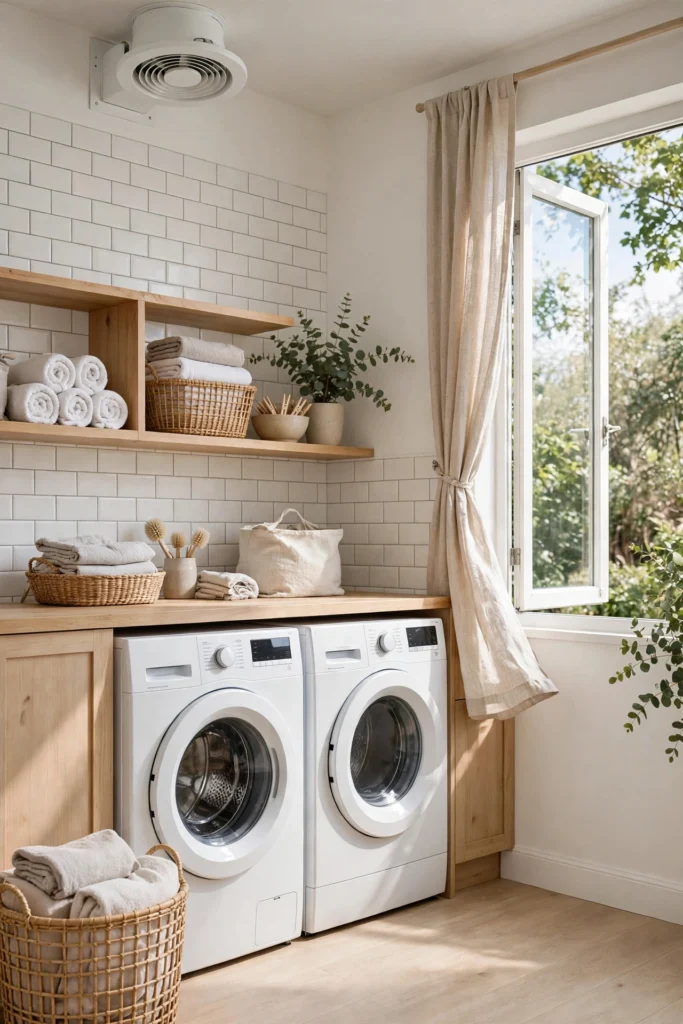
If you have the wall width for two machines next to each other, put a countertop across the top of them. A single slab of butcher block, laminate, or quartz turns the dead space above front-load machines into the folding surface every laundry room needs, at a comfortable working height. Clothes come out of the dryer, land on the counter, and get folded right there instead of carried to a bed or a table in another room. Leave a small gap at the back for hoses and cords, and choose a counter depth that sits flush with the front of the machines so nothing catches on an overhang. Underneath, the space between the machines can hold a slim pull-out for detergent. This one change makes the whole wash-dry-fold sequence happen in a single spot.
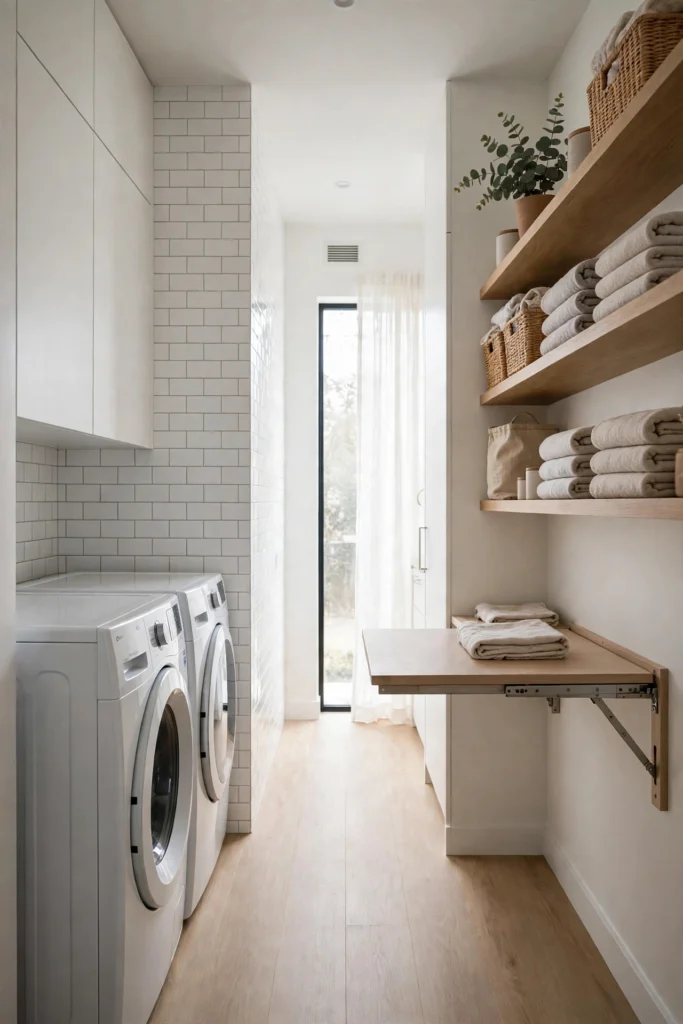
3. Plan a Galley Layout That Flows One Way
A galley layout puts the machines on one wall and the work surfaces on the other, so laundry moves in a straight line: sort on one side, wash, dry, then turn around to fold. It suits long, narrow rooms that would feel cramped with machines and counters fighting for the same wall. Keep the walkway between the two sides wide enough to open machine doors and pull out a hamper without squeezing past — about four feet is comfortable if you can spare it. Put the sorting hampers near the door, the machines in the middle, and the folding counter at the far end, so the workflow never doubles back on itself. A galley also makes it easy to add a drying rack or a hanging rod on the counter wall, right where clothes come out of the dryer.
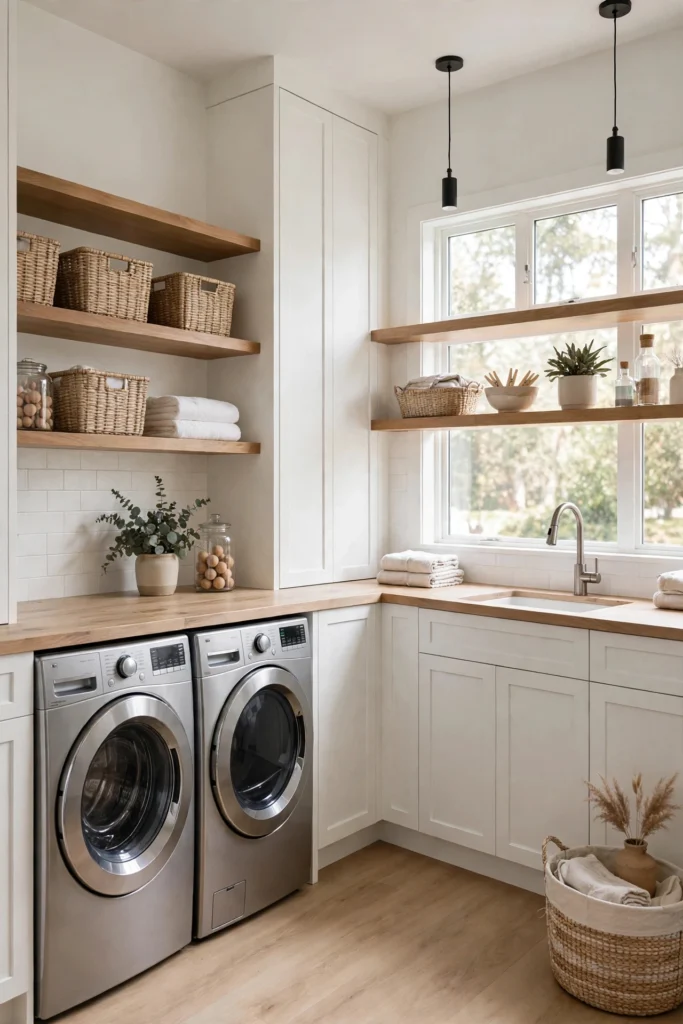
4. Try an L-Shaped Layout for a Corner Room
When the laundry room has a usable corner, an L-shaped layout puts it to work instead of wasting it. Machines run along one wall and the counter, sink, or storage wraps around the corner onto the next wall, which gives you a longer work surface and a natural spot for the jobs that need more room — soaking a stain, folding a big load, or stacking clean towels. The corner itself is the tricky part: a deep corner cabinet can swallow supplies, so use it for bulky items you reach for rarely, or fit a pull-out or lazy-susan style organizer if the budget allows. An L-shape also leaves the middle of the room open, which matters when you are carrying a full basket. It is one of the best layouts for a square room that feels too small for a straight run of machines and counters.
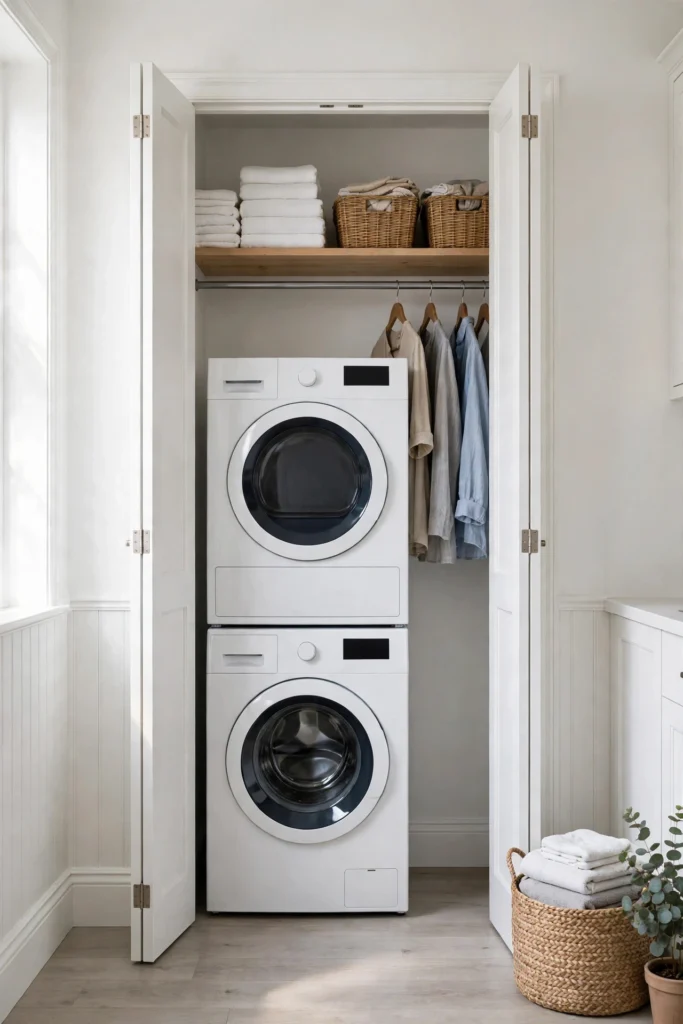
5. Turn a Closet into a Laundry Nook
No spare room? A closet can become a perfectly good laundry nook. A standard closet fits a stacked pair or a compact side-by-side set, and the doors hide the whole thing when guests come over. The trick is to use the vertical space: a shelf above the machines holds detergent and supplies, a hanging rod underneath it holds shirts straight from the dryer, and a slim rolling cart fills the gap beside the machines. Check the practical details before you start — the closet needs a water supply, a drain, a dryer vent to the outside, and enough depth for the machines plus door clearance. Bifold or sliding doors save swing space, and a light inside the closet makes a surprising difference when you are sorting dark clothes. A closet laundry setup works best when everything has one fixed home, because there is no spare surface to absorb clutter.
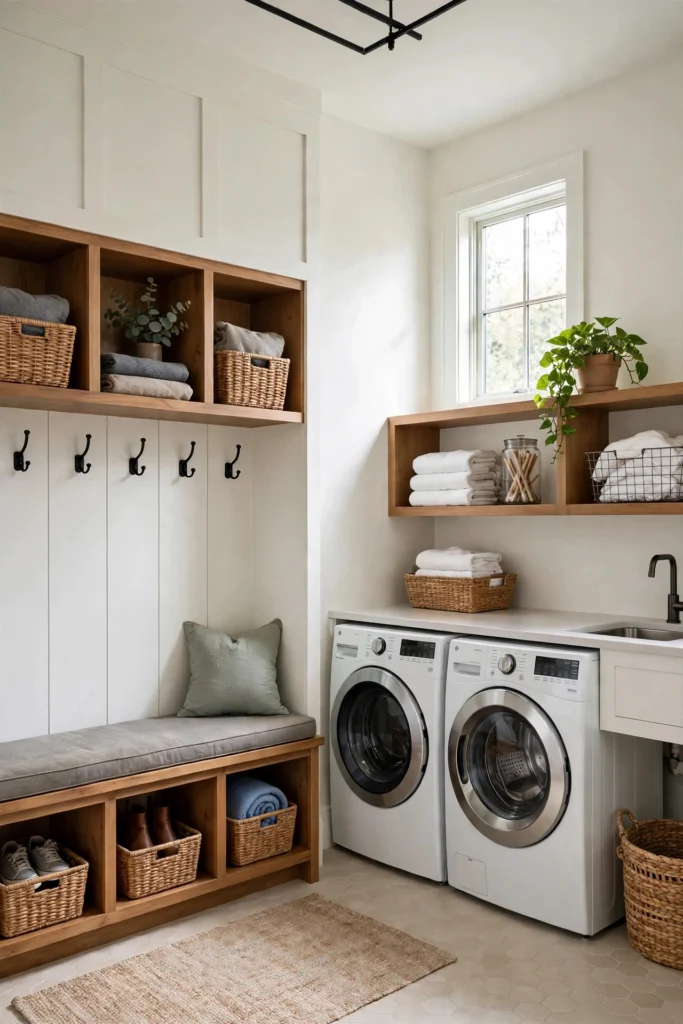
6. Combine the Laundry Room with a Mudroom
Pairing the laundry room with the mudroom is one of the smartest combinations in a busy home, because the two rooms already handle the same traffic: dirty clothes, wet coats, muddy shoes, and sports gear all arrive through the same door. Put the machines on one wall and a bench with hooks and cubbies on the other, so coats come off, shoes go in their cubby, and dirty clothes go straight into a hamper instead of onto the floor. A deep utility sink in this combo room earns its keep twice over — rinsing muddy boots and pre-treating stains. Durable, easy-clean flooring matters more here than anywhere else in the house. If you are planning this from scratch, our garage makeover ideas show how the same tough, practical thinking works in another hardworking utility space.
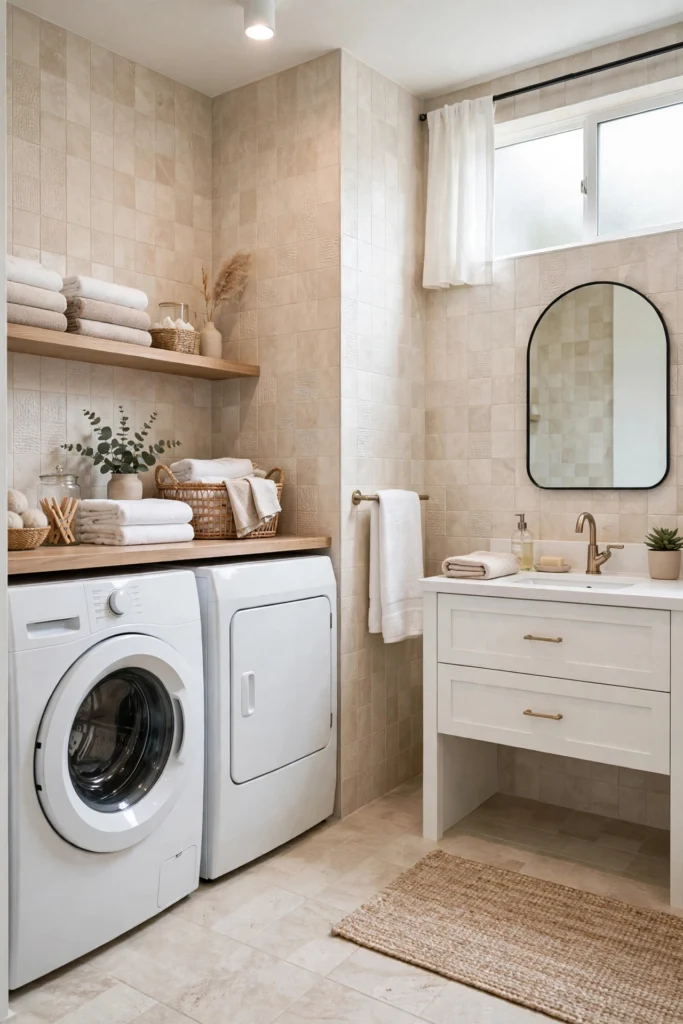
7. Pair the Laundry Room with a Bathroom
Putting the washer and dryer in or next to a bathroom makes sense because the plumbing is already there. A shared wall means shorter pipe runs, a drain close at hand, and one room doing the work of two — which is a real saving in a small home or an apartment. The combination works best when the machines are tucked behind cabinet doors or a curtain, so the bathroom still feels like a bathroom. A countertop over front-load machines doubles as a vanity-height surface, and a shared linen closet keeps towels and sheets one step from the wash. Ventilation matters here more than usual, since a bathroom-laundry combo handles steam from both showers and dryers. Keep the styling consistent — same tile, same paint color, same hardware — and the room reads as one intentional space instead of two rooms forced together.
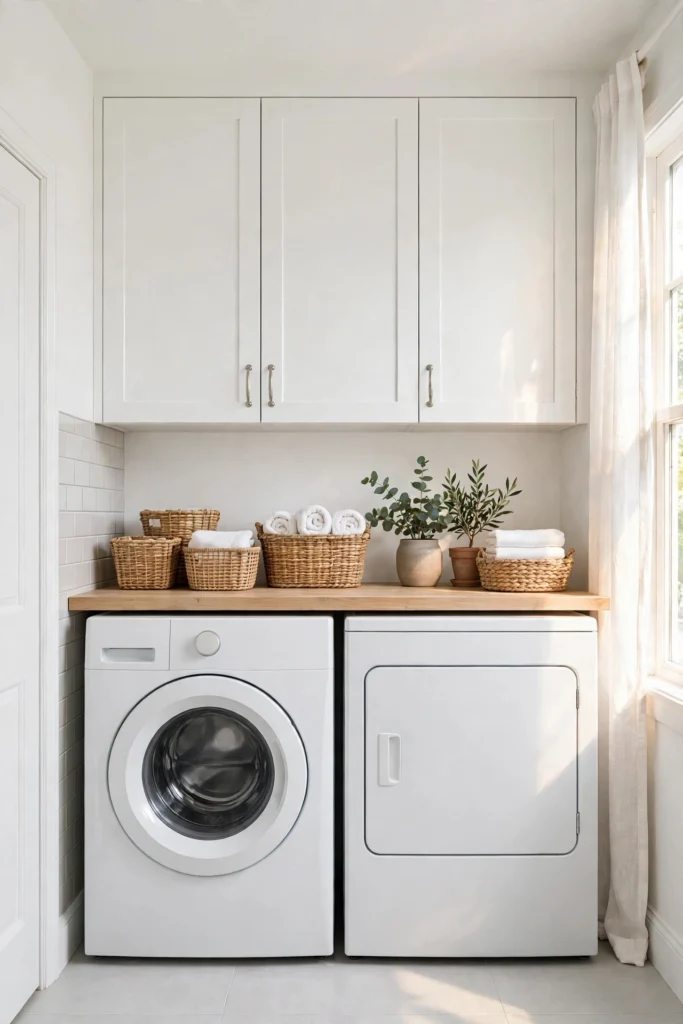
8. Add Cabinets Above the Machines
Wall-mounted cabinets above the washer and dryer are the highest-impact storage upgrade in most laundry rooms. They take the visual clutter off the tops of the machines, give every bottle and box a closed door to hide behind, and use wall space that would otherwise sit empty. Before you hang them, measure from the top of the machines to the ceiling and leave enough clearance to load a top-loader lid fully open — a cabinet hung too low will fight the machine every load. Keep everyday supplies on the lowest shelf and reserve the top for bulky items you rarely need, like extra linens or seasonal cleaning supplies. If your budget is tight, a single long cabinet costs less than a full wall of them and still holds the essentials. For more ways to make cabinets work hard in a tight space, see our kitchen corner cabinet ideas.
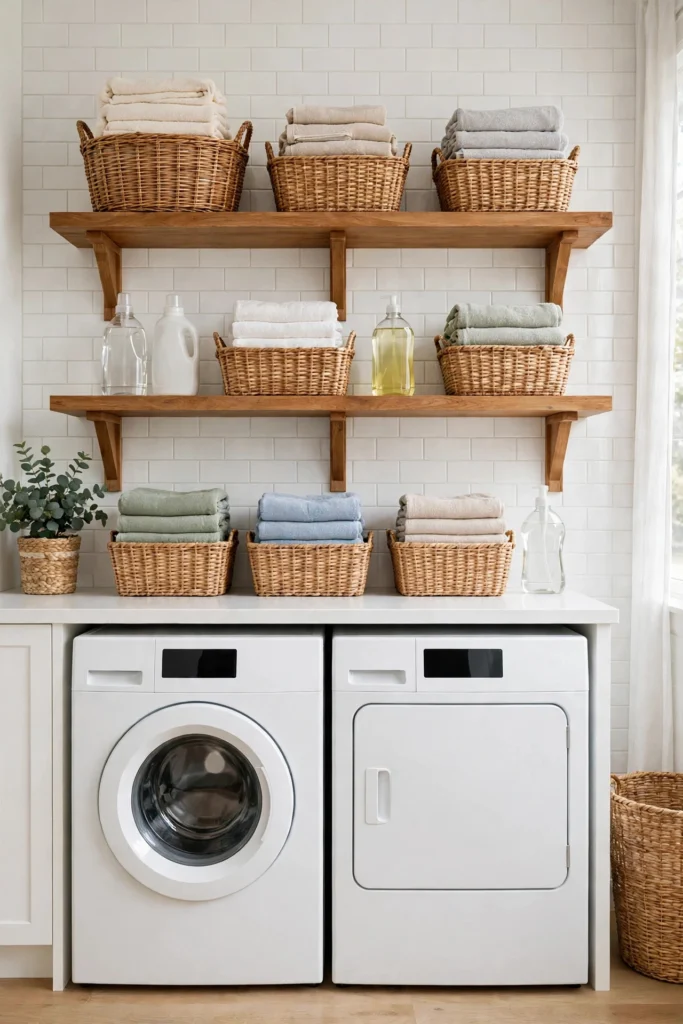
9. Hang Open Shelving for Everyday Supplies
Open shelves above the machines keep the things you reach for every load — detergent, stain remover, dryer sheets — visible and one grab away, which closed cabinets cannot match for speed. One long shelf over the machines with a hanging rod underneath does double duty: storage on top, a place to hang shirts below. Style the shelves lightly so they stay useful: matching baskets for the messy stuff, folded towels for color, and nothing you need a step stool to reach daily. The risk with open shelving is clutter creep, so give every item a fixed spot and do a quick reset once a week. Renters can get the same effect with a freestanding over-the-washer shelving unit that needs no drilling at all. Our staggered floating shelves ideas show how open shelving can look intentional instead of improvised.
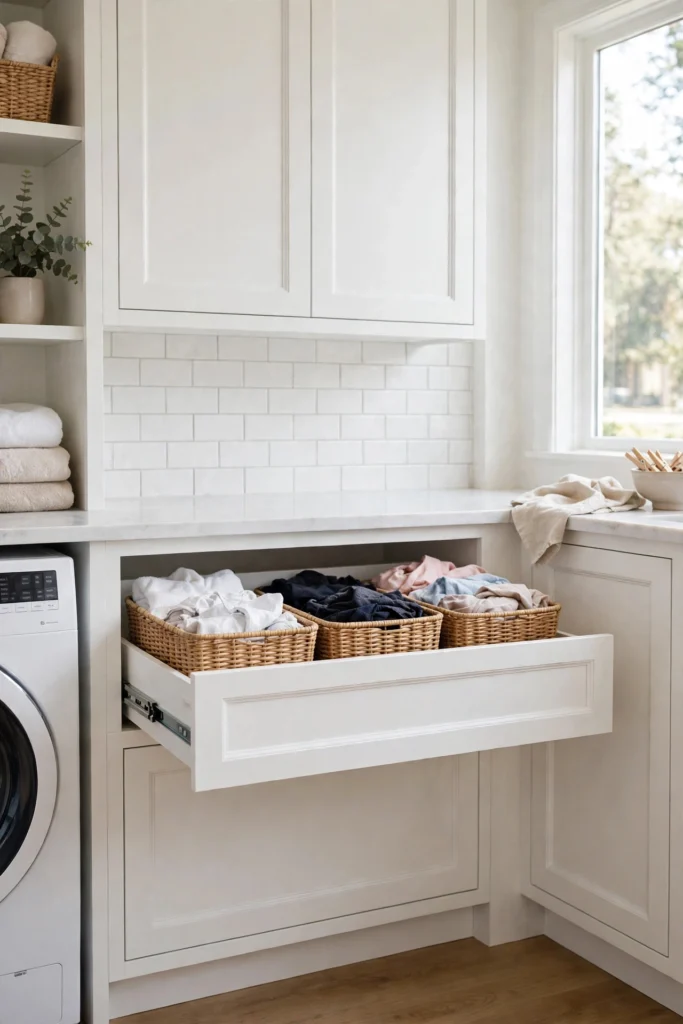
10. Build in Pull-Out Hampers for Sorting
Sorting is the step most laundry rooms make harder than it needs to be. Pull-out hampers built into a cabinet or a base unit fix that: two or three bins on smooth runners, one for whites, one for colors, one for delicates, each one sliding out, filling up, and sliding back out of sight. When a bin is full, that is a load ready to wash — no sorting pile on the floor, no guessing. Tilt-out hampers work the same way in a shallower cabinet, and a simple set of labeled baskets on a low shelf gives you most of the benefit for almost no cost. The real win is habit: when sorting takes zero extra effort, it happens every time, and wash day starts with loads already separated instead of a mountain to divide.
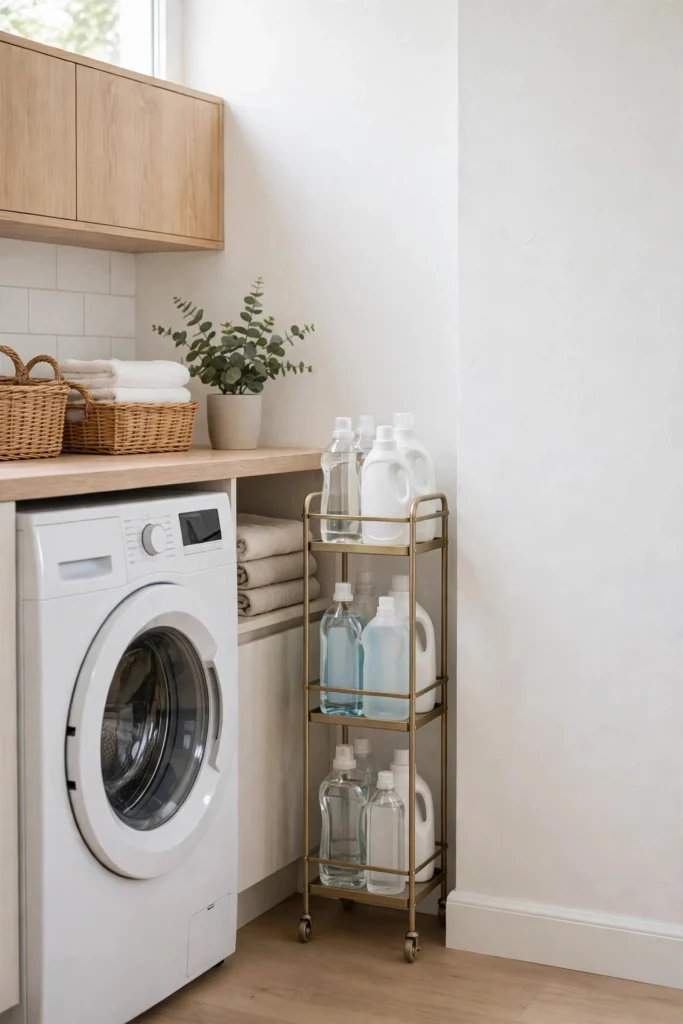
11. Slide a Slim Rolling Cart into the Gap
The few inches between the washer and the wall, or between the two machines, are wasted space in most laundry rooms — and a slim rolling cart turns them into storage. These narrow carts, usually just a few inches wide with two or three tiers, hold detergent, stain remover, fabric softener, and dryer sheets right where you use them, and they roll out when you need something from the back. Measure the gap before you buy, and remember that hoses and vents need their own clearance, so the cart should never press against a connection. In a laundry closet this trick is even more valuable, because the gap may be the only spare storage in the whole room. It is a small, cheap fix, but it clears the tops of the machines, which is where clutter starts.
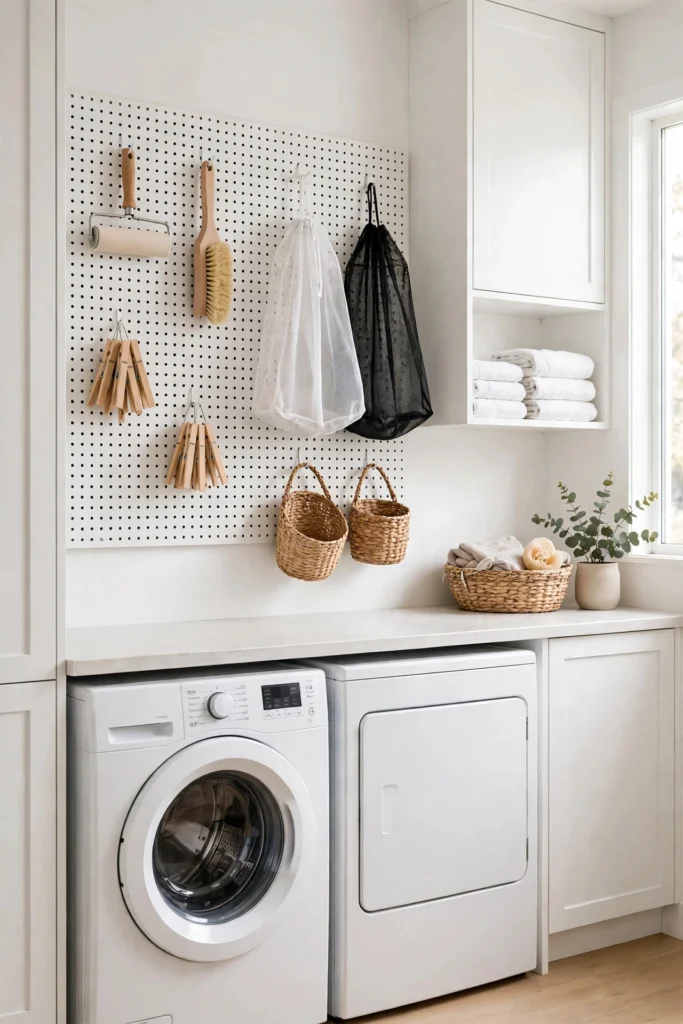
12. Mount a Pegboard for Tools and Accessories
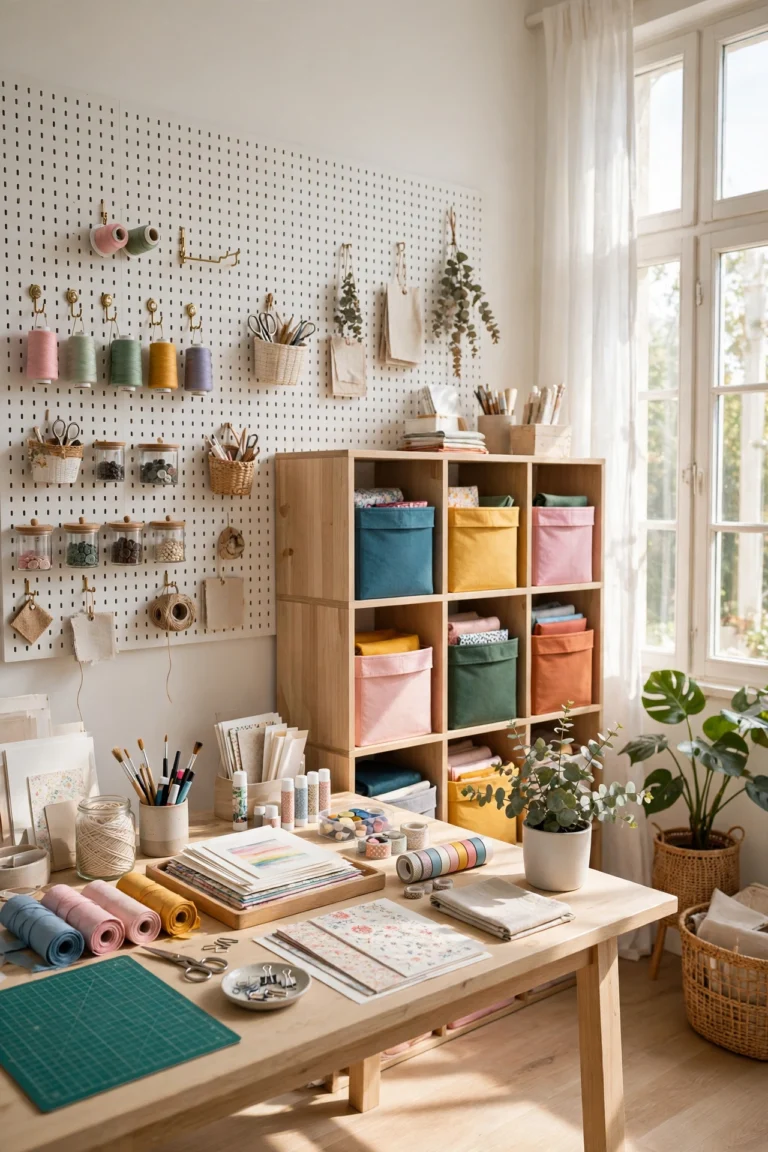
A pegboard turns a blank stretch of wall into flexible storage for all the small laundry tools that otherwise end up in a junk drawer: lint rollers, stain brushes, clothespins, mesh wash bags, a small iron, and a lint brush. Hooks and small baskets move in seconds, so the layout can change as your routine changes, and everything stays visible instead of buried. Paint the pegboard the same color as the wall and it reads as a design feature rather than a workshop leftover; paint it a bold accent color and it becomes the room’s focal point. Keep the pegboard away from the splash zone of the sink and the heat of the dryer vent, and hang only light items on it — heavy bottles belong on a shelf. For a room that earns its keep with small, clever storage, a pegboard delivers more than its size suggests.
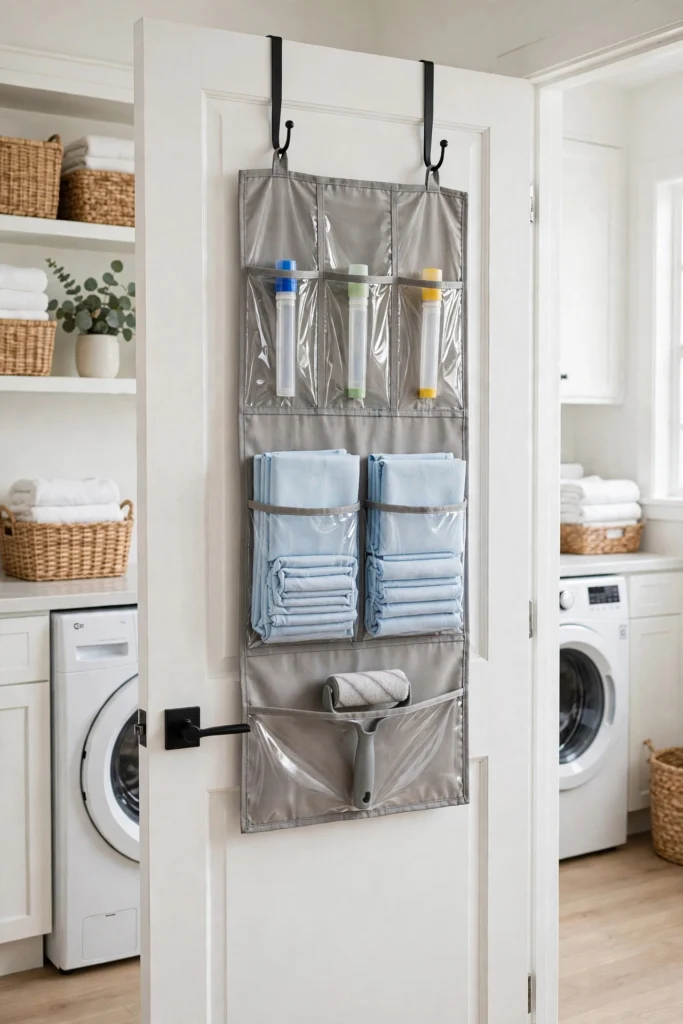
13. Use the Door with an Over-the-Door Organizer
The back of the laundry room door is free storage that most rooms ignore. An over-the-door organizer with clear pockets or small baskets holds the small things that clutter every surface: stain sticks, dryer sheets, lint rollers, clothespins, mesh bags, and spare hangers. Clear pockets have the edge, because you can see what is inside without opening anything. The organizer needs no tools and no holes, which makes it a renter-friendly favorite, and it works on closet doors too. Keep the pockets light — heavy bottles will swing the door and strain the hooks — and leave the top row for things you reach for least. In a tiny laundry room, this one addition can clear a whole shelf.
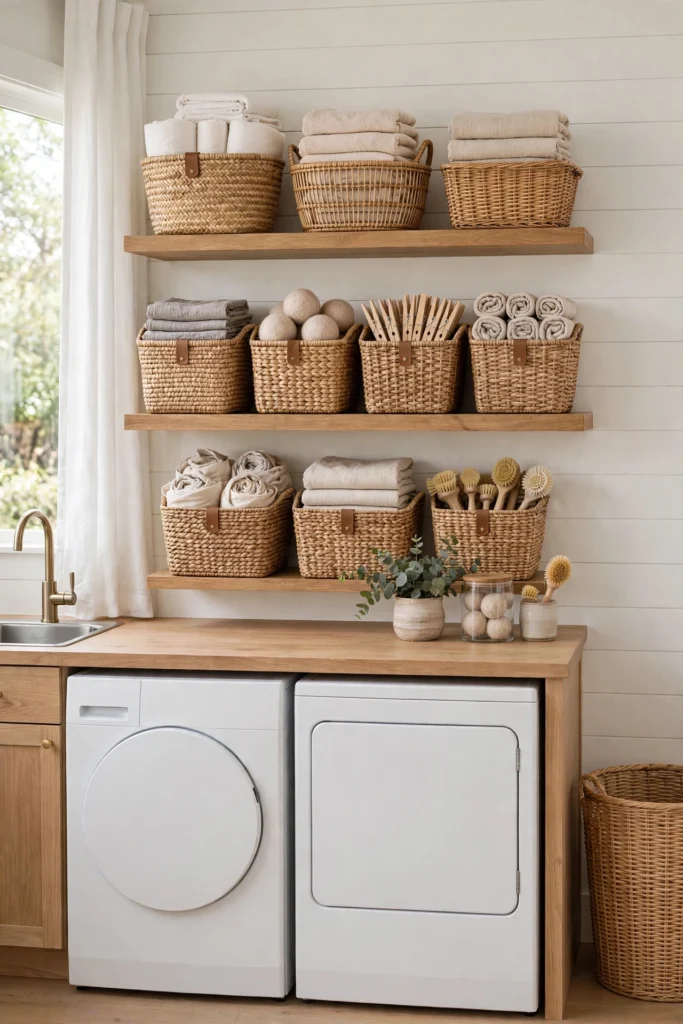
14. Sort with Labeled Bins and Baskets
Labels turn a shelf of baskets into a system. One basket for detergent, one for stain treatment, one for clothespins and small supplies, one for the things that come out of pockets — each with a clear label, so anyone in the house can put things back where they belong. The system works because it removes decisions: you never have to remember where the stain remover lives, you just read the basket. Matching baskets in one material keep the shelves looking calm even when the contents are not, and woven baskets hide visual mess better than clear bins do. Clear bins have the opposite strength — you can see at a glance what is running low. Either way, label everything, and keep the system small enough that a child or a guest can follow it. Our craft room storage ideas use the same labeled-bin thinking for a different kind of supply chaos.
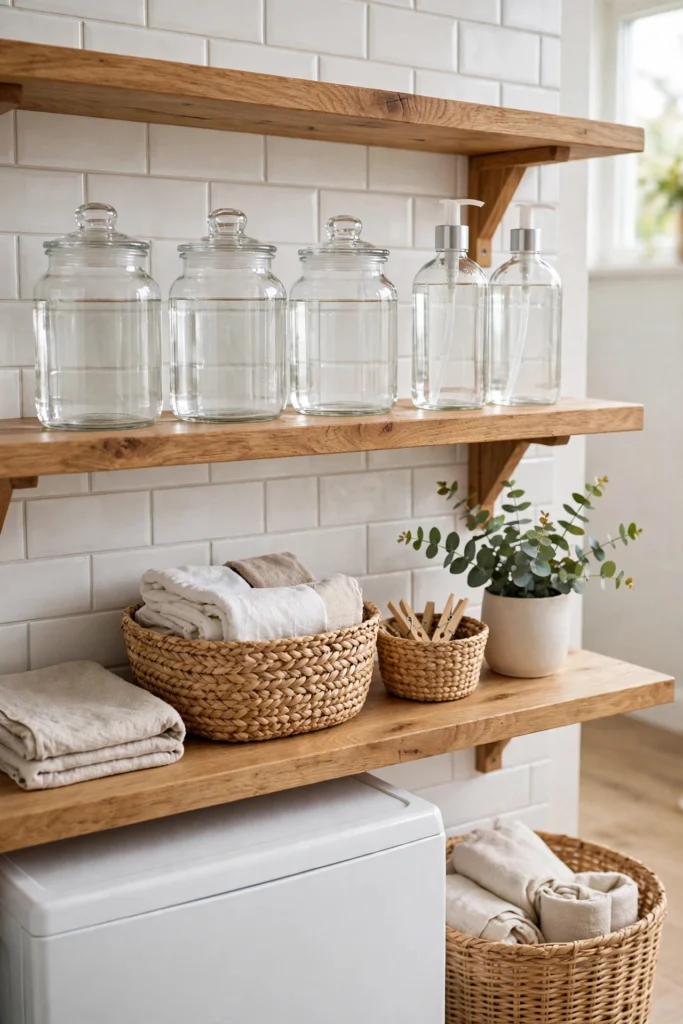
15. Decant Detergent into Matching Containers
Decanting detergent, softener, and stain remover into matching jars and pump bottles is the cheapest visual upgrade a laundry room can get. The mismatched brand bottles disappear, the shelf looks intentional, and the pump tops make measuring easier and cleaner than tipping a heavy jug. Glass jars suit powders and pods; pump bottles suit liquids. Label each container clearly — detergent and fabric softener look alike in a plain bottle, and guessing wrong ruins a load. Keep the original packaging stored safely out of reach if children visit, and never decant anything into a food container. This is a small, almost-free change, and it is the one guests always notice first. For more budget-friendly storage tricks, our genius IKEA hacks include several decanting and container ideas that cost very little.
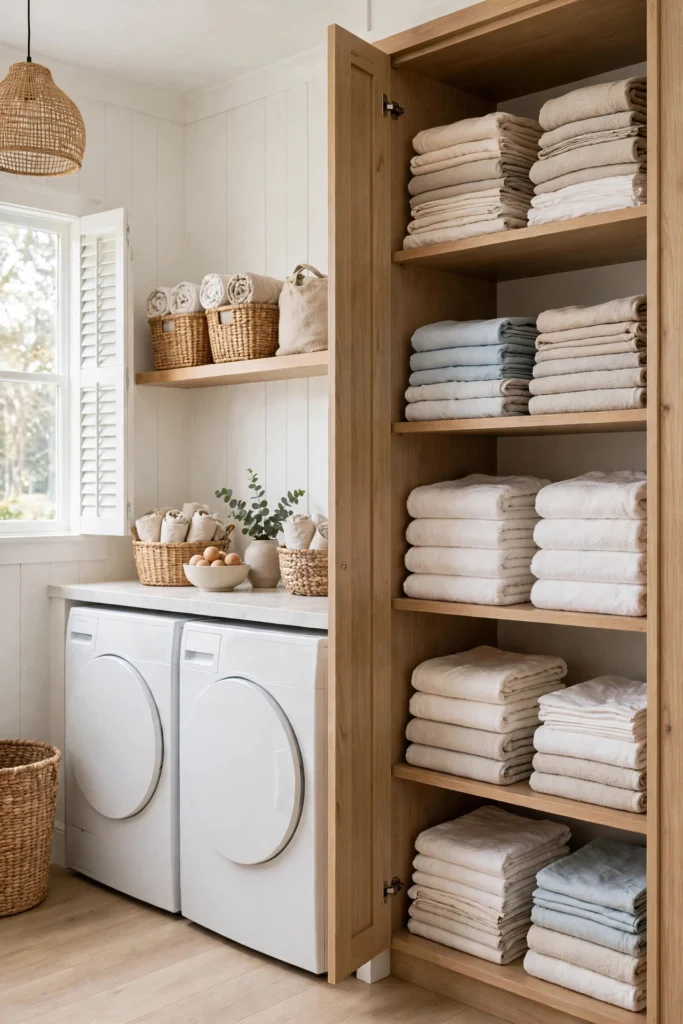
16. Keep a Linen Closet Inside the Laundry Room
A linen closet inside the laundry room closes the loop: sheets and towels go from the dryer to the shelf in a few steps, with no carrying baskets down the hall. If the room has a spare wall or an awkward corner, a tall, shallow cabinet with adjustable shelves holds folded linens, spare pillows, and cleaning supplies without taking much floor space. Fold linens in matching stacks and sort them by set, so a full sheet set is one grab instead of a search. Keep the most-used items at eye level and the rarely-used ones up high. In a small room, even a single tall cabinet counts — it replaces the hallway linen closet and frees that space for something else. The habit that makes it work is simple: fold straight from the dryer and put things away immediately, while they are still warm and flat.
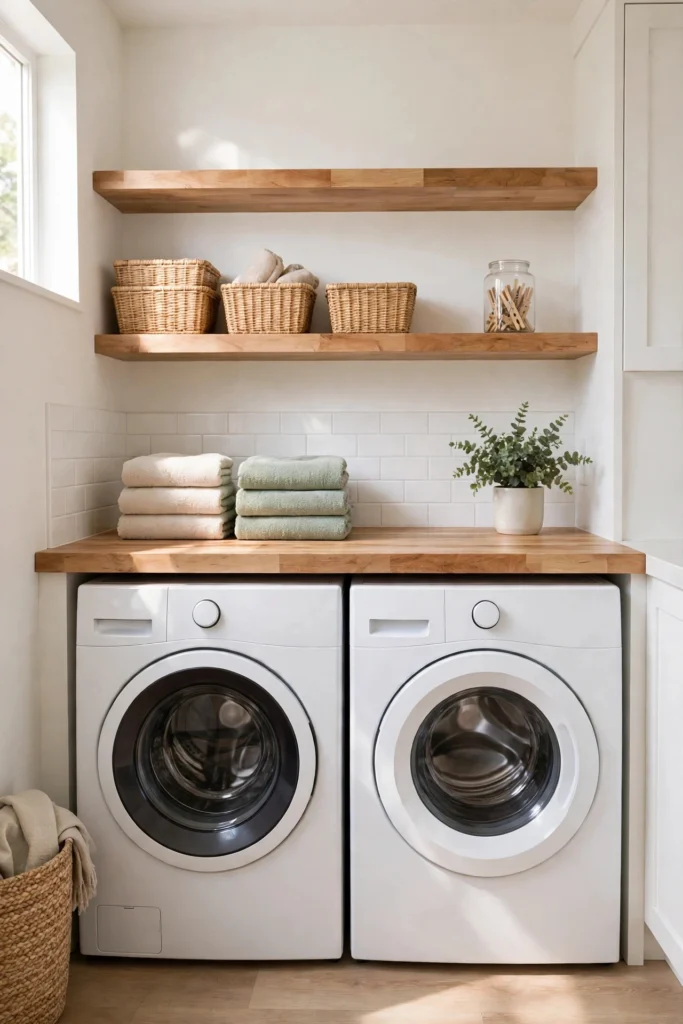
17. Add a Countertop Over Front-Load Machines
A countertop over front-load machines is the folding surface that turns a laundry room from a pass-through into a workspace. Butcher block is the popular choice — warm, affordable, and easy to cut to size — while laminate and quartz are easier to wipe clean and harder to stain. The counter should sit flush with the fronts of the machines and leave a small gap at the back for hoses, and it needs to be supported properly so it does not bow under a heavy basket. On top of the folding surface, the counter also gives you a staging spot: a basket waiting to be folded, a stack of hangers, a stain treatment station. Keep one corner clear as a landing zone for the things you carry in, and the counter stays a workspace instead of becoming another clutter shelf.
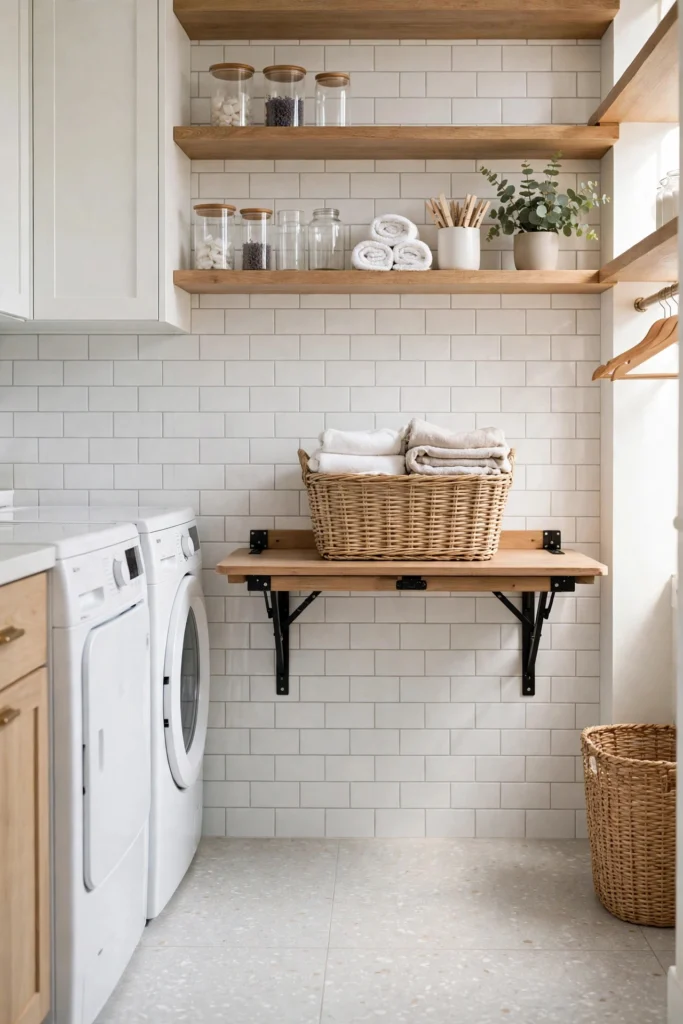
18. Install a Fold-Down Wall Table
A fold-down wall table gives a small laundry room a folding surface that disappears when you do not need it. Mounted to the wall at counter height, it folds flat against the wall when closed and drops down on brackets when a load needs folding — which means the room keeps its walkway clear the rest of the time. Choose a table deep enough for a folded stack of towels and sturdy enough for a full basket, and mount it on a solid wall or into studs, not just drywall. The underside can hold hooks for hangers when it is folded up, so the table earns its wall space twice. This is one of the best solutions for a laundry closet, where a permanent counter would block the machines, and for renters, a good wall-mounted table leaves only a few small holes to fill later.
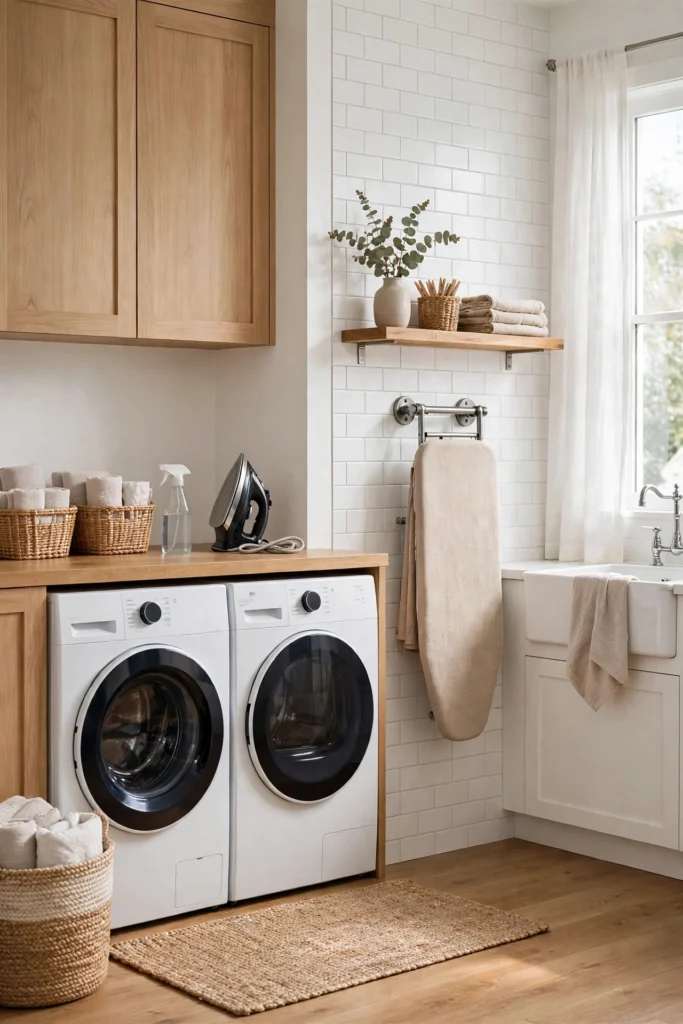
19. Create a Dedicated Ironing Station
An ironing station stops ironing from being a setup-and-takedown chore. A fixed spot — even a small one — with the board, the iron, a spray bottle, and a heat-safe rest means you can press a shirt in two minutes instead of dragging everything out of a closet. The classic setup is a wall-mounted ironing board that folds down beside the machines, but a narrow table with a heat-resistant pad works just as well. Keep the iron plugged into an outlet with a switch, so you can kill the power without unplugging it, and store the board where its heat cannot damage anything nearby. If ironing happens rarely in your house, a compact station still earns its place, because the alternative — ironing on a bed or a kitchen counter — is what makes people skip it entirely.
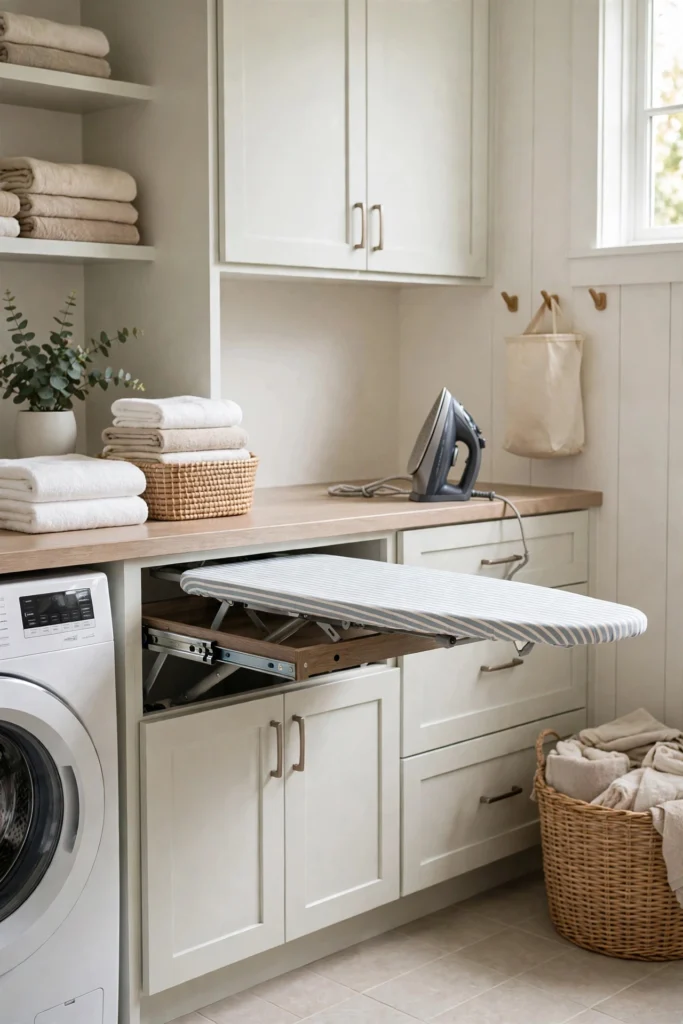
20. Hide a Pull-Out Ironing Board in a Drawer
A pull-out ironing board hides inside a drawer and slides out only when you need it, which is ideal for a laundry room where floor space is too precious for a standing board. The board mounts on smooth runners inside a deep drawer, usually with a heat-resistant cover, and it swivels or folds to a usable angle. The drawer next to it can hold the iron, a spray bottle, and starch, so the whole ironing kit lives in one spot. Measure carefully: the drawer needs enough depth for the folded board and enough width for the iron. This is a more involved project than a wall-mounted board, and it suits a room that is being fitted out with custom or semi-custom cabinetry, but the result is the neatest ironing solution available — nothing visible, nothing to set up, nothing to put away.
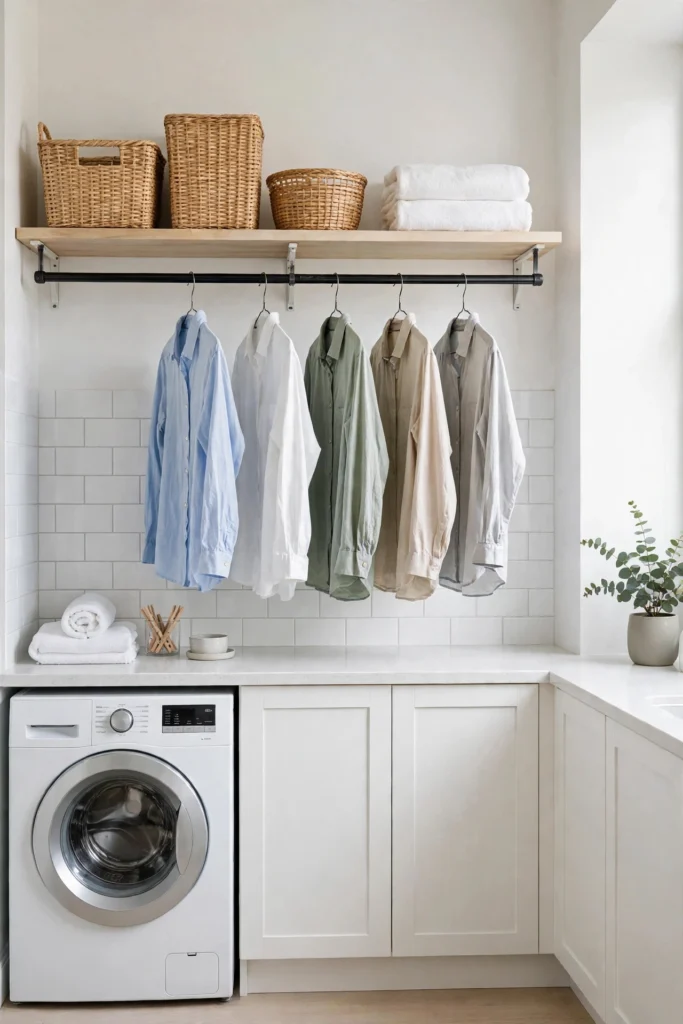
21. Hang a Rod for Shirts Straight from the Dryer
A hanging rod under a shelf or a cabinet is the simplest way to stop wrinkles before they start. Shirts come out of the dryer, go straight onto hangers on the rod, and never sit in a basket long enough to crease. Mount the rod at a height that keeps shirt hems off the counter below, and keep it close to the dryer so the transfer is one step. A rod also gives delicates a place to air-dry and gives you a visible queue of what is clean and ready. Use slim, matching hangers — bulky hangers waste rod space and leave marks on shoulders. If the rod runs the full width of the room, it can hold a whole load, which means the folding pile shrinks to towels and knits only. It costs almost nothing and it changes how wash day feels.
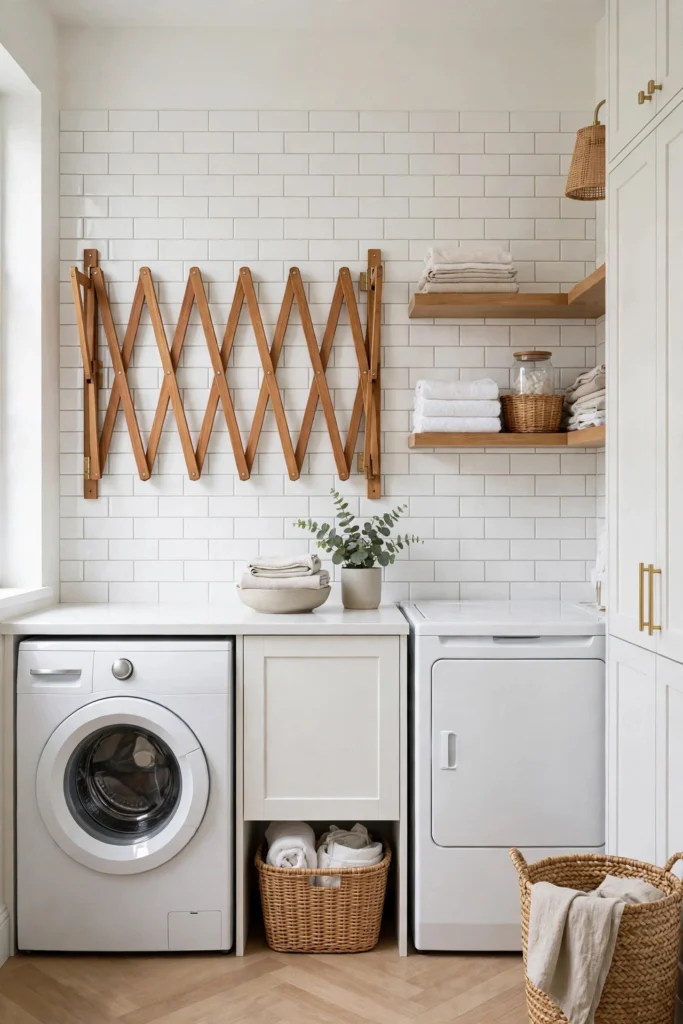
22. Mount a Wall Drying Rack That Folds Flat
A wall-mounted drying rack that folds flat against the wall gives delicates and air-dry clothes a home without taking floor space. Open it when a load needs drying, fold it away when it does not — the room keeps its walkway and its counter clear the rest of the time. Wooden accordion racks are the classic choice and look good enough to leave visible; metal racks hold more weight and suit heavier items like jeans and towels. Mount the rack into studs, not just drywall, because a full load of wet clothes is heavier than it looks. Place it where air moves — near a window or a vent if possible — and away from the direct heat of the dryer, which can warp wood over time. In a small laundry room, this rack often replaces a freestanding drying rack entirely.
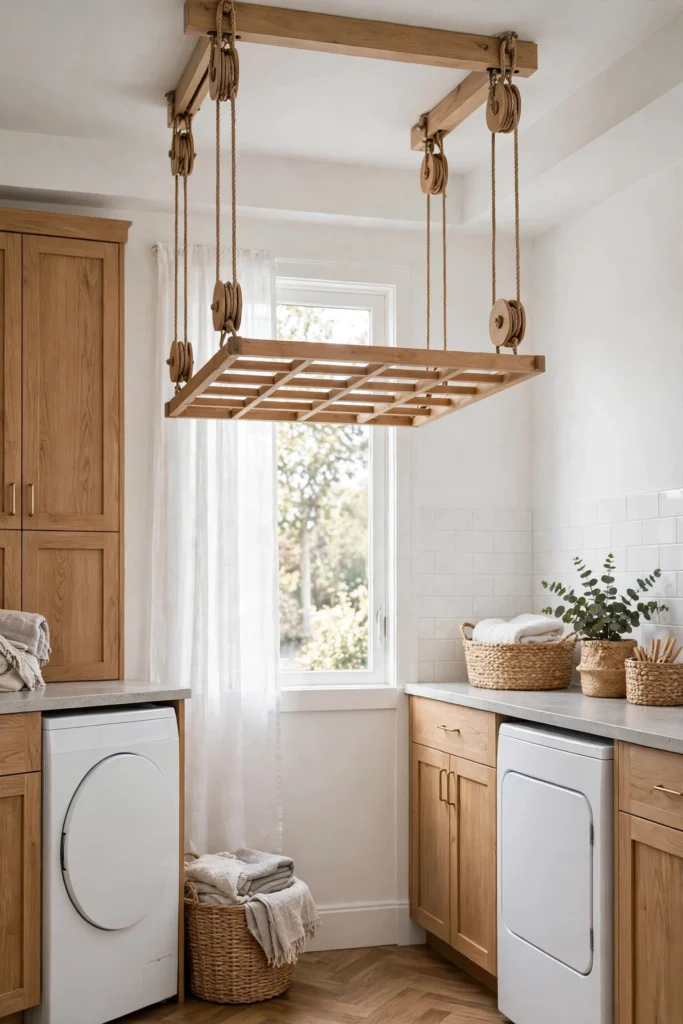
23. Hang a Ceiling-Mounted Pulley Rack
A ceiling-mounted pulley rack uses the warm air that rises to the ceiling — the most wasted space in the room — to dry clothes faster than a floor rack does. The rack lowers on ropes or a pulley system to load and unloads, then raises out of the way near the ceiling, where heat collects and air circulates. It suits rooms with enough ceiling height to hang the rack above head height when raised, and it is a classic solution in older homes and European laundry rooms for a reason: it dries a full load without taking a single square foot of floor. Check that the ceiling can take the fixings and that the rack clears light fixtures and the tops of tall cabinets. Wooden slats look traditional; metal bars hold heavier loads. Either way, keep the ropes tidy and out of reach of children.
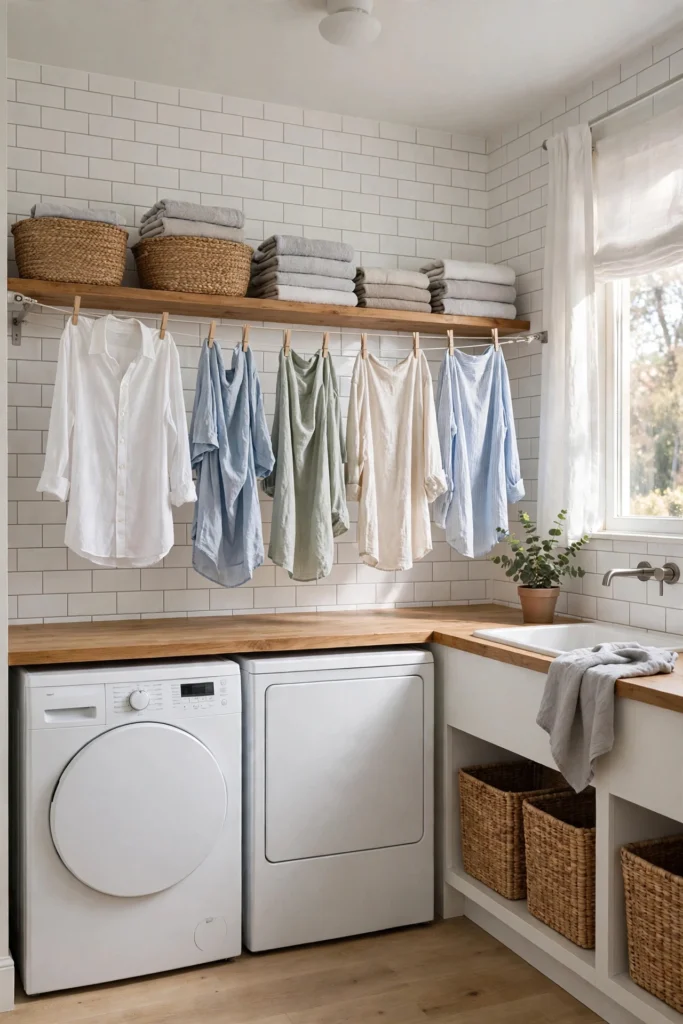
24. String a Retractable Clothesline
A retractable clothesline is the lowest-cost drying solution that still works well: a small housing on one wall, a line that pulls out to a hook on the opposite wall, and a drying line that vanishes when you reel it back in. It suits light items — shirts, delicates, cloths — and it is ideal for a narrow room where a rack would block the walkway. Install it at a height where hanging clothes clear the machines and the counter, and choose a line rated for the weight you will hang. Two parallel lines double the capacity without doubling the clutter. The housing itself is small enough to paint the same color as the wall, so it disappears when the line is retracted. For a rental, a retractable line leaves only a few small screw holes, which makes it one of the most renter-friendly drying ideas on this list.
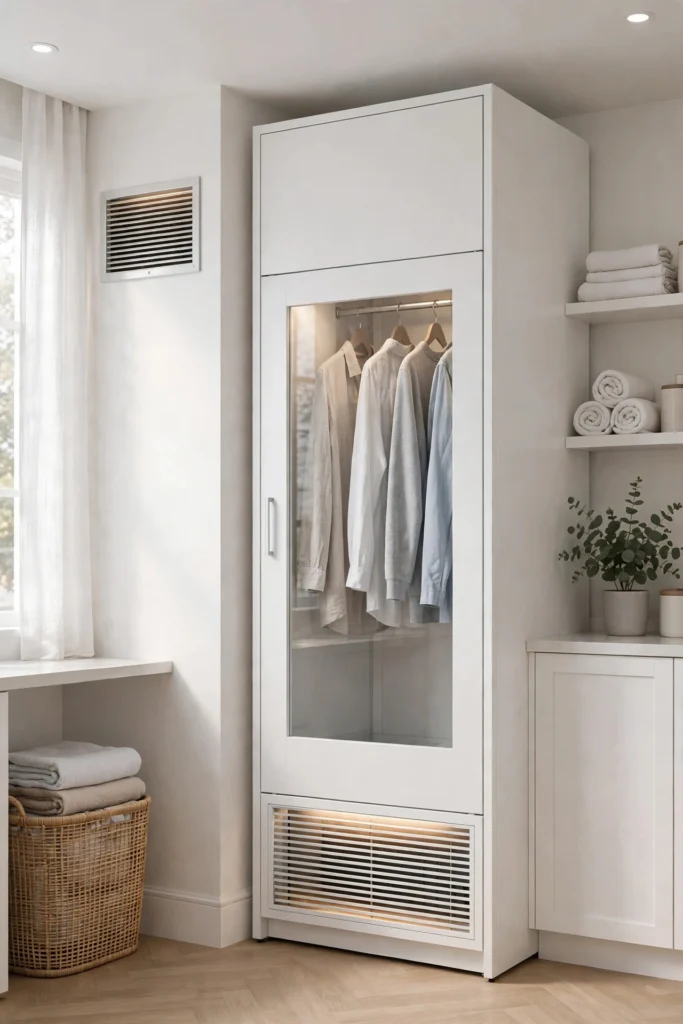
25. Add a Drying Cabinet for Delicates
A drying cabinet is a tall, ventilated cabinet that dries clothes with warm air — a gentler alternative to a tumble dryer for delicates, wool, and items that should never see high heat. Hang the clothes inside, close the door, and the cabinet circulates warm air until they are dry, without tumbling or stretching them. It costs more than a rack and needs a power connection and a vent or a drain for moisture, so it suits a room that is being planned or renovated rather than a quick weekend upgrade. The payoff is real for households with a lot of delicates, sports kit, or hand-wash items: no more draping damp clothes over doors and radiators. If a full drying cabinet is too much, a tall wardrobe cabinet with a vent and a small fan gives you a simpler version of the same idea.
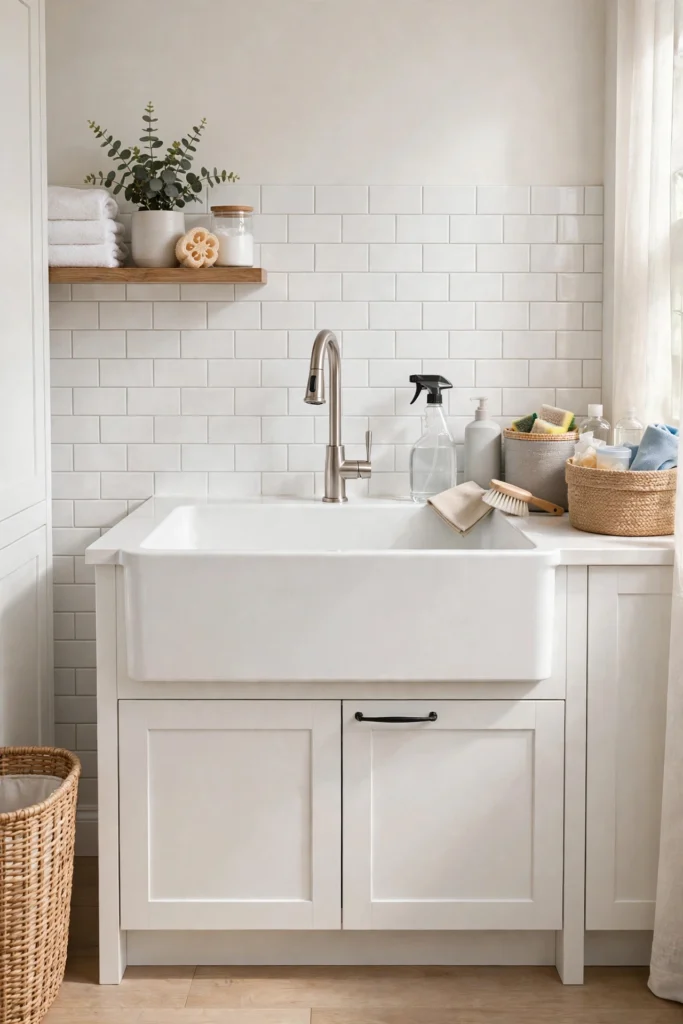
26. Install a Deep Utility Sink
A deep utility sink is the workhorse of a serious laundry room. It soaks stained clothes, hand-washes delicates, rinses muddy shoes, empties mop buckets, and gives you a place to pre-treat without bending over a bathtub. Go as deep as the room allows — a sink that holds a full bucket of water without splashing is worth more than a pretty shallow one. Freestanding laundry tubs are the budget choice and fit against any wall with plumbing; an undermount sink set into a counter looks better and gives you workspace around it. Either way, add a counter or a shelf beside the sink for the stain treatment bottles and the scrub brush, so they live where the soaking happens. If you are choosing between a sink and another cabinet, choose the sink — storage can go on the wall, but nothing else does a sink’s job.
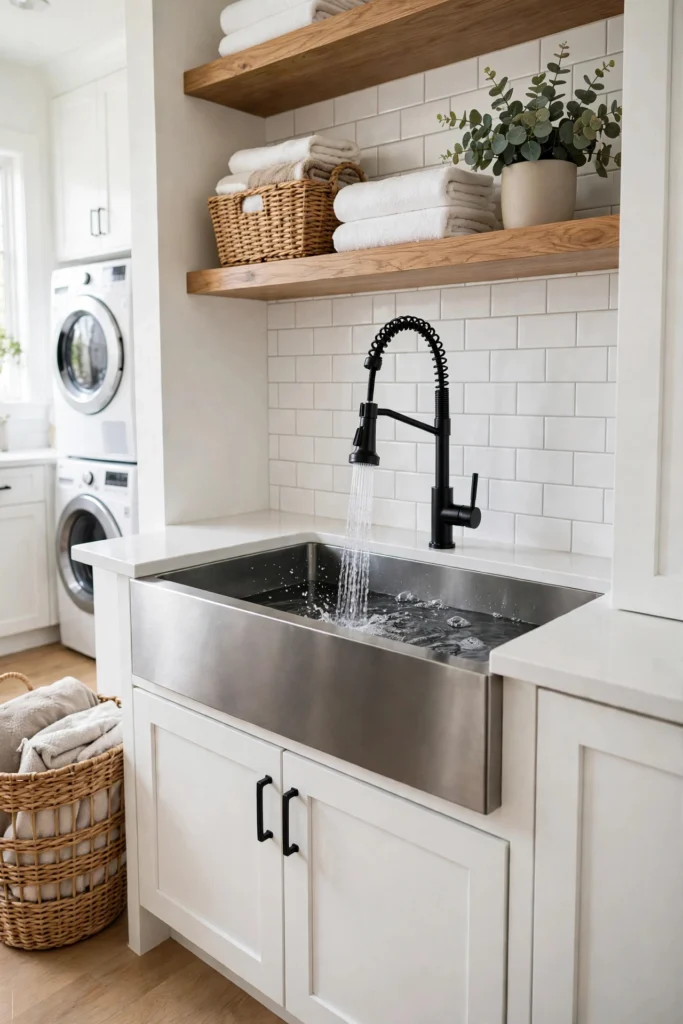
27. Choose a Faucet with a Pull-Down Sprayer
A faucet with a pull-down sprayer turns a utility sink from a basin into a tool. The sprayer reaches into buckets, rinses the sides of the sink, blasts mud off boots, and soaks a stain from every angle without you lifting a heavy wet item to the tap. Choose a faucet with a high arc so there is room to fit a bucket underneath, and a sprayer hose long enough to reach the far side of the sink. A single-lever handle is easier to use with wet or soapy hands than two separate taps, and a faucet with a pause button saves water while you scrub. This is a small upgrade with an outsized effect on how the sink gets used — a plain tap makes the sink a place to fill a bucket, while a sprayer makes it a place to actually clean things.
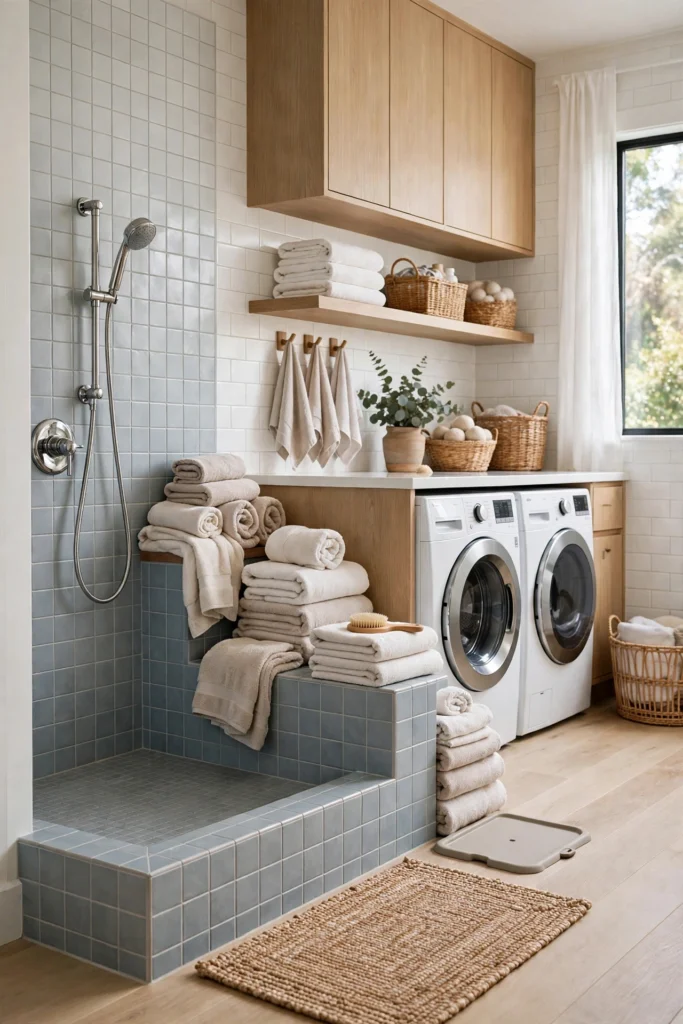
28. Add a Dog Wash Station
If the dog comes home muddy, a wash station in the laundry room keeps the mess out of the bathtub and off the kitchen floor. A low, tiled shower tray or a raised tub with a handheld sprayer, set at a height that saves your back, handles everything from muddy paws to a full bath. Non-slip flooring around it matters, and a drain that can handle hair without clogging matters more — fit a hair catcher and clean it after every wash. Storage beside the station holds shampoo, towels, and the brush, so bath time does not turn into a scavenger hunt. A dog wash station suits homes where the laundry room sits near the back door, which is where muddy paws arrive. It is a niche addition, but for dog owners it is the idea that gets used every single week.
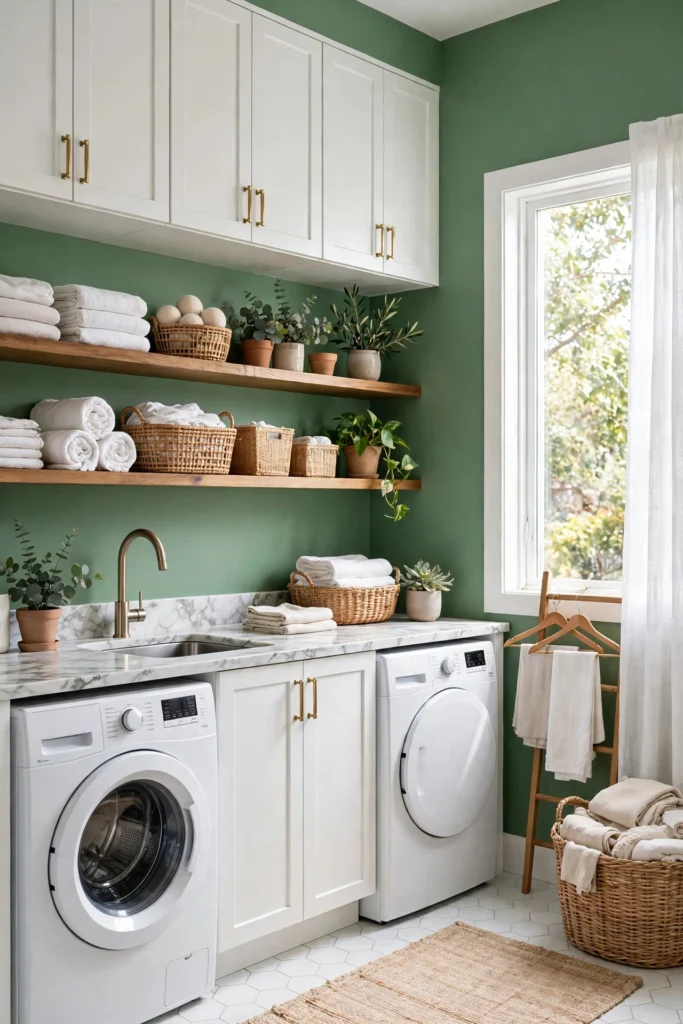
29. Paint the Walls a Fresh, Bold Color
Paint is the fastest way to make a laundry room feel like a room instead of a utility closet. A bold color — deep sage green, navy, warm terracotta, or a cheerful yellow — turns blank walls into a backdrop that makes white machines and wooden shelves look deliberate. Keep the ceiling and trim white so the color does not close the room in, and test the color on a large swatch first, because laundry rooms often have small windows and artificial light that shift how a color reads. Use a paint made for humid rooms, since steam from the washer and dryer can lift ordinary paint over time. If a full bold wall feels like too much, paint one accent wall and keep the rest light. Either way, the room stops being the dullest room in the house for the price of a single can of paint.
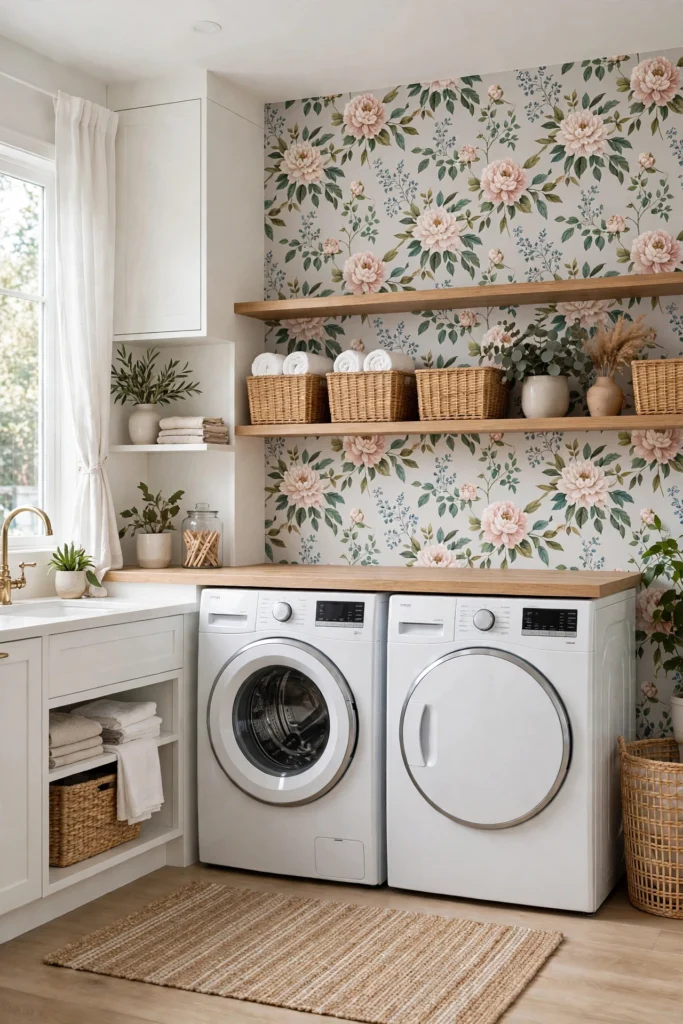
30. Add a Wallpaper Accent Wall
A wallpaper accent wall gives a laundry room personality that paint alone cannot match. One wall — usually the one behind the machines or the folding counter — in a bold pattern turns the room’s focal point into a design statement, while the other walls stay plain and calm. Peel-and-stick wallpaper is the practical choice here: it goes up without paste, comes down without damage, and survives the room’s humidity better than traditional paper if you choose a vinyl-coated or washable type. Keep the pattern scale in proportion to the room — a large print can overwhelm a tiny room, while a small, busy print can look fussy. Match one color from the paper to your baskets or towels, and the whole room ties together. It is a weekend project with a result that looks like a renovation.
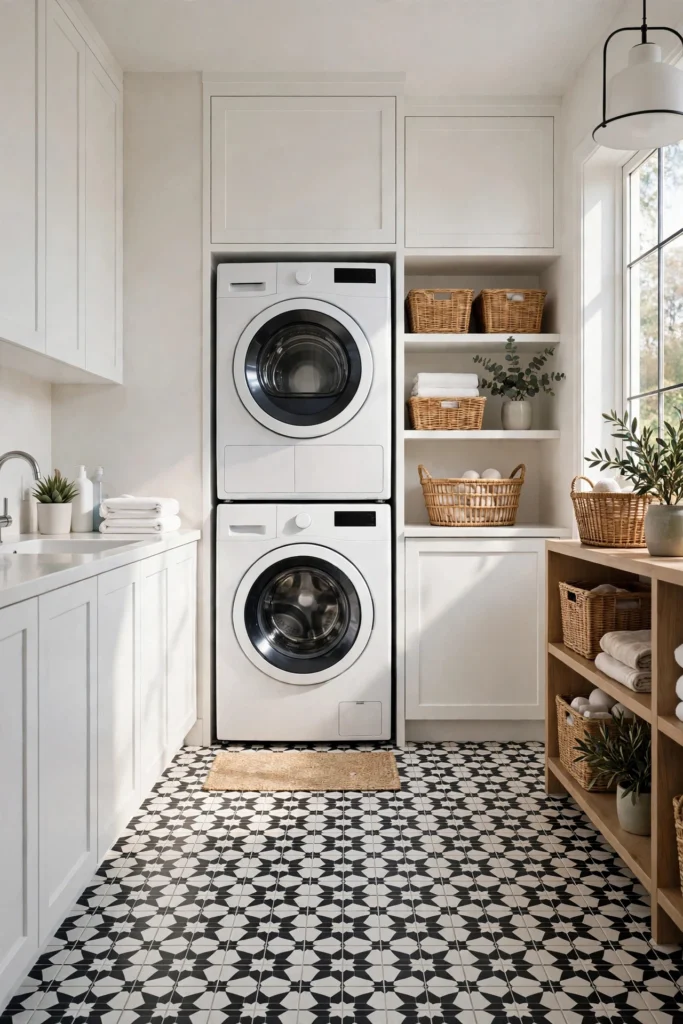
31. Lay Patterned Floor Tile
Patterned floor tile is the laundry room’s secret weapon: the floor takes the most wear and the most water in the room, and a bold pattern hides both while making the room look finished. Black-and-white geometric tiles are the classic choice, but encaustic-look porcelain and patterned vinyl tiles give you the same effect with less maintenance. Porcelain is the safest bet near water — it does not swell, stain, or warp — and a matte finish gives better grip than gloss when the floor is wet. If a full re-tile is too much, peel-and-stick floor tiles over a sound existing floor give you most of the look for a fraction of the cost and effort. Keep the walls and cabinets calm so the floor can be the star, and choose a grout color that hides lint and dirt between cleans.
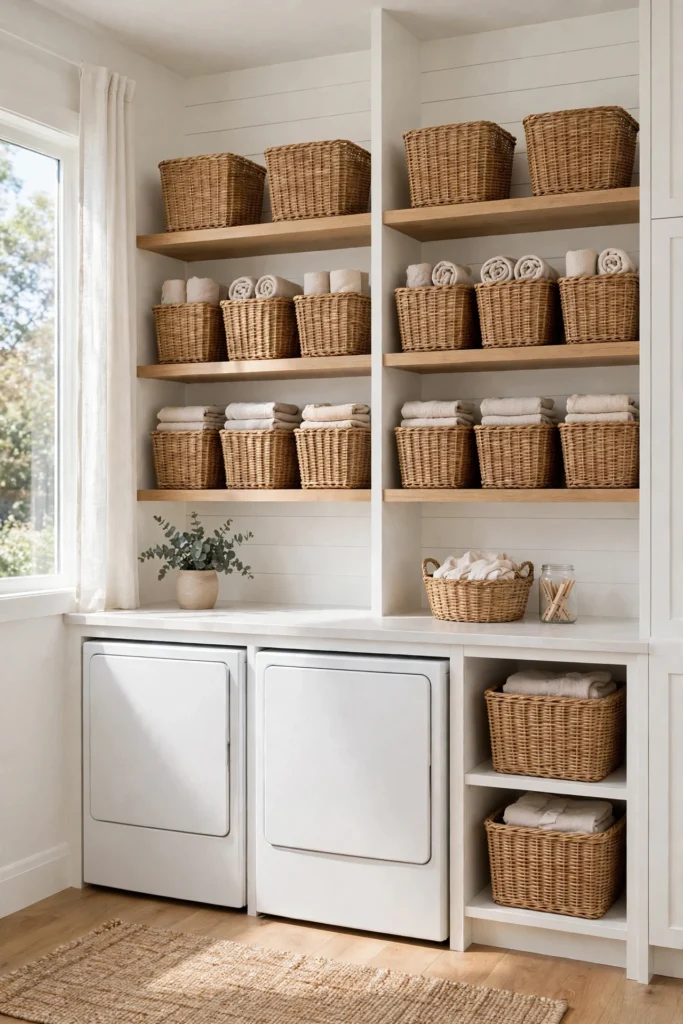
32. Match Your Baskets and Bins
Matching baskets and bins are what make a laundry room look organized even on a messy day. When every container is the same material and color — woven seagrass, natural cotton, matte white plastic — the eye reads order instead of clutter, even if the contents are a jumble. Use one style for supplies on the shelves, one for sorting, and one for the folding pile, so the room has a visual system as well as a practical one. Woven baskets suit a warm, natural look and hide contents well; lidded bins suit a clean, minimal look and keep dust out. Label them if different baskets hold different things, and keep a spare empty basket on hand — it is the one that gets grabbed when a load needs carrying. This is styling, not storage, but it is the difference between a room that looks finished and one that looks like a storeroom.
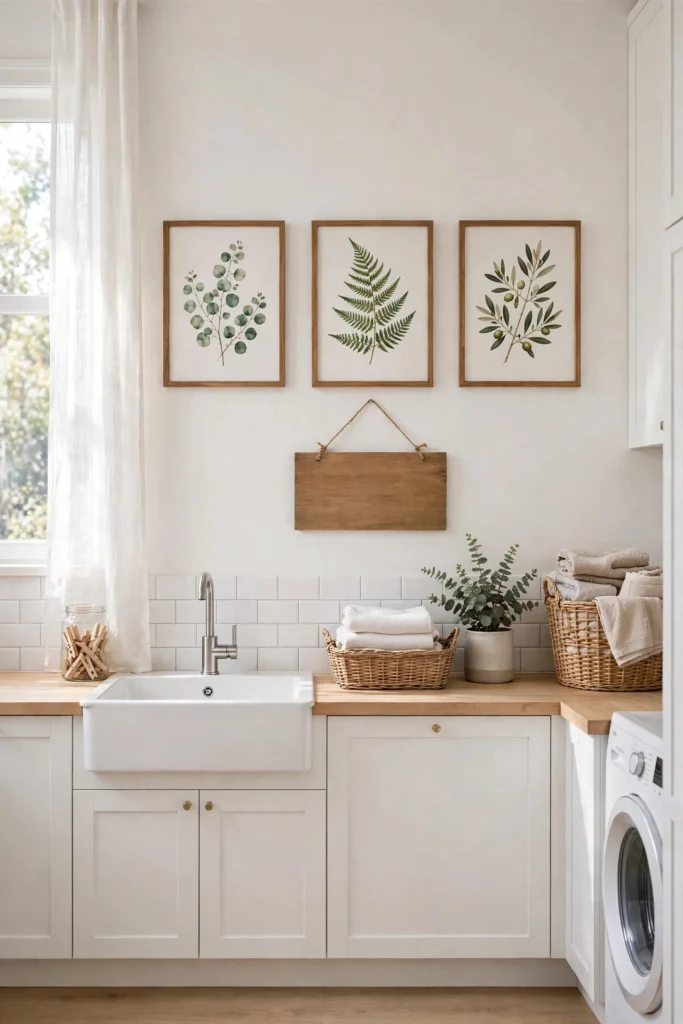
33. Hang Framed Art or a Fun Sign
A laundry room deserves art as much as any other room, and a framed print or a wooden sign is the easiest way to give it some warmth. A vintage-style laundry sign, a botanical print, or a framed piece of fabric art turns a blank wall into something you actually enjoy looking at while you fold. Keep the art away from direct steam and splashes — the wall opposite the machines is the safest spot — and use frames with glass or acrylic so the print survives the room’s humidity. One larger piece usually looks better than a scatter of small ones in a small room, and matching the frame to your hardware or shelving ties the room together. It is a small, cheap touch, but it signals that the room is part of the home, not a service area you are meant to ignore.
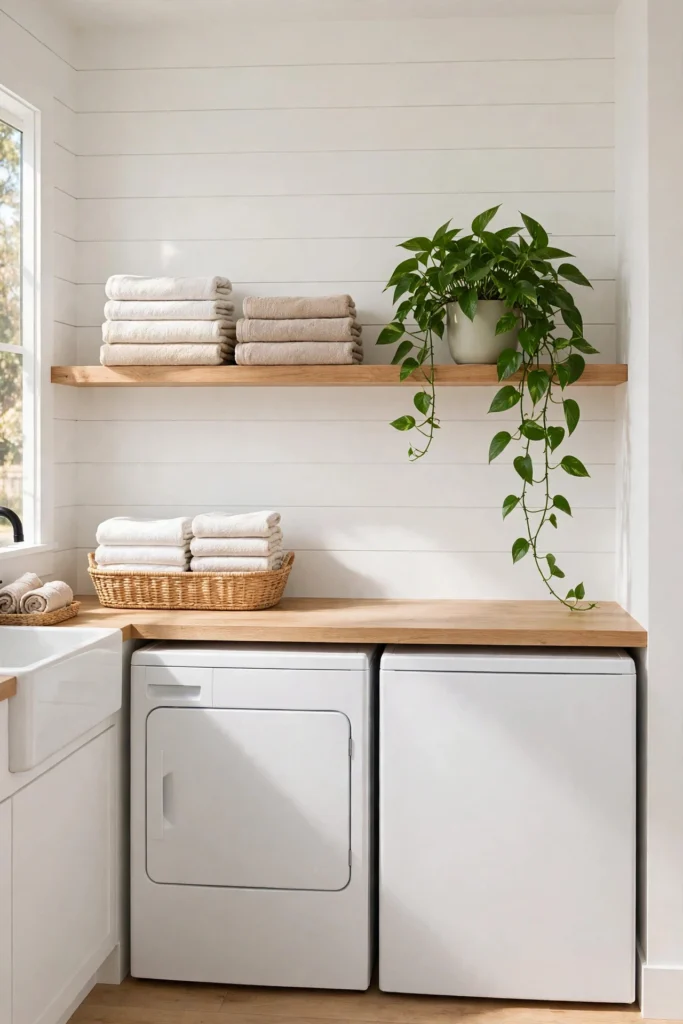
34. Bring in a Plant or Two
A plant or two softens a laundry room in a way no storage product can. The room’s humidity actually suits many houseplants — pothos, spider plants, and ferns all thrive in the steamy air — and a trailing plant on a high shelf adds life to a room full of hard surfaces. Choose plants that tolerate low light if the room has a small window, and keep them out of the way of the dryer vent’s hot air, which will scorch leaves. A small plant on the folding counter or a hanging planter near the window is enough; this is an accent, not a greenhouse. If real plants feel like one more thing to keep alive, a good-quality faux plant gives you the same visual softness with zero care. Either way, the green breaks up the white machines and pale walls, and the room feels less like a utility space.
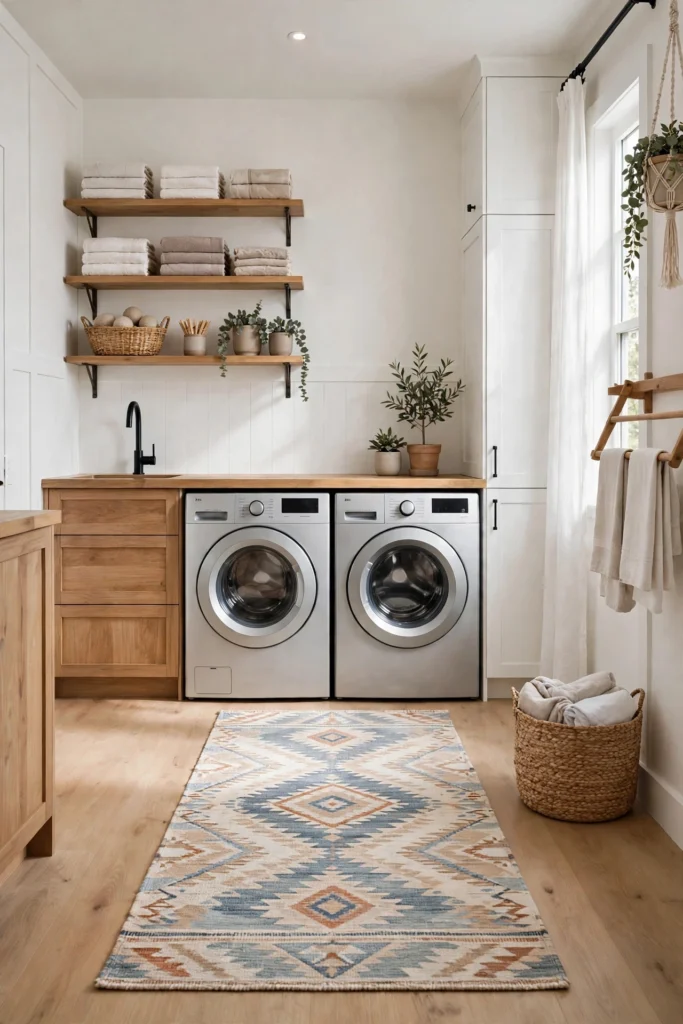
35. Lay Down a Washable Rug or Runner
A washable rug or runner adds warmth, color, and comfort underfoot in a room where you stand for long stretches folding and sorting. Choose a rug made to go in the washing machine — cotton flatweaves and low-pile washable runners are the practical choices — because a laundry room rug will collect lint, detergent drips, and the occasional splash. A runner suits a galley layout, while a small rug suits the spot in front of the machines. Keep the rug flat and low-profile so it does not catch on the machine doors or the hamper wheels, and use a non-slip pad underneath, especially on tile. The pattern can pick up a color from the walls or the wallpaper, which ties the room together for very little money. When it gets dirty, it goes in the wash with everything else.
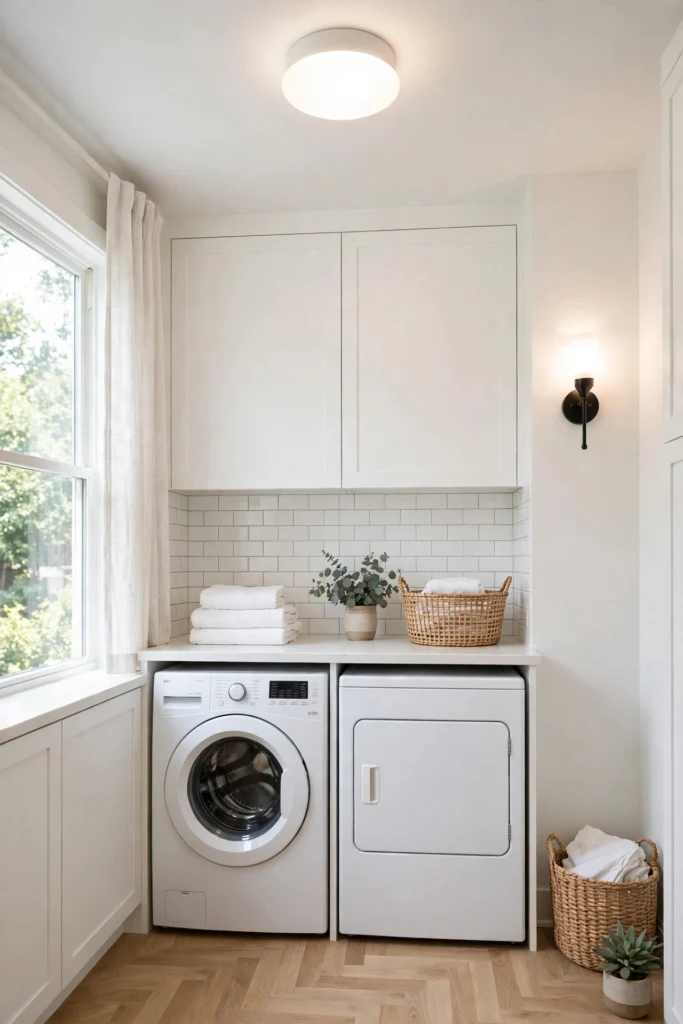
36. Layer Your Lighting
Most laundry rooms have a single ceiling light, which leaves shadows exactly where you need to see — inside the machines, over the folding counter, and on the stain you are trying to check. Layered lighting fixes that: a bright ceiling fixture for general light, a task light over the folding counter or the sink, and natural light from the window wherever you can get it. Cool-white bulbs show colors truer than warm ones, which matters when you are checking whether a stain is gone or whether two socks match. If the room has no window, a daylight-temperature bulb makes the biggest single difference to how usable the room feels. Lighting is often the last thing people plan and the first thing they notice is wrong, so plan it before the shelves go up, not after.
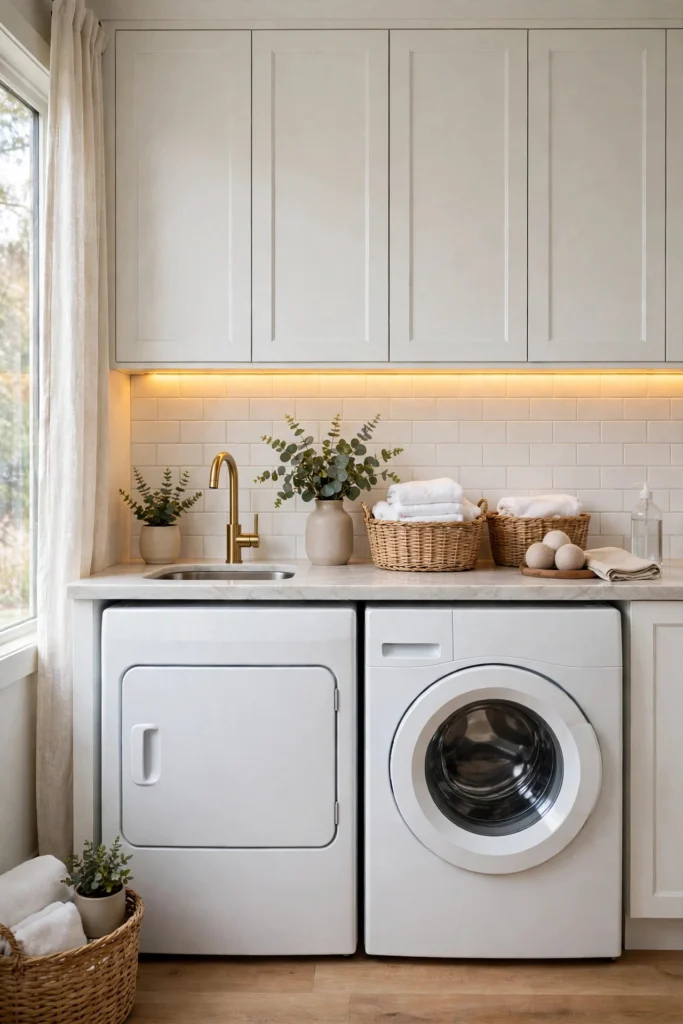
37. Add Under-Cabinet Lighting
Under-cabinet lighting strips remove the shadow that wall cabinets throw over the machines and the counter, which is exactly where you sort, measure detergent, and check stains. LED strips are the easy choice: slim, cool-running, cheap to power, and simple to fit with adhesive backing or small clips. Warm white suits a cozy room; cool white suits a workspace where color accuracy matters. Wire them to the same switch as the ceiling light or fit a small motion sensor, so they come on when you walk in with a full basket and your hands are not free. The strips also make the room look finished at night, with the cabinets glowing softly instead of looming dark. It is a small electrical job with a result you will notice every single load.
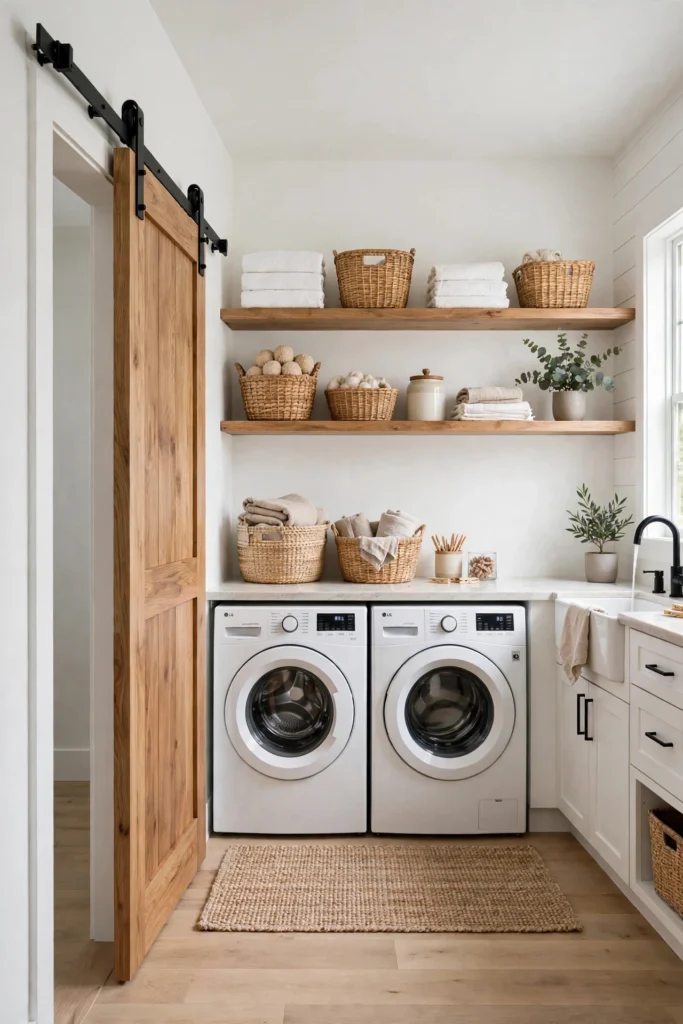
38. Swap the Door for a Pocket or Barn Door
A standard swinging door eats floor space every time it opens, which is the last thing a small laundry room needs. A pocket door slides into the wall and disappears entirely, while a barn door slides along a track on the outside of the wall and doubles as a design feature. Both free the swing space for a hamper, a cart, or a drying rack. A pocket door needs a wall without plumbing or wiring in the way, so it suits a renovation better than a quick swap; a barn door needs a clear stretch of wall beside the opening and is the easier retrofit. Either way, fit a door that closes fully — laundry noise and dryer heat should stay in the room, and a gap at the edge defeats the purpose. A barn door in a contrasting color or natural wood also gives the room a focal point it probably did not have.
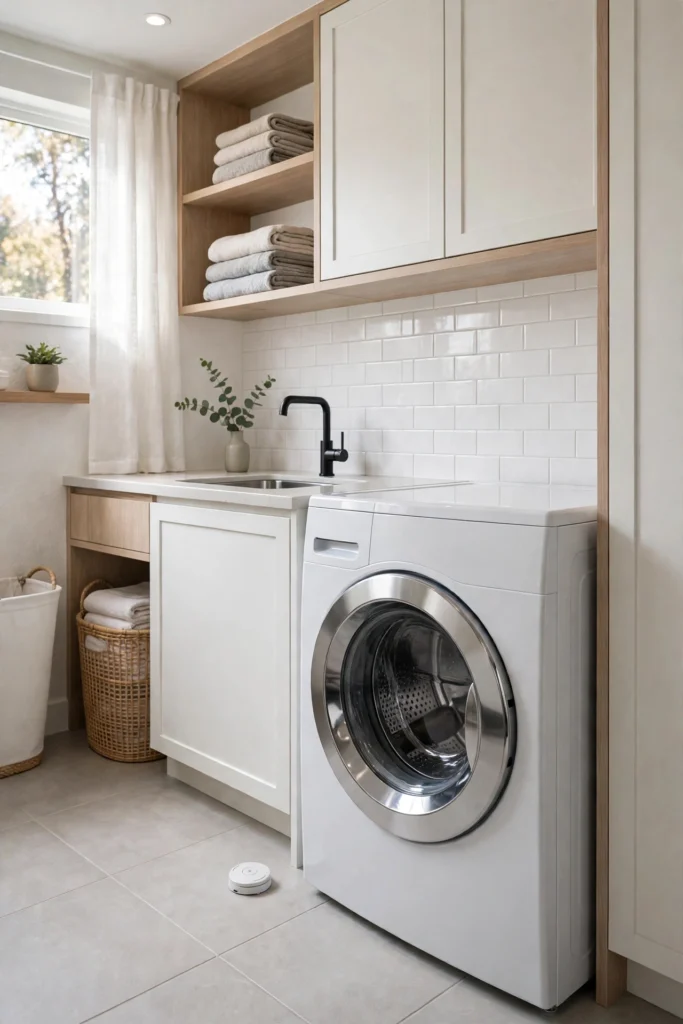
39. Install a Leak Detector
A washing machine leak can run for hours before anyone notices, and by then the floor, the wall, and the room below can be soaked. A leak detector is a small sensor that sits on the floor behind or beside the machine and sounds an alarm — or sends a phone alert, if it is a smart model — the moment it touches water. The best models pair with an automatic shut-off valve that cuts the water supply when a leak is detected, which stops the damage at the source. Place one sensor behind each machine and one near the sink, and test them when you test your smoke alarms. It is the least glamorous idea on this list and the one that can save you the most money: a ten-minute install against a repair bill that can run into thousands.
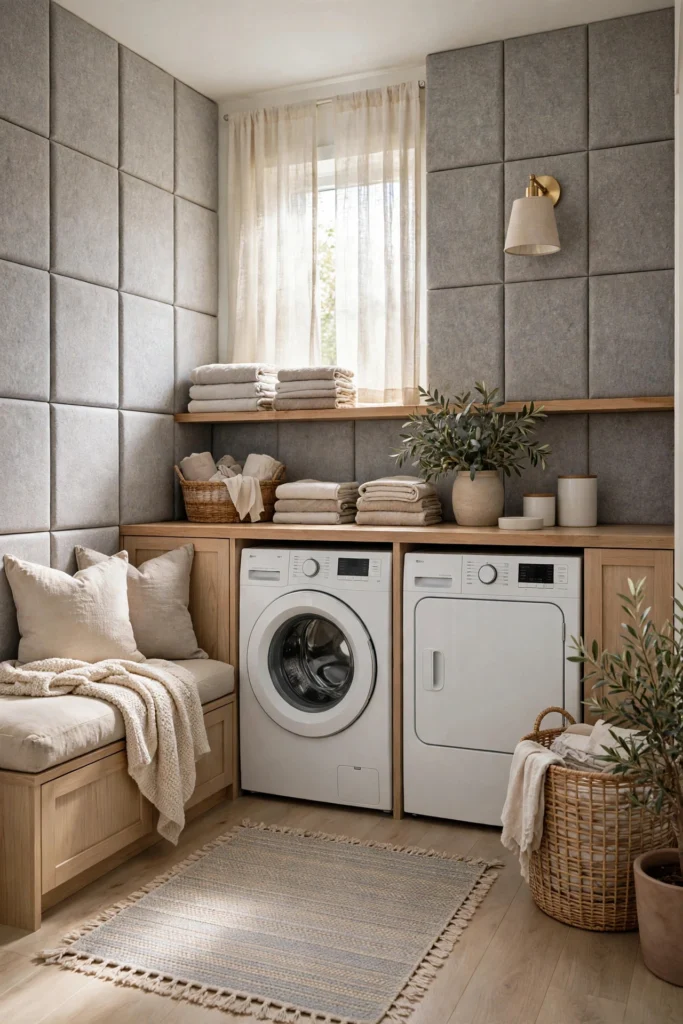
40. Dampen the Sound
Washers and dryers are loud, and in a home where the laundry room sits near bedrooms or a living area, the spin cycle becomes the soundtrack of the evening. Sound dampening starts with the machines themselves: anti-vibration pads under the feet cut the rattling that travels through the floor, and a level machine vibrates far less than one standing unevenly. After that, soft surfaces do the work — a rug on the floor, acoustic panels or fabric on the walls, and a solid door instead of a hollow one all absorb sound instead of bouncing it around. Keep the door closed during the spin cycle and the difference is immediate. None of this makes the room silent, but it takes the edge off the noise, which is usually all a household needs to stop noticing the machines.
41. Improve Ventilation with a Good Exhaust Fan
A laundry room generates heat and humidity with every load, and without ventilation that moisture settles into walls, cabinets, and clothes. A good exhaust fan pulls the damp air out, protects the paint and the woodwork, and keeps the room from smelling musty. The fan should vent to the outside, not into the attic or a wall cavity, where the moisture will cause worse problems. A humidity-sensing model switches itself on when the room gets damp and off when it dries, so you never have to remember it. Keep the dryer vent itself clean and short, with as few bends as possible — a clogged vent is a fire risk as well as a drying problem. Good ventilation is invisible when it works, and it is the reason a well-planned laundry room still feels fresh years after the renovation.
Frequently Asked Questions
How do I organize a small laundry room?
Start by giving every job its own spot: sorting near the door, washing at the machines, folding on a counter, and drying on a rack or rod. Then use the walls — shelves or cabinets above the machines, a pegboard, hooks, and an over-the-door organizer — because the floor is already taken by the machines. Keep only what you use every load within arm’s reach, and move everything else to a higher shelf or another room.
What is the best layout for a laundry room?
The best layout follows the order you do laundry in: sort, wash, dry, fold, store. A galley layout suits a long narrow room, an L-shape suits a square room with a usable corner, side-by-side machines with a counter suit a wide wall, and stacked machines suit a closet or a very small room. Measure your machines, leave room for doors to open, and put the folding surface as close to the dryer as possible.
How much space do you need for a laundry room?
A basic laundry setup can fit in a closet about five to six feet wide with stacked or compact machines. For a comfortable room with a folding counter, storage, and a sink, eight to ten feet of wall is ideal. Full-size washers and dryers are usually about 27 inches wide each, so a side-by-side pair needs roughly 54 to 56 inches of wall before you add any counter or storage.
Should I stack my washer and dryer?
Stacking is the best choice when floor space is tight, because it frees a whole machine footprint for storage or movement. It works only with front-load machines designed to stack, using the manufacturer’s stacking kit for your exact models. The trade-off is that the dryer controls sit high and the setup is harder to move later, so side-by-side machines are better when you have the wall width and want a folding counter on top.
What should I put above my washer and dryer?
The space above the machines suits the things you reach for every load: detergent, stain remover, and dryer sheets on a low shelf, with less-used supplies higher up. A cabinet hides the clutter, an open shelf keeps things visible and fast to grab, and a hanging rod underneath the shelf gives you a place for shirts straight from the dryer. Leave enough clearance above a top-loader for the lid to open fully.
How can I make my laundry room look nice on a budget?
Start with paint, matching baskets, and decanted detergent — three changes that cost very little and transform how the room looks. Add a peel-and-stick wallpaper accent wall or a washable rug for color, hang one framed print, and put a plant on the shelf. If you have a little more to spend, a butcher-block countertop over front-load machines and a set of open shelves give you the biggest functional and visual upgrade for the money.
Conclusion
A good laundry room is not about size or budget — it is about a layout that follows your routine, storage that puts everything within reach, and surfaces for folding and drying that keep the work in one place. Start with the layout, because it decides everything else. Then add the storage that fixes your biggest frustration, whether that is sorting, folding space, or a place for delicates to dry. Finish with the small touches — paint, baskets, a rug, a plant — that make the room feel like part of your home. Pick two or three ideas from this guide, start with the one that annoys you most every wash day, and build from there. Your laundry room will never be your favorite room, but with the right setup, it can stop being the one you avoid.
Looking for more storage and organization ideas for the hardworking rooms in your home? See our craft room storage ideas, staggered floating shelves ideas, and shoe storage cabinet entryway ideas — and our genius IKEA hacks for budget-friendly storage upgrades.