
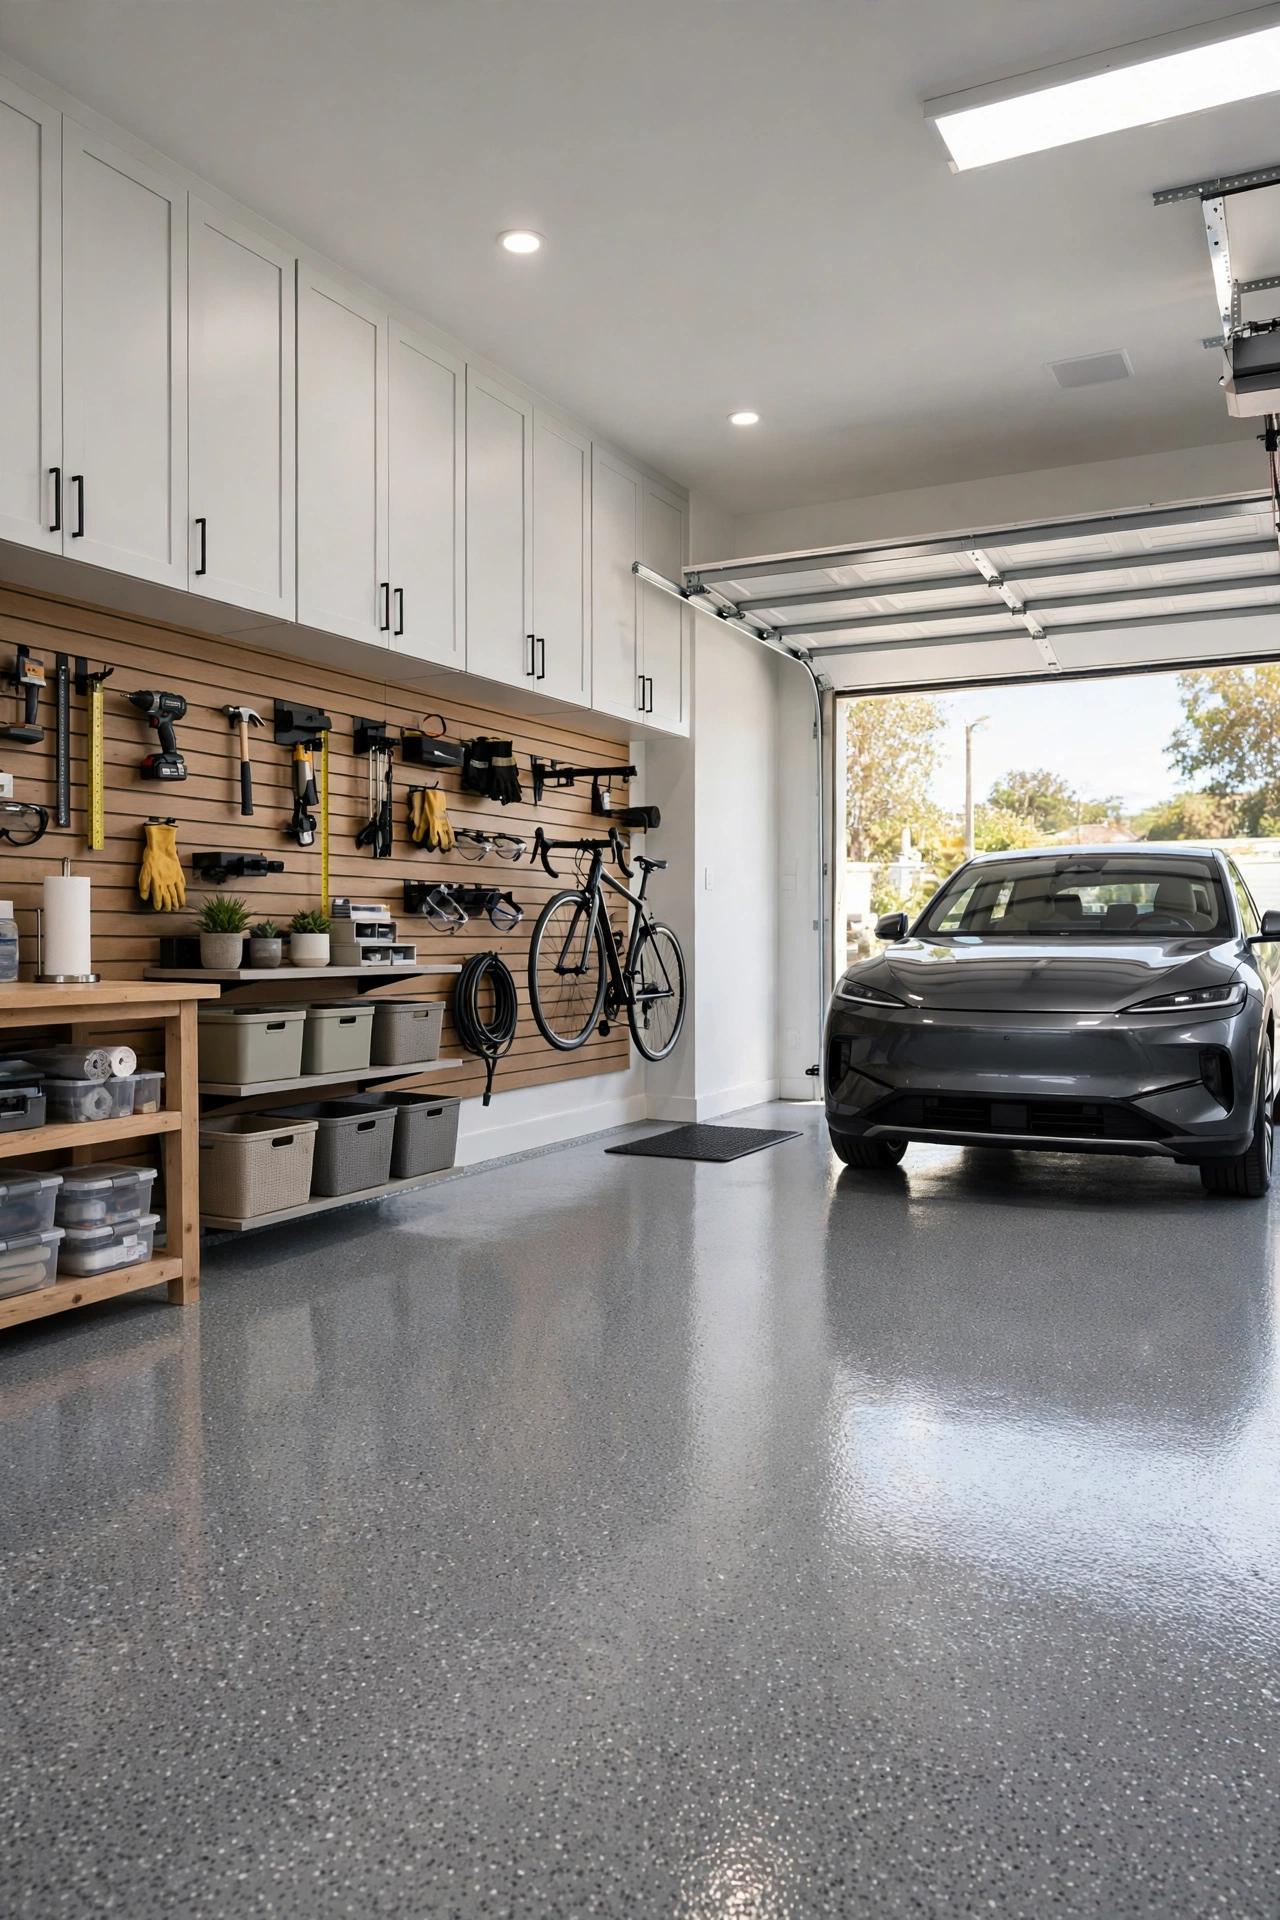
23 Garage Makeover Ideas for a Cleaner, Smarter, Better-Looking Space
Most garages start out as a dumping ground: boxes stacked against the wall, tools you can never find, a car squeezed in sideways, and a floor that has seen better decades. A garage makeover does not have to mean a full renovation or a five-figure budget. With the right mix of flooring, wall storage, lighting, and a clear zone for everything you actually use, the same space can become organised, good-looking, and genuinely useful every single day.
The ideas below cover the whole garage, from the floor up to the ceiling. Some are weekend projects you can do yourself, like a pegboard wall or a coat of paint. Others, such as an epoxy floor or new cabinets, are bigger investments that pay off in durability and resale appeal. Pick the ones that solve your biggest frustration first — usually storage, parking space, or lighting — and build from there. Each idea includes practical detail so you can plan it properly, not just admire a photo of it.
1. Coat the Floor with Epoxy or Polyaspartic Finish
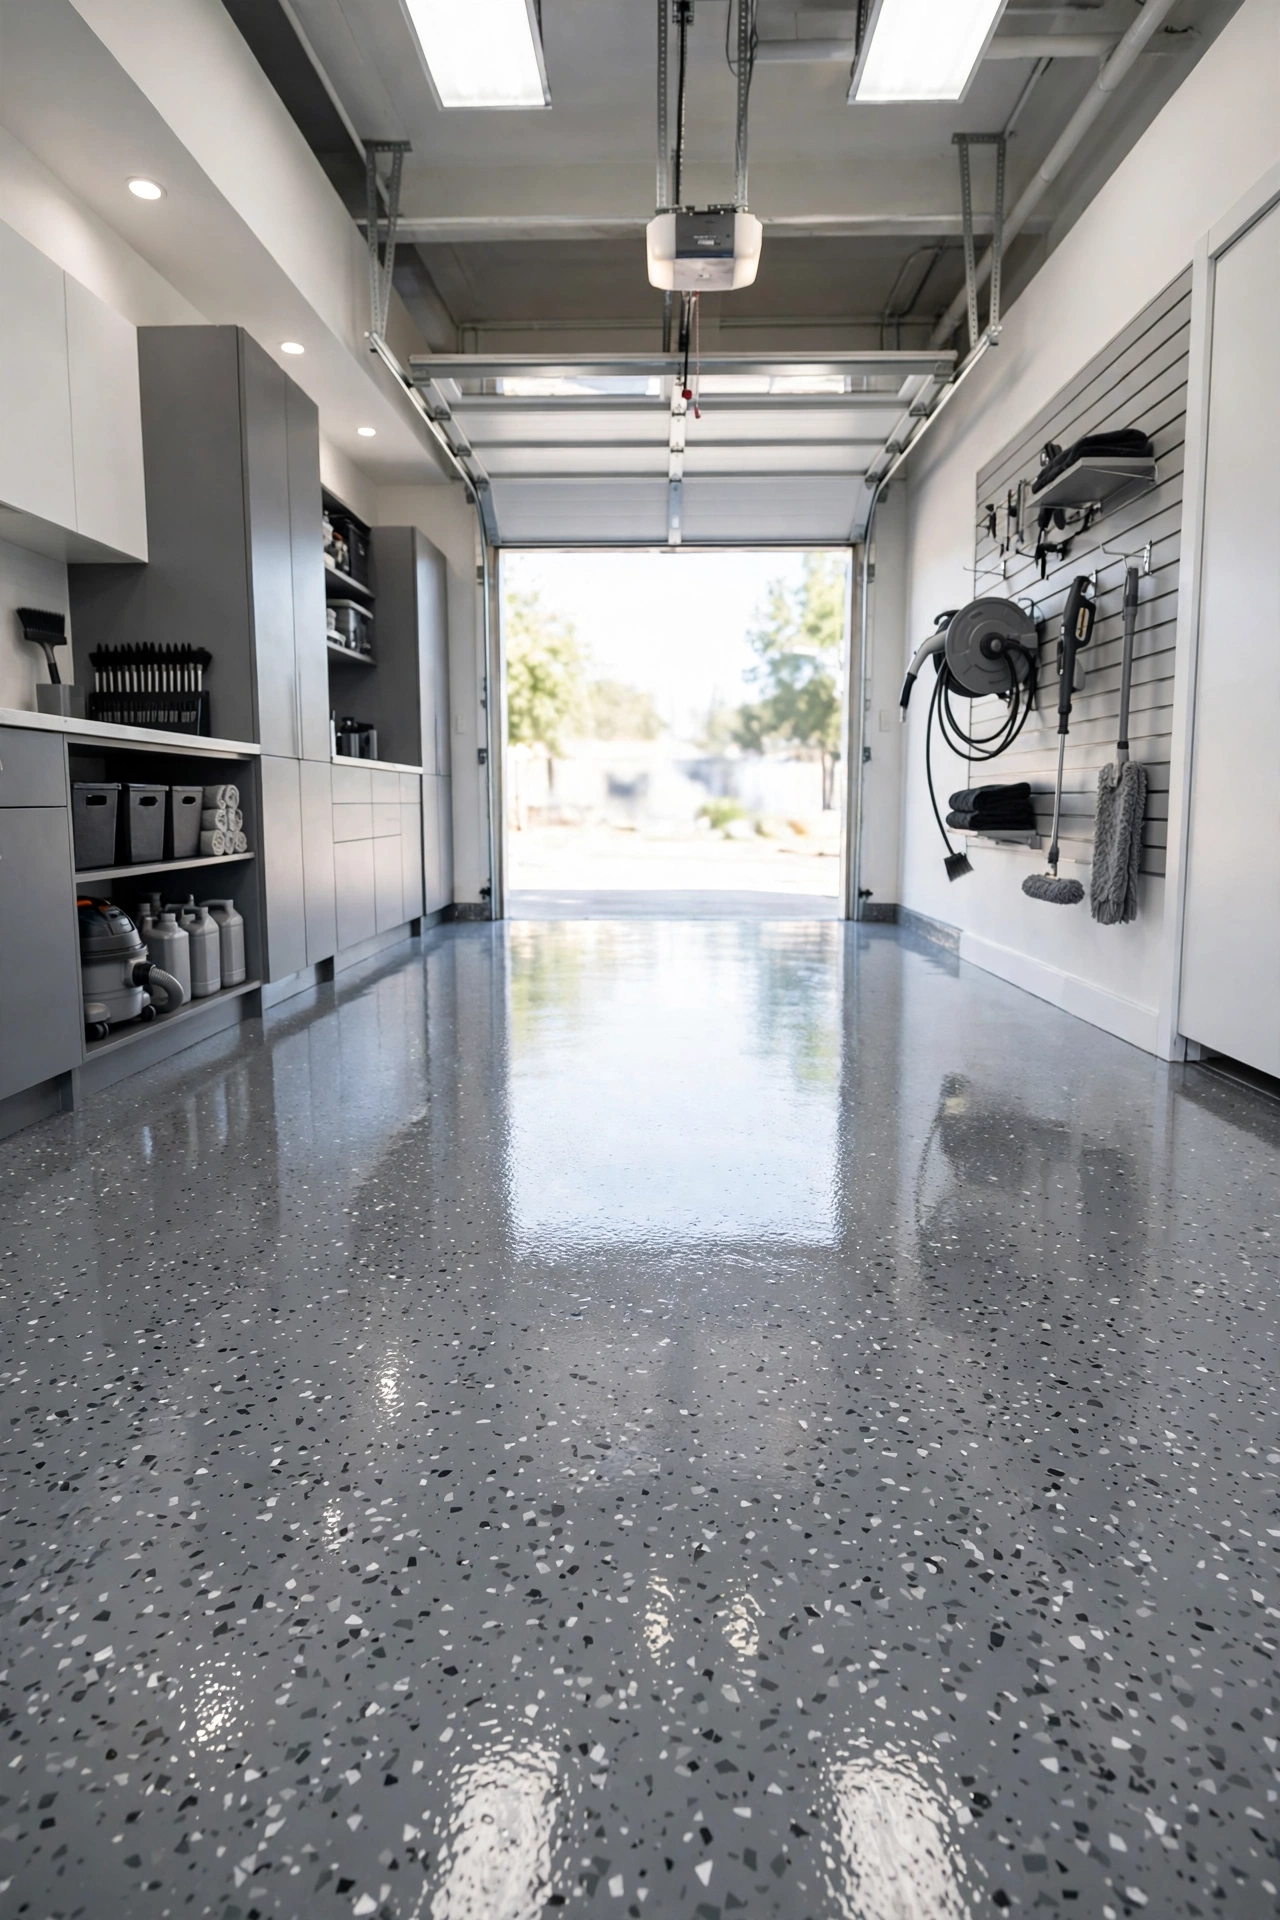
A bare concrete floor stains, cracks, and sheds dust, which makes the whole garage feel unfinished no matter how tidy it is. An epoxy or polyaspartic coating seals the concrete, resists oil, salt, and hot-tyre marks, and gives you a smooth surface that sweeps and mops clean in minutes. Polyaspartic coatings cure faster and handle UV light better, while classic epoxy is usually cheaper and widely available in DIY kits. Preparation matters more than the product: clean and degrease the concrete, repair cracks, etch or grind the surface, and let it dry fully before coating. Add decorative flakes for grip and to hide dust, and finish with a clear topcoat in high-traffic areas. Expect a weekend of work for a DIY kit, or a day or two for a professional crew, and keep cars off the floor for the full cure time stated on the product.
2. Install a Slatwall Storage Wall
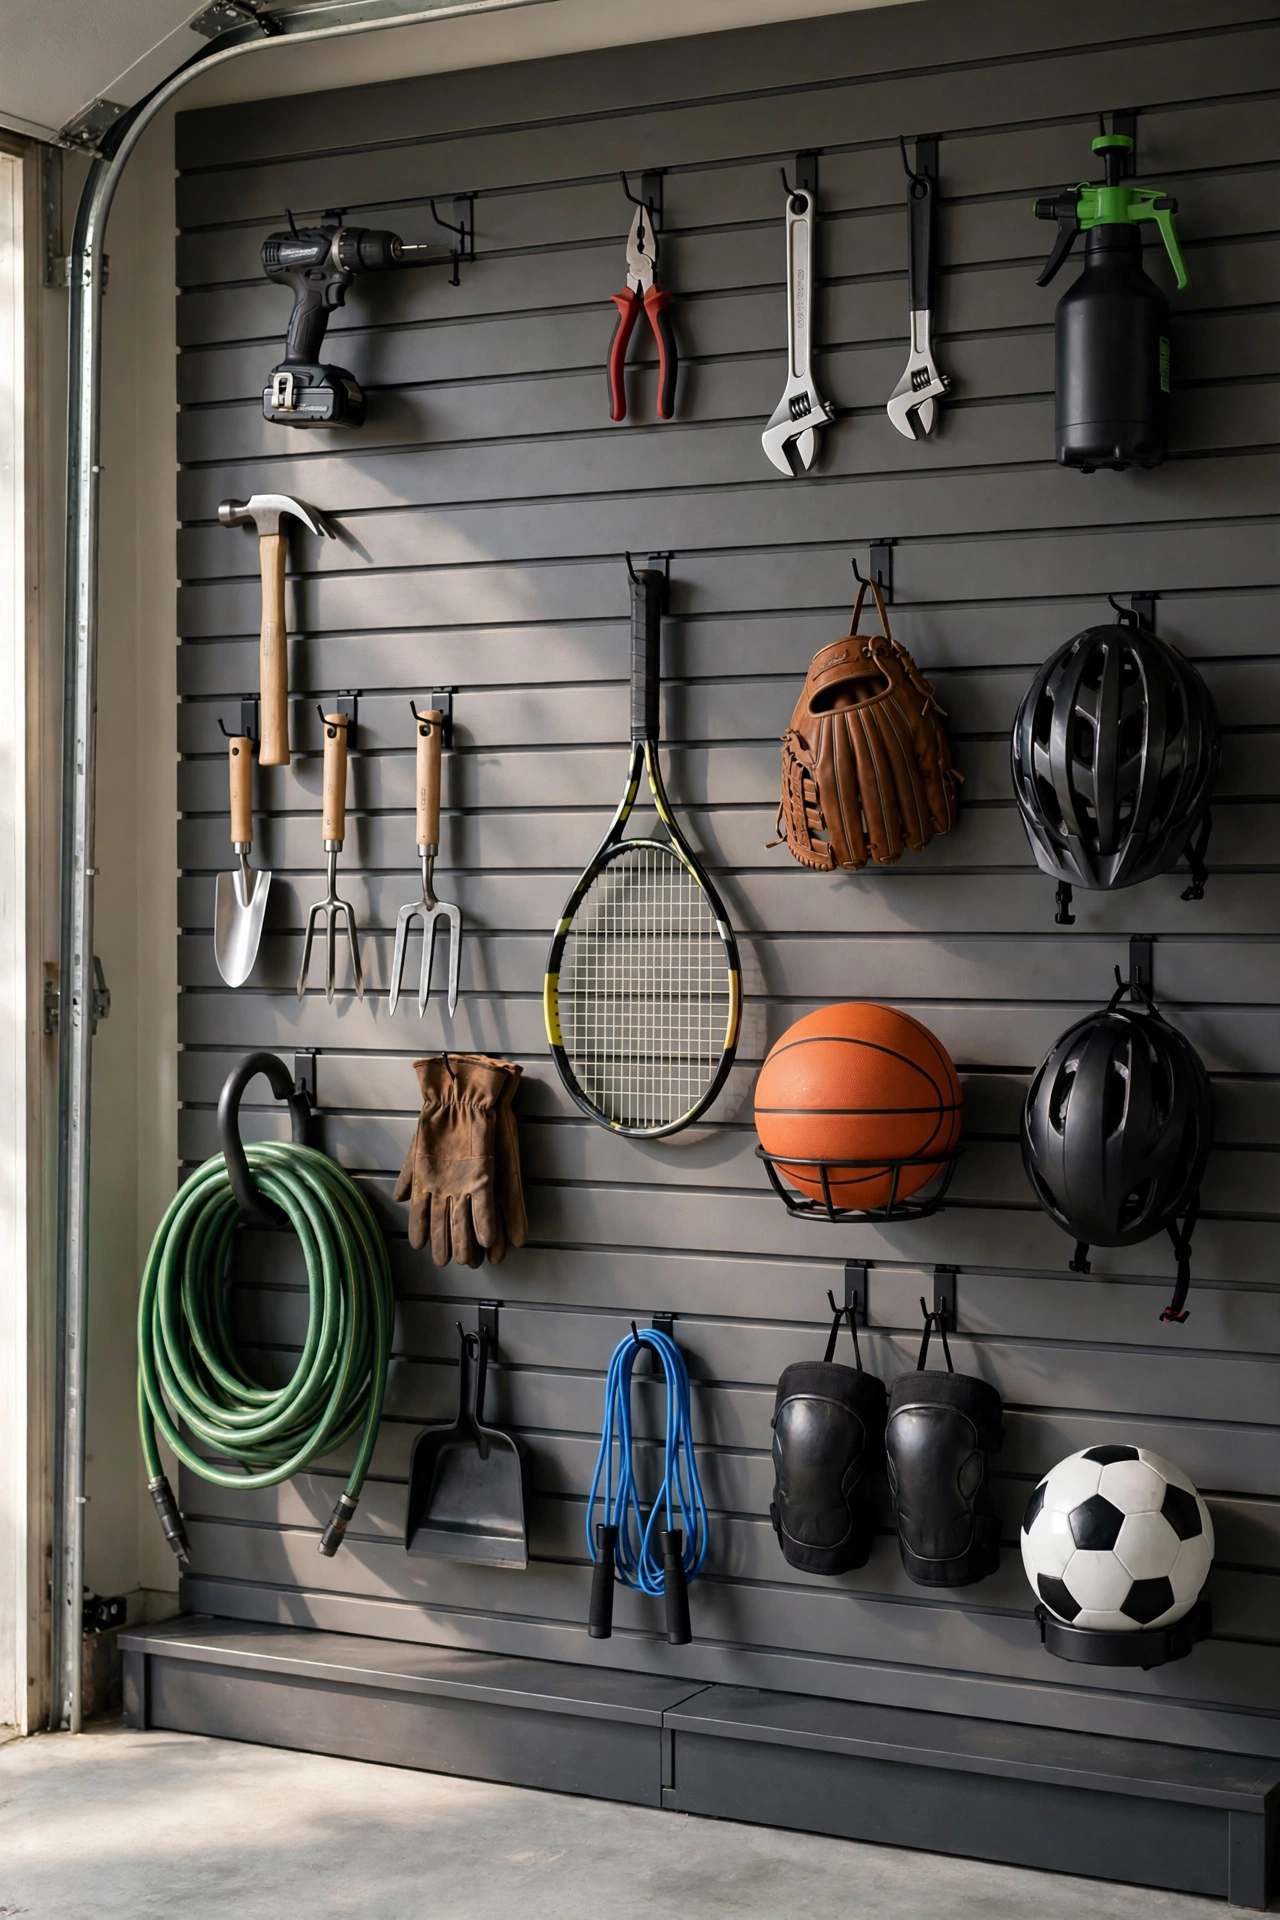
Slatwall panels turn a blank wall into flexible storage without drilling a new hole for every item. The horizontal grooves accept hooks, baskets, bins, shelves, and holders that you can move in seconds as your needs change. Cover one full wall, or the wall behind your workbench, and hang hand tools, garden tools, extension cords, helmets, and sports gear where you can see them. Choose heavy-duty panels rated for the weight you plan to hang, and anchor them into studs rather than drywall alone. Leave the bottom row clear of the floor so you can sweep underneath, and group items by task — gardening together, car care together, tools together — so you stop hunting through one mixed pile. A slatwall also keeps gear off the floor, which is the single fastest way to free up parking space.
3. Add Overhead Ceiling Storage Racks
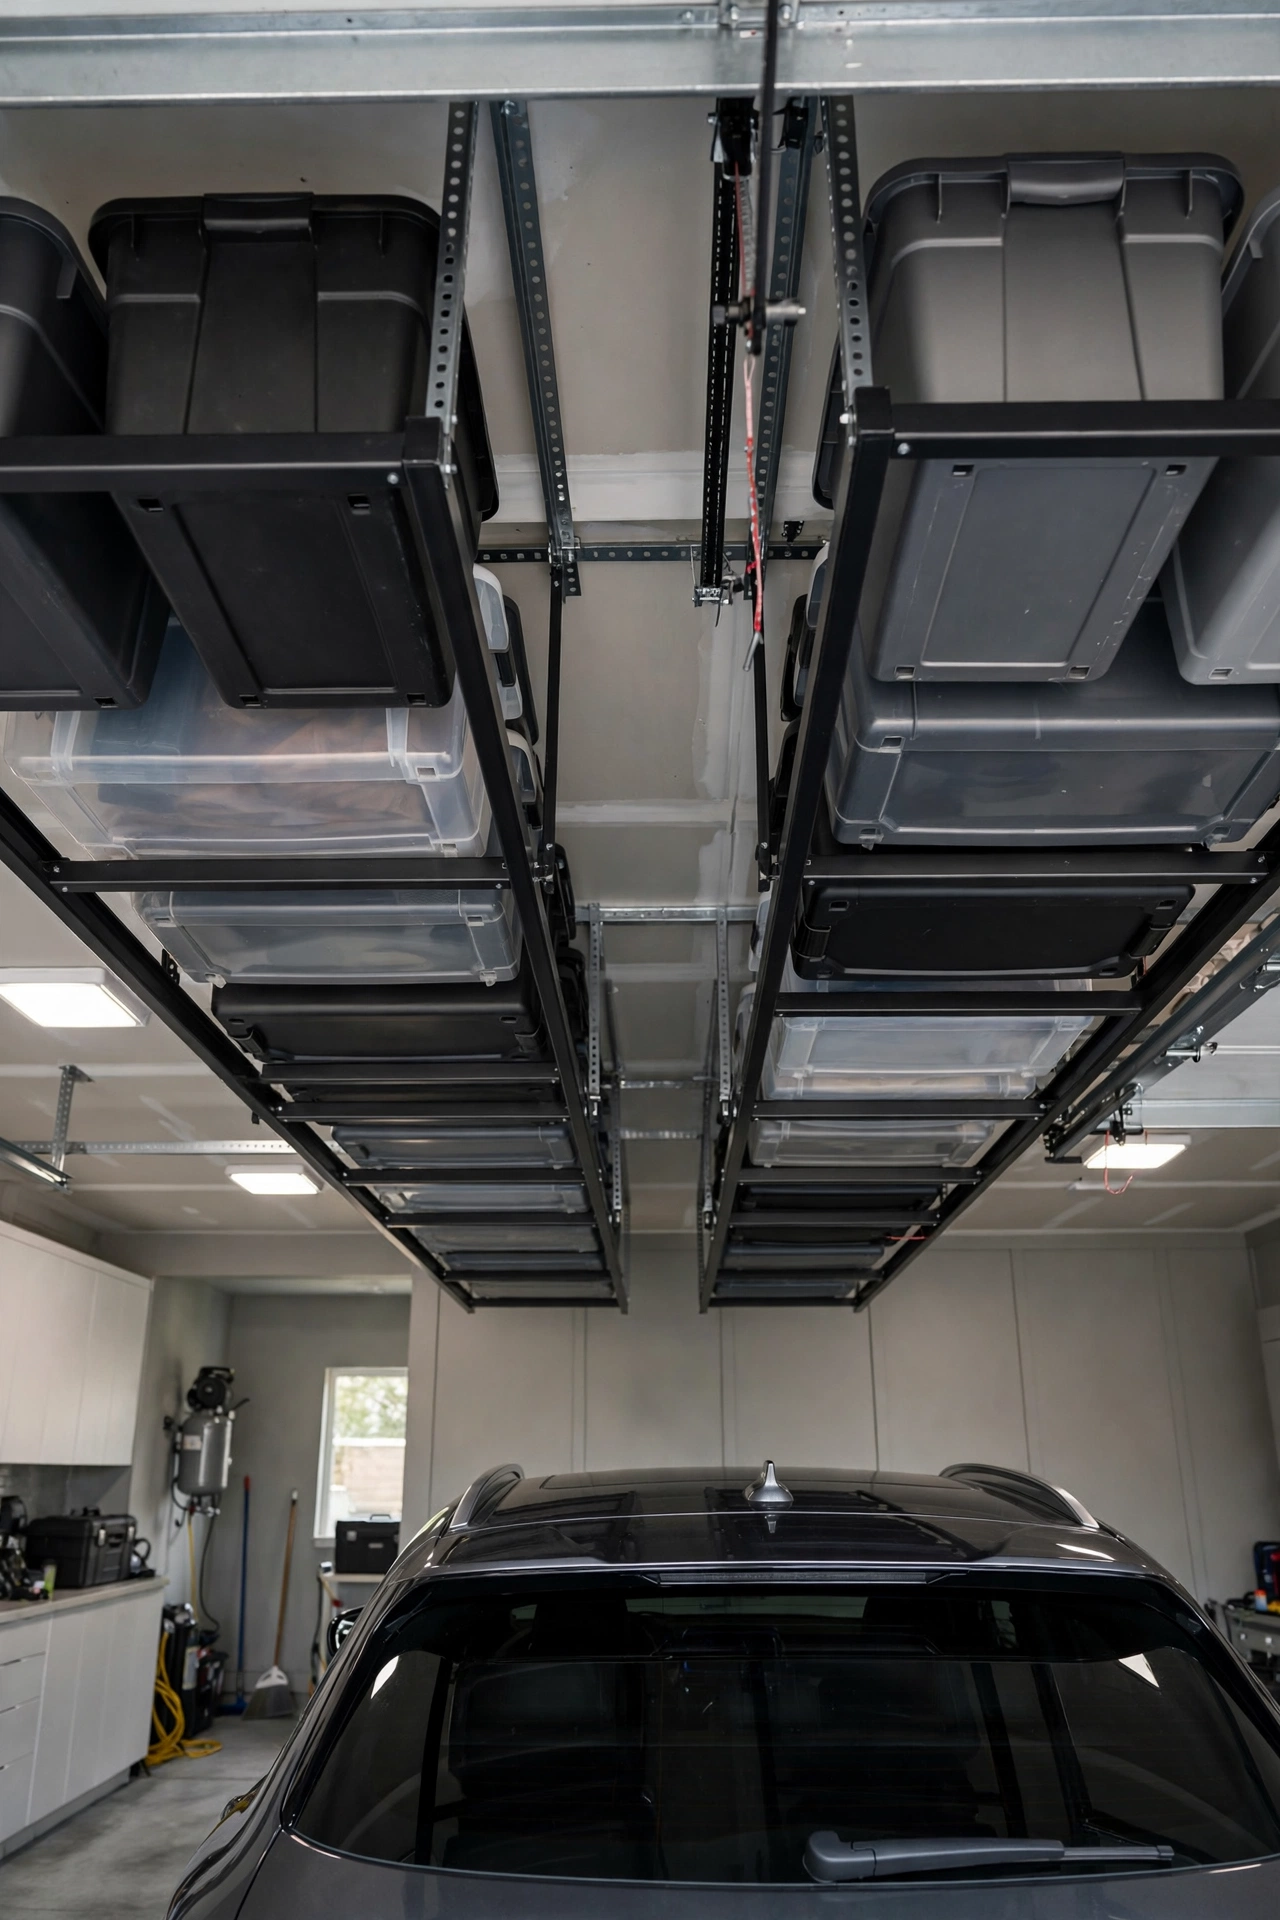
The ceiling is the most wasted space in most garages, and it is perfect for the bulky items you only need a few times a year. Overhead racks bolt into ceiling joists and hold large bins of holiday decorations, camping gear, or out-of-season sports equipment above head height. Keep each bin under the rack’s weight rating, label the short side facing the door, and leave a clear path so you can lower a bin without climbing over the car. Adjustable-height racks work well under low ceilings, while fixed racks suit tall garages. Never hang racks from drywall alone, and avoid storing anything heat-sensitive or heavy directly above a parked car if a safer bay is available. Used well, ceiling racks can reclaim an entire wall of floor space.
4. Fit Lockable Floor-to-Ceiling Cabinets
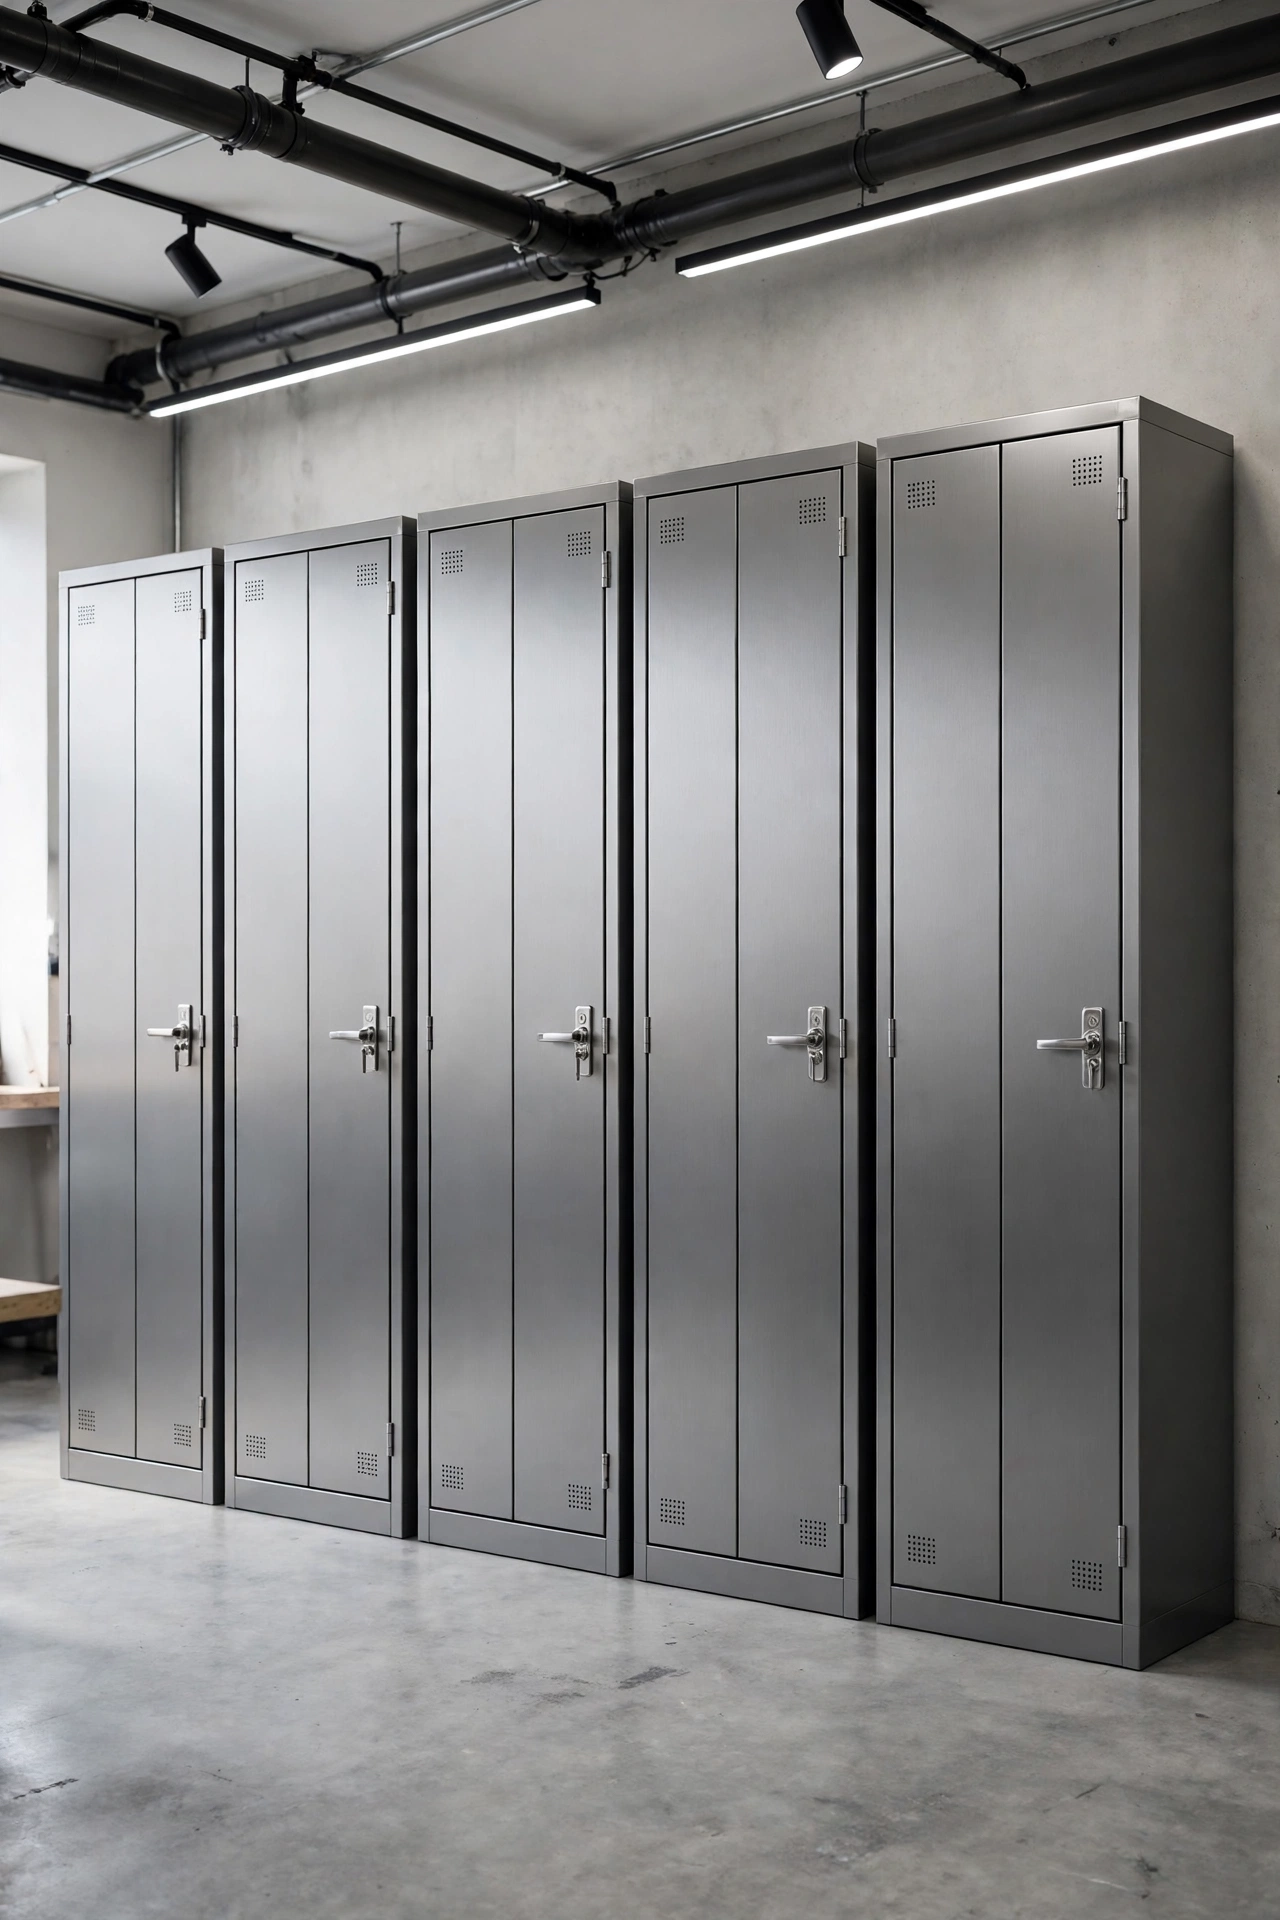
Open shelving shows every box and bottle, which is why a garage can look messy even when it is organised. Tall cabinets hide the clutter behind closed doors, protect supplies from dust, and keep chemicals, paints, and sharp tools out of reach of children. Choose steel or heavy-duty resin cabinets for damp garages, and powder-coated metal for a workshop look that wipes clean. Plan cabinet depth carefully: deep cabinets swallow small items, so add pull-out shelves or bins inside. Put daily-use items at waist height, heavy items low, and rarely used stock up high. A run of matching cabinets along one wall instantly makes a garage look finished, and it pairs well with a workbench and a slatwall on the adjoining wall.
5. Build a Pegboard Tool Wall with Outlines
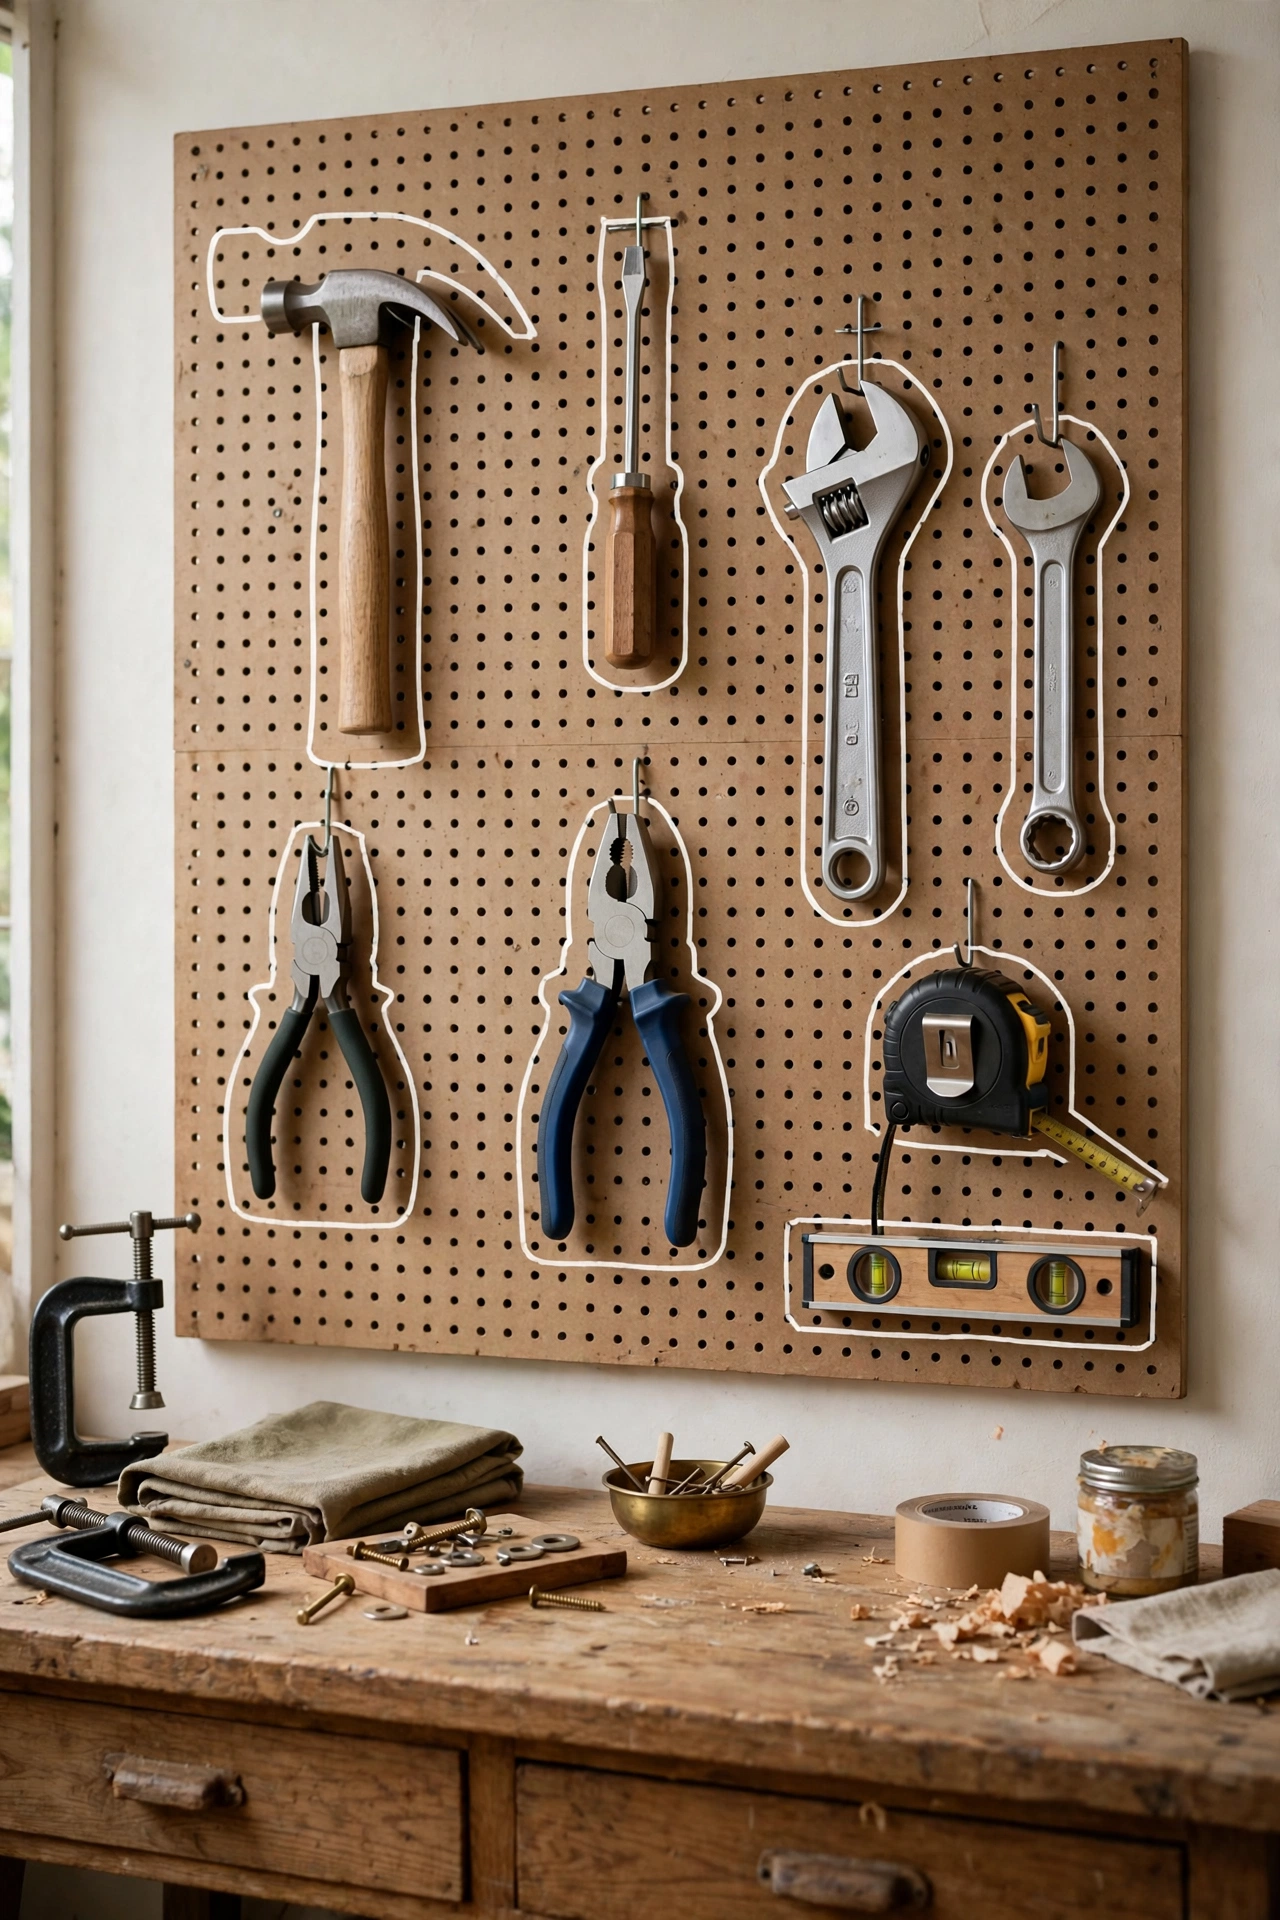
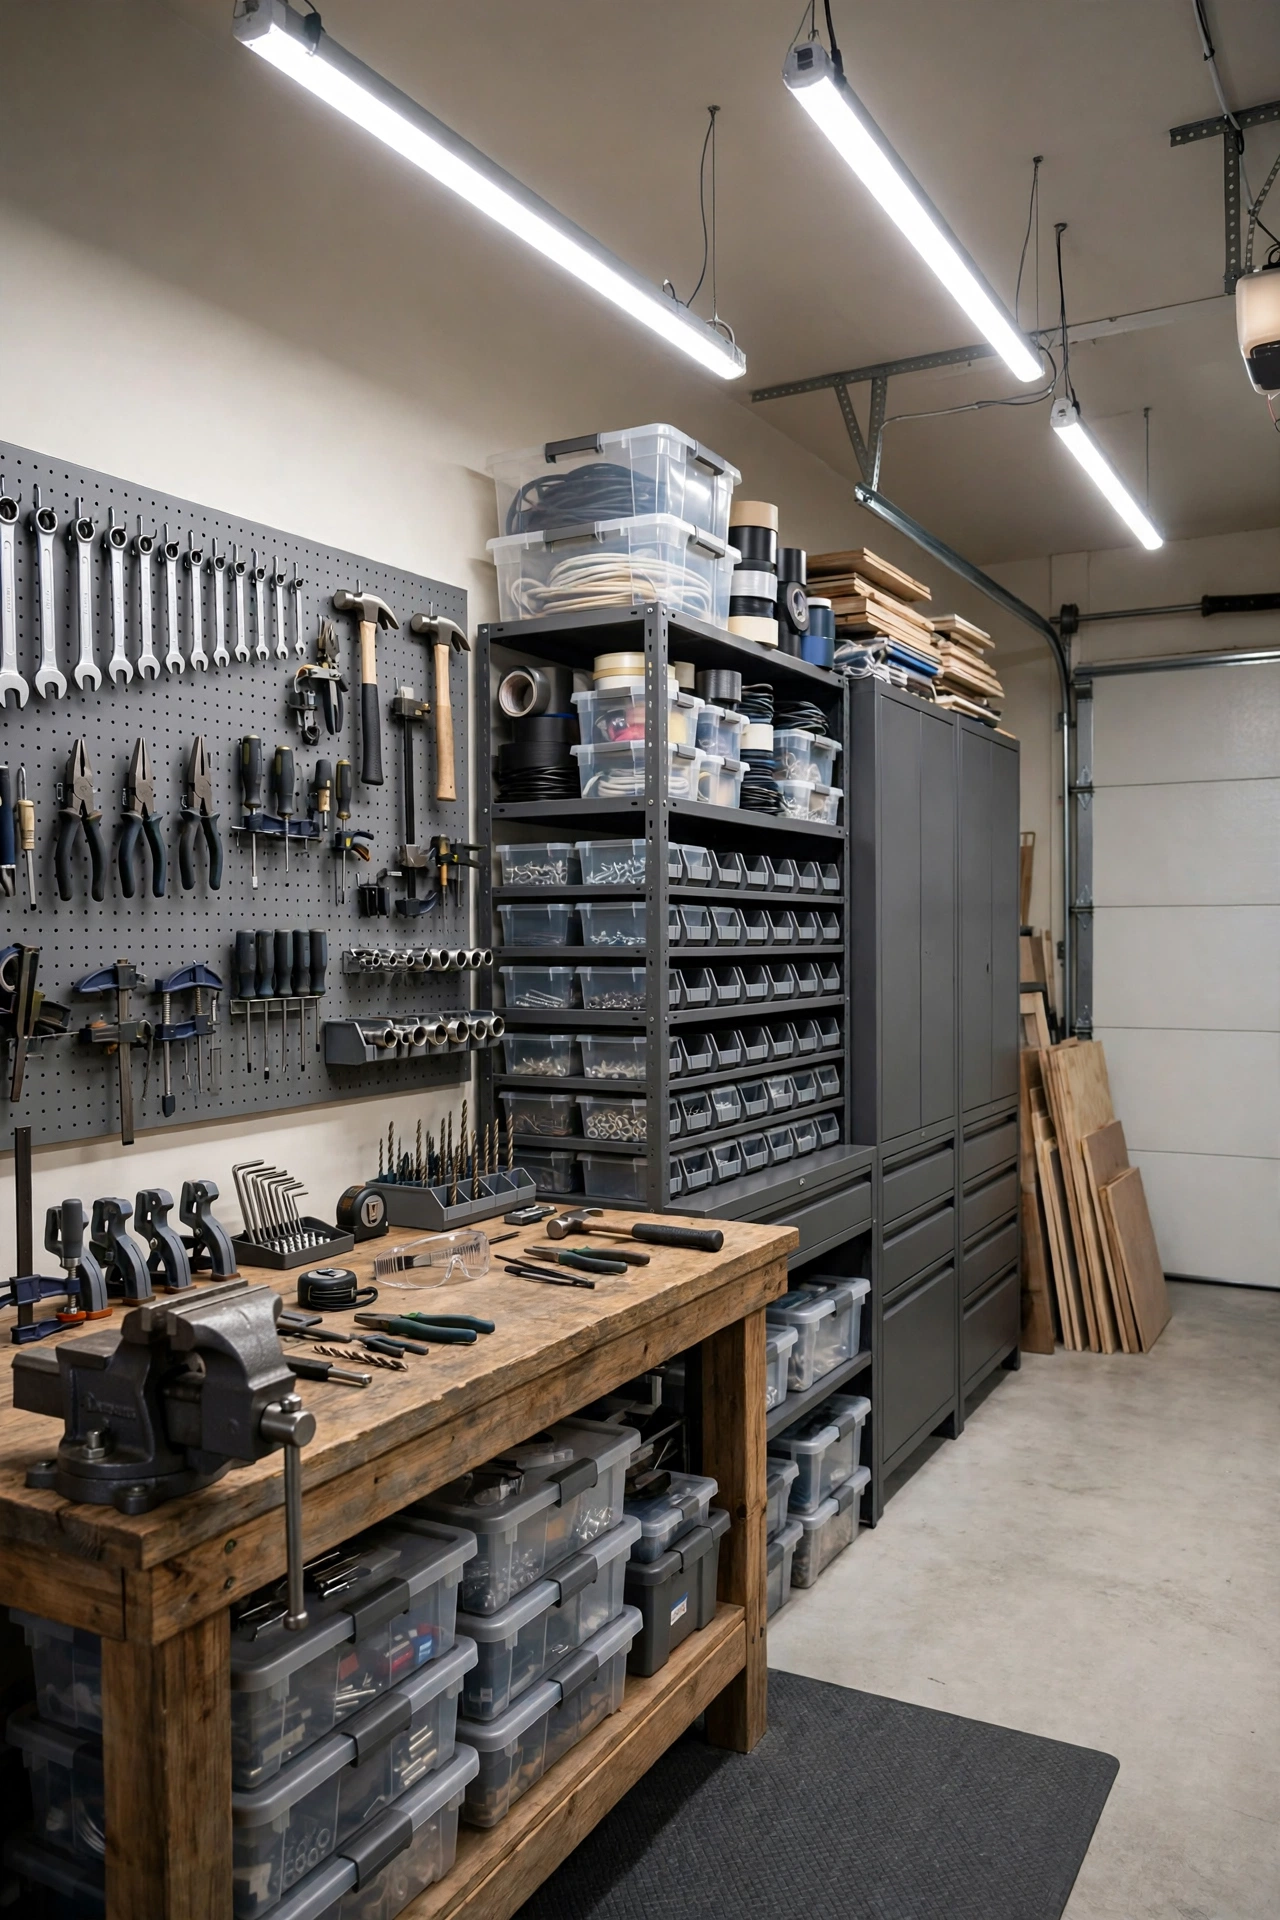
A pegboard wall is the cheapest way to end the “where is the hammer?” problem. Mount a sheet of pegboard over a frame so hooks have room behind the board, then hang your most-used hand tools in a logical order: measuring and marking tools together, cutting tools together, fastening tools together. Tracing each tool’s outline on the board sounds fussy, but it is the trick that keeps the system working — a missing tool is obvious at a glance, and everything has exactly one home. Use locking hooks so tools do not fall when you grab a neighbour, and keep the board near your workbench, not across the garage. For heavy power tools, use shelf brackets or a dedicated holder instead of pegboard hooks, which are meant for lighter hand tools.
6. Create a Sturdy Workbench Zone
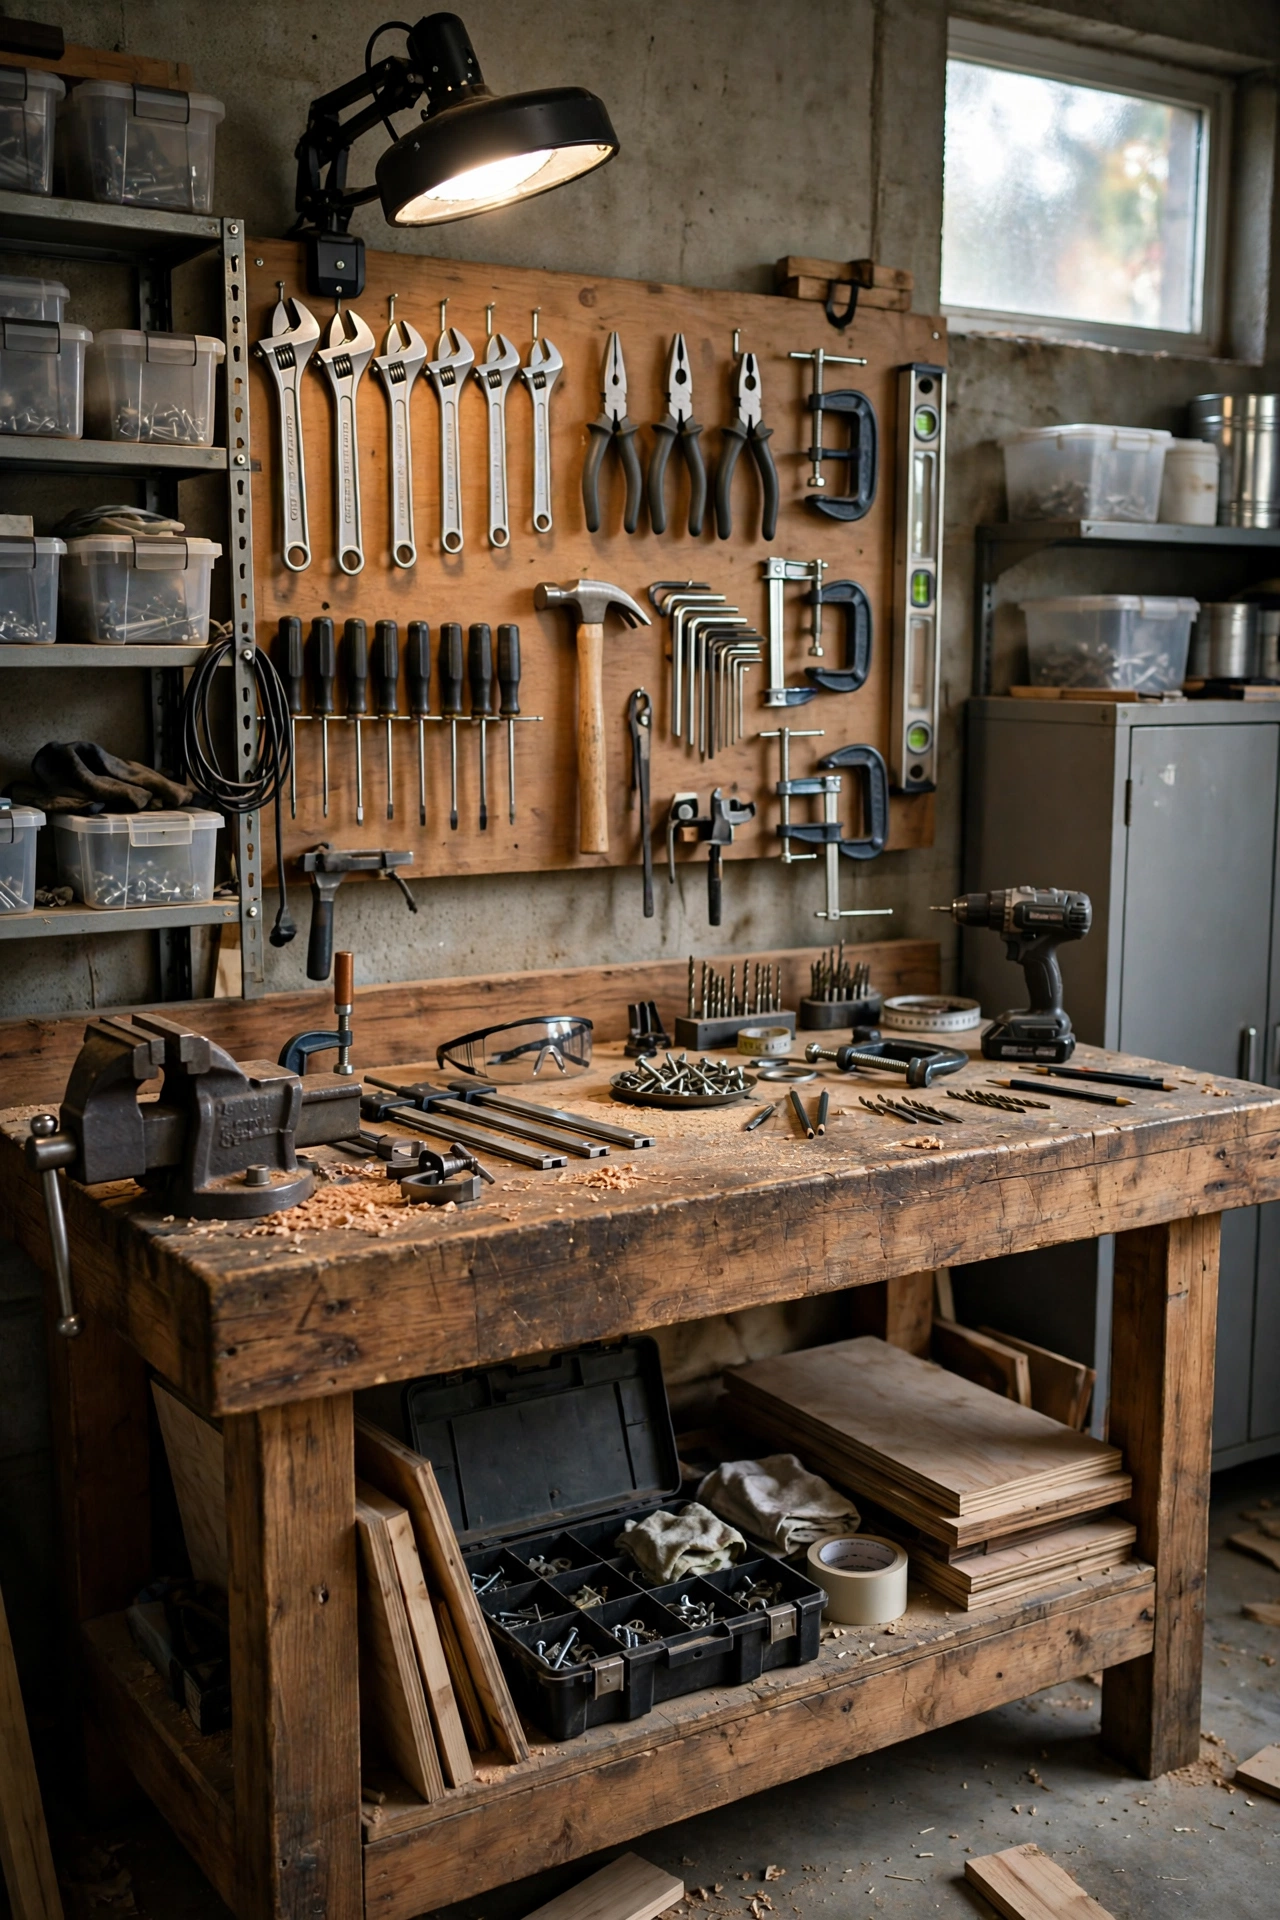
Every garage makeover needs a proper place to work, not just a folding table balanced on boxes. A solid workbench with a thick top, a lower shelf, and a small vice gives you a surface for repairs, assembly, and DIY projects. Position it near an outlet and under good task lighting, with your pegboard or slatwall directly above it so tools are within arm’s reach. If floor space is tight, a wall-mounted folding bench or a bench on locking castors gives you flexibility without a permanent footprint. Add a power strip with surge protection, a small parts organiser for screws and fixings, and a stool that tucks underneath. Keep the bench top clear as a rule: a workbench covered in storage is no longer a workbench.
7. Hang Bikes on Wall Mounts or Ceiling Hoists
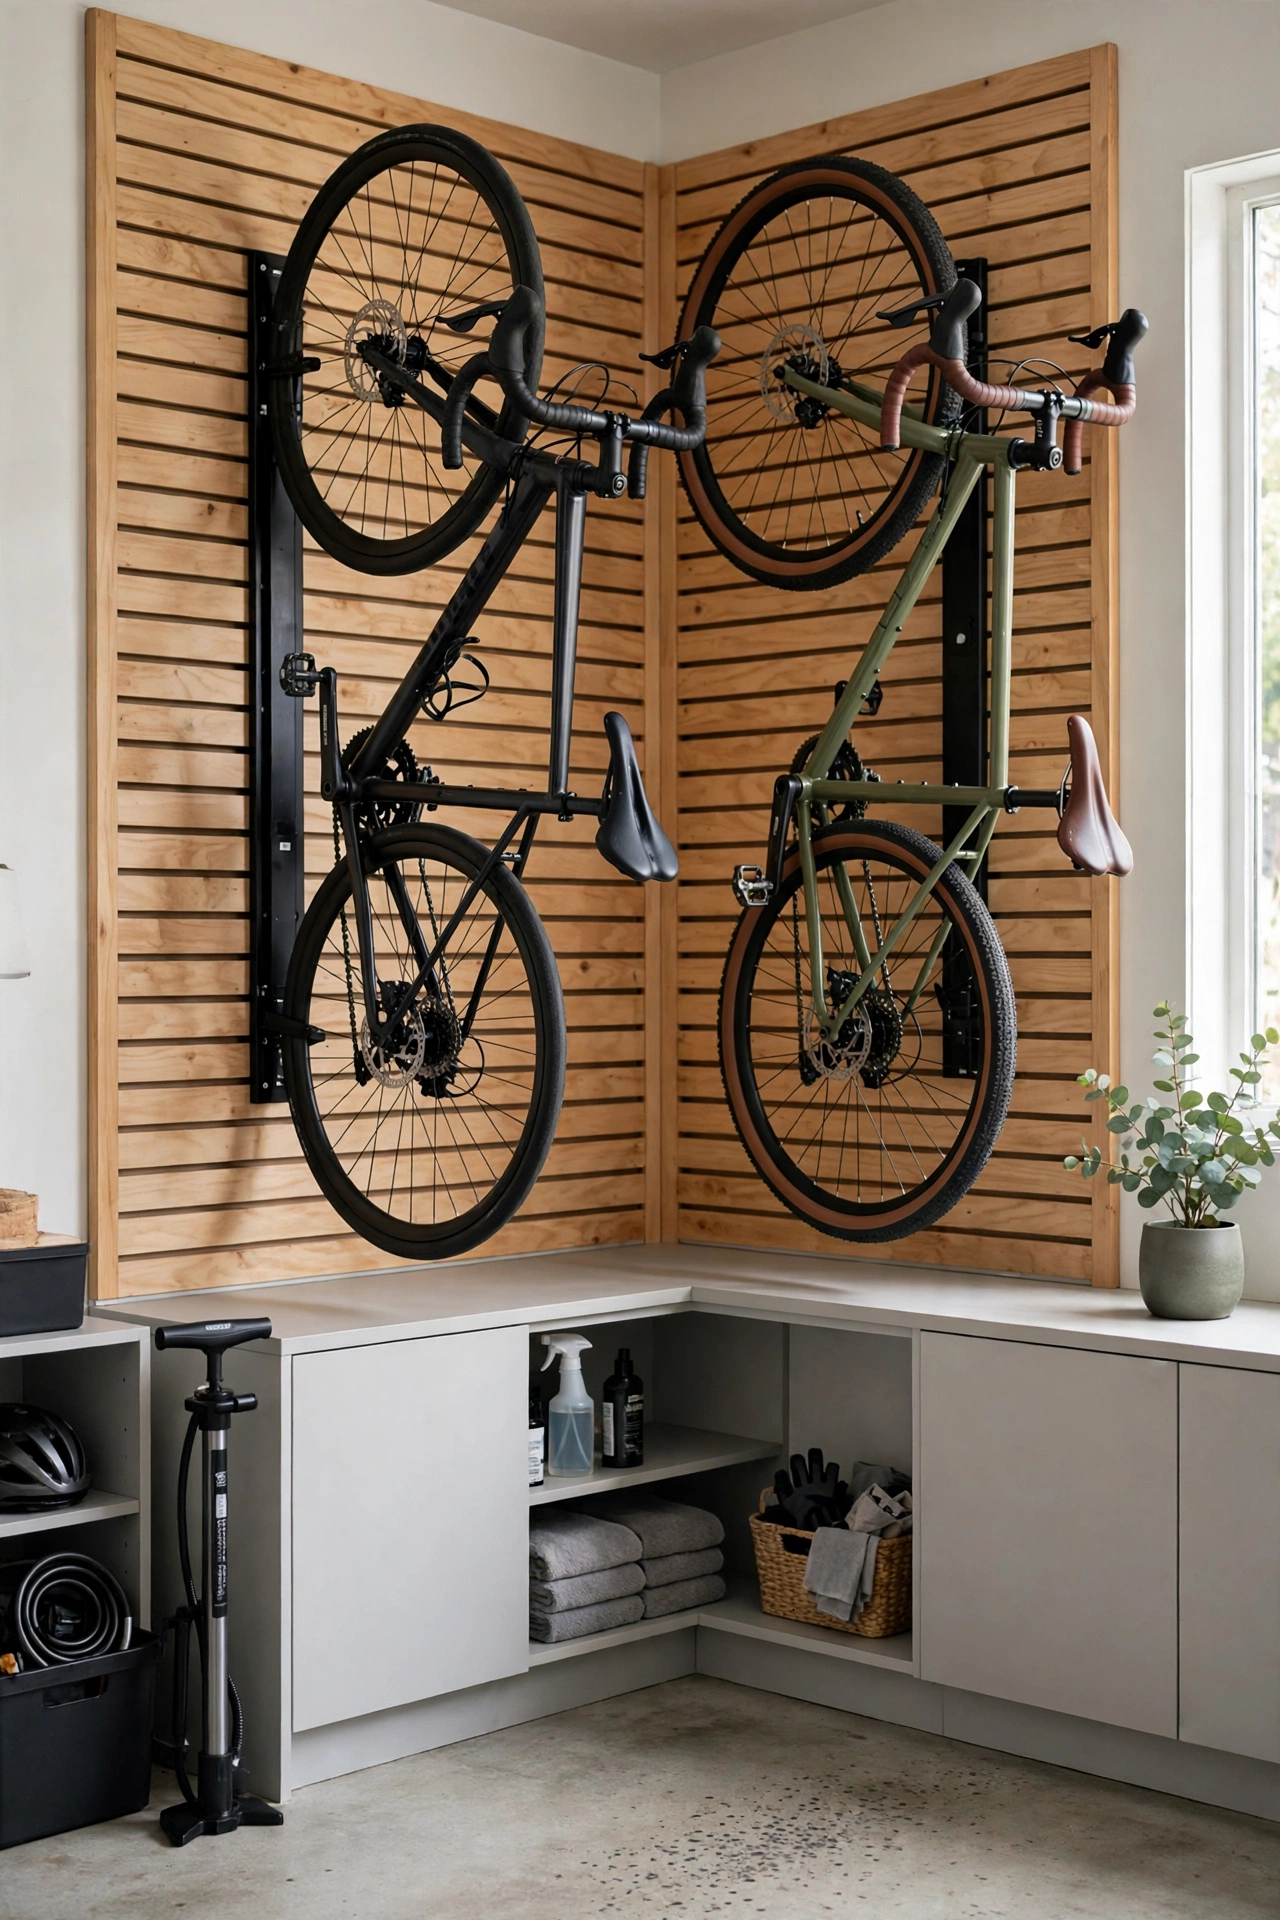
Bikes leaning against a wall fall over, block walkways, and damage paintwork. Wall-mounted hooks or vertical racks hold each bike by its wheel or frame, freeing a surprising amount of floor space — one bike on a wall takes up almost no floor at all. For heavier e-bikes or tall ceilings, a pulley hoist lifts the bike flat against the ceiling and lowers it with a rope, which is easier on your back than lifting it onto a high hook. Measure handlebar width before spacing mounts, stagger heights so handlebars do not clash, and keep kids’ bikes low enough for them to reach safely. A dedicated bike zone near the garage door also means muddy wheels never travel through the house.
8. Set Up a Sports and Outdoor Gear Station
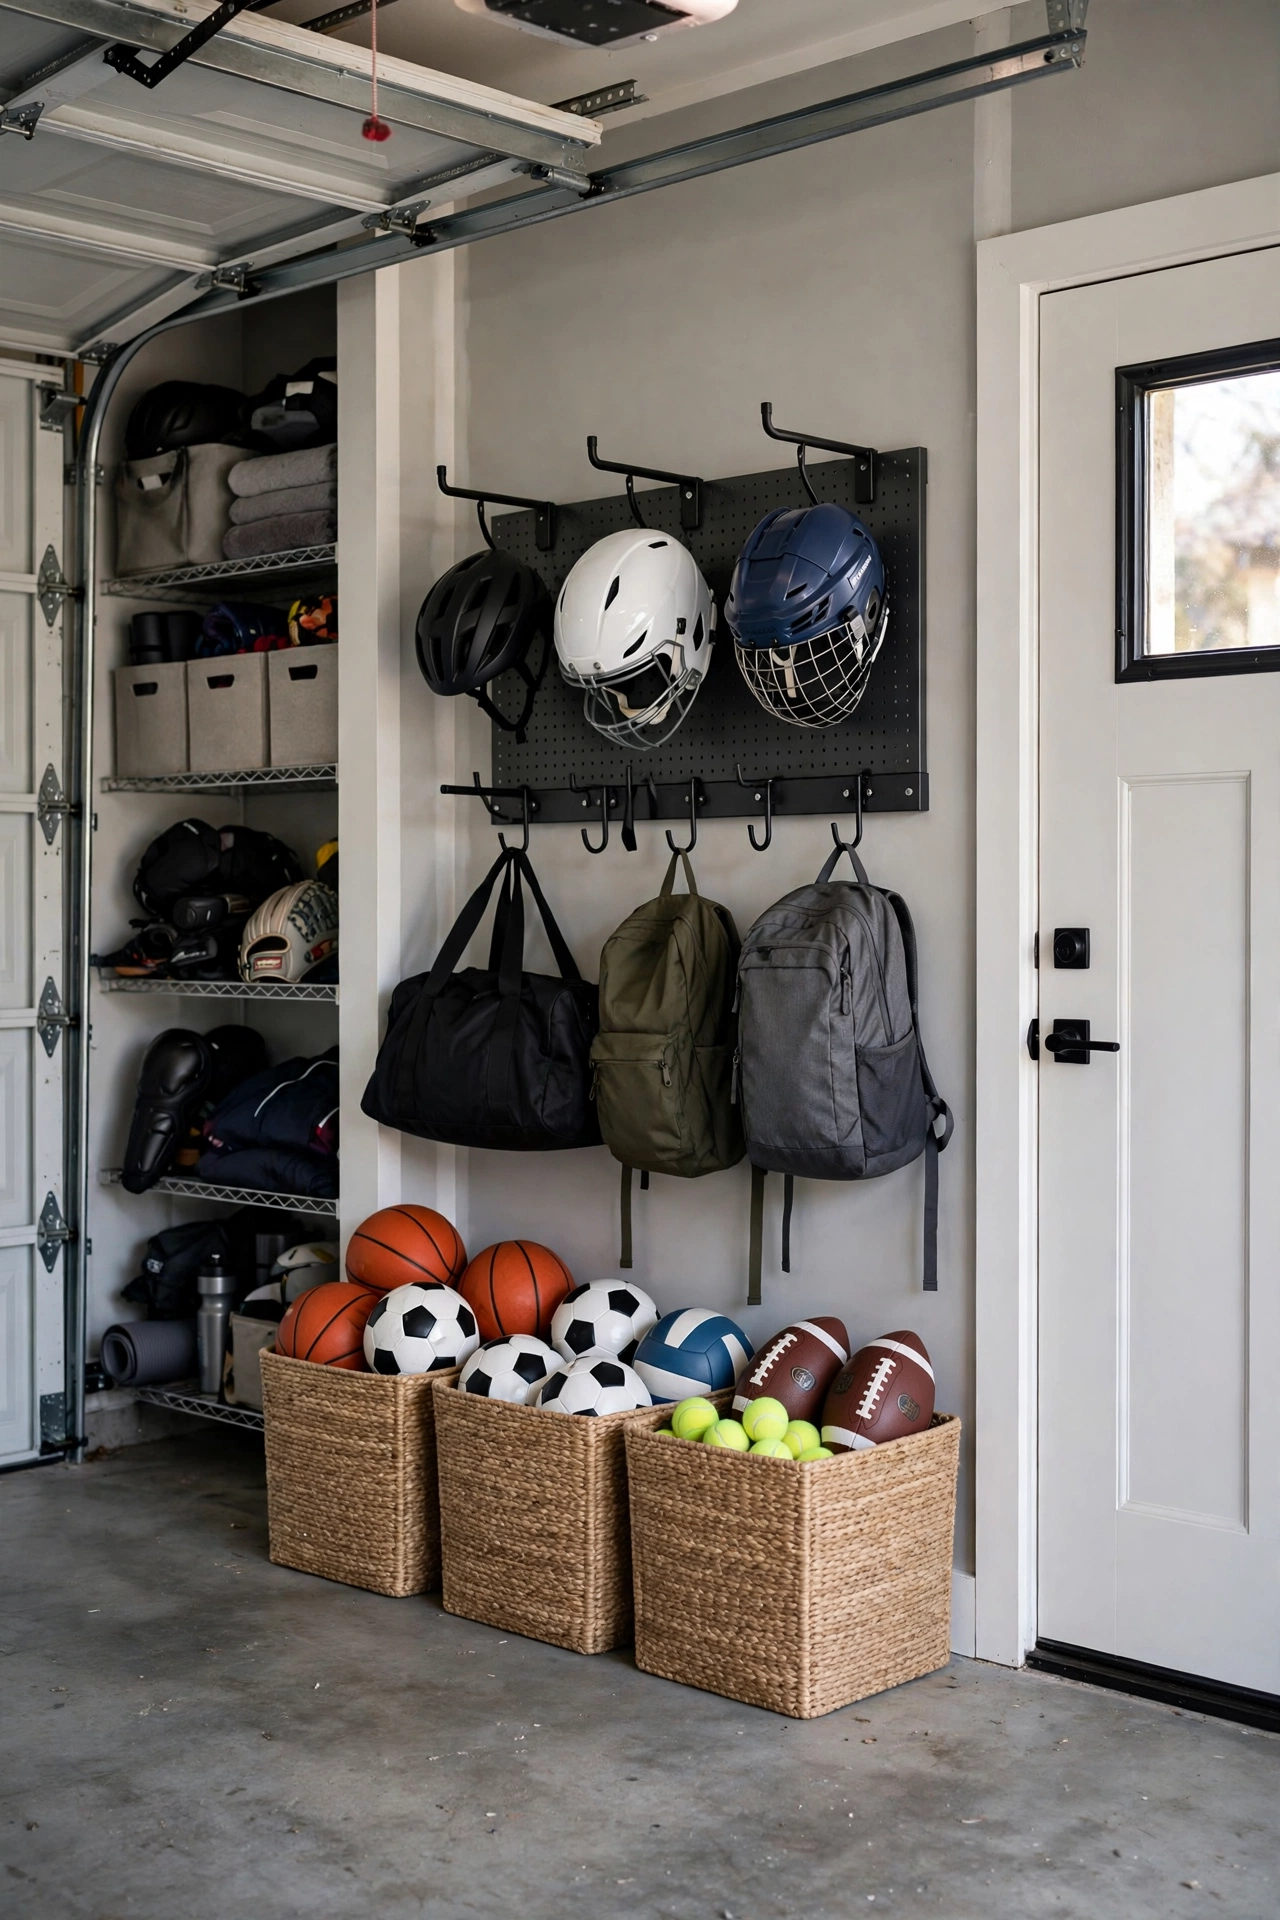
Sports gear is bulky, oddly shaped, and usually dumped in a corner after a game. A dedicated station fixes that: tall bins for balls, wall hooks for bags and helmets, a rack for bats and sticks, and a shelf for shoes and pads. Mesh bags or ventilated bins help damp gear dry instead of smelling, and a small bench gives kids a place to sit and change shoes. Label each bin or hook by sport or by child so gear goes back to the same spot every time. Place the station near the garage door you use most, so bags come in and out without crossing the workshop or the car bay. The payoff is immediate: no more tripping over a football on the way to the car.
9. Add a Mudroom Drop Zone by the Interior Door
If your garage is the main way into the house, treat the wall beside the interior door like a mudroom. A bench with shoe storage underneath, a row of sturdy hooks for coats and bags, and a tray for wet boots stops dirt, coats, and clutter from travelling into the hallway. Wall-mounted cubbies work well for families, giving each person one hook and one basket. Add a small shelf for keys, sunglasses, and dog leads so the “where are my keys?” hunt ends at the door. Choose materials that handle wet boots and muddy paws: sealed wood, metal, or washable resin, and a boot tray that actually contains water. This one zone can change how the whole house feels on a rainy day.
10. Carve Out a Home Gym Corner
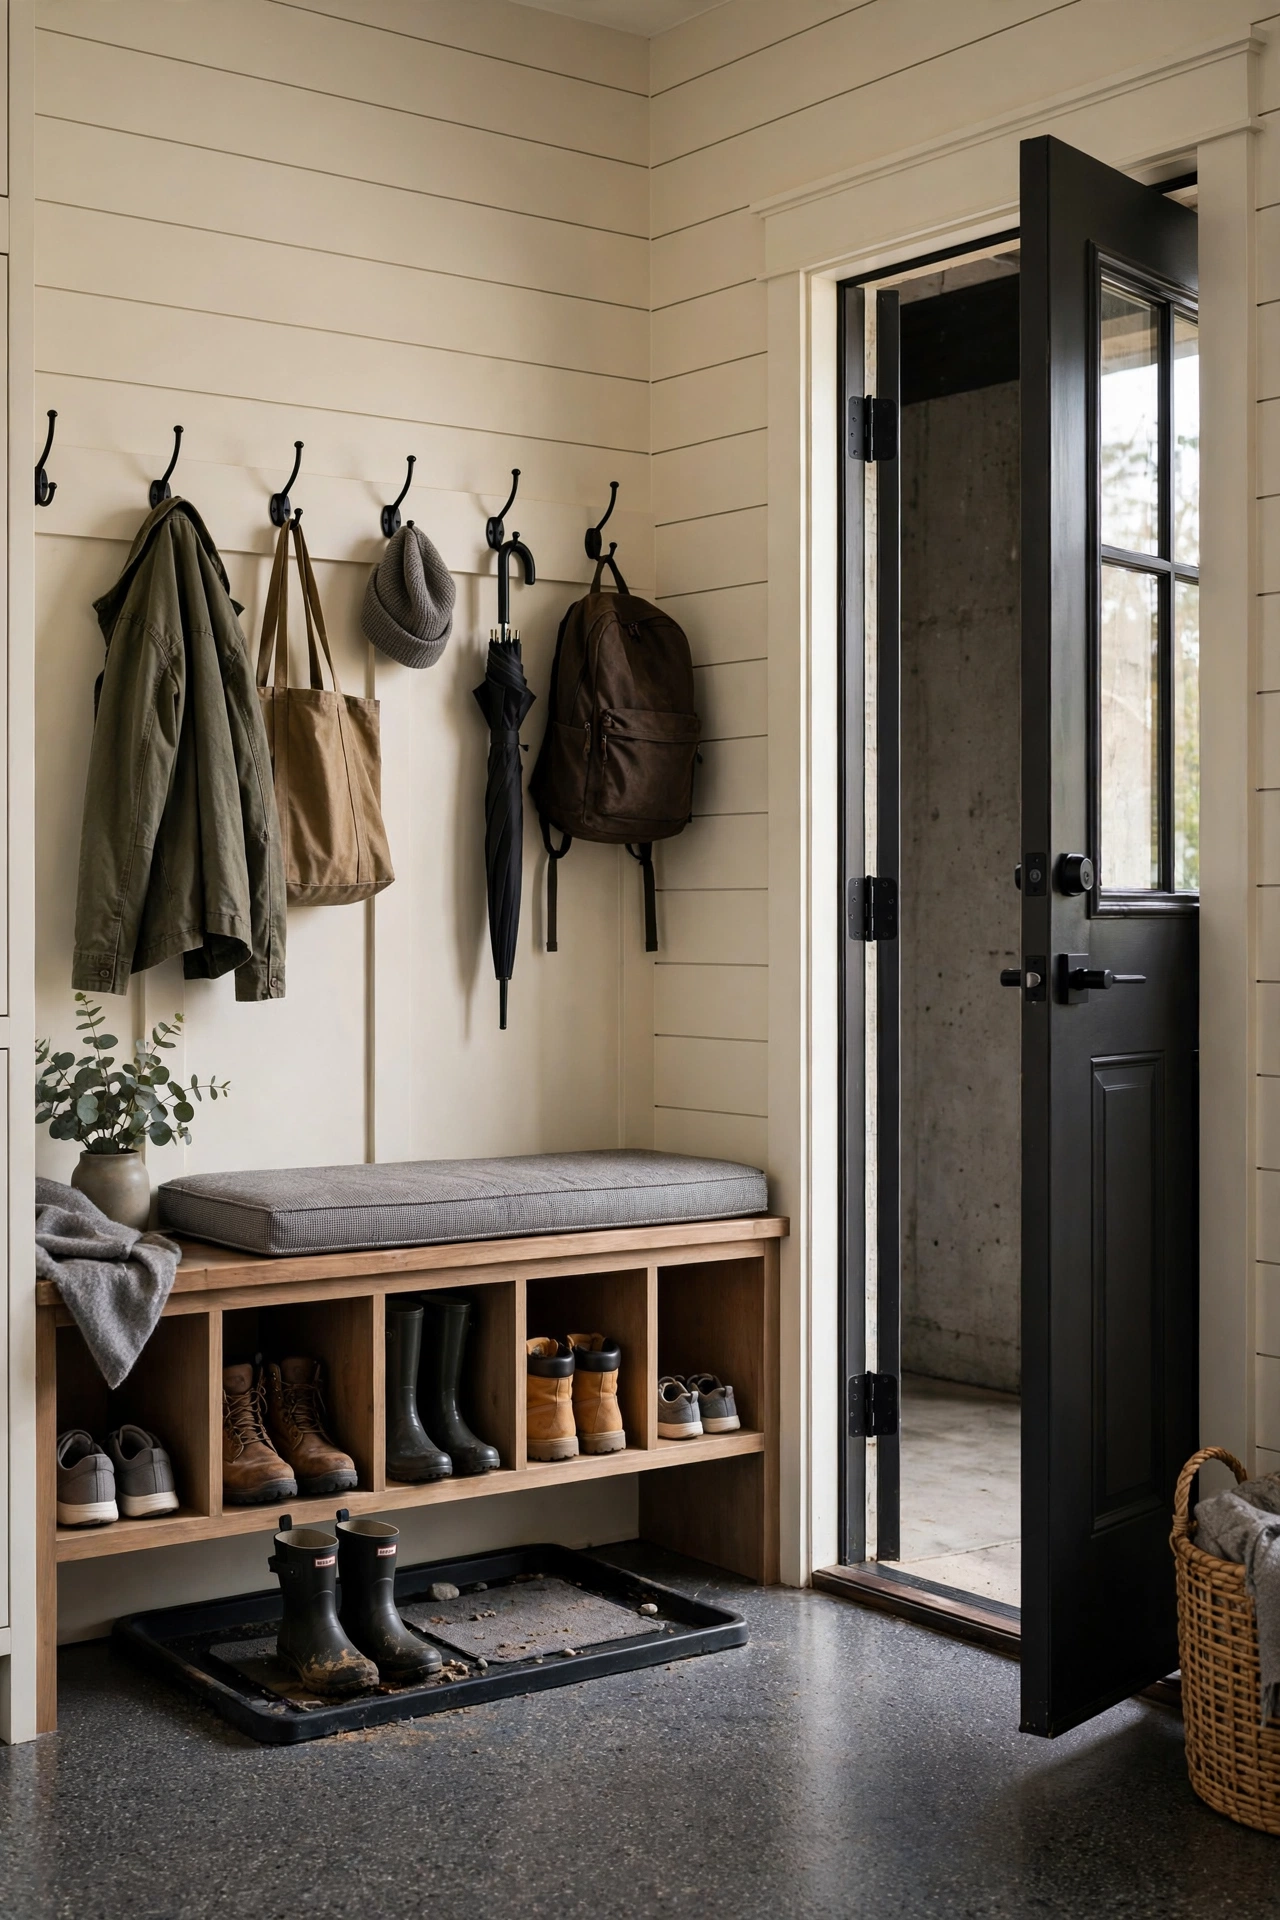
A garage gym does not need to be a full conversion. Start with interlocking rubber floor mats in one corner, a rack or adjustable dumbbells, a bench, and a mirror to check form. Rubber mats protect the concrete, deaden dropped weights, and make the space feel like a gym rather than a parking bay. Add a fan, a small speaker, and a wall-mounted TV or tablet holder if you follow workouts, and store accessories in a bin or on wall hooks so the gym zone stays usable. If you share the garage with a car, use a foldable rack and mats you can stack, or mark the gym bay with a painted floor line. Good lighting and ventilation matter more than expensive equipment — you will not use a dark, stuffy gym.
11. Organise a Garden and Yard Tool Corner
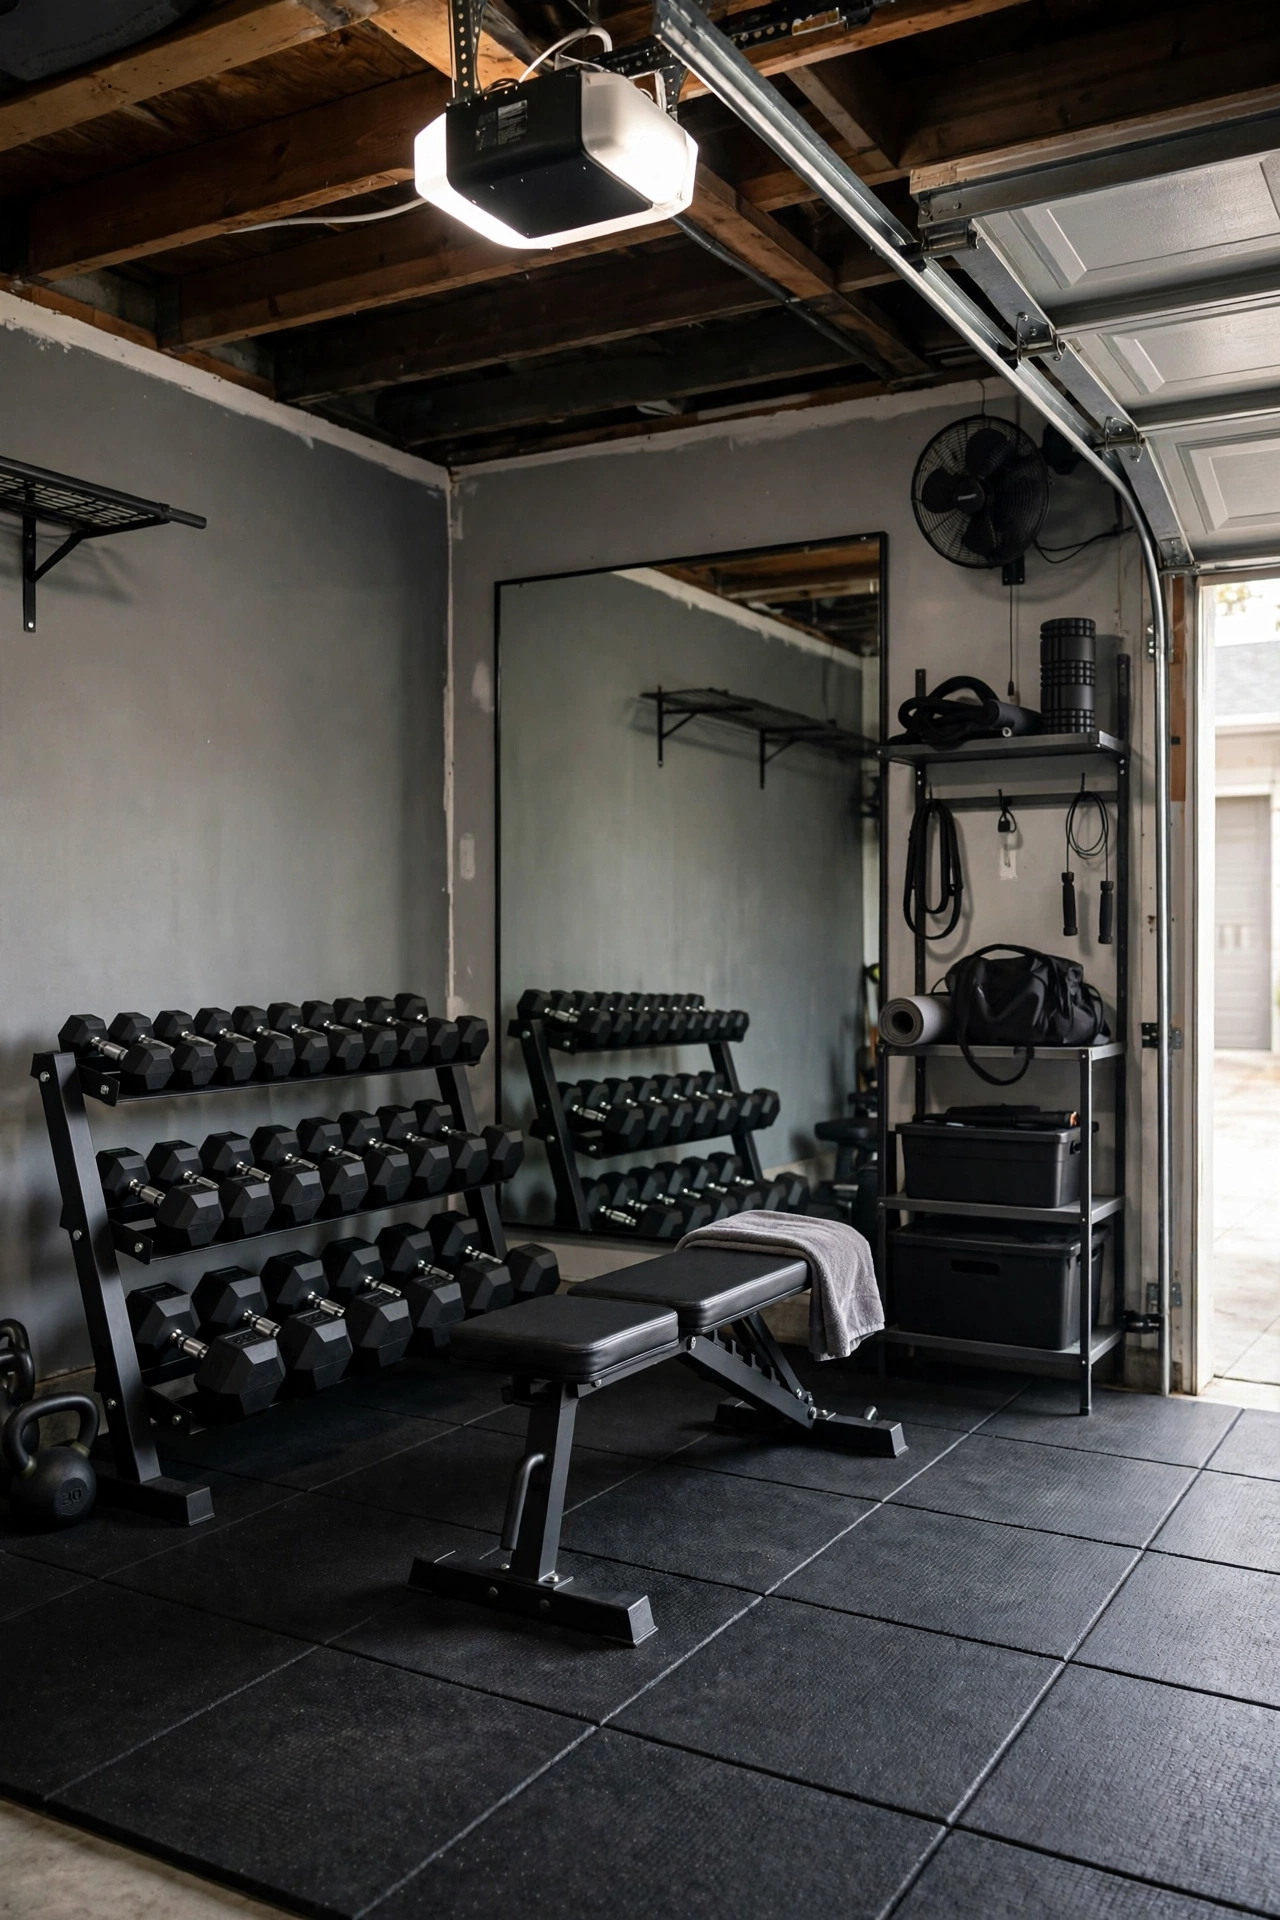
Garden tools are long, sharp, and awkward to store, which is why they end up leaning in a pile. Give them their own corner: a tall rack or wall rail for rakes, shovels, and hoes, a bin for hand tools and gloves, and a shelf for seeds, pots, and watering cans. Hang long-handled tools head-up with the business end down or in a slotted rack so blades do not catch on clothing. Keep a small potting shelf near the garage door if you pot plants outside, and store bags of soil in a sealed bin to keep out moisture and pests. Grouping yard tools together also makes seasonal jobs faster — you grab everything from one spot instead of searching three walls.
12. Run a Seasonal Storage Rotation System
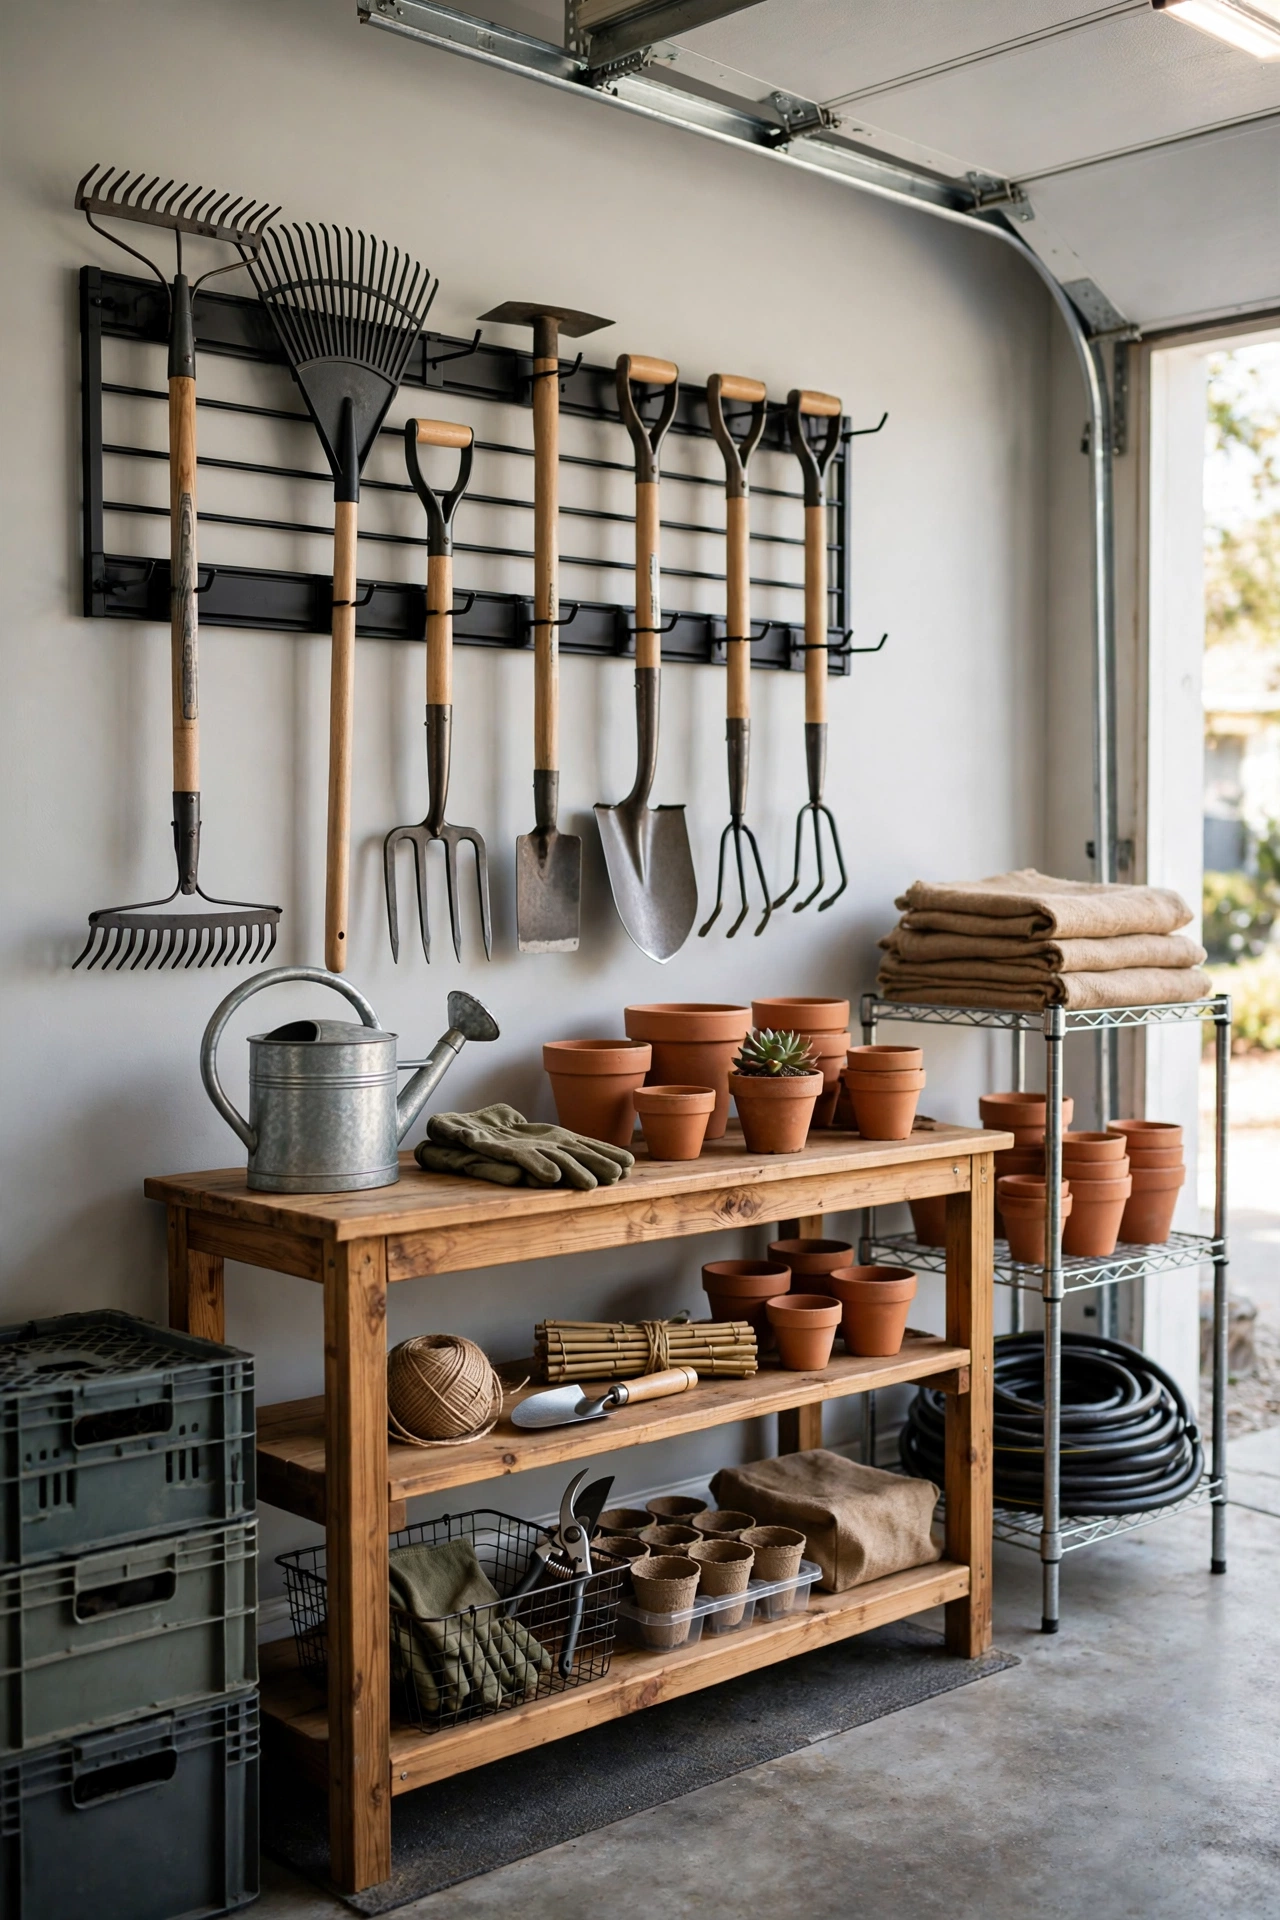
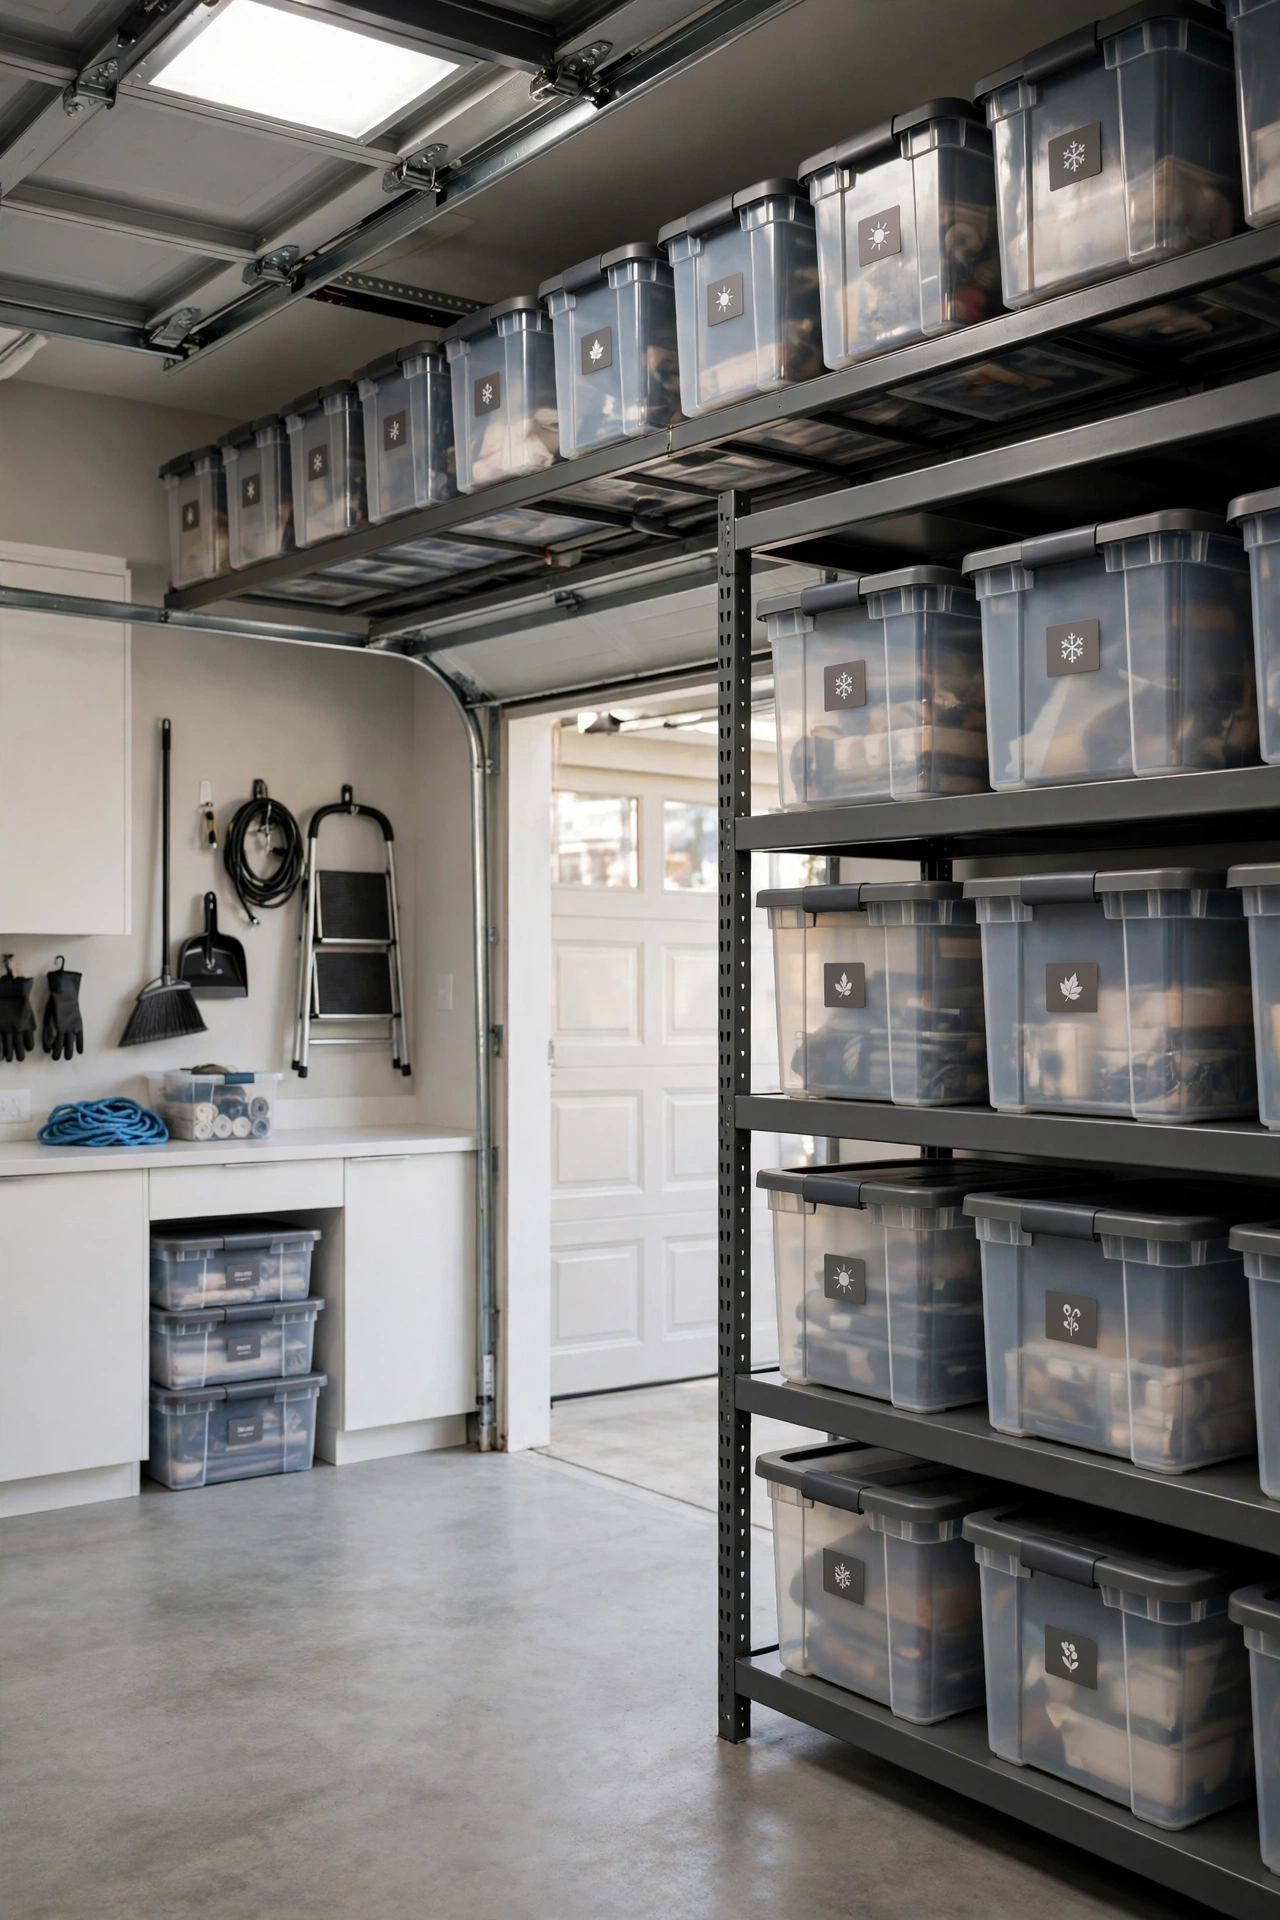
Most garage clutter is seasonal: holiday decorations, winter coats, camping gear, and pool toys all compete for the same shelves. A rotation system uses identical, stackable, clearly labelled bins, with one colour or label style per season, stored on overhead racks or high shelves. When a season ends, its bins go up and the next season’s bins come down — nothing stays on the floor “just for now.” Write contents on the short end of each bin, not just the lid, and keep a simple list on the inside of a cabinet door if you have dozens of bins. Resist the urge to add a bin without a label, because an unlabelled bin is just a box you will open six times. This system works best when combined with a yearly clear-out: if a bin has not been opened in two years, its contents probably do not need garage space.
13. Overhaul the Lighting with Bright LEDs
Dim, yellow garage lighting makes a clean garage look dingy and makes detailed work frustrating. Replace old bulbs with bright LED shop lights or linkable LED battens, aiming for even coverage rather than one harsh bulb in the middle. Cool white light (around 4000K to 5000K) suits a workshop and shows true colours, while warmer light suits a gym or lounge corner. Add task lighting over the workbench and motion-sensor lights near the door so you are never fumbling in the dark with armfuls of shopping. LEDs also run cooler and cheaper than old fluorescents, and many linkable fixtures plug into a single outlet. If your garage has no windows, good lighting alone can make it feel twice as big and far more inviting.
14. Insulate and Finish the Walls
Exposed studs and bare block walls make a garage cold, dusty, and hard to clean. Insulating between studs and finishing with drywall or plywood transforms how the space feels and performs: it stays warmer in winter, cooler in summer, and quieter all year. Finished walls also give you a clean surface to paint, mount slatwall on, and wipe down. If a full drywall job is too much, plywood panels over insulation are a practical workshop alternative — you can screw storage anywhere without hunting for studs. Check for moisture problems before closing up walls, and leave access to any shut-off valves or junction boxes. In an attached garage, insulation also helps the rooms next door, so it is one of the few garage upgrades that benefits the whole house.
15. Paint a Bold Accent Wall
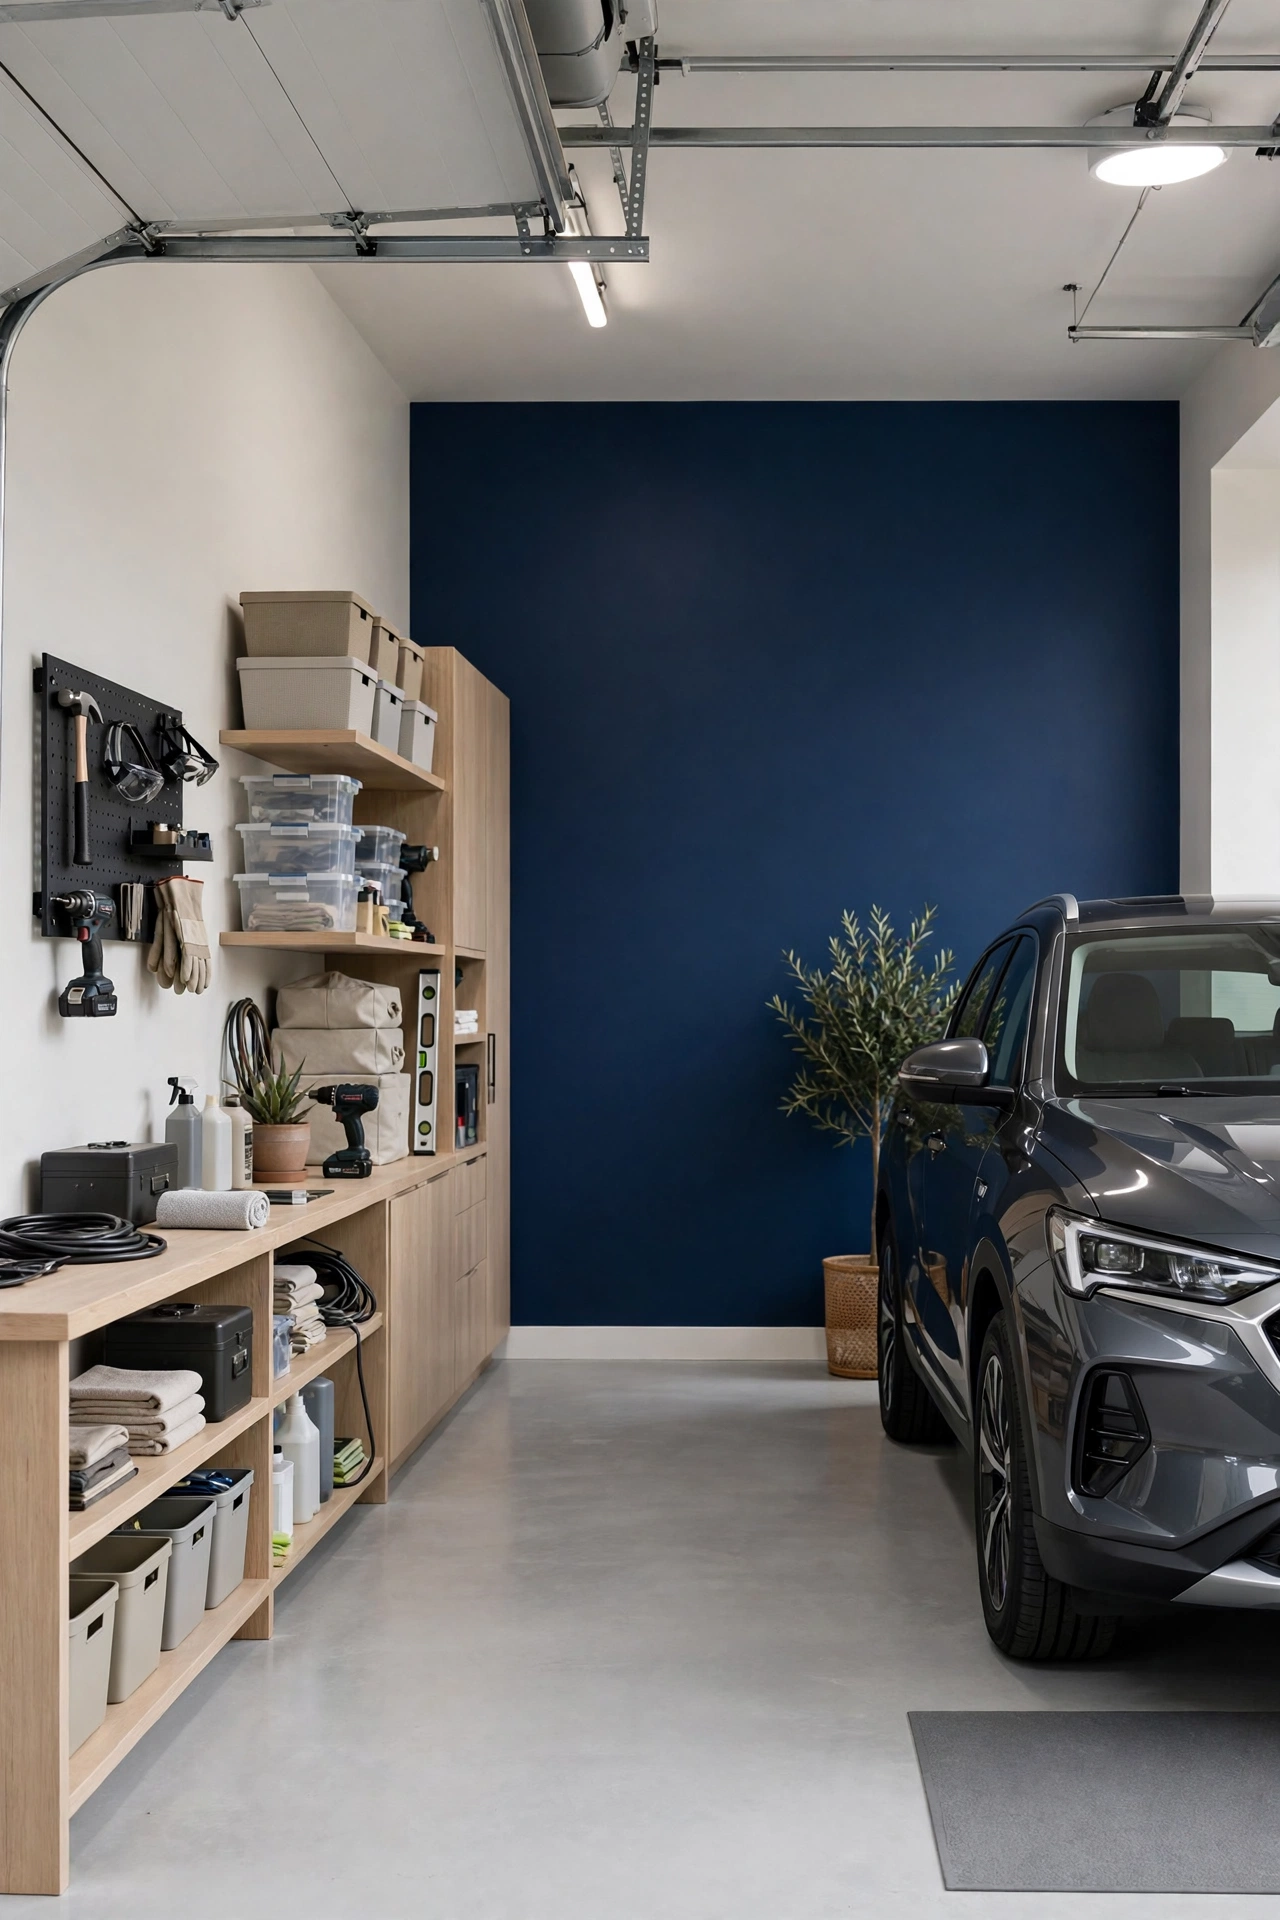
Paint is the fastest, cheapest way to make a garage look intentional rather than leftover. A single accent wall in a deep navy, charcoal, forest green, or warm terracotta gives the space a focal point and makes cabinets and storage look designed, not dumped. Use a durable, washable paint or an epoxy wall coating on the lower half of walls that take scuffs from car doors and bikes. Keep the remaining walls light to bounce light around, especially in a windowless garage. If you want more personality, a simple geometric pattern, a large mural panel, or a chalkboard section for notes and kids’ drawings adds character without clutter. Paint after any insulation and drywall work, and before you mount heavy storage, so you are not painting around brackets.
16. Upgrade to a Smart Garage Door Opener and Security
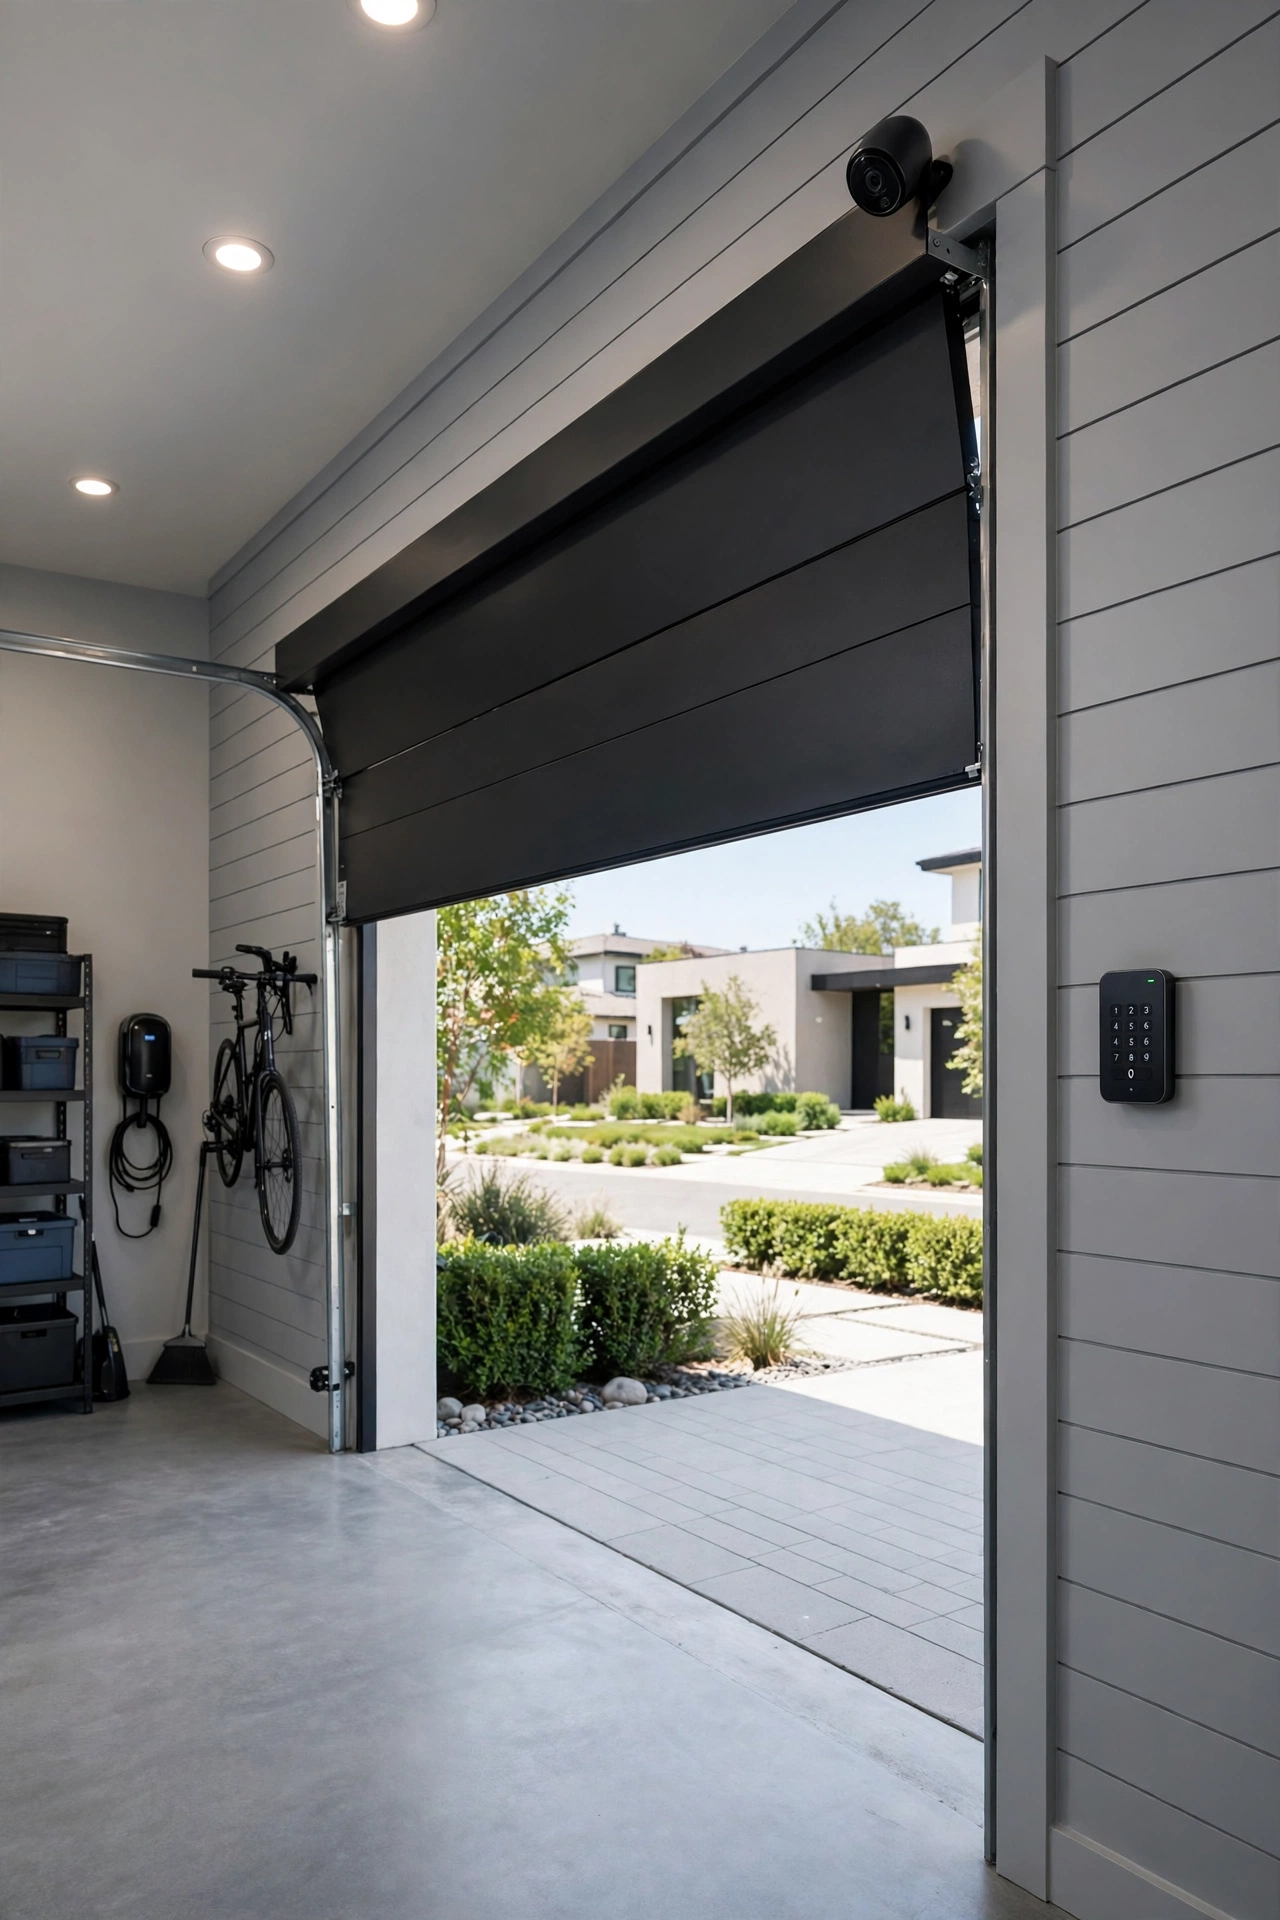
A smart opener lets you check whether the garage door is closed from your phone, open it for a delivery or a family member, and get an alert if it stays open. Add a keypad outside for code access, a camera or motion light over the door, and a sensor on the interior door for a complete picture. Battery backup matters: a smart opener that dies in a power cut leaves you locked out, so choose a model with backup or keep a manual release you can actually reach. While you are at it, check the door’s balance, weather seals, and safety sensors — a door that sticks or slams is a safety issue, not just an annoyance. Smart access also ends the spare-key hunt and the worry about whether you closed the door after leaving.
17. Create a Car Wash and Detailing Bay
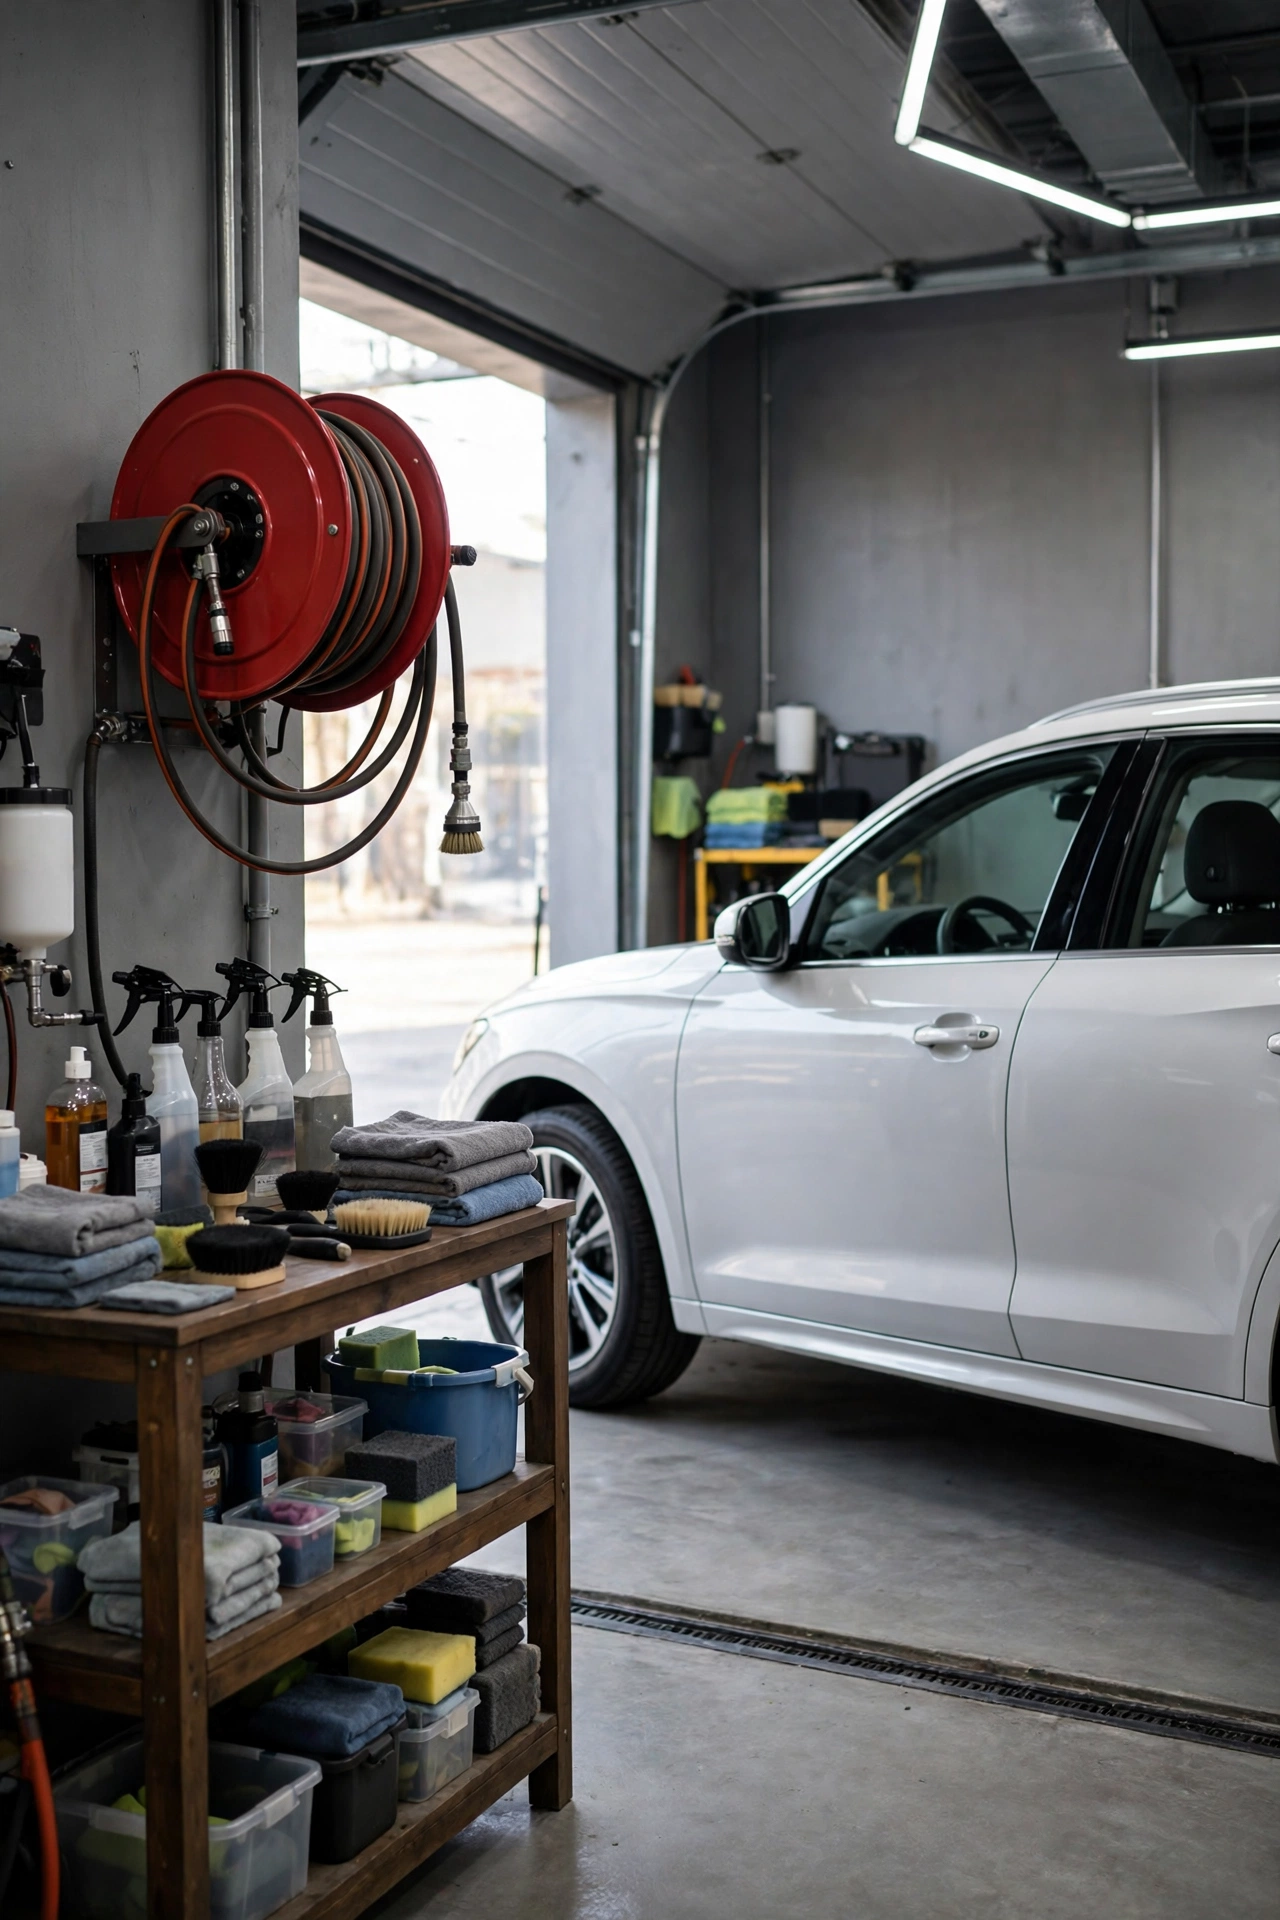
If you love your car, give it a proper bay: a floor drain or a sloped area, a wall-mounted hose reel, and a shelf stocked with wash, wax, microfibre towels, and detailing brushes. A dedicated bay keeps car-care supplies out of the general storage and stops gritty buckets from living on the workbench. Add bright, even lighting so you can actually see swirl marks and dirt, and a small stool or creeper for lower panels. Keep a separate bin for dirty towels so they do not mix with clean ones, and store chemicals in a closed cabinet away from children and pets. Even a modest detailing corner makes regular washing faster, which is the real reason cars stay looking good — the easier it is, the more often it happens.
18. Roll In a Mobile Tool Chest
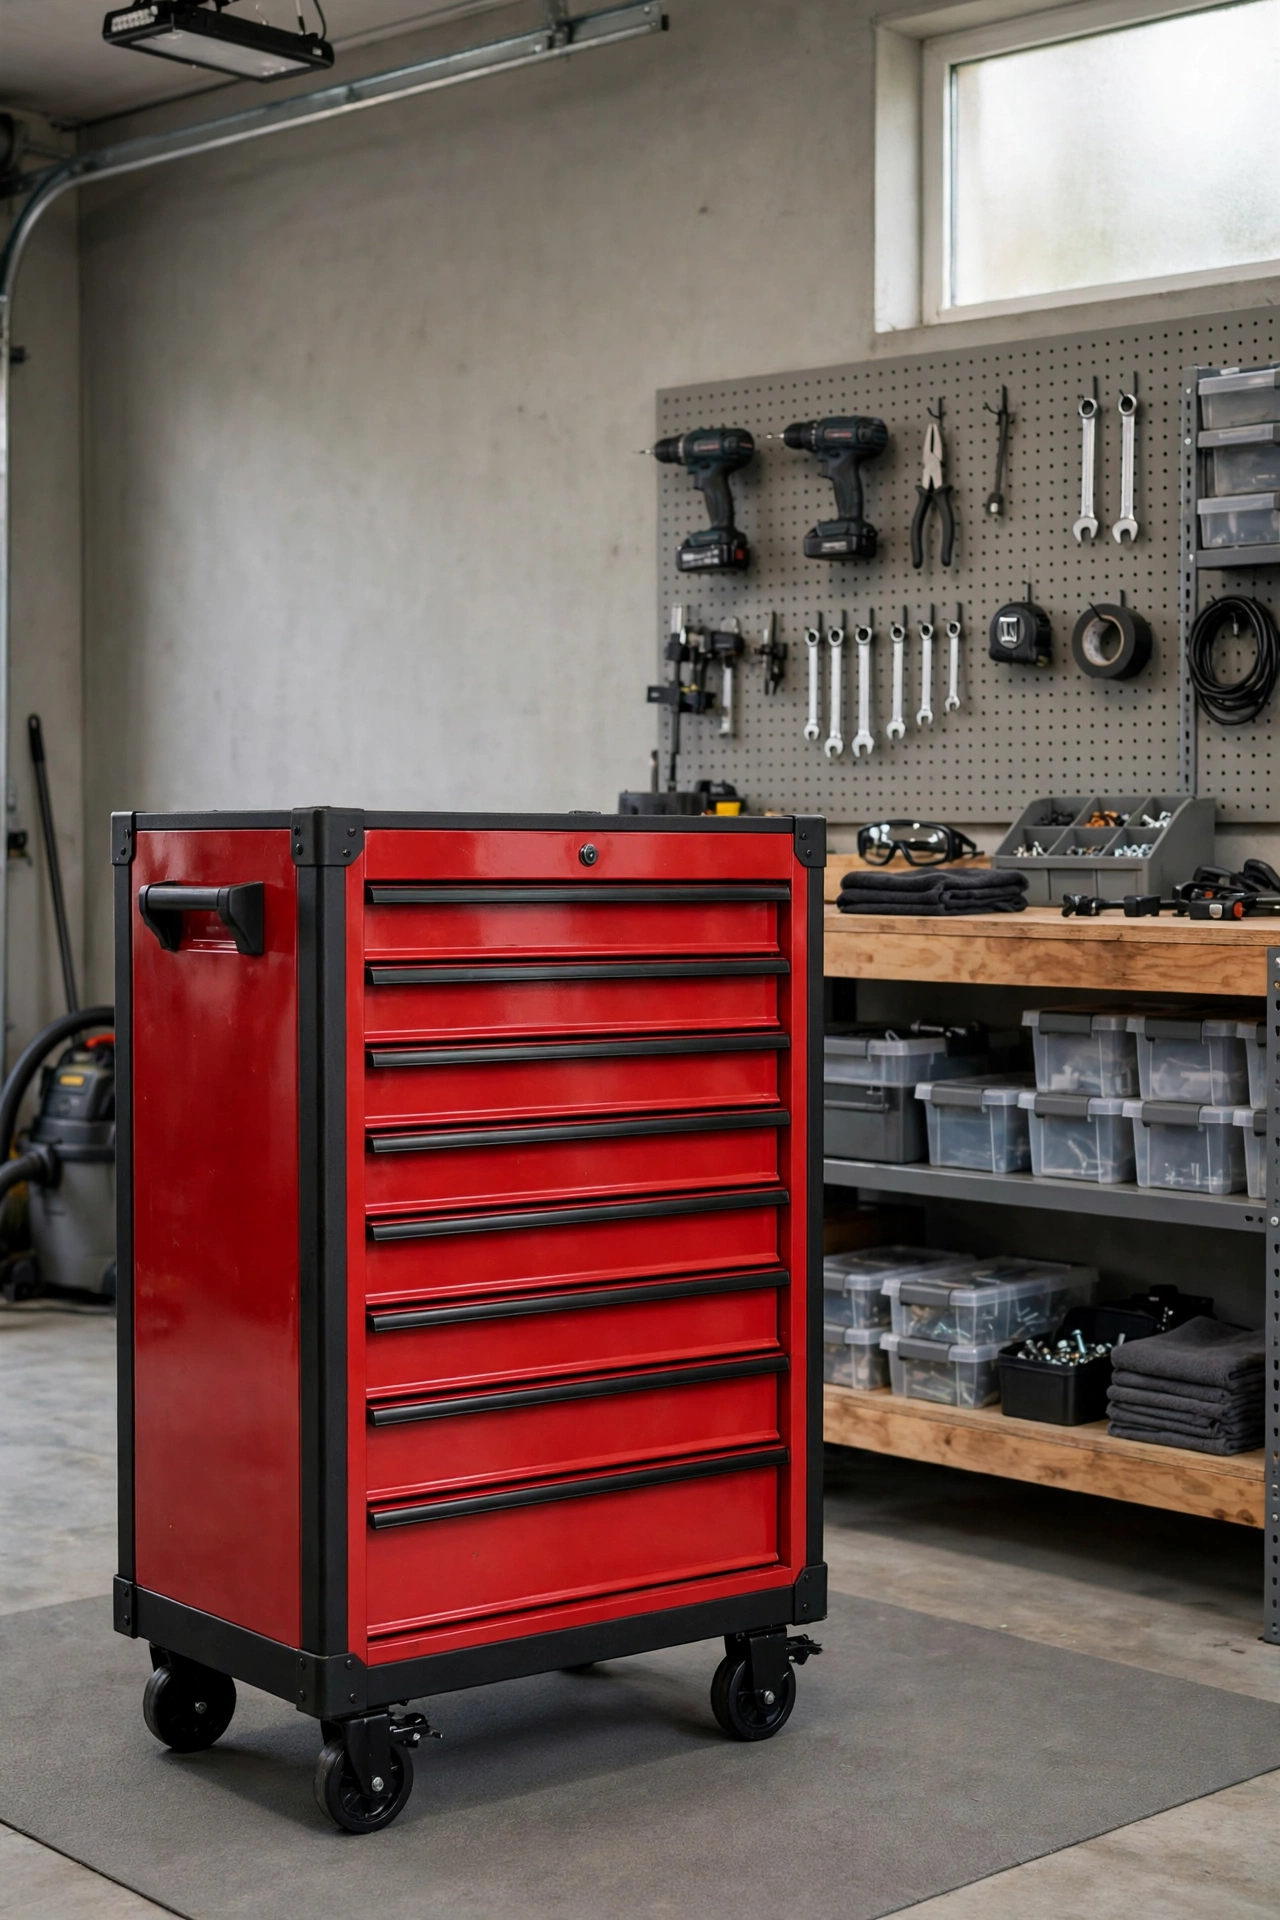
A rolling tool chest is the garage equivalent of a kitchen island: heavy-duty drawers on castors that bring your tools to the car, the workbench, or the project instead of making you walk back and forth. Choose a chest with full-extension, soft-close drawers rated for the weight of your tools, and locking castors so it stays put while you work. Organise drawers by task — sockets in one, wrenches in another, electrical tools in a third — and use drawer liners and small trays to stop everything sliding when you roll it. A mobile chest also pairs well with a fixed pegboard wall: everyday tools live on the wall, specialist tools live in the chest. Measure doorways and gaps between parked cars before buying, or the chest will not fit where you need it.
19. Mount a Fold-Down Wall Work Table
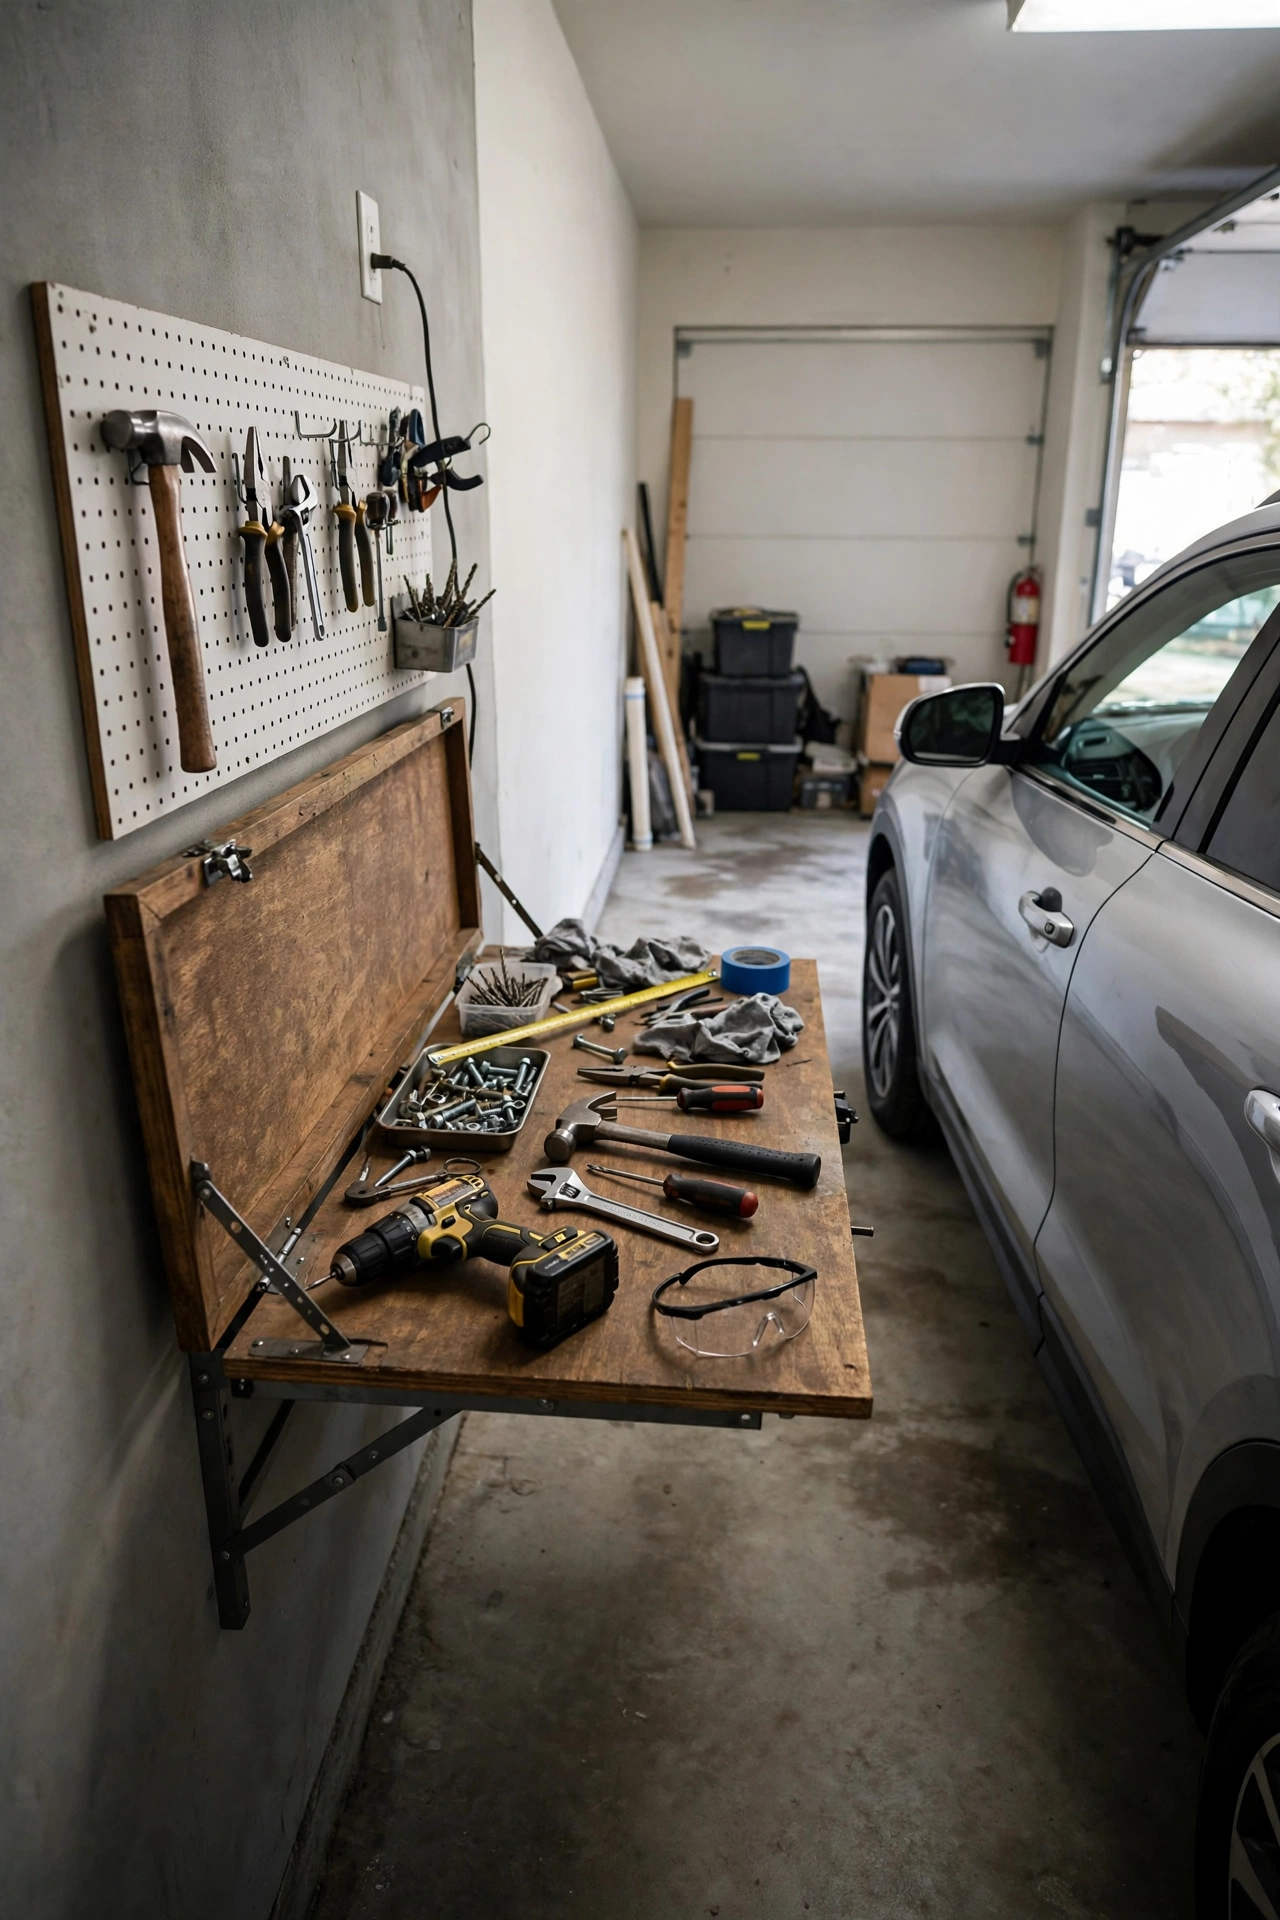
When floor space is precious, a fold-down table gives you a work surface only when you need it. Mounted to the wall on sturdy brackets, it folds flat against the wall when not in use, leaving the bay clear for parking. Use it for potting plants, wrapping parcels, doing homework with the kids, or as an extra surface during bigger projects. Choose brackets rated well above the load you expect, add a lip or small shelf above it for supplies, and position it near an outlet if you will use power tools there. A fold-down table works brilliantly in a single-car garage or in the narrow bay beside a parked car, where a permanent bench would block the door.
20. Set Up a Laundry and Utility Corner
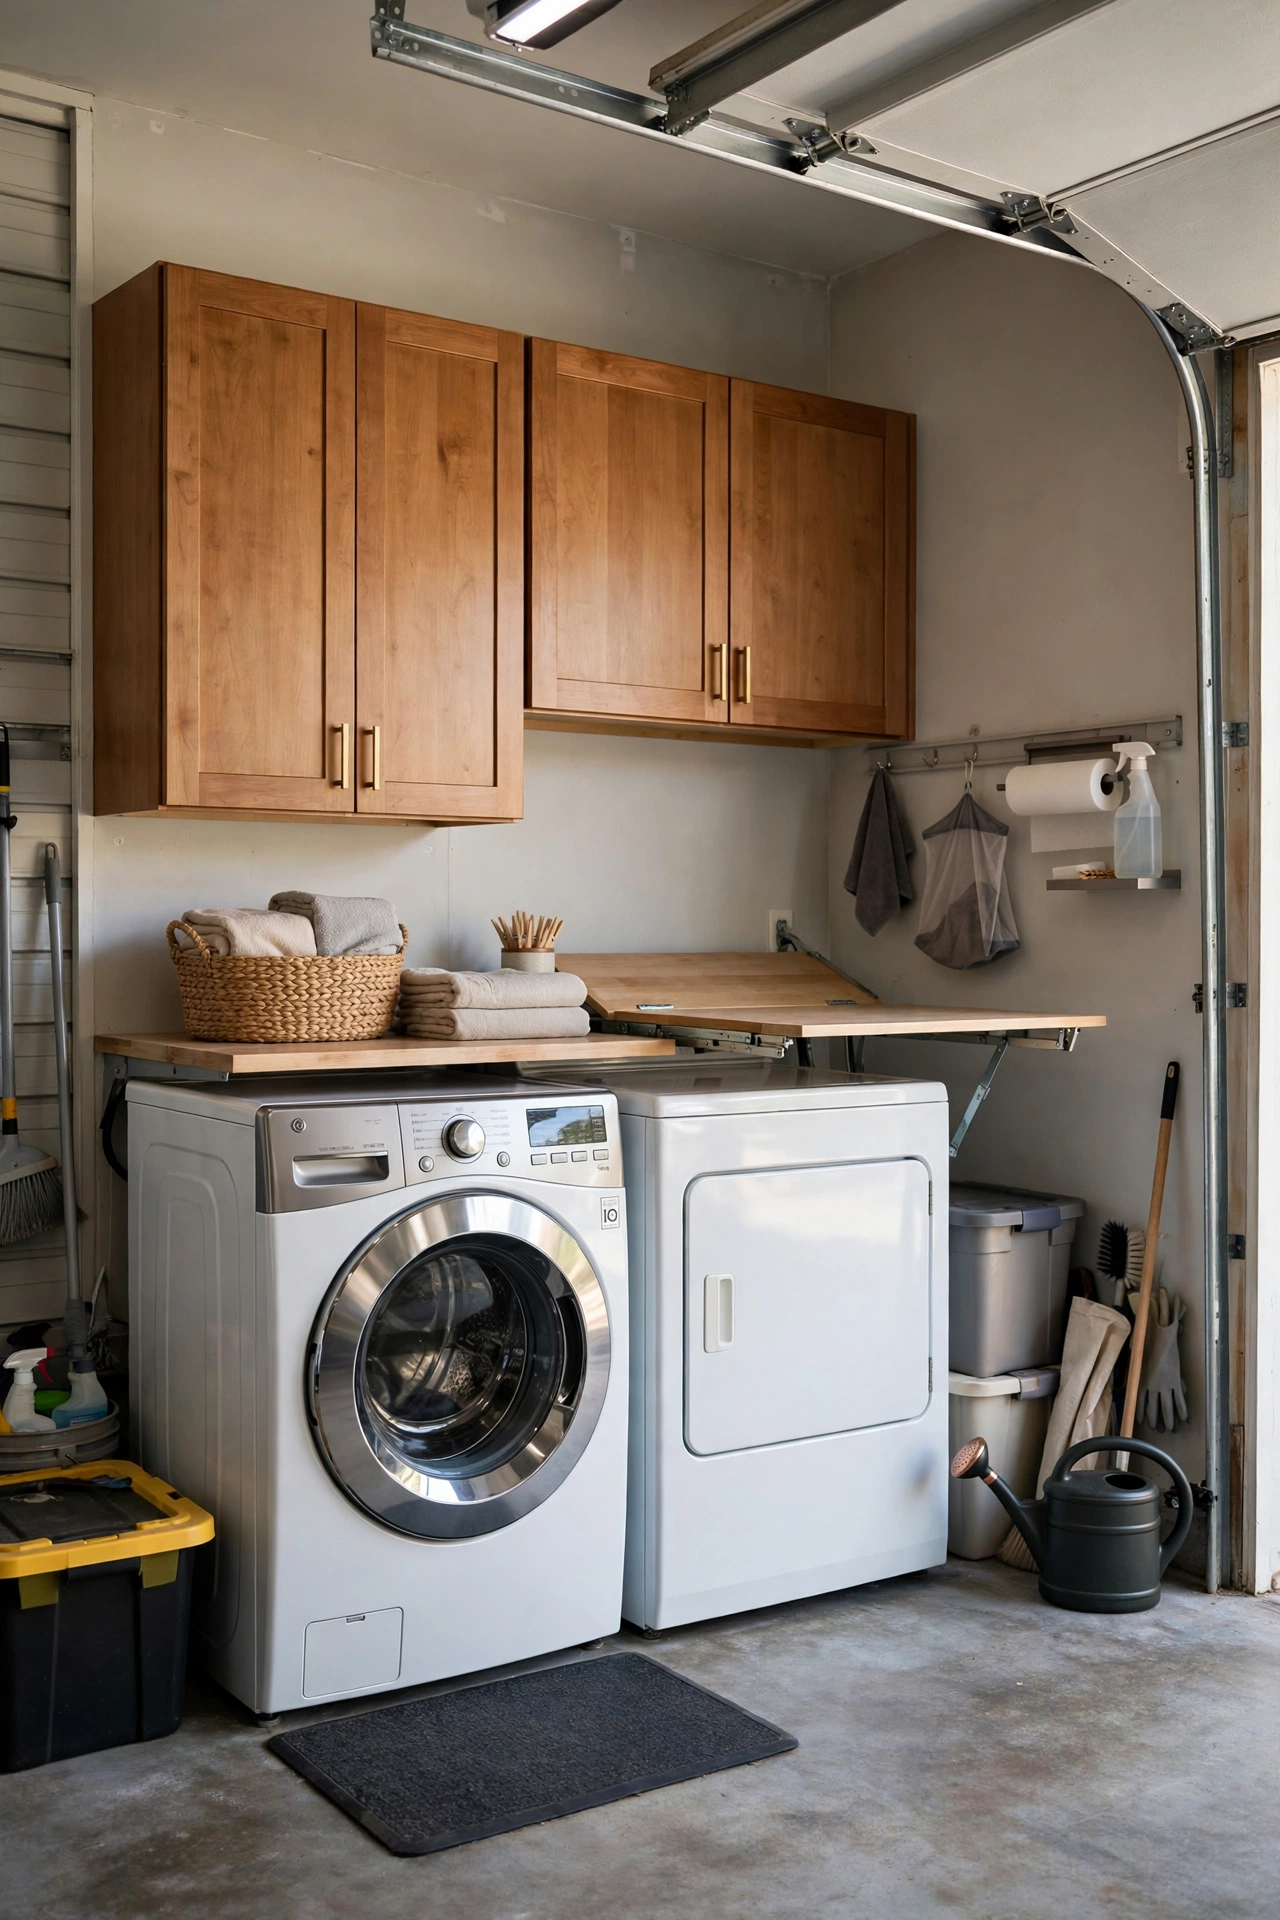
Many garages already house the washer and dryer, but without a plan the corner becomes a pile of baskets and detergent bottles. A proper utility corner adds a countertop over front-loading machines for folding, a wall cabinet for detergents and cleaning supplies, a drying rack that folds away, and a sink if plumbing allows. Add a hanging rail for drip-dry items and a bin for lint and lost socks — small details that keep laundry day moving. Keep the machines accessible for maintenance, leave ventilation space around a dryer, and use a leak sensor or tray under the washer for peace of mind. A tidy laundry corner also frees space inside the house, which is why so many garage makeovers include one.
21. Build a Pet Wash and Gear Station
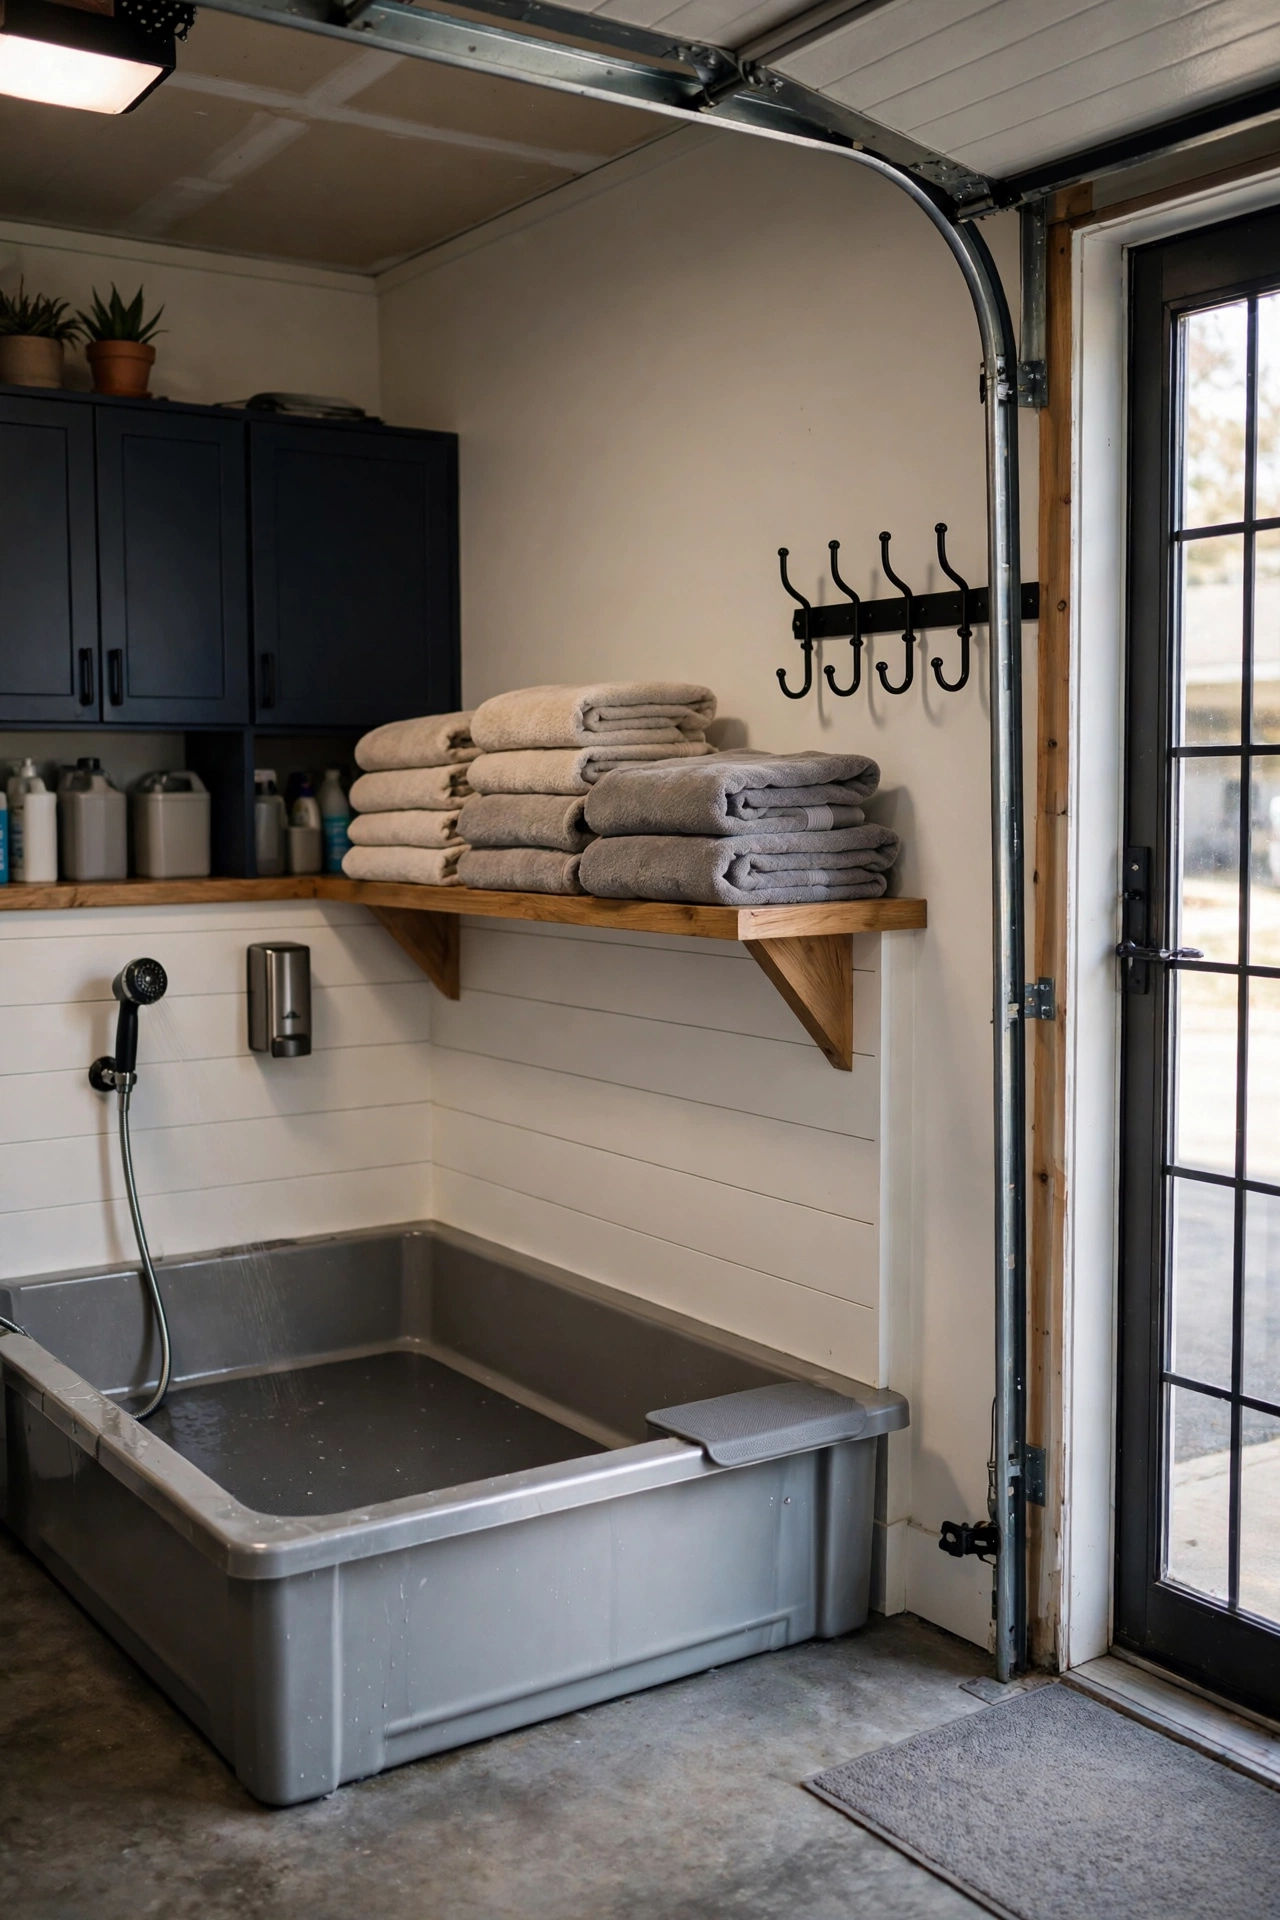
Muddy paws are a garage’s natural enemy, so give pets their own station near the door: a low wash tub or a shower attachment, a shelf for shampoo and towels, and hooks for leads, harnesses, and treat pouches. A raised tub saves your back for medium and large dogs, while a simple floor-level tray suits smaller pets. Add a non-slip mat, a towel rail, and a bin for used towels so wet gear does not end up on the workbench. If you have a fenced yard, place the station on the path between the yard door and the house door so the routine is automatic: outside, wash, dry, inside. It is a small build that saves a lot of mopping.
22. Add an EV and Power-Tool Charging Station
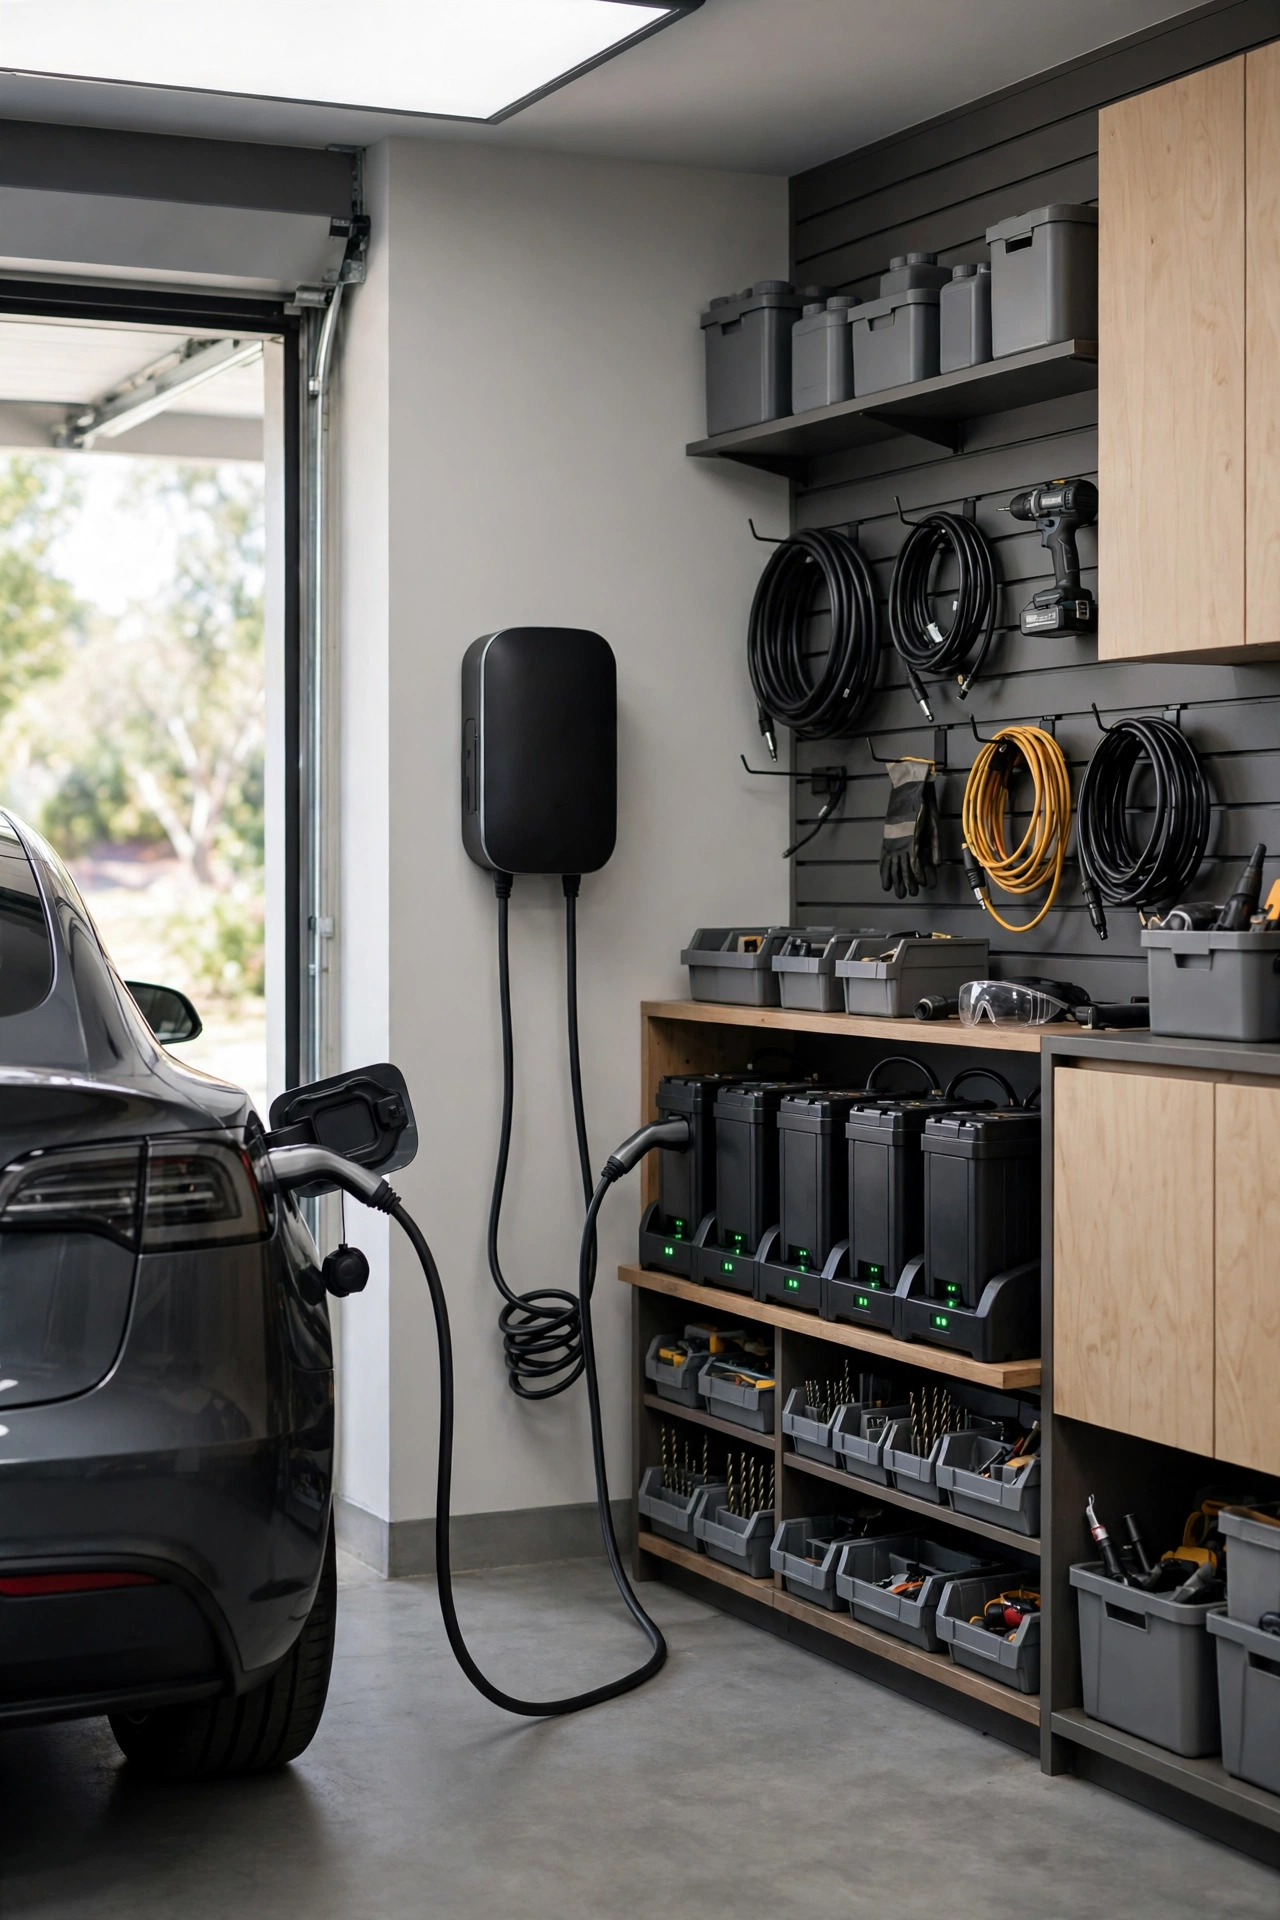
Between electric cars, cordless tools, and e-bikes, modern garages need more charging than one stray outlet can handle. A dedicated charging station puts an EV charger on the wall nearest the car’s charge port, a power strip or charging dock for tool batteries, and a shelf or cabinet to keep batteries organised and off the floor. Keep chargers away from water sources and flammable storage, use a dedicated circuit for an EV charger installed by a qualified electrician, and label each battery slot so dead batteries are obvious. Add a small shelf for cables and adapters, and a timer or smart plug if you charge overnight on off-peak rates. Centralising charging also ends the tangle of extension leads across the floor.
23. Build an Overhead Loft or Mezzanine Platform
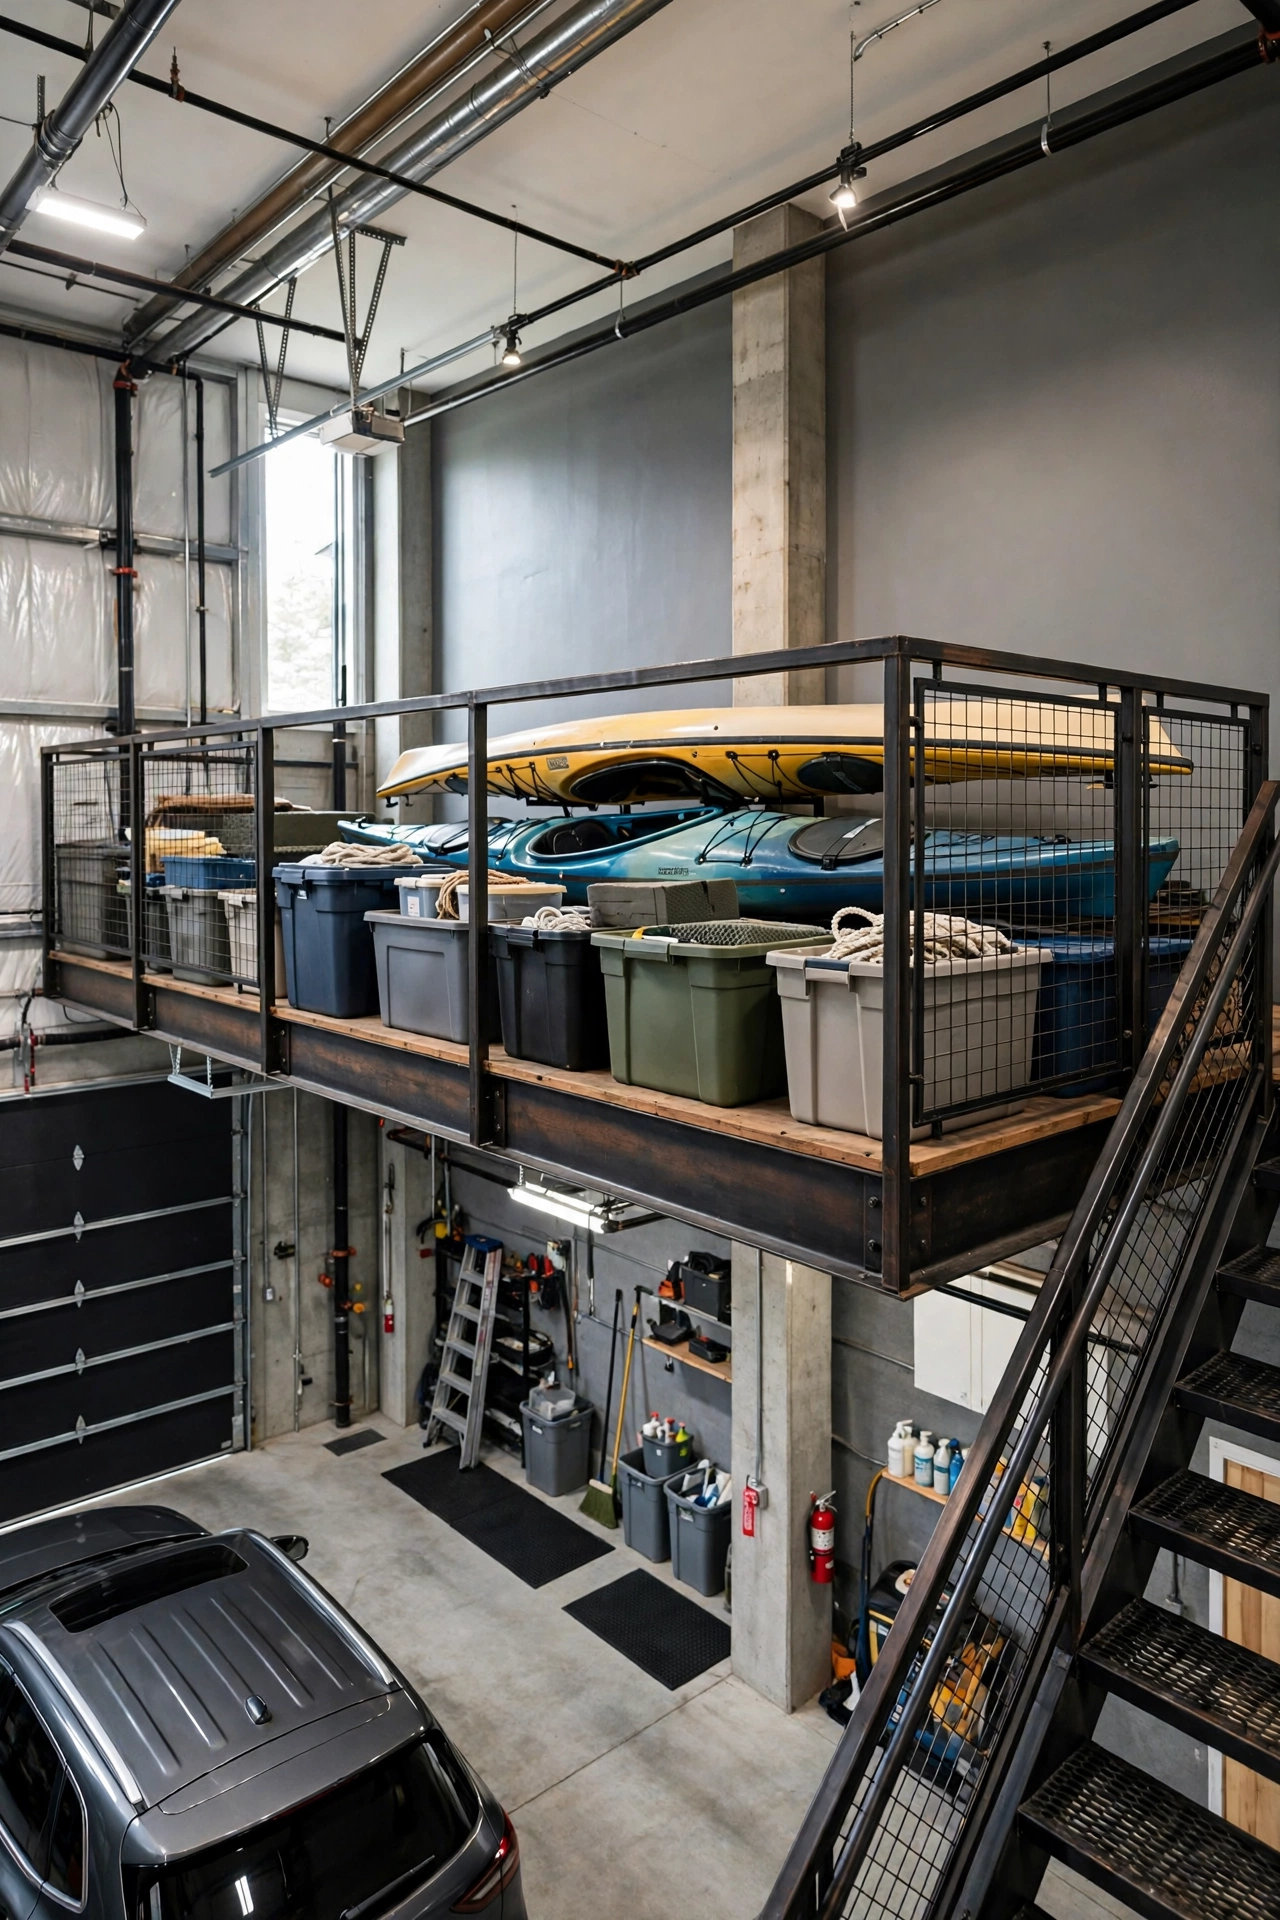
When ceiling racks are not enough, a loft platform over one bay creates a whole extra storage floor. Built from joists and plywood and bolted to wall studs and ceiling joists, a loft holds large, light items — kayaks, luggage, camping boxes, and spare furniture — that would otherwise eat floor space. Unlike hanging racks, a loft gives you a solid deck you can walk on or slide bins across, and a pull-down ladder or fixed steps makes access safer than balancing on a car bonnet. Keep the platform’s load within its engineered rating, never store heavy items like engines or full toolboxes up high, and leave headroom below for the car or workbench. In a tall garage, a loft is the single biggest storage gain you can make.
Frequently Asked Questions
How much does a garage makeover cost?
It depends entirely on scope. A DIY tidy-up with paint, a pegboard wall, and wall hooks can cost a few hundred dollars. A mid-range makeover with an epoxy floor, cabinets, and slatwall typically runs into the low thousands, while a full conversion with insulation, drywall, electrical work, and custom cabinetry can reach five figures. Start with the change that solves your biggest problem, then add projects over time rather than doing everything at once.
Do I need a permit for a garage makeover?
Most cosmetic work — painting, storage, shelving, and freestanding cabinets — does not need a permit. Electrical work, plumbing, structural changes, removing a garage door, or converting the garage into living space often does, and rules vary by location. Check with your local building department before starting structural, electrical, or conversion work, and hire licensed professionals for those jobs.
What is the best flooring for a garage makeover?
Epoxy and polyaspartic coatings are the most popular for a finished look: they resist stains, clean easily, and look sharp. Polished concrete is durable and low-maintenance, interlocking tiles are DIY-friendly and easy to replace in sections, and rubber mats suit gym or workshop zones. Choose based on your climate, budget, and how you use the space — a showroom garage and a working workshop do not need the same floor.
How do I keep a garage makeover organised long-term?
Give everything one labelled home, keep the floor clear as a rule, and do a quick seasonal reset when you rotate bins. The systems that last are the visible ones: tools on a pegboard, gear in labelled bins, and a drop zone by the door. If something has no home, it will end up on the floor, so add storage for it or let it go.
Can I still park my car after a garage makeover?
Yes — and that should be the plan. Measure your car, door swing, and walkways before building anything permanent, and keep storage on walls, ceilings, and lofts rather than in the parking bay. A makeover that forces the car onto the driveway has solved the wrong problem. Mark the parking bay with tape on the floor while planning, and build around it.
Conclusion
A great garage makeover is not about buying the most expensive cabinets or the flashiest floor. It is about matching the space to how you actually live: a place for the car, a home for every tool and toy, good light, and a floor you can clean in minutes. Start with the floor and the walls, add the storage system that fits your gear, and finish with the zones — gym, workshop, mudroom, or pet station — that make the garage part of your daily life instead of a room you avoid. Work through these 23 ideas one at a time, and the garage that once embarrassed you can become one of the hardest-working rooms in the house.