23 Craft Room Storage Ideas That Keep Every Supply Visible and Within Reach
23 Craft Room Storage Ideas That Keep Every Supply Visible and Within Reach
A craft room only works when you can find things without digging. The moment supplies disappear into deep bins and mystery drawers, projects stall, duplicates get bought, and the room starts to feel like a storage unit instead of a creative space. The fix is not a bigger room. It is a storage system built around how you actually craft: the tools you reach for every session stay visible and within arm’s reach, while the supplies you use once a month live in clearly labeled homes of their own. These 23 craft room storage ideas cover every kind of supply — paper, fabric, paint, yarn, ribbon, thread, and all the small bits that seem to multiply on their own. Most of them cost very little, many use furniture you may already own, and every one of them can be done in a weekend. Pick the three that solve your biggest frustration first, then add the rest as your room evolves.
1. Wall-Mounted Pegboard Command Center
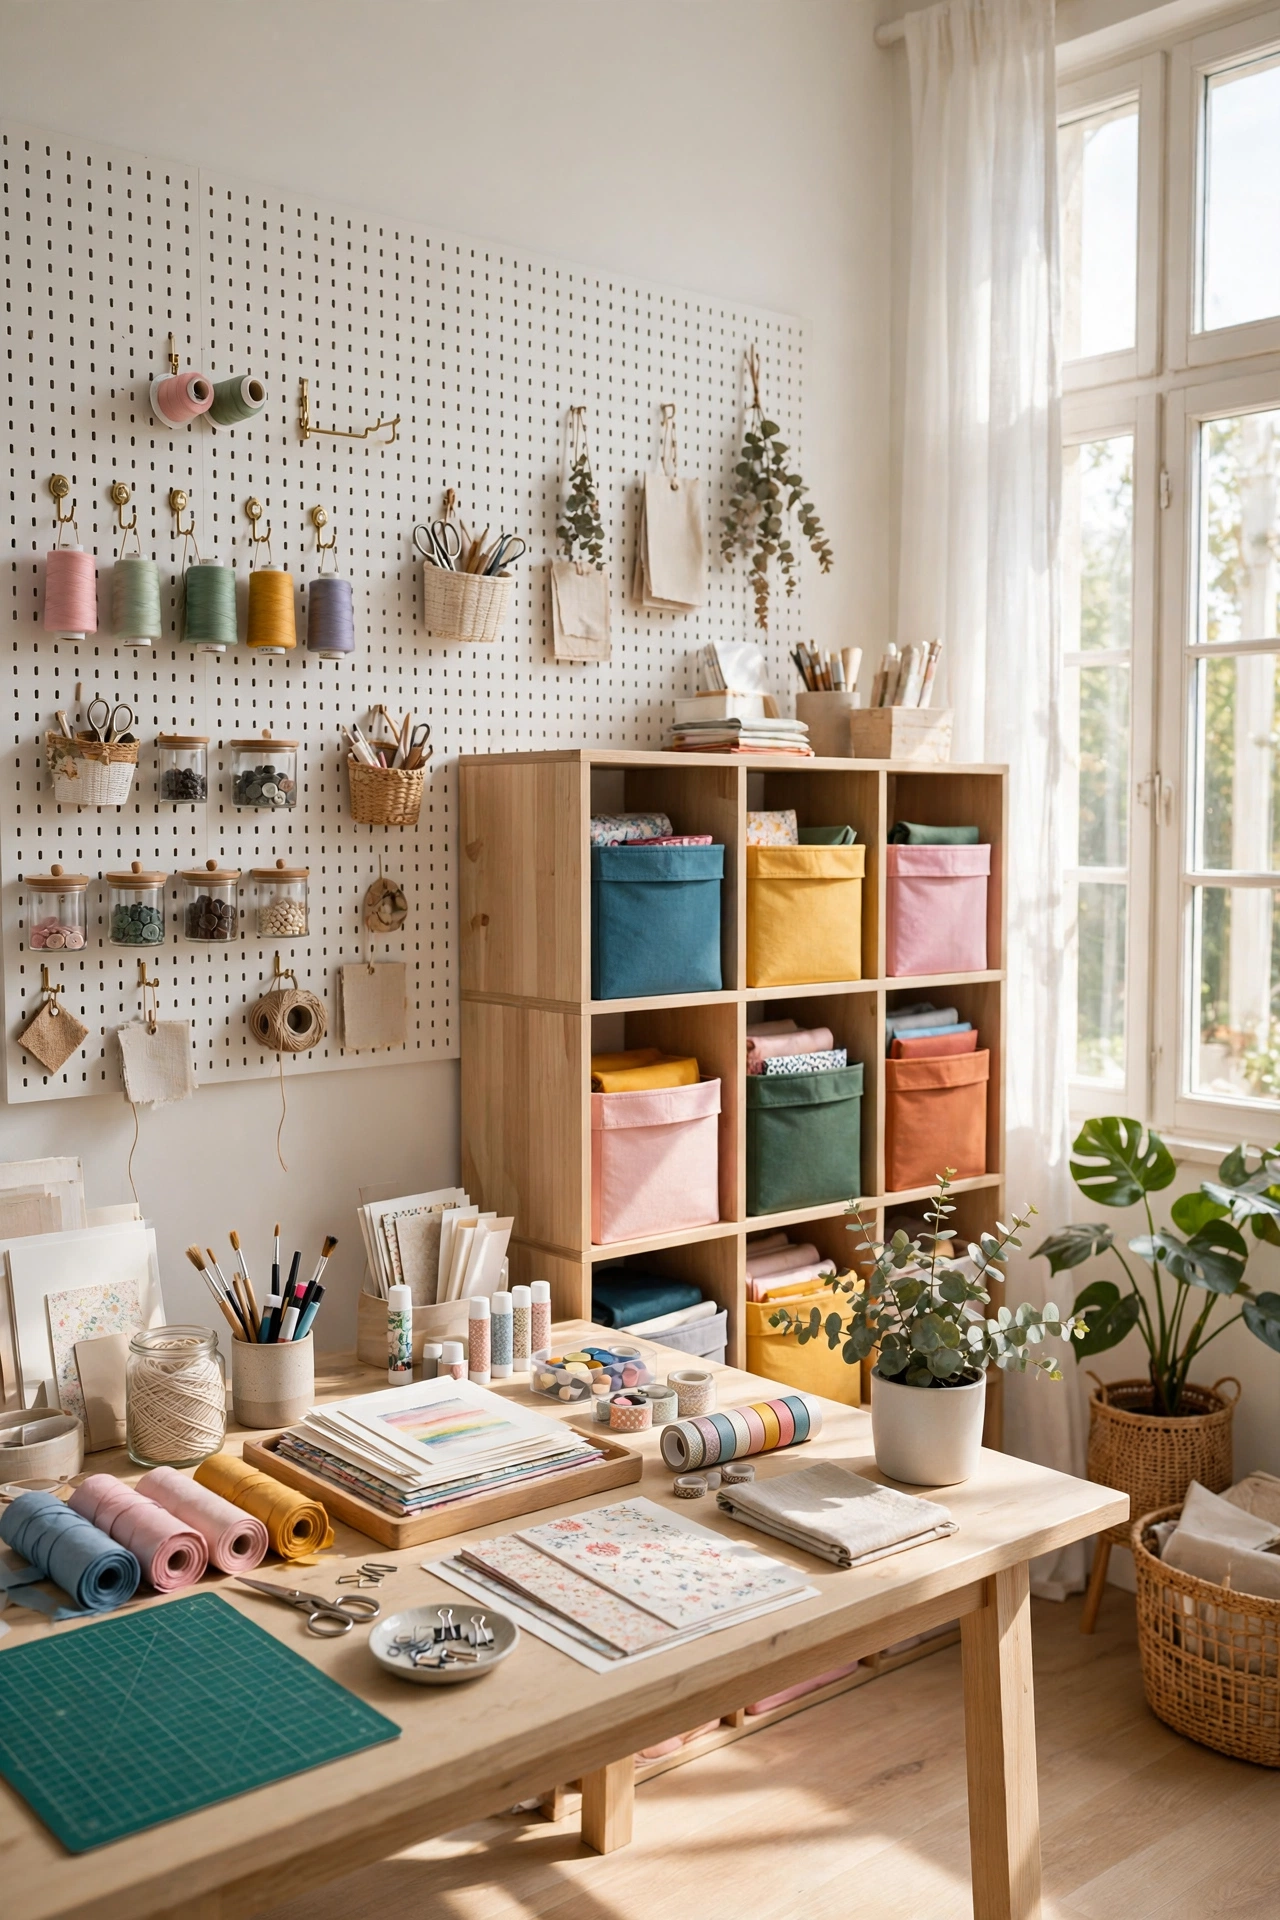
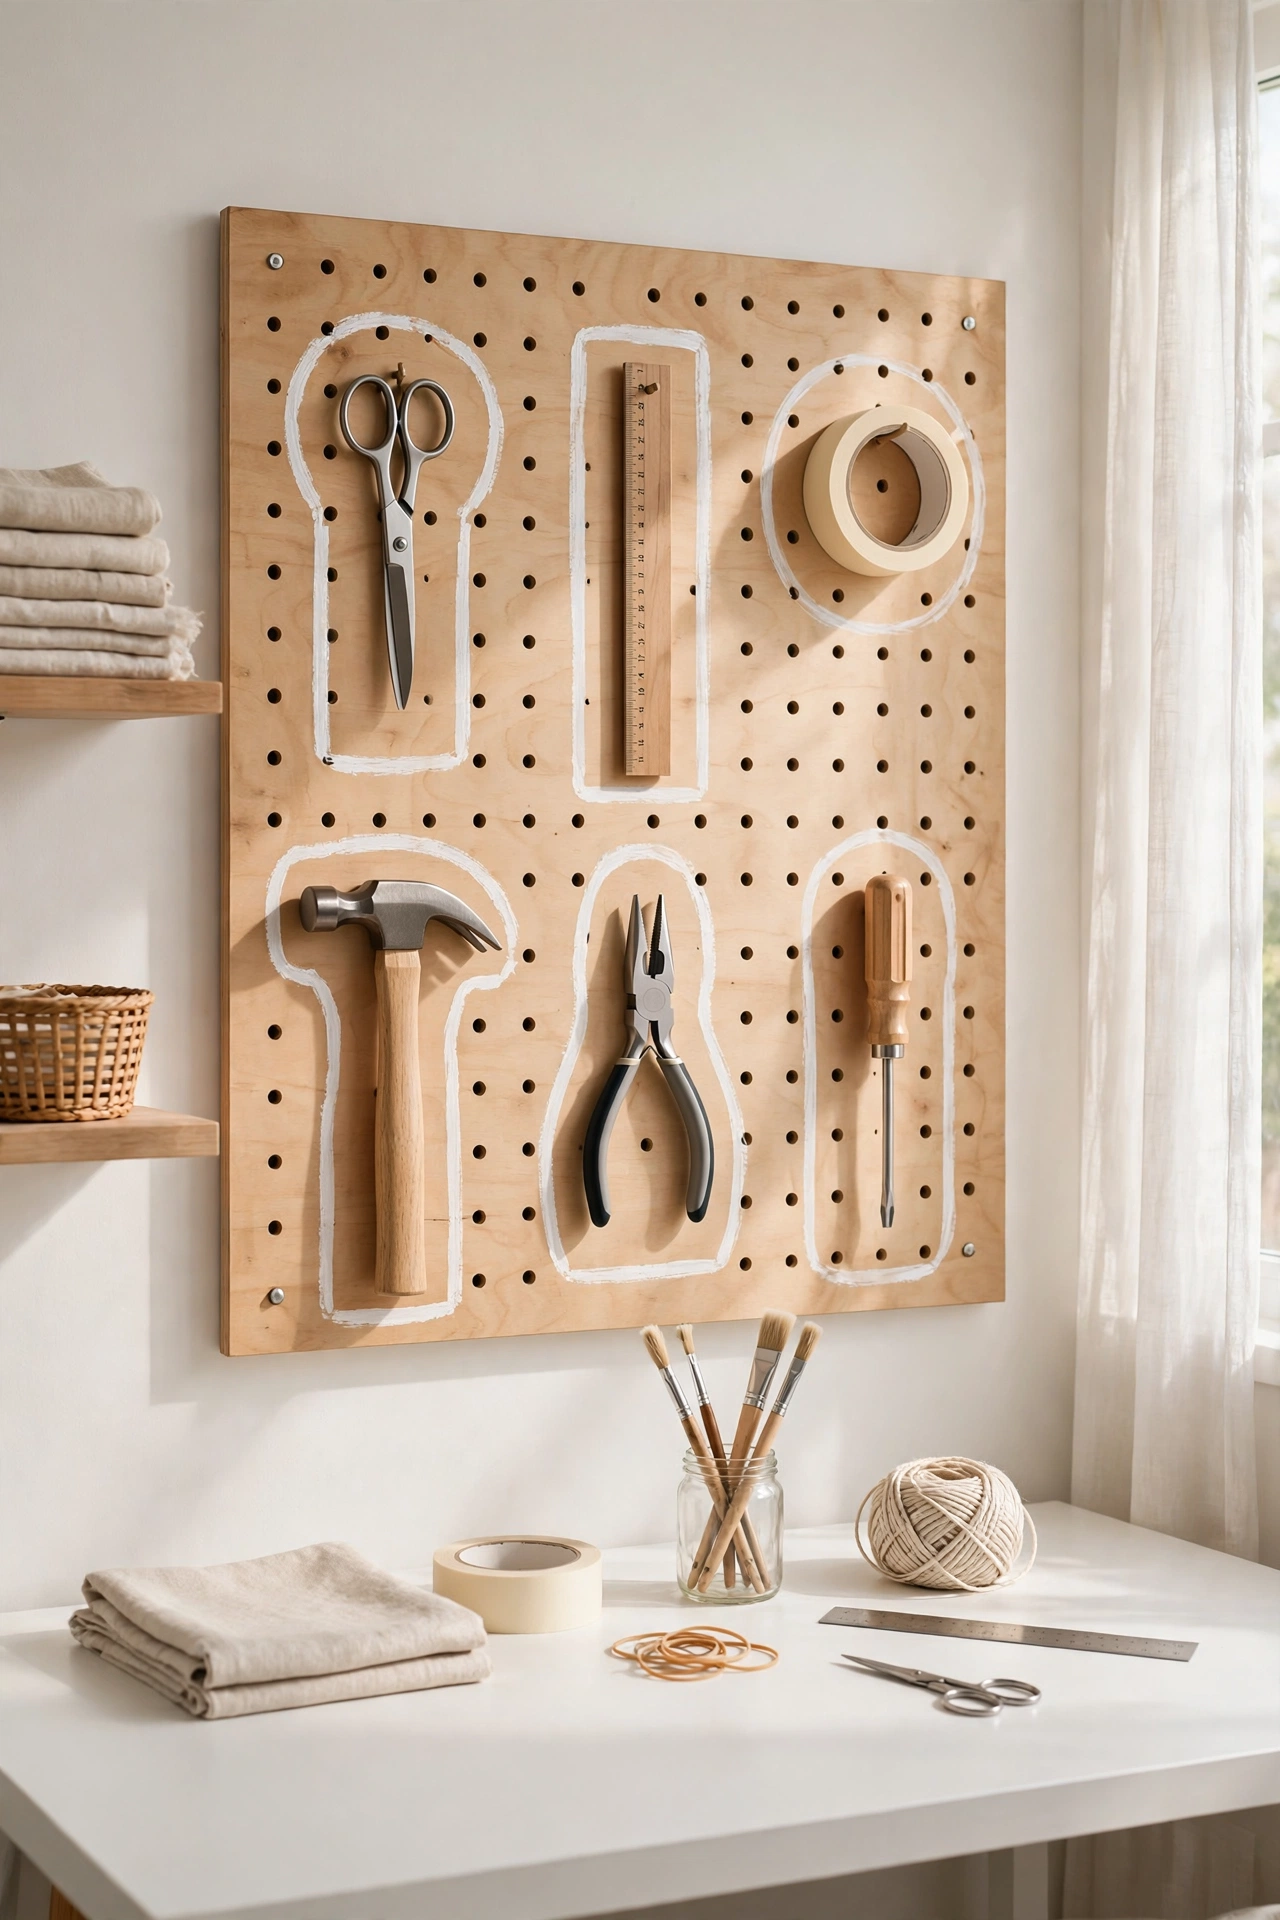
A pegboard above your work table is the single highest-impact storage upgrade in a craft room, because it moves your most-used tools off the table and onto the wall where you can see them. Mount a 24 by 48 inch board with solid wall anchors — drywall alone will not hold a loaded pegboard over time — and fit it with hooks in several sizes, small baskets, and a few shelves. Scissors, rulers, rotary cutters, tape runners, and hole punches hang at eye level, each in its own spot, so you stop losing ten minutes per session hunting for the tool you just had. The real trick is to outline each tool’s position with a marker or paint, so anything missing is obvious at a glance and cleanup takes seconds. Keep only active-session tools here; if a tool has not been touched in a month, move it to a drawer and free the hook for something you actually use.
2. KALLAX Cube Wall with Color-Coded Bins
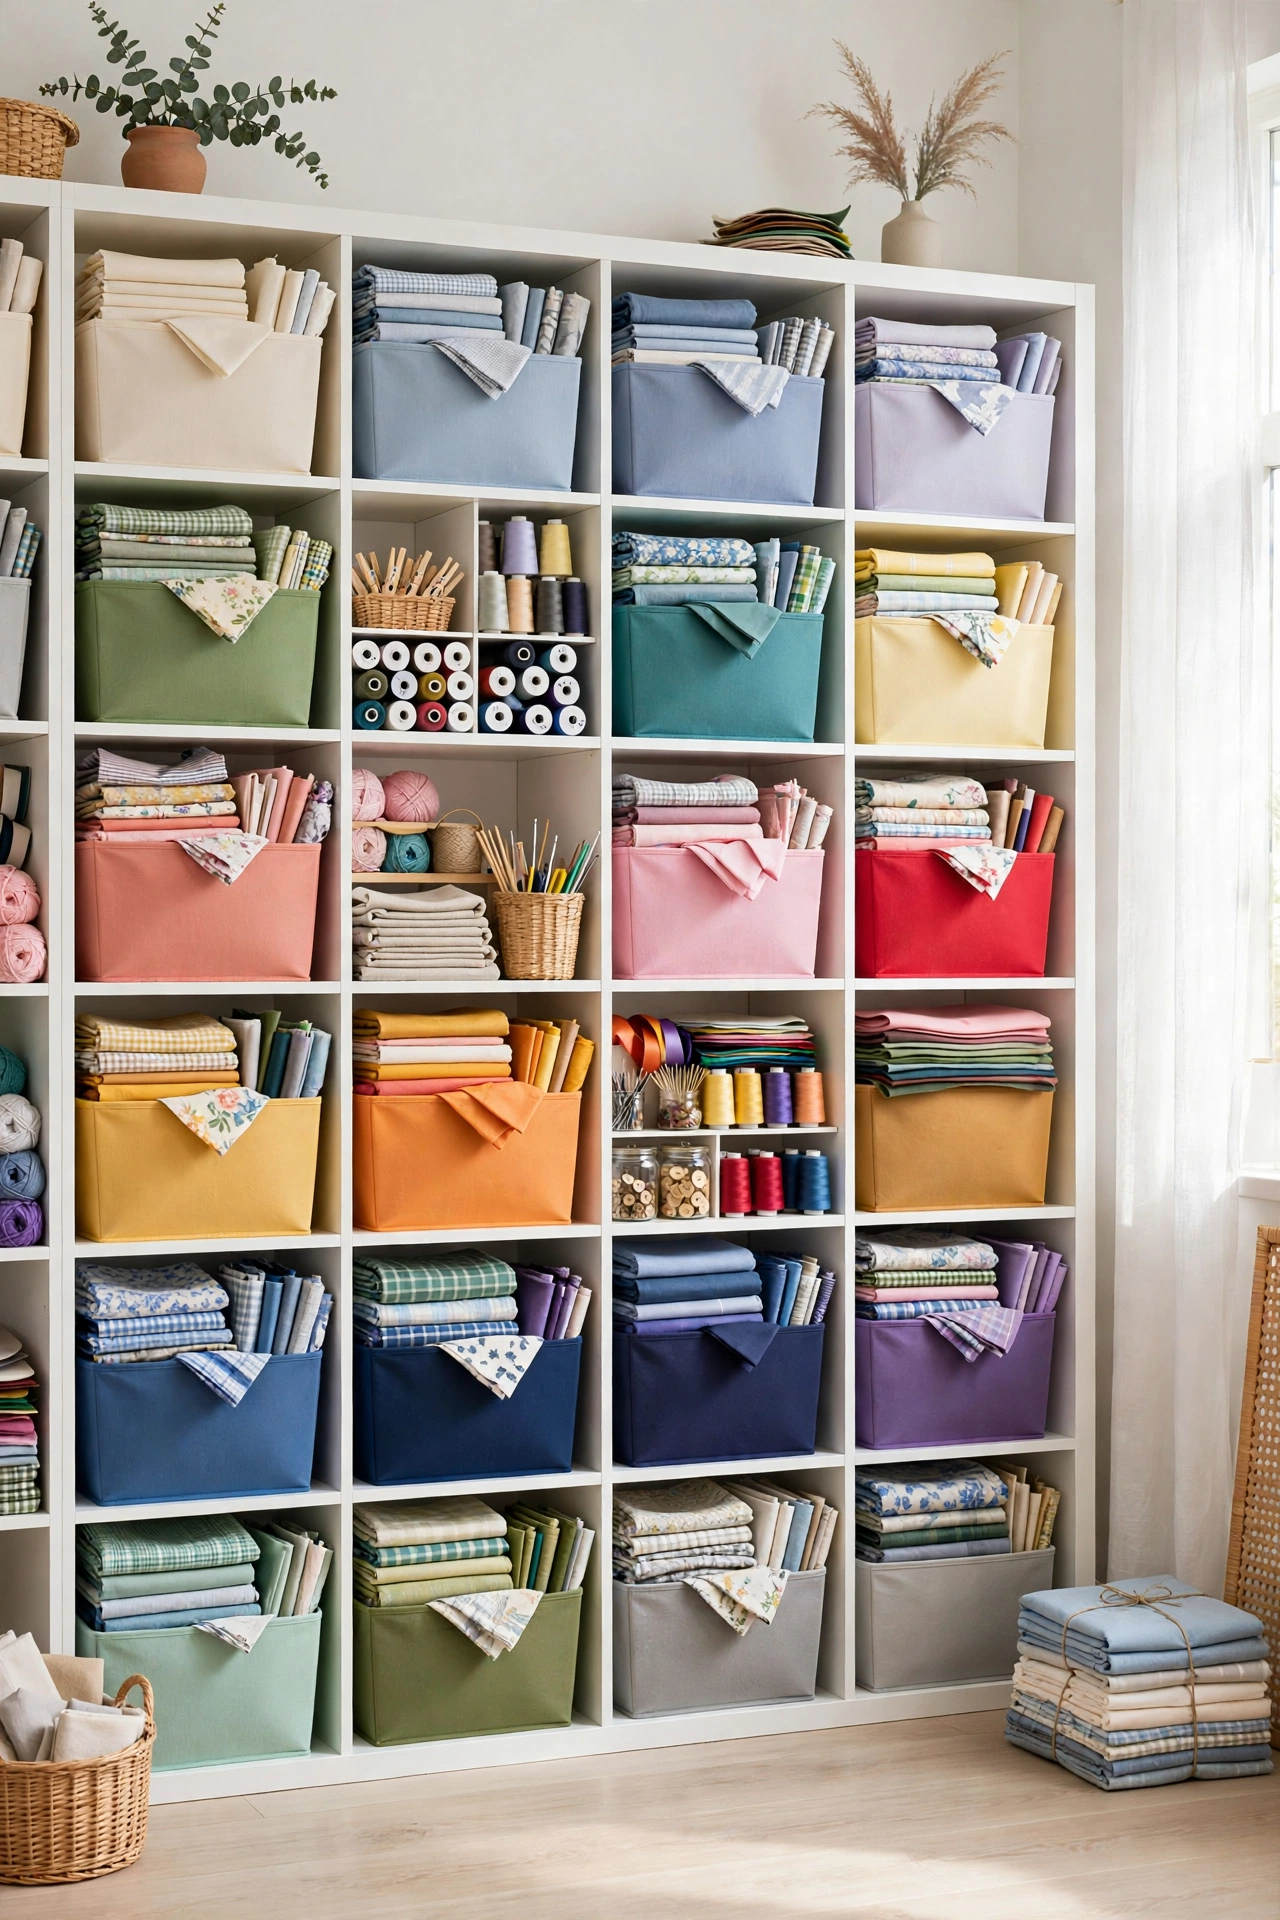
A cube shelf unit turns one blank wall into the backbone of your whole room. A four-by-four grid of cubes holds fabric bins, clear boxes, and open baskets, and each cube becomes a category: one for paper, one for fabric, one for yarn, one for paint. The secret is to make every cube earn its place with a single job and a label on the front edge, so nothing drifts into a junk cube. Fabric bins in a single color family keep the wall looking calm even when the contents are chaotic, while a few open cubes with neatly folded supplies add color and personality. If you are starting from scratch, this is the first big piece to buy — it clears a whole table in an afternoon. Our guide to genius IKEA hacks shows how the same cube units become a craft desk, a room divider, and a dedicated craft storage wall.
3. Rolling Three-Tier Cart for Active Projects
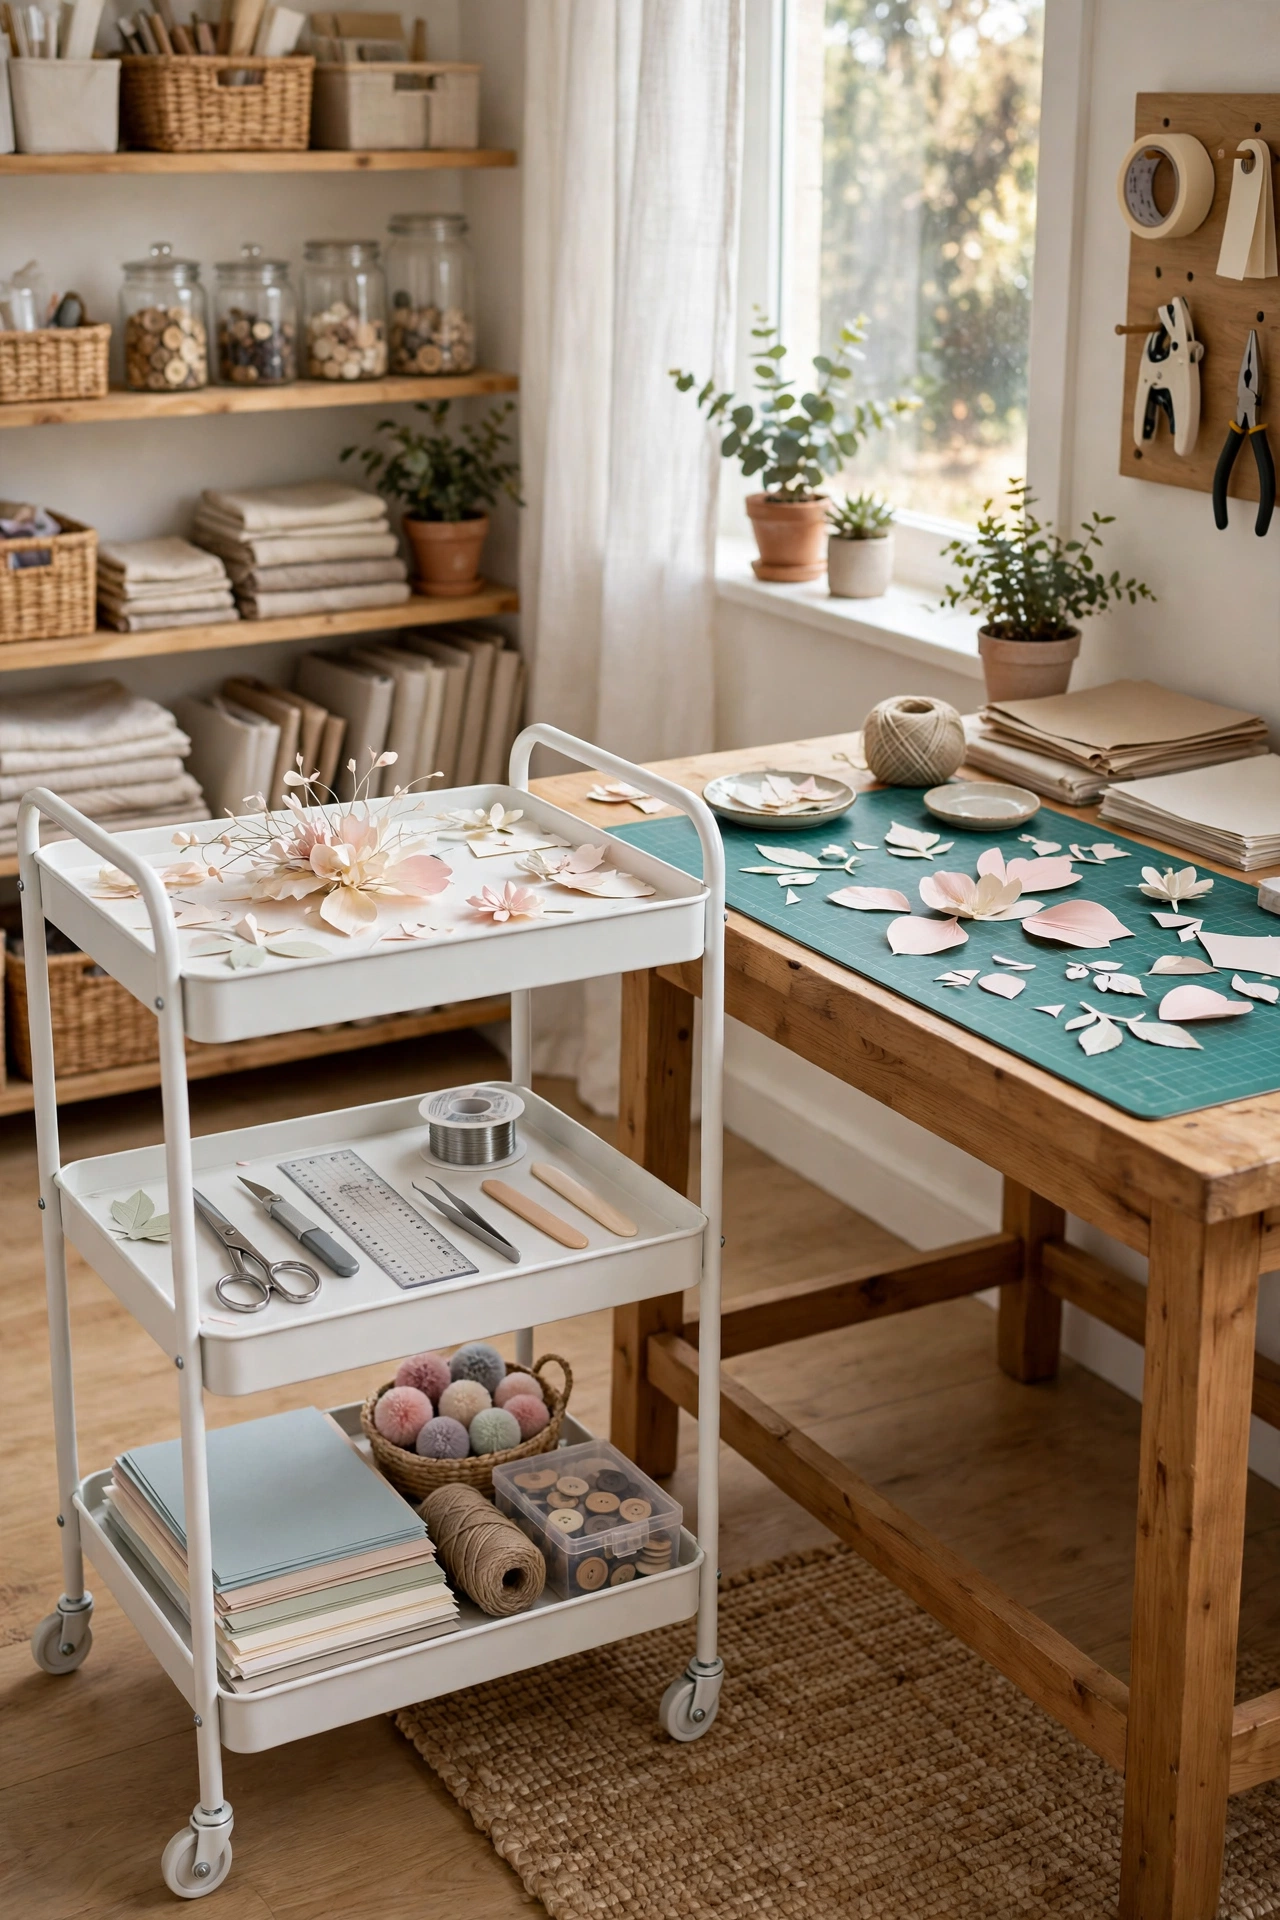
A three-tier rolling cart earns its floor space by moving supplies to your work table and back again in seconds. The trick is to treat it as a project cart, not a storage cart. The top tier holds only the supplies for the project you are working on right now, the middle tier holds the tools you reach for every session, and the bottom tier holds the backup stock for that project. When the project is done, the cart gets emptied and reloaded for the next one — nothing is allowed to live on it permanently. That single rule keeps it from becoming another junk surface. Choose a cart with a handle and smooth-rolling casters, and park it beside your table while you work, then roll it into a closet or against the wall when guests come over. It is the best storage solution for crafters who share their room with a guest bed or a home office.
4. Clear Stackable Bins with Big Labels
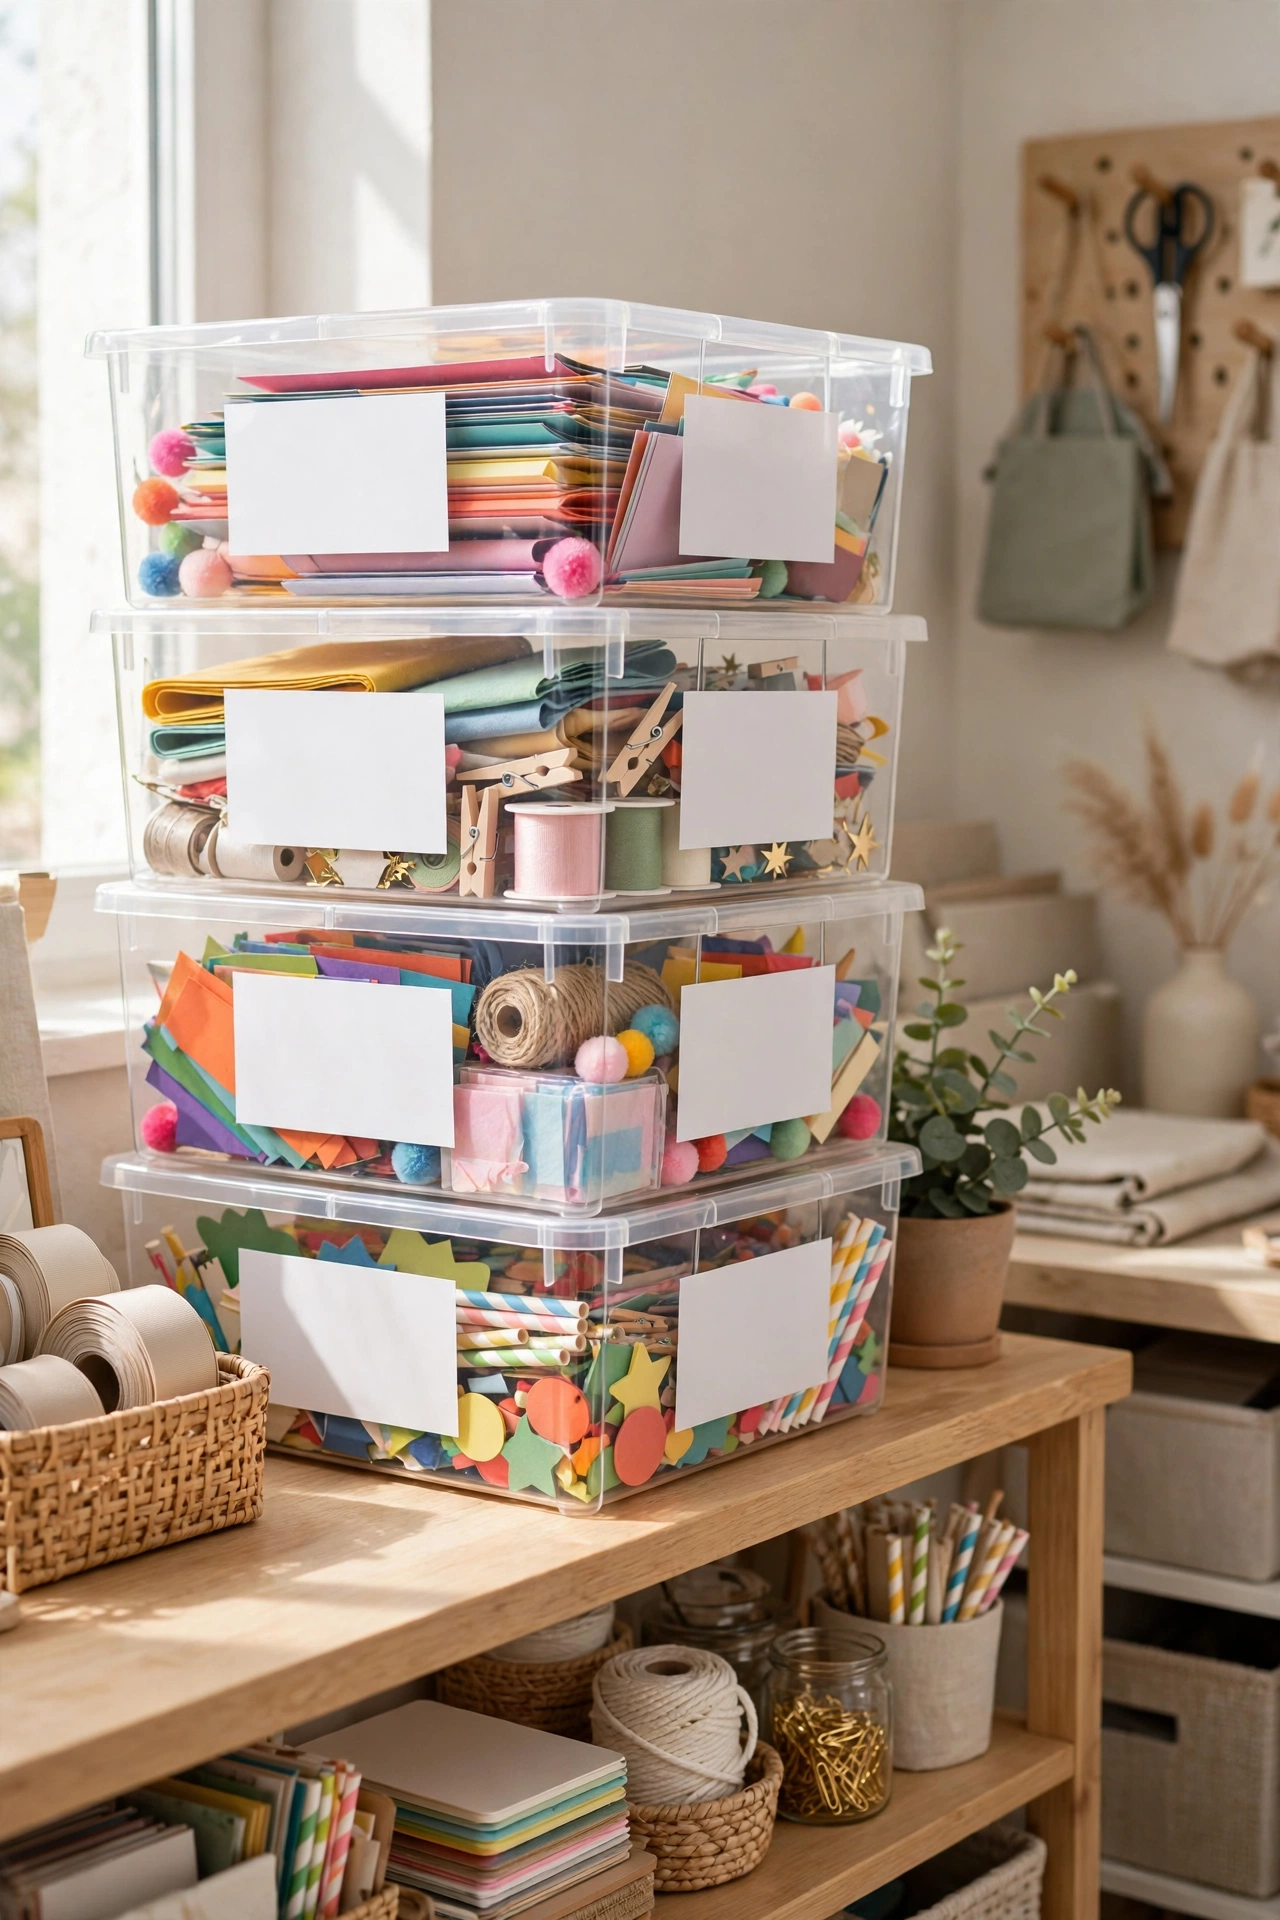
Clear bins only work when you respect their limits. Shallow clear bins are excellent for flat supplies like cardstock, foam sheets, and tissue paper, because you can see the color you need without opening anything. Deep clear bins, on the other hand, turn small supplies into an archaeological dig — a deep bin of buttons or beads hides everything below the top layer. The fix is simple: use shallow bins for small items, stackable bins with handles for everything else, and put a large, high-contrast label on the short end of every bin so you can read it from the shelf. Label the category and the color family, not just the contents — “Ribbon — Reds and Pinks” beats “Ribbon” every time. Stack bins two or three high at most, so the bottom bin is still easy to pull out without a collapse.
5. Tension-Rod Ribbon Rack
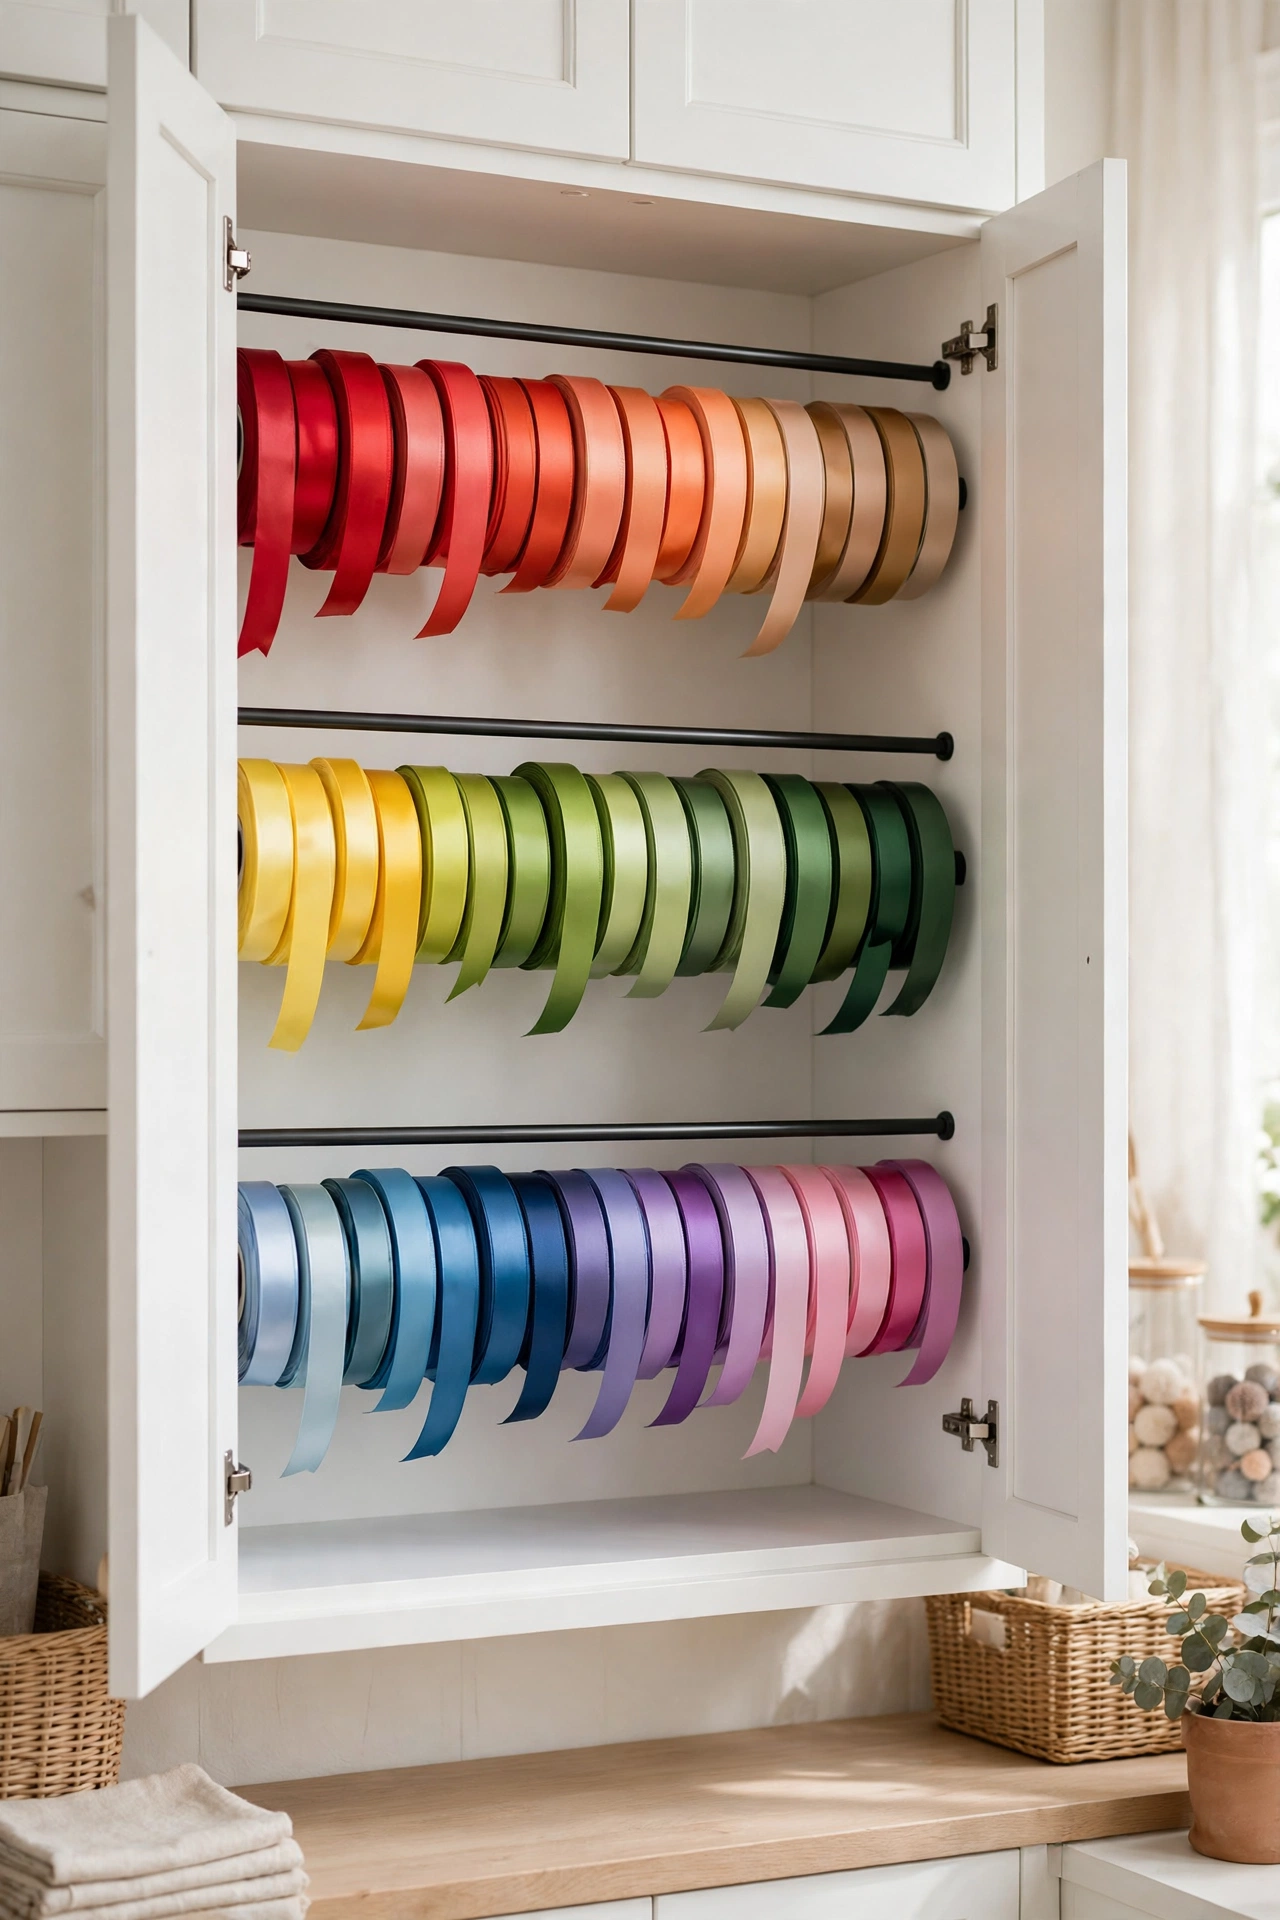
Ribbon is one of the hardest supplies to store well, because loose rolls tangle, unwind, and roll off shelves. A tension rod mounted horizontally inside a cabinet, a closet, or a shallow wall shelf solves the problem for almost no money. Thread the ribbon rolls directly onto the rod, grouped by color family, and they hang freely, pull smoothly, and never tangle. You can cut a length without removing the roll, and the rod itself costs less than a single spool of good ribbon. For a larger collection, mount two or three rods at different heights on a wall-mounted rack or inside a deep bookshelf, and keep a small pair of scissors on a hook right beside them. This same trick works beautifully for rolls of washi tape, twine, and narrow rolls of vinyl.
6. Spice-Rack Paint Bottle Wall
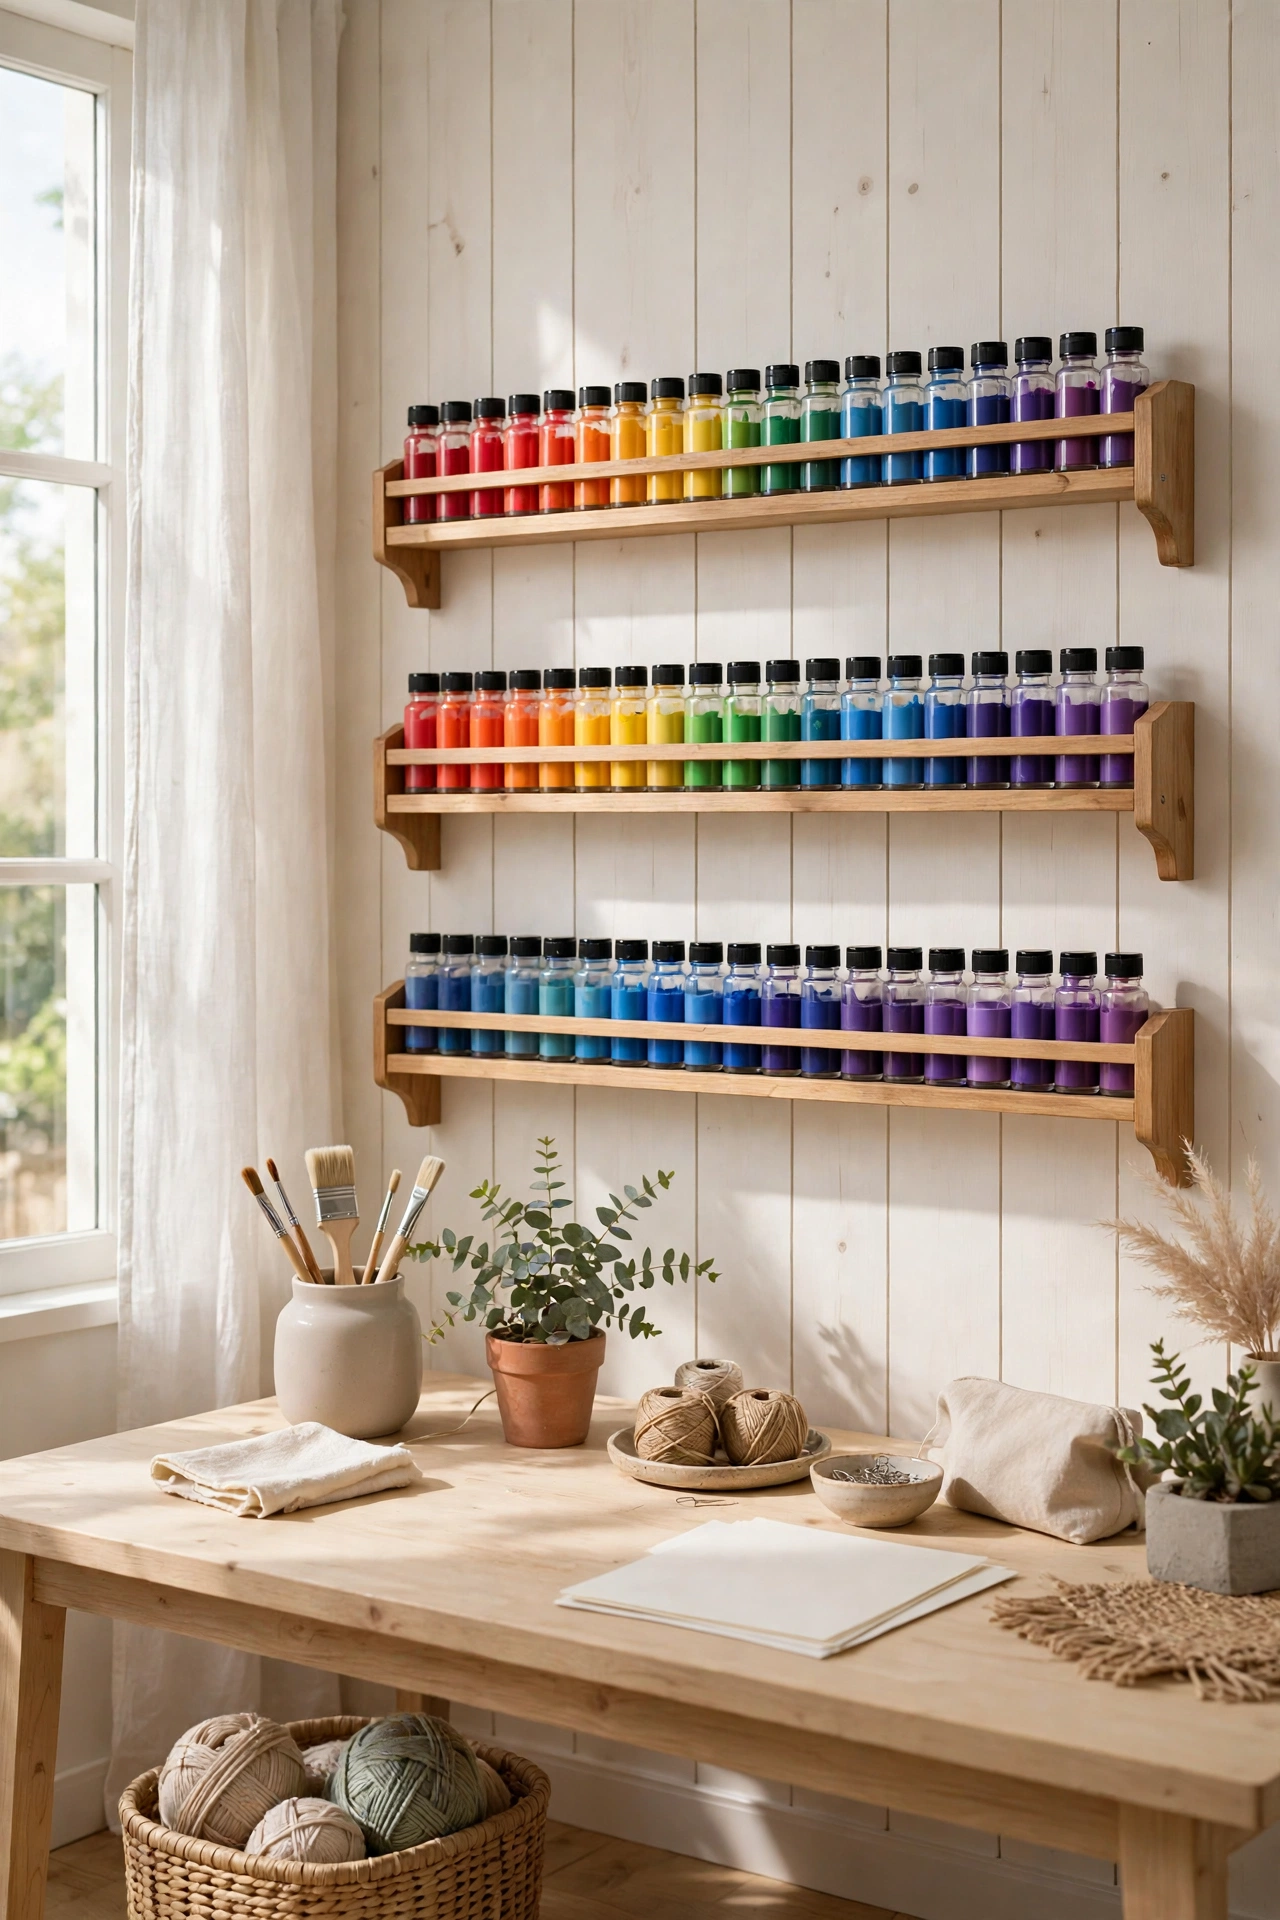
Paint bottles are small, numerous, and impossible to find when they are lined up in a row on a shelf — the bottle you need is always hiding behind three others. A wall-mounted spice rack, or a shallow picture ledge, fixes that by holding bottles in a single row with their labels facing out at a slight angle. Mount two or three racks at eye level near your painting area, sort the bottles by color family, and you can scan your whole collection in seconds. For a larger collection, add a shallow tray or drawer organizer for the overflow, and keep the racks for the colors you reach for most. This trick works just as well for small ink bottles, embossing powders, and glitter jars. The racks themselves are cheap, they take up zero table space, and they turn a jumble of bottles into a color display you will actually enjoy looking at.
7. Wine-Rack Yarn Wall
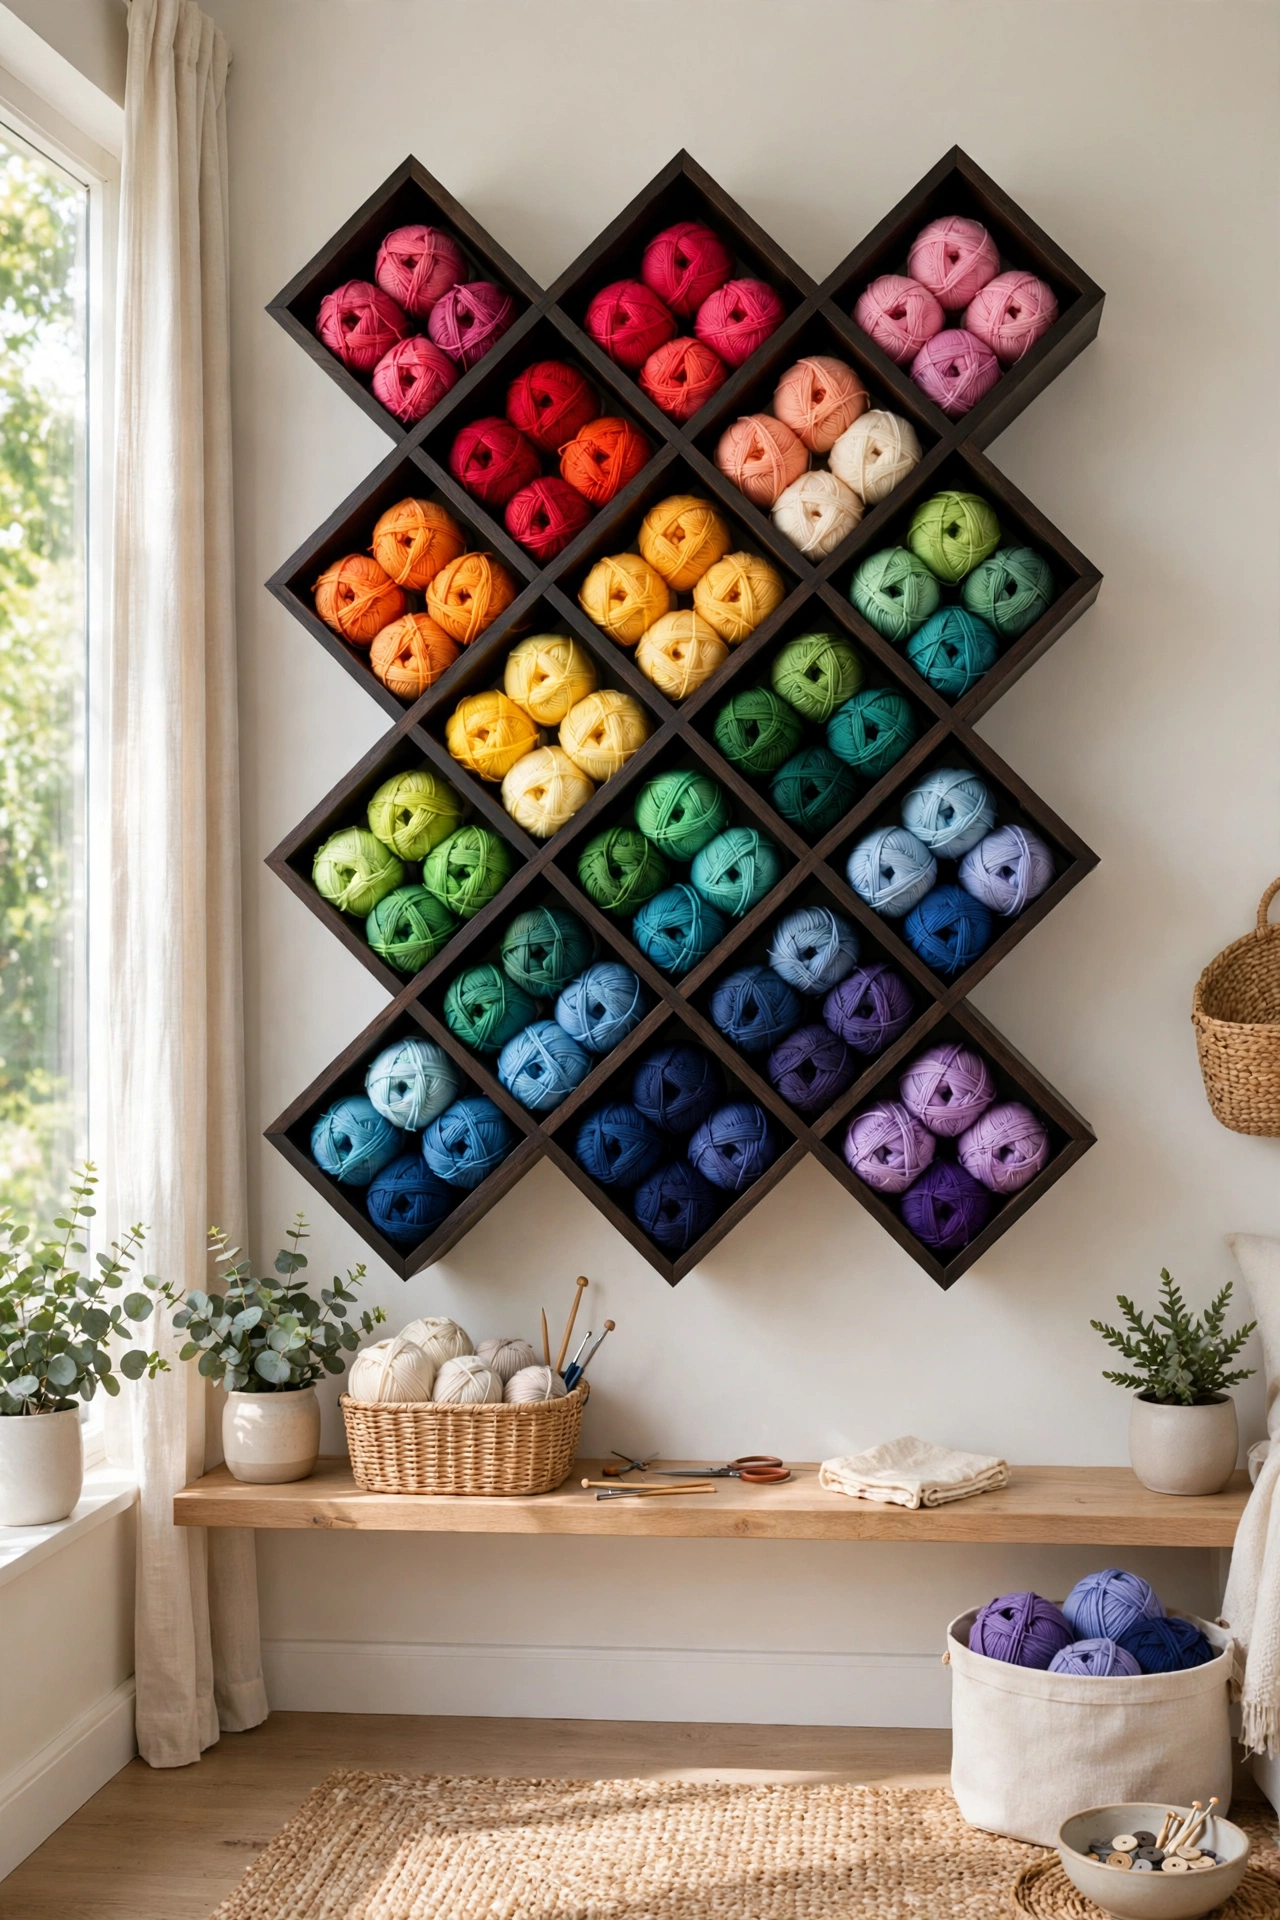
Yarn is the supply that defeats most storage systems, because skeins are soft, bulky, and impossible to stack neatly. A wall-mounted wine rack — the kind with diamond-shaped cubbies — holds well over a hundred skeins when each opening is packed with one color family. The yarn stays visible, ventilated, and easy to pull without disturbing the rest, and the rainbow of color becomes a feature wall in its own right. Mount the rack at a height where the top row is still reachable, and sort each cubby by weight or project rather than stuffing in leftovers at random. For smaller stashes, a single narrow rack or a set of open cubbies does the same job on a smaller scale. Keep the yarn out of direct sunlight, and keep the cat out of the room if you value your color sorting.
8. Fabric Bolt-Board Library
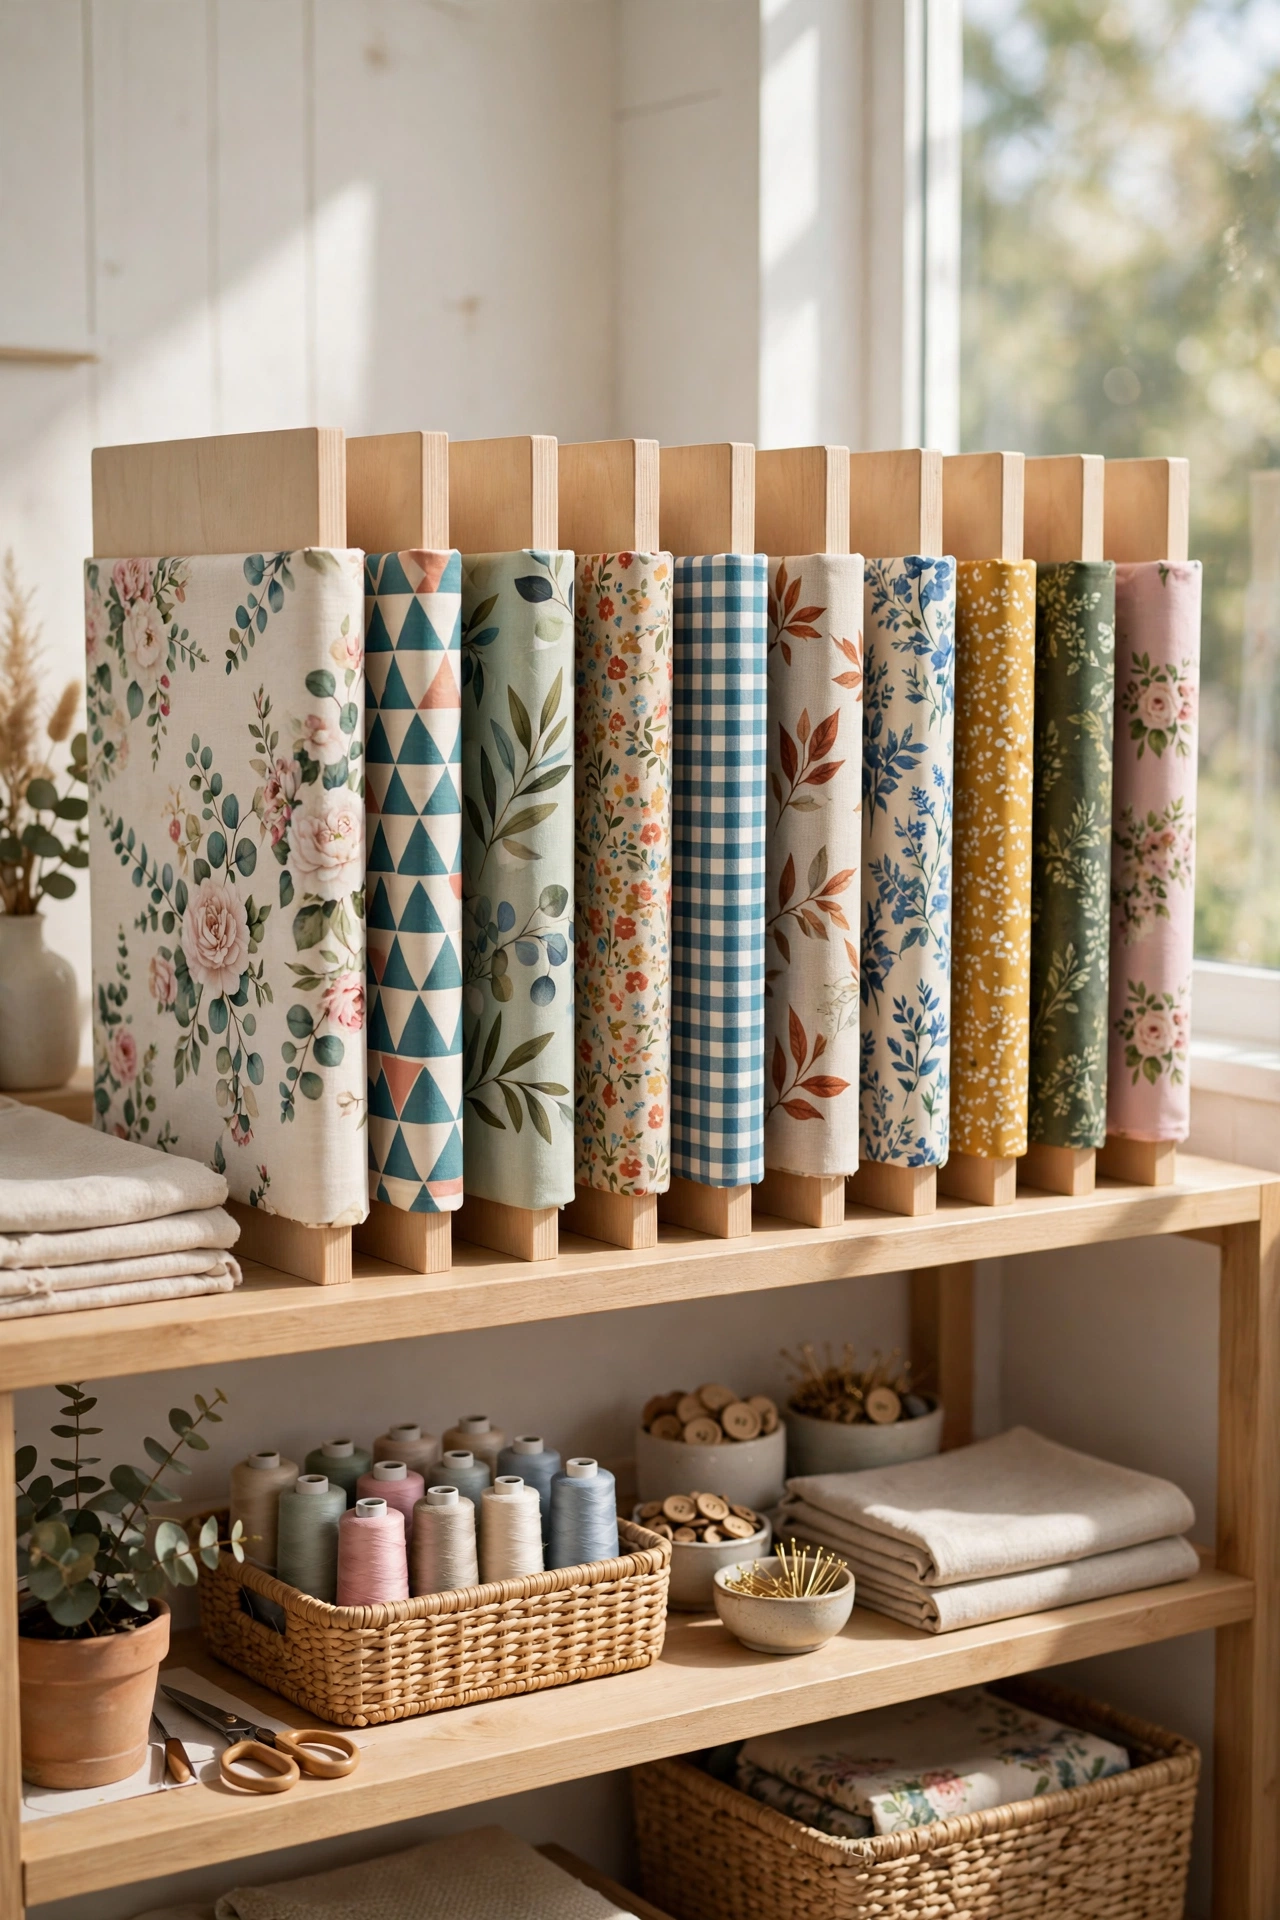
Fabric is the supply that defeats most organization systems, because folded stacks slide, topple, and hide the print you actually want. The method that holds up long term is to fold each piece of fabric around a comic book board or a cut piece of sturdy cardboard of uniform size, then store the boards standing upright like books in a bin or on a shelf. Every print is visible from its folded edge, nothing gets crushed under a heavy stack, and pulling one piece out does not disturb the rest. Sort the boards by color family or by fabric type — cottons together, knits together, seasonal prints together — and label the shelf edge so the system survives a busy week. This trick costs almost nothing, uses supplies you probably already have, and turns a messy fabric pile into a tidy little library.
9. Washi Tape Dowel Display
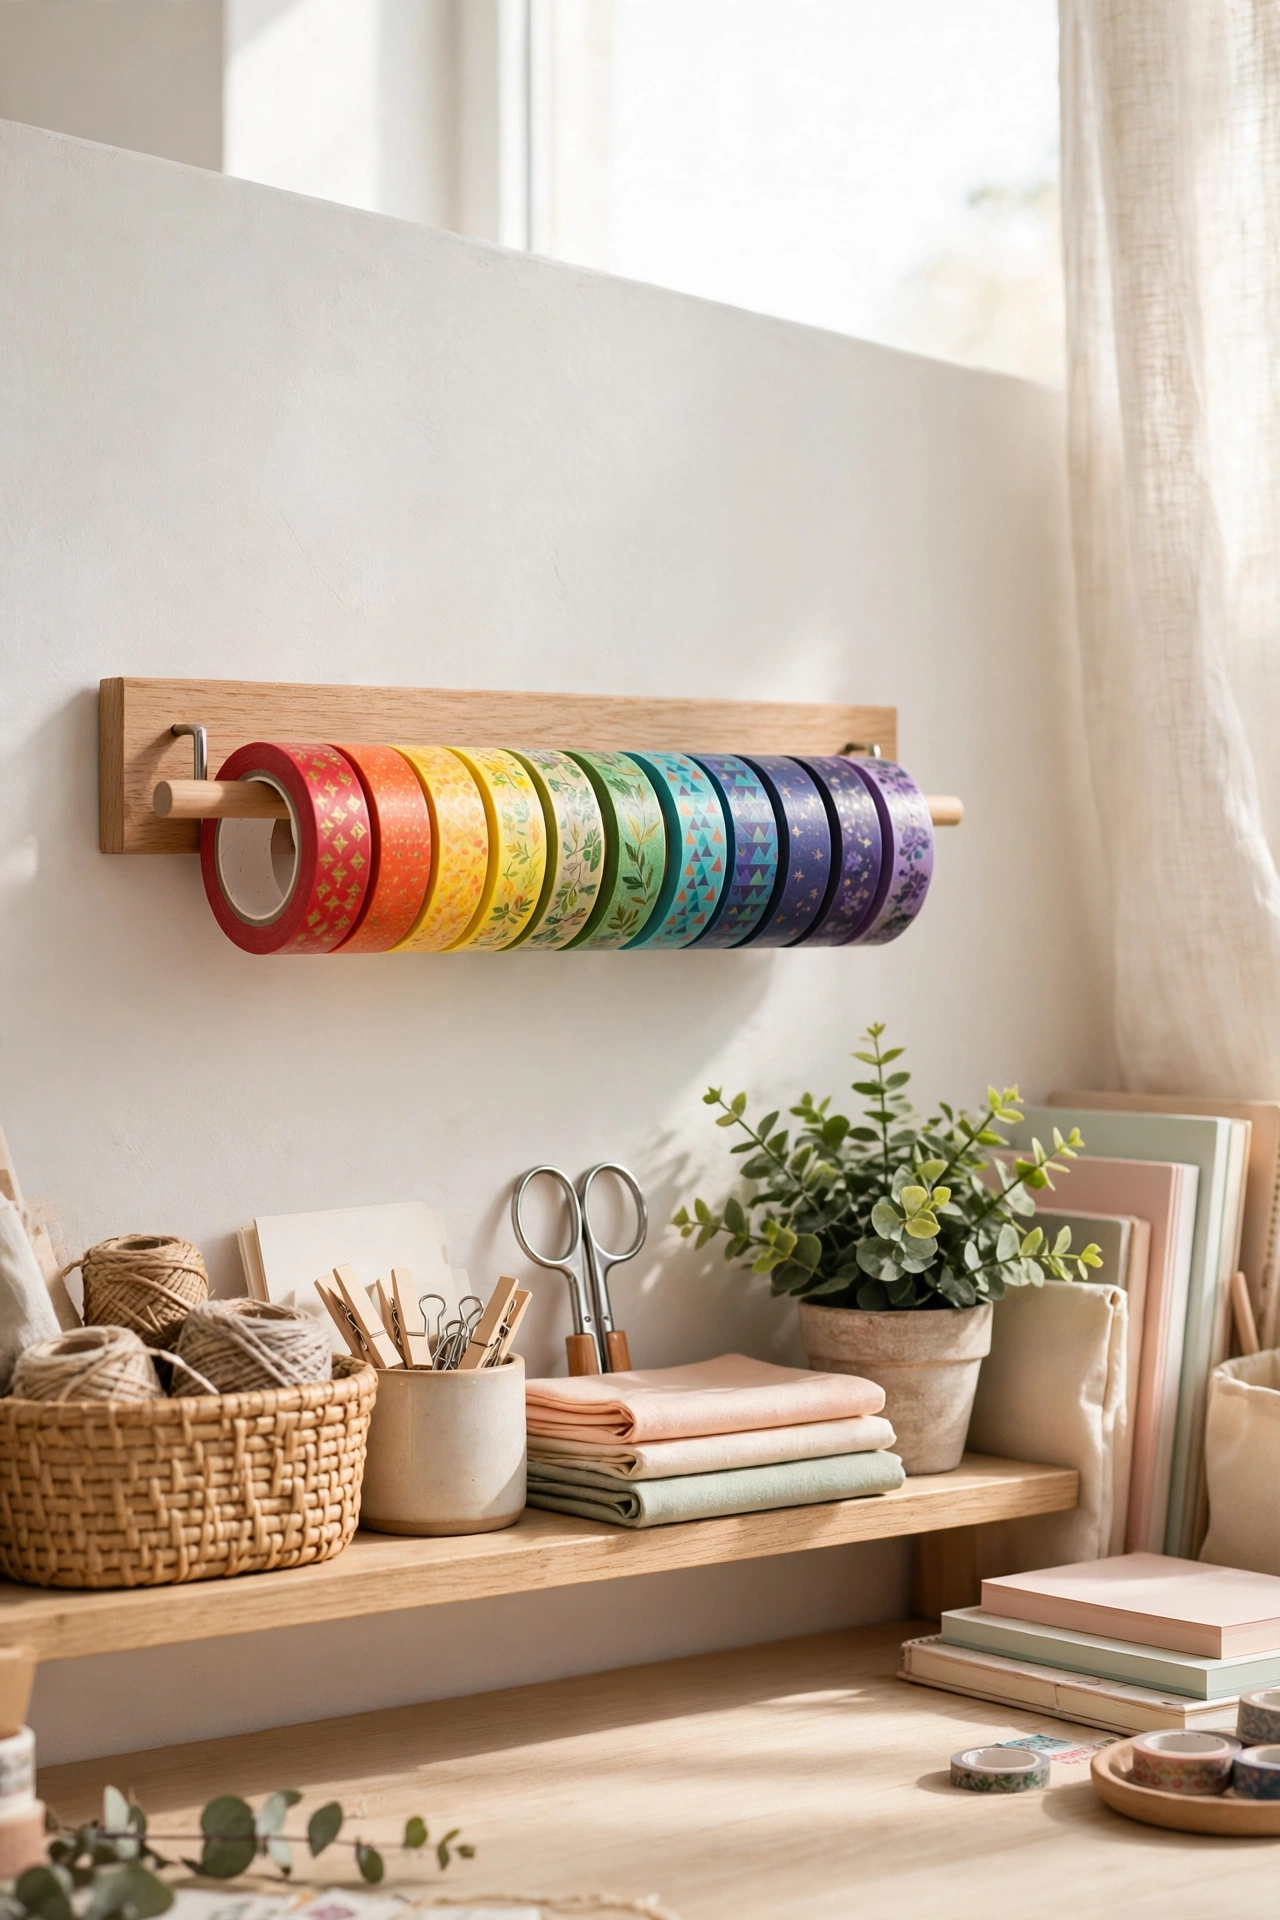
Washi tape collections grow fast, and a drawer full of loose rolls is a collection you cannot use — you forget what you own and buy the same pattern twice. Give the rolls a home on a short wooden dowel mounted on a wall rack or threaded through a shallow drawer. Sort the rolls by color family along the dowel, and every pattern stays visible and easy to reach, with the end of each roll ready to pull. A vintage soda crate hung on pegboard does the same job beautifully, with each divided compartment holding rolls sorted by color. If your collection is small, a single dowel inside a desk drawer keeps the rolls corralled without taking up any wall space at all. Whichever version you choose, keep the dowel short enough that the rolls stay snug — a loose dowel lets rolls slide and bunch at one end.
10. Thread Spool Nail Board
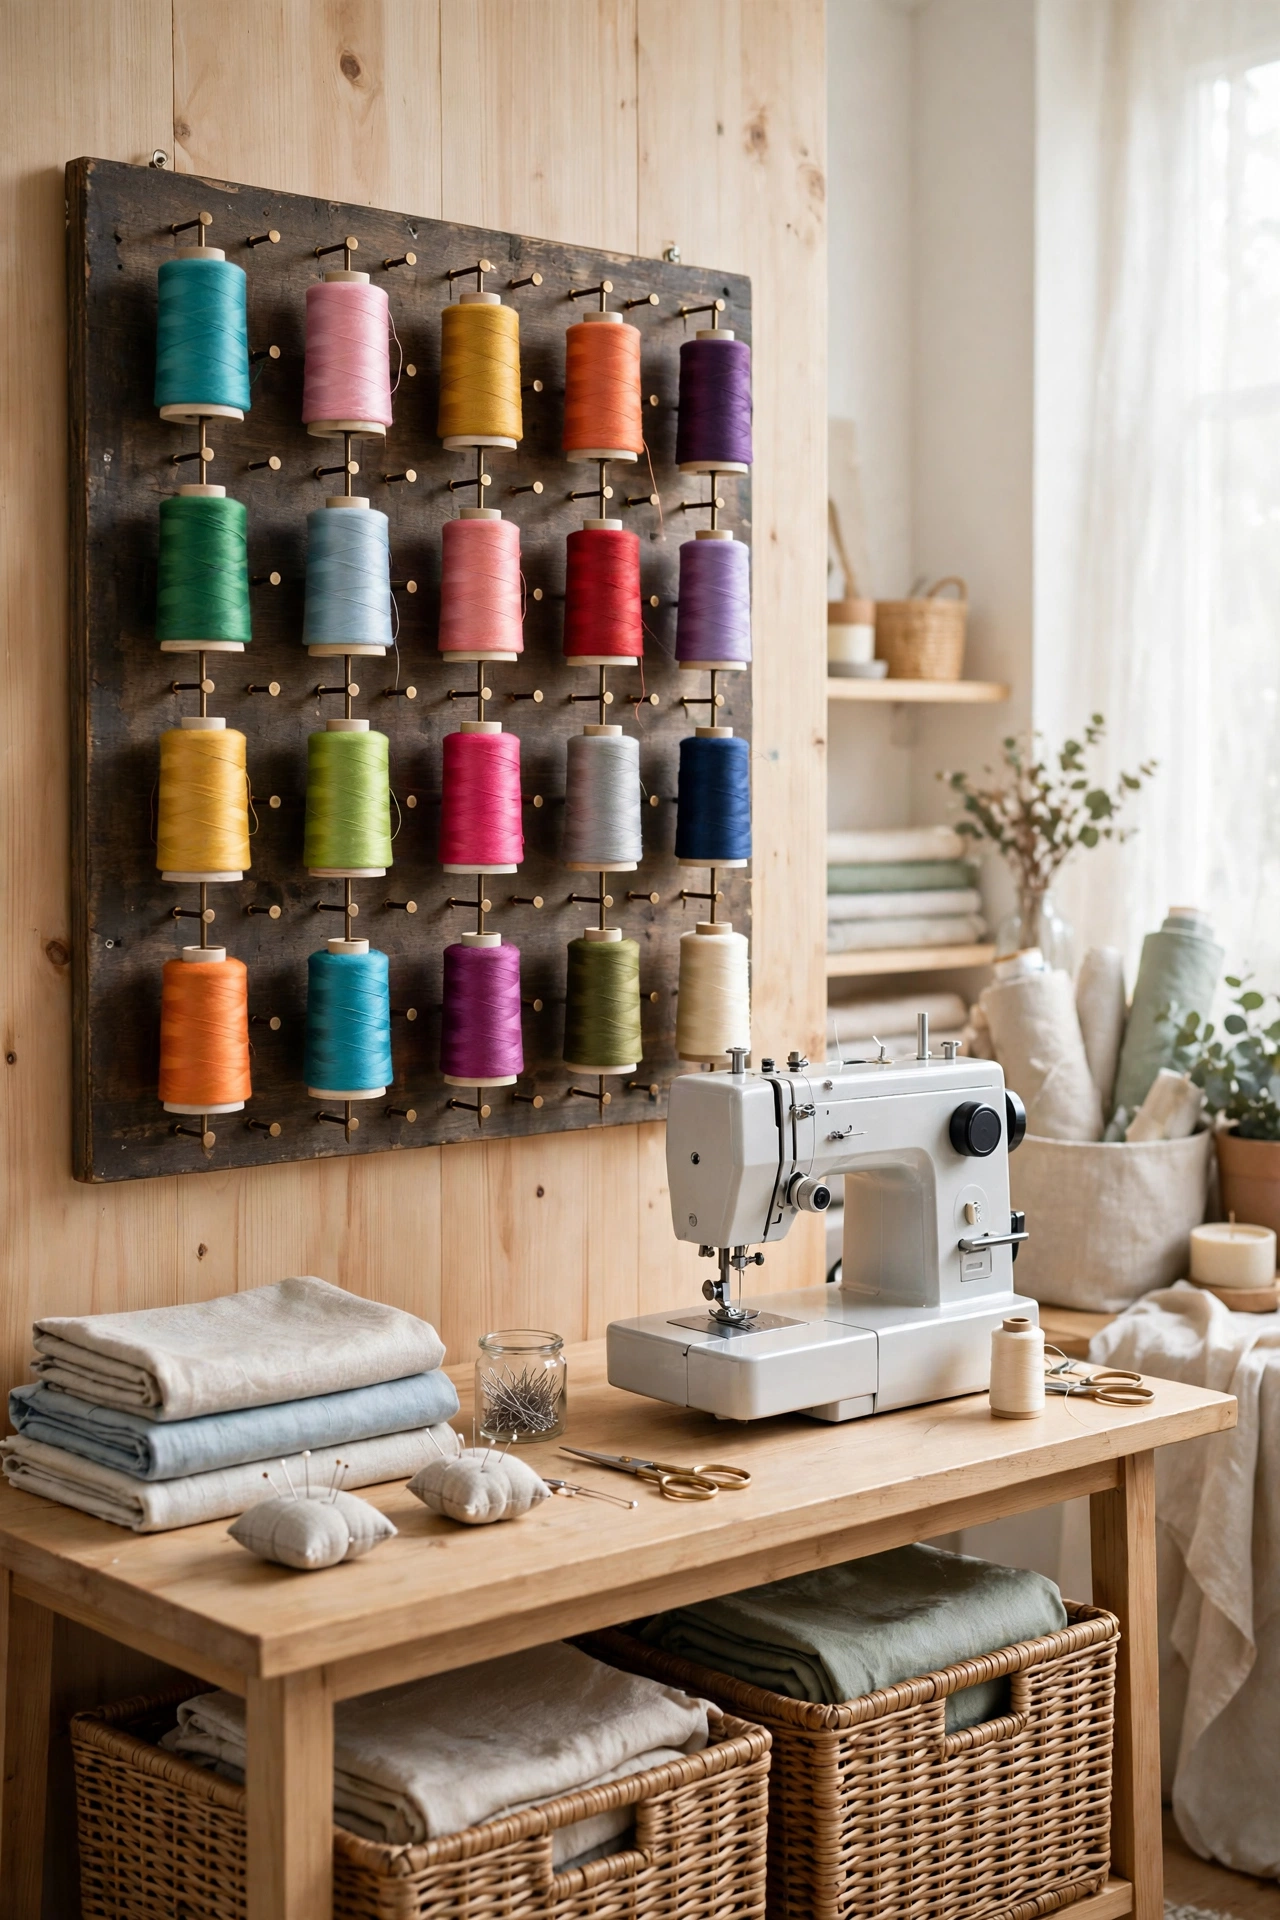
A board studded with a grid of nails is the simplest thread storage ever made, and it works because it shows you everything at once. Mount a stained or painted board on the wall near your sewing machine, drive in short nails in neat rows, and slip one spool onto each nail with the thread color facing out. You can see your whole thread collection in a single glance, grab the right color without opening a box, and spot the colors you are running low on before a project stalls. Space the nails generously — crowded spools snag thread and make the board hard to use. For a smaller collection, a single narrow board or even a strip of wood with a dozen nails is enough. This is a perfect Saturday-afternoon project: one board, a box of nails, and an hour of your time.
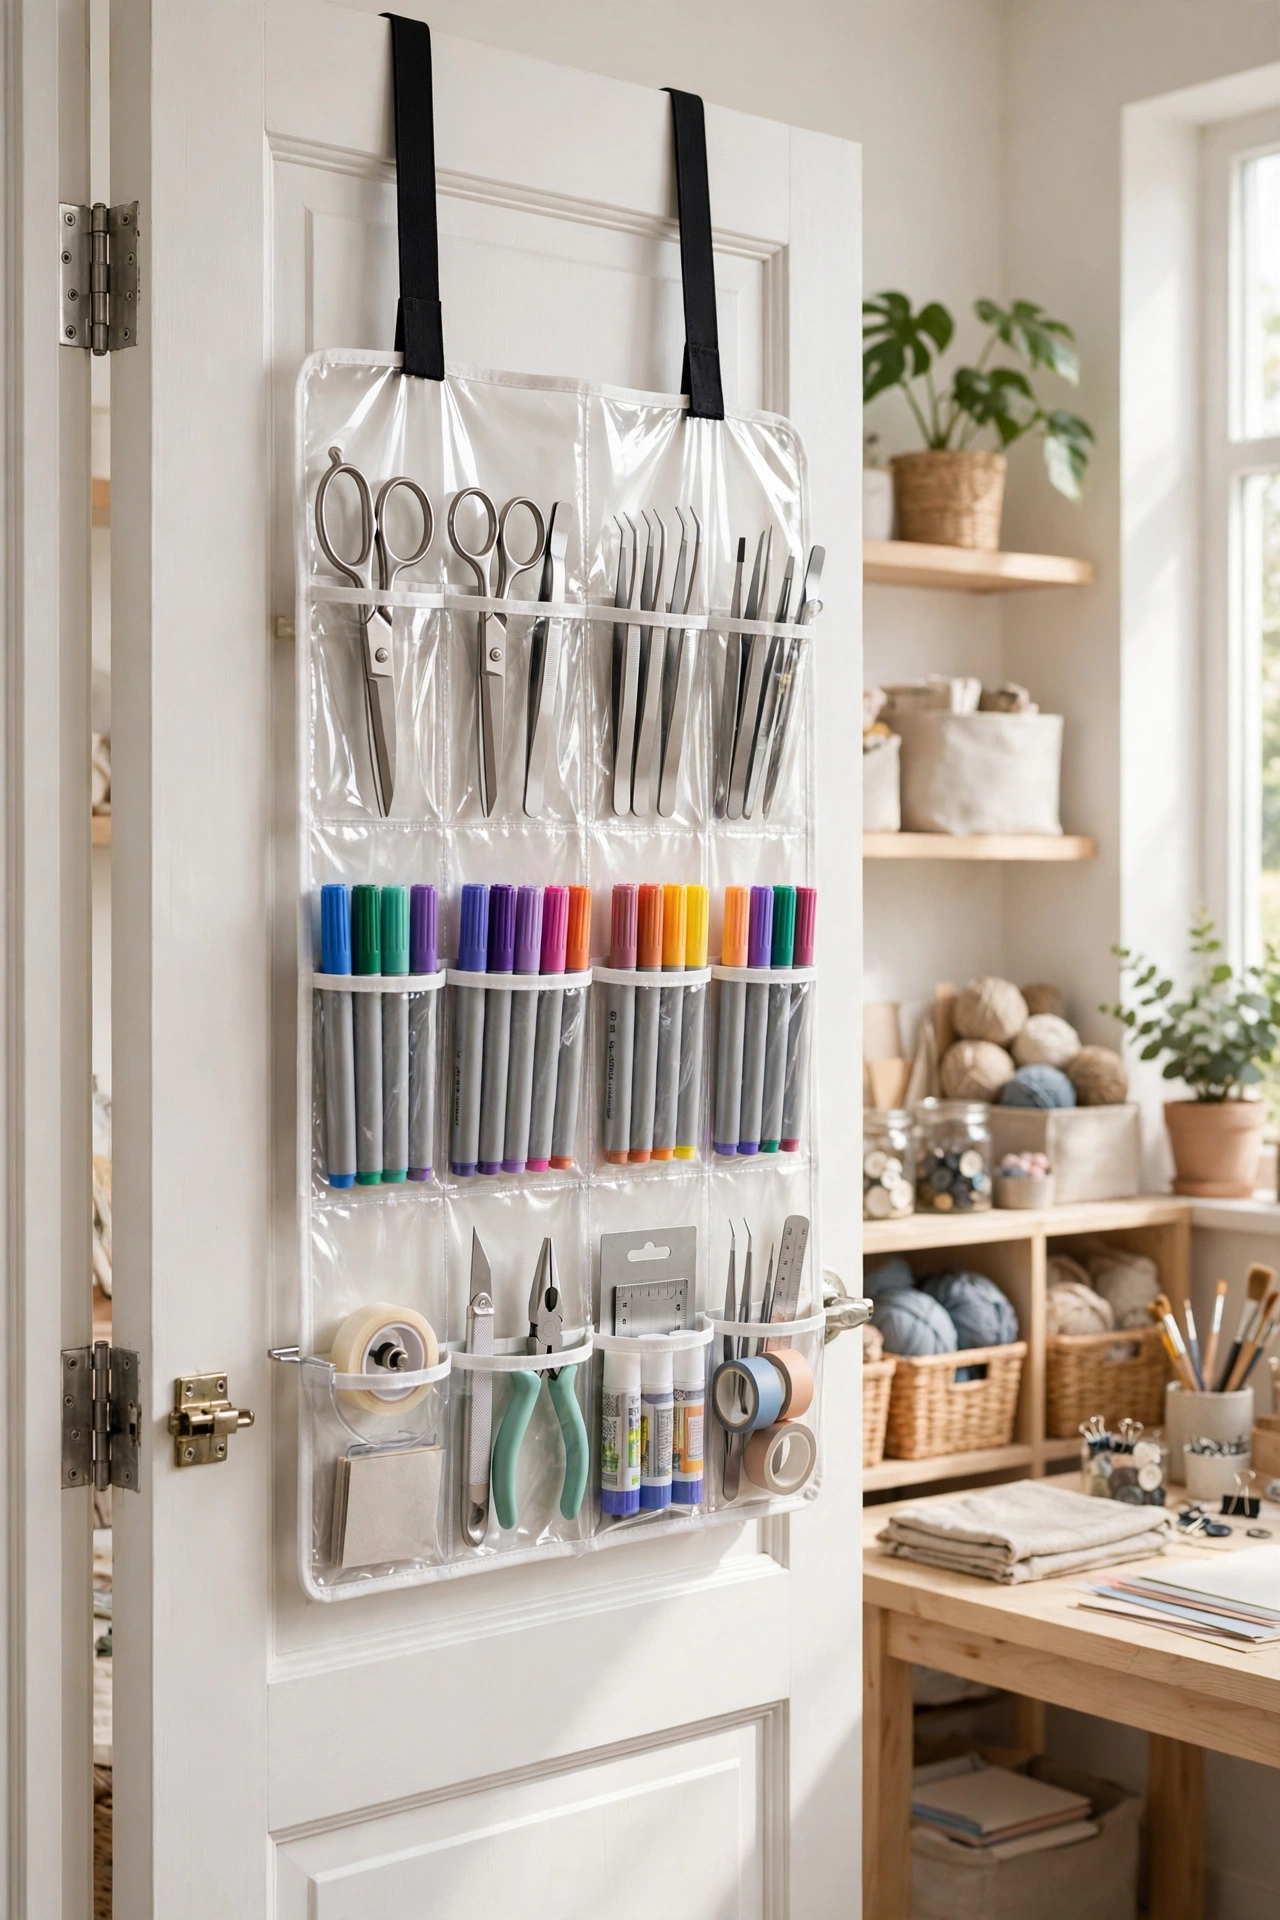
11. Over-the-Door Organizer for Small Supplies
The back of the craft room door is free storage space that most rooms completely ignore. Hang a clear over-the-door shoe organizer on it, and the pockets become homes for the small supplies that otherwise scatter across every surface: scissors, bone folders, scoring tools, specific markers, adhesive runners, and rolls of tape. Clear pockets matter here — you need to see what is inside without opening anything — and the organizer keeps those supplies sorted by type instead of jumbled in a drawer. Use the top rows for the items you reach for most and the bottom rows for refills and backup stock. When the door needs to close fully, choose a slim organizer with flat pockets so it does not catch on the frame. This is one of the cheapest storage upgrades in this whole list, and it works in a closet craft nook just as well as in a full room.
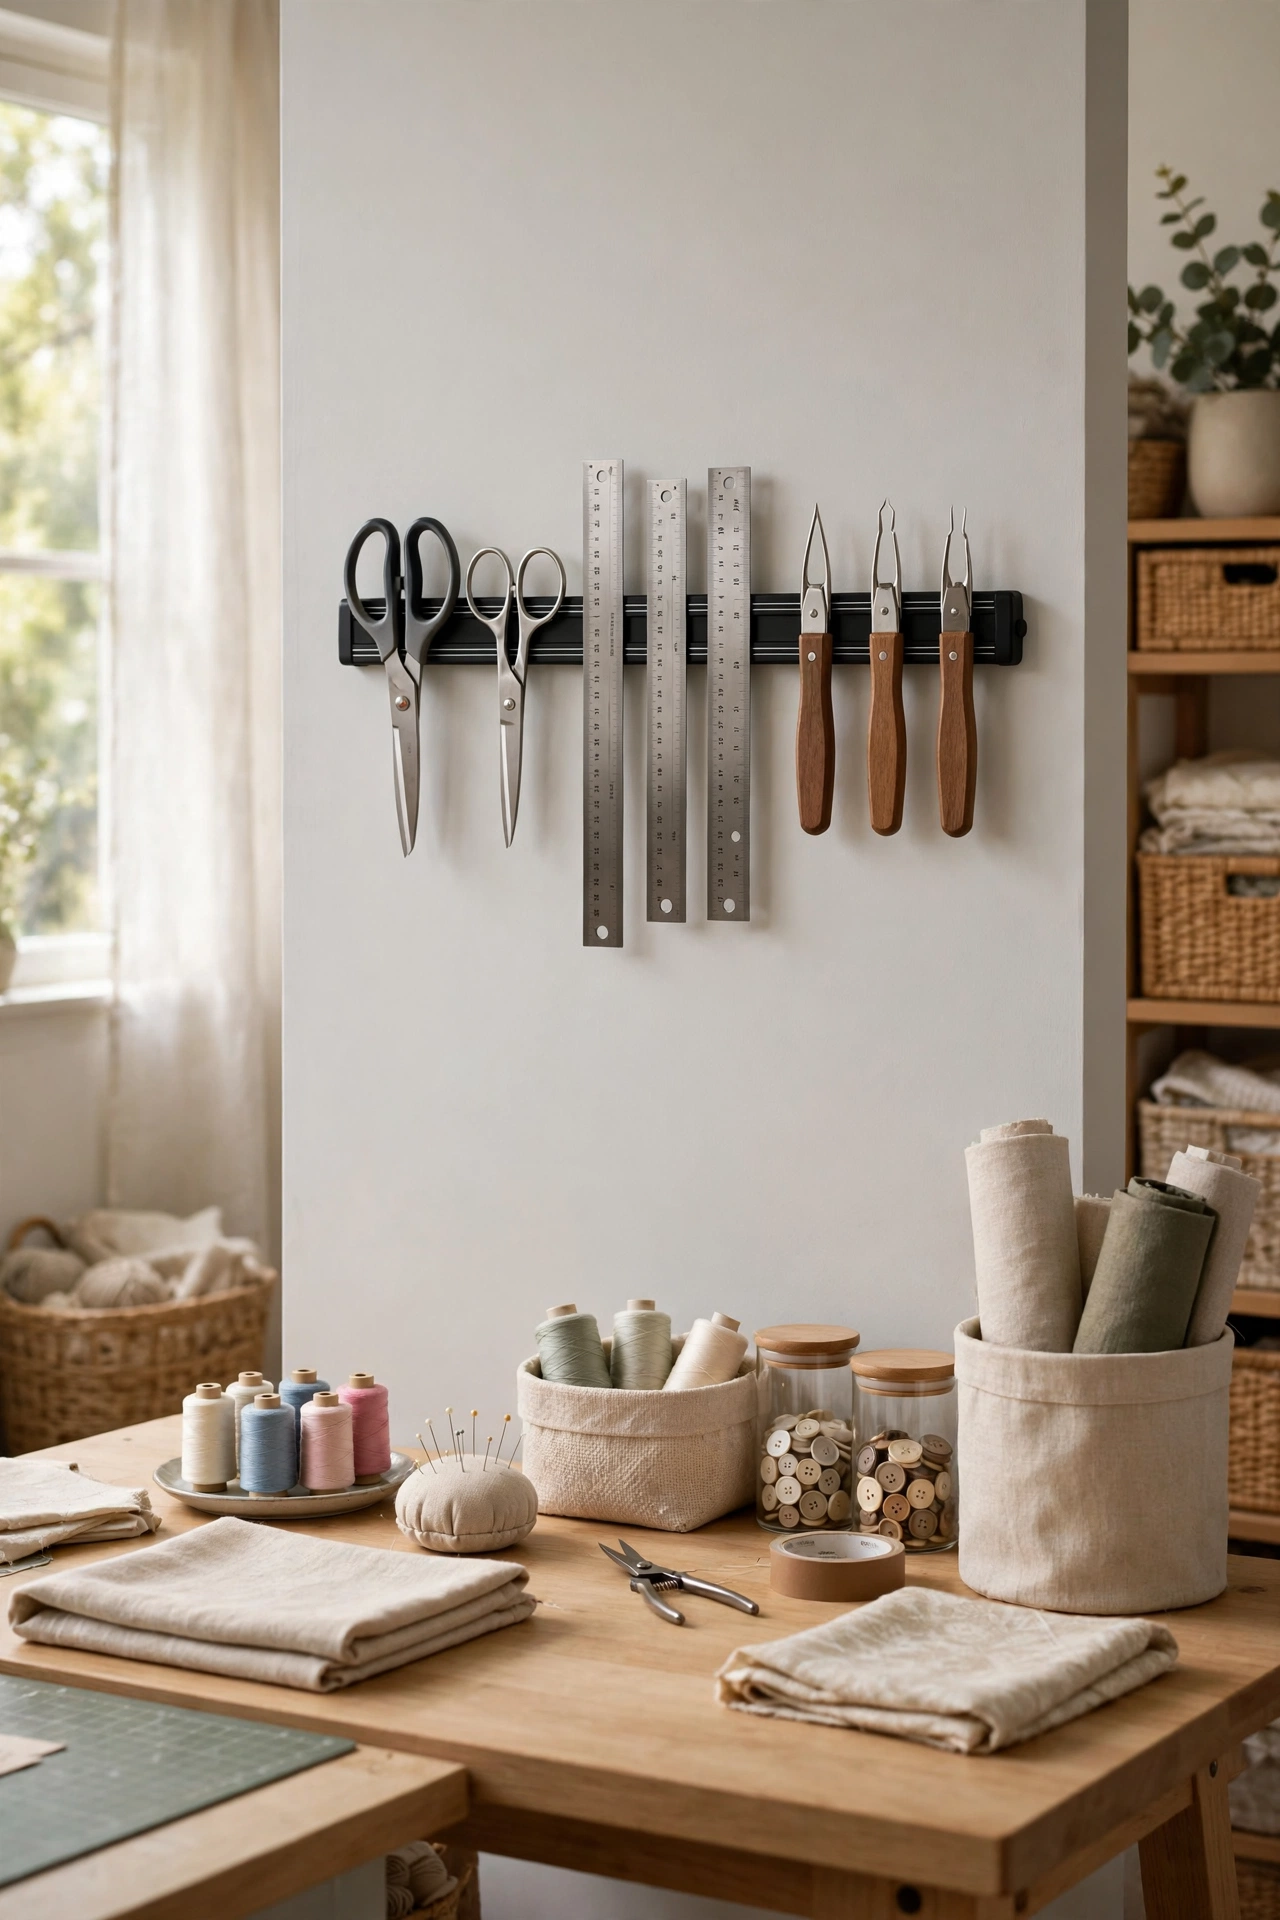
12. Magnetic Strip for Metal Tools
Metal tools have a habit of disappearing into drawers — scissors, rotary cutters, metal rulers, seam rippers, and craft knives all end up in one tangled pile. A magnetic knife strip mounted on the wall above your work table or beside your sewing machine holds them all in a neat, visible row. The tools are always within reach, always in the same place, and always safe, with blades facing the wall and handles ready to grab. Mount the strip at a height that keeps sharp edges well above the reach of small children, and keep it away from magnetic storage media and your phone. A second, shorter strip near the door makes a great home for keys, badge reels, and the small metal notions you grab on your way out. This trick costs less than a single good pair of scissors and saves you from buying replacements for tools you already own.
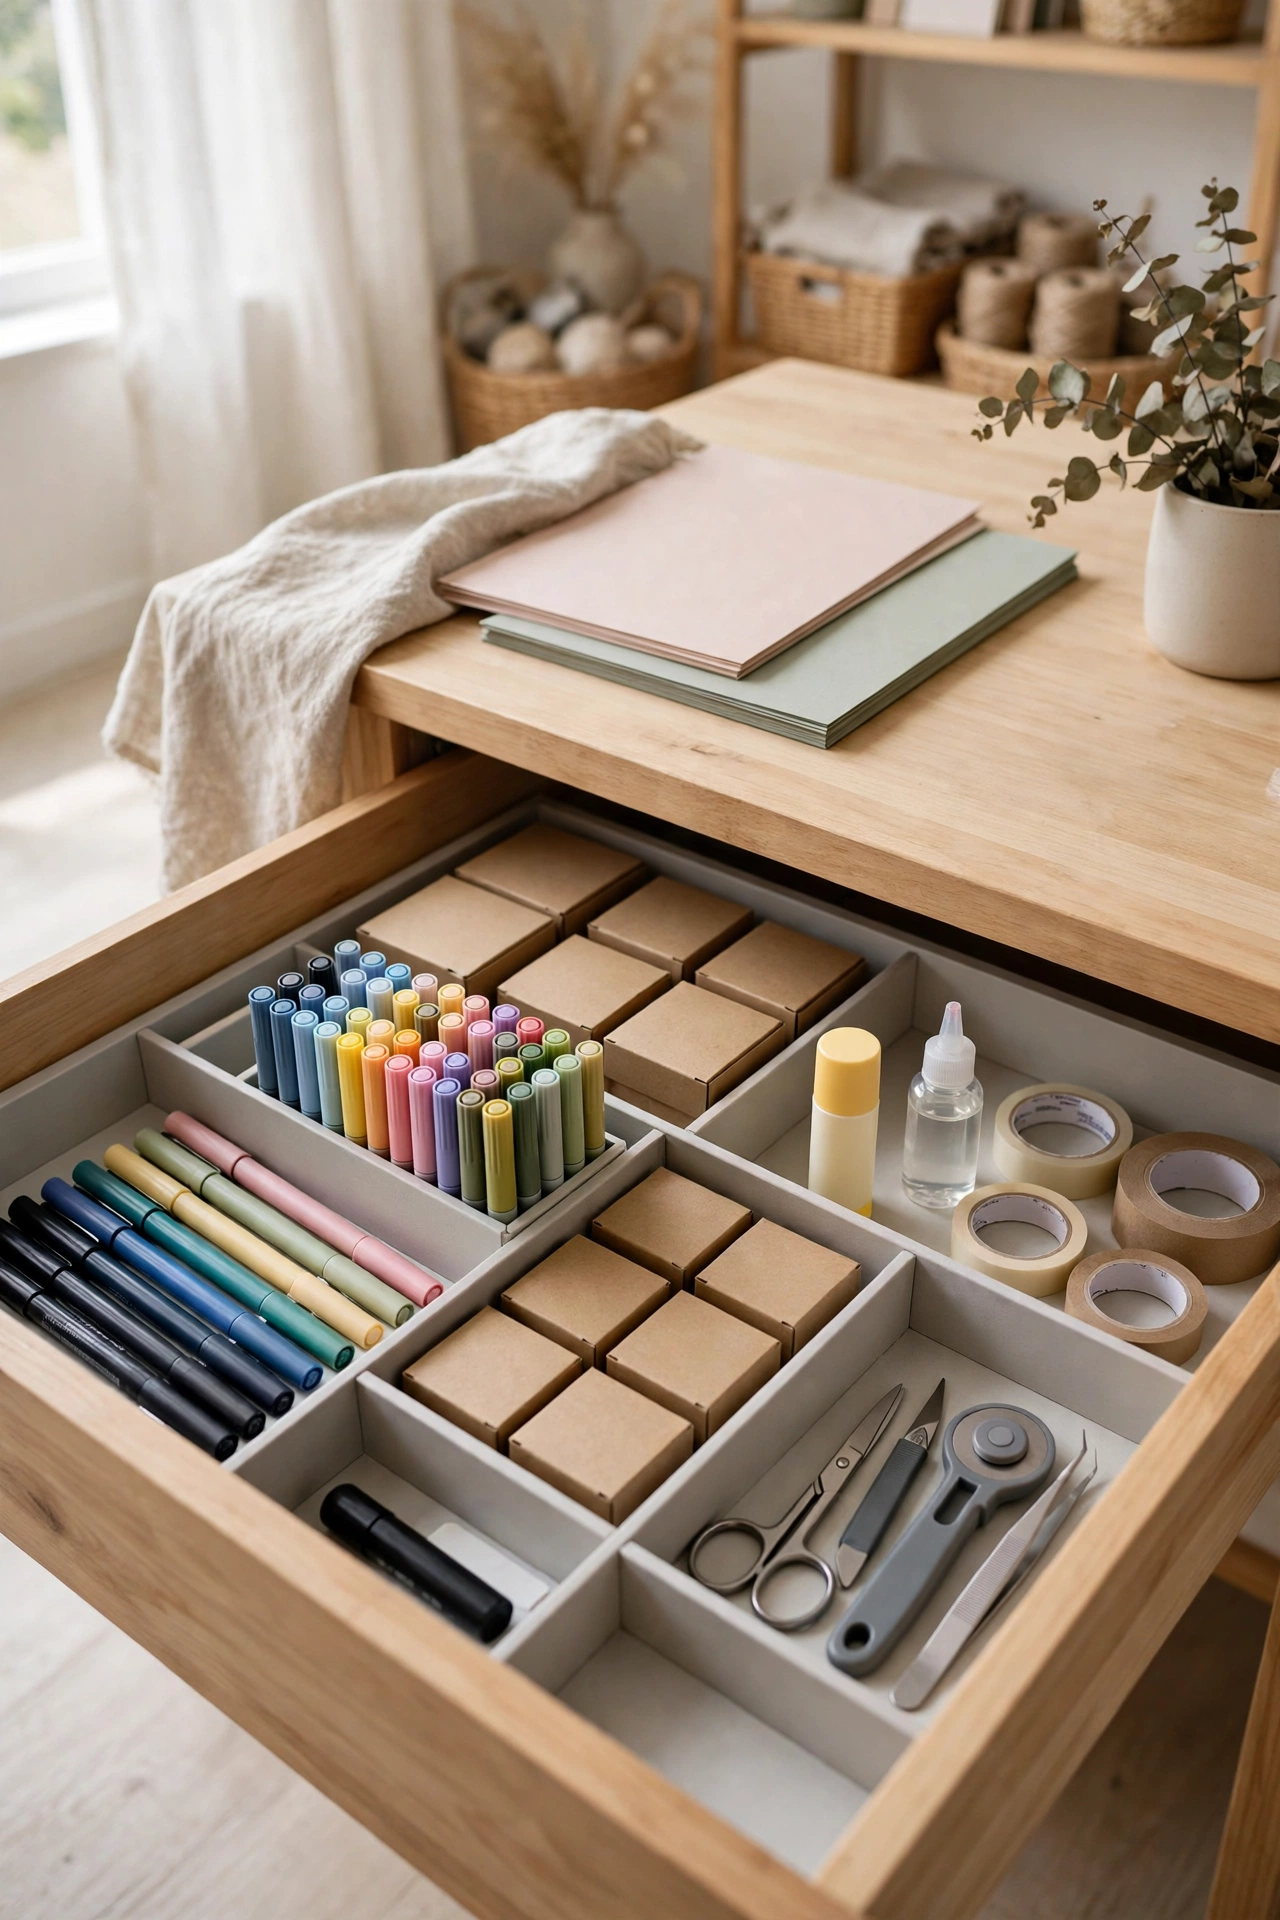
13. Drawer Divider System
An undivided drawer is where craft supplies go to disappear. A set of adjustable dividers, a divided utensil tray, or a handful of small boxes turns one deep drawer into a grid of labeled compartments: one for pens and markers, one for adhesives, one for cutting tools, one for small notions. The compartments force a decision about what belongs where, and they make it obvious when something is missing or has wandered into the wrong slot. Measure your drawers before buying anything — dividers that are too tall jam the drawer shut, and dividers that are too short let supplies slide underneath. For a budget version, cut down cereal boxes or small shipping boxes to fit, and cover them with wrapping paper or contact paper so they look intentional rather than improvised. A divided drawer is also the best home for the supplies you use at your desk but do not want on display.
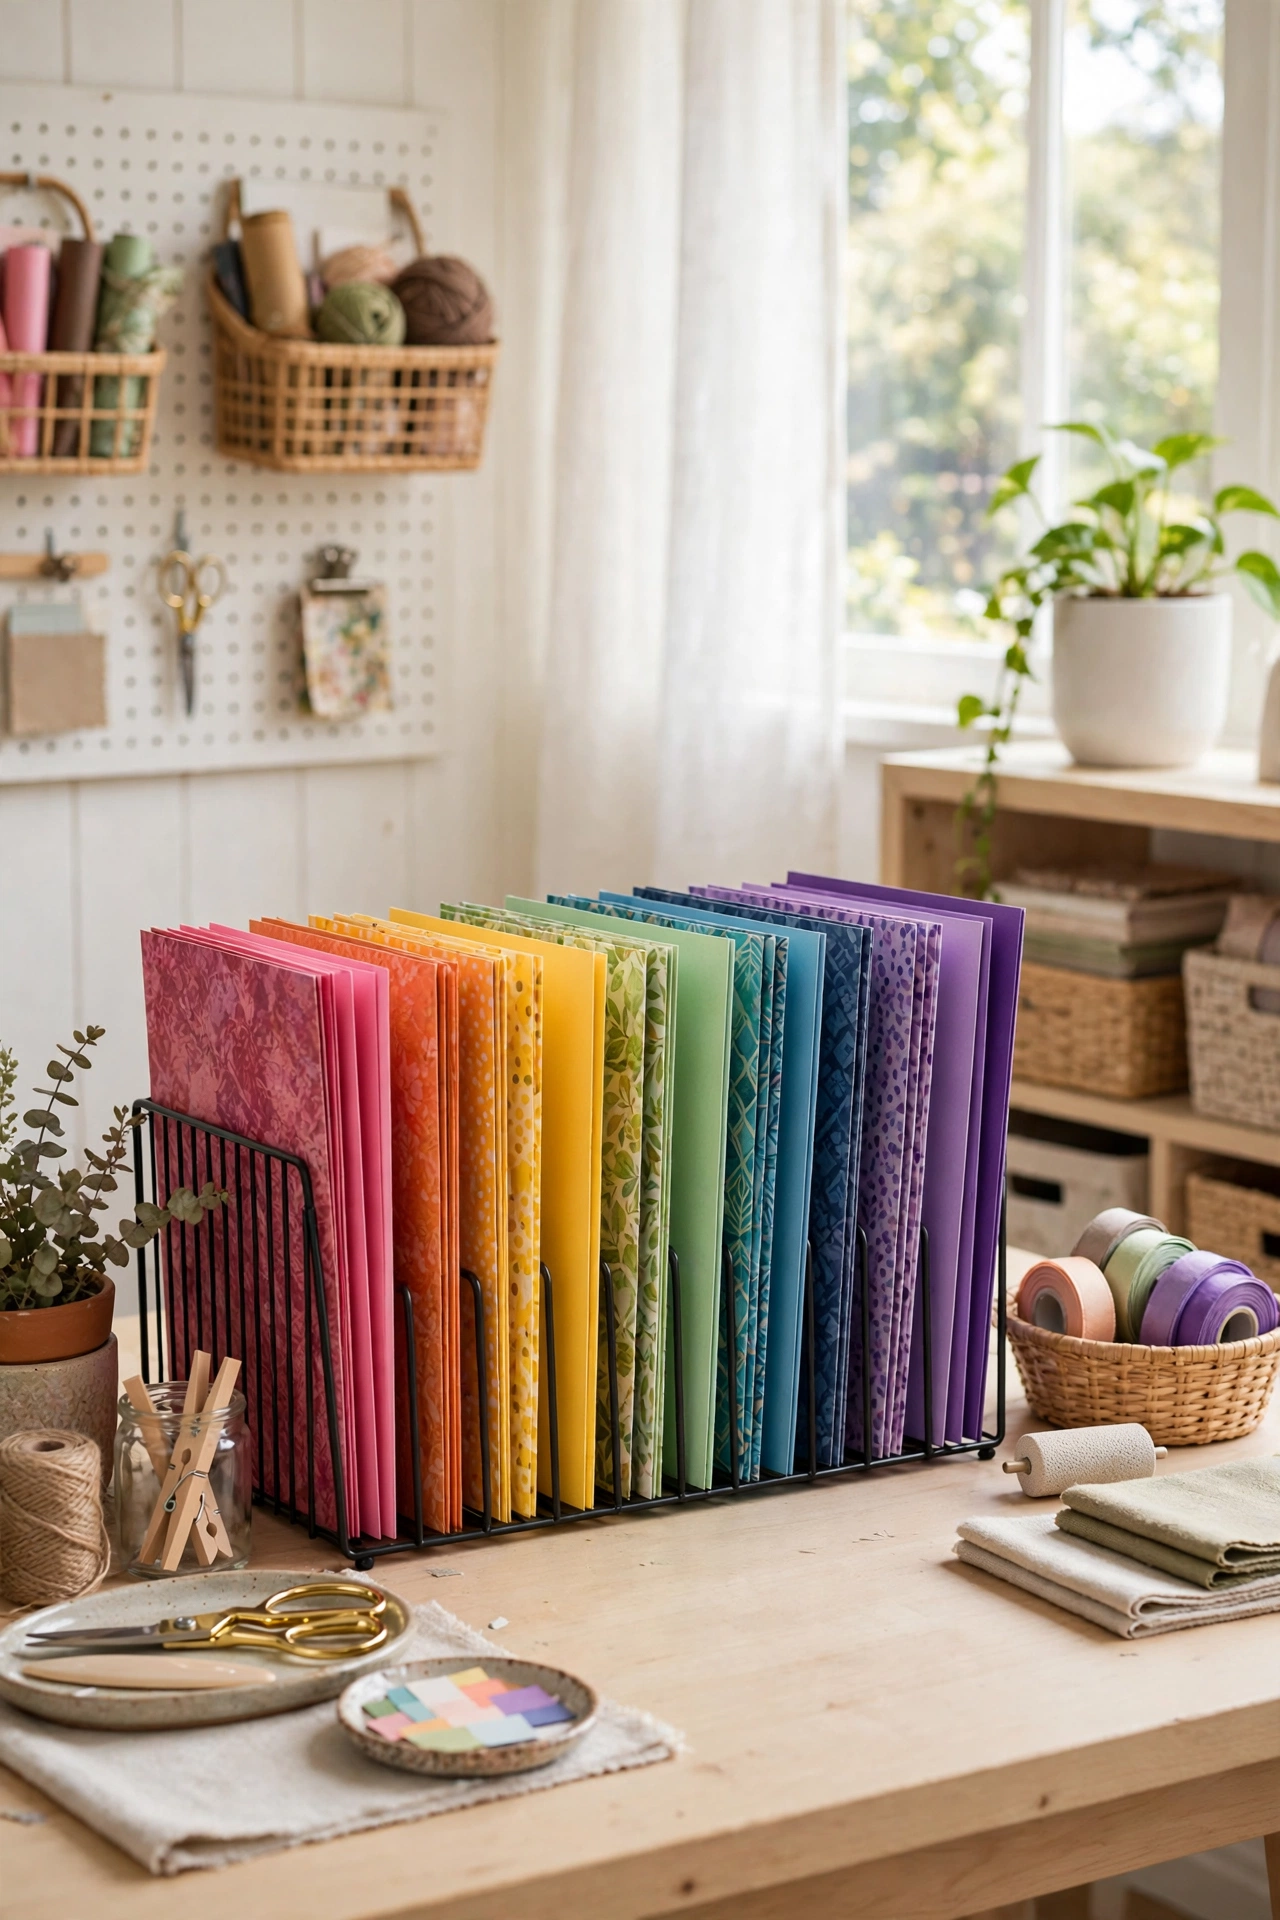
14. Vertical Cardstock File Sorter
Cardstock and patterned paper hate being stacked flat: the sheet you want is always at the bottom, and the stack slides every time you pull one out. Store paper vertically instead, in a file sorter, a magazine holder, or a set of upright dividers inside a cube. Sort by color family or by paper type — solids together, patterns together, specialty papers together — and label each divider so you can find a color in seconds. Vertical storage also protects paper from curling and creasing, because nothing heavy sits on top of it. A desktop sorter on your work table holds the ten or twelve colors you use most, while the full collection lives in a larger upright system on a shelf nearby. This one change alone can clear a whole shelf of leaning paper stacks.
15. Mason Jar Wall for Buttons and Beads
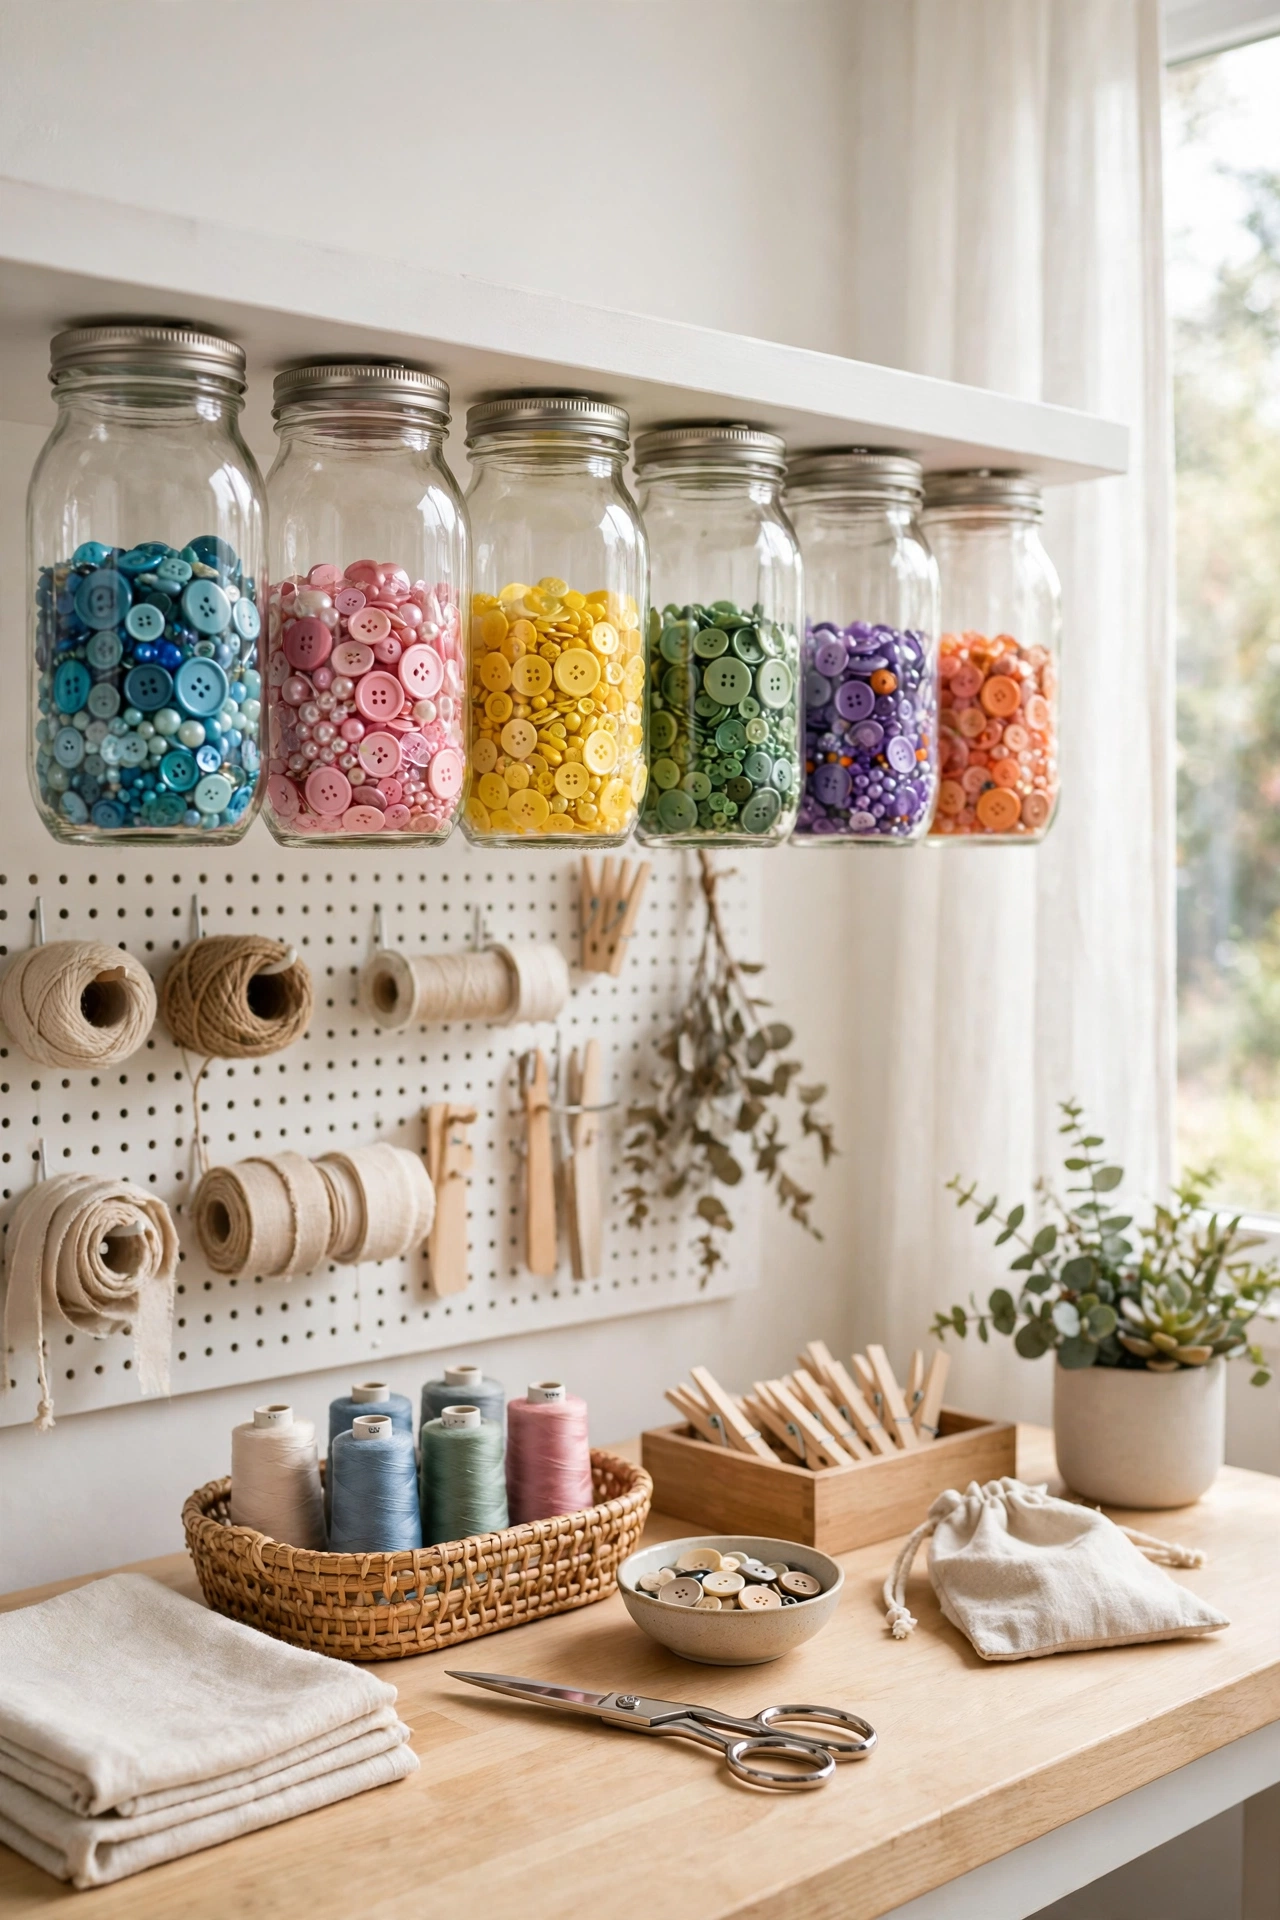
Buttons, beads, sequins, brads, and safety pins are the small loose items that defeat every drawer and bin. Mason jars solve the problem because you can see exactly what is inside without opening anything, and the contents stay contained instead of migrating across the room. Mount the jar lids under a shelf with screws, so the jars hang upside down and twist off with one hand, or line the jars up on a narrow shelf with a label on each lid. Sort by type first, then by color — a jar of red buttons is far more useful than a jar of mixed buttons. Keep the jars small; a quart jar of beads is heavy, hard to pour, and impossible to search. Pint jars and half-pints are the sweet spot. This is also a lovely way to display a collection: a wall of colorful jars looks like decor, not storage.
16. Rolling Drawer Pedestal Under the Desk
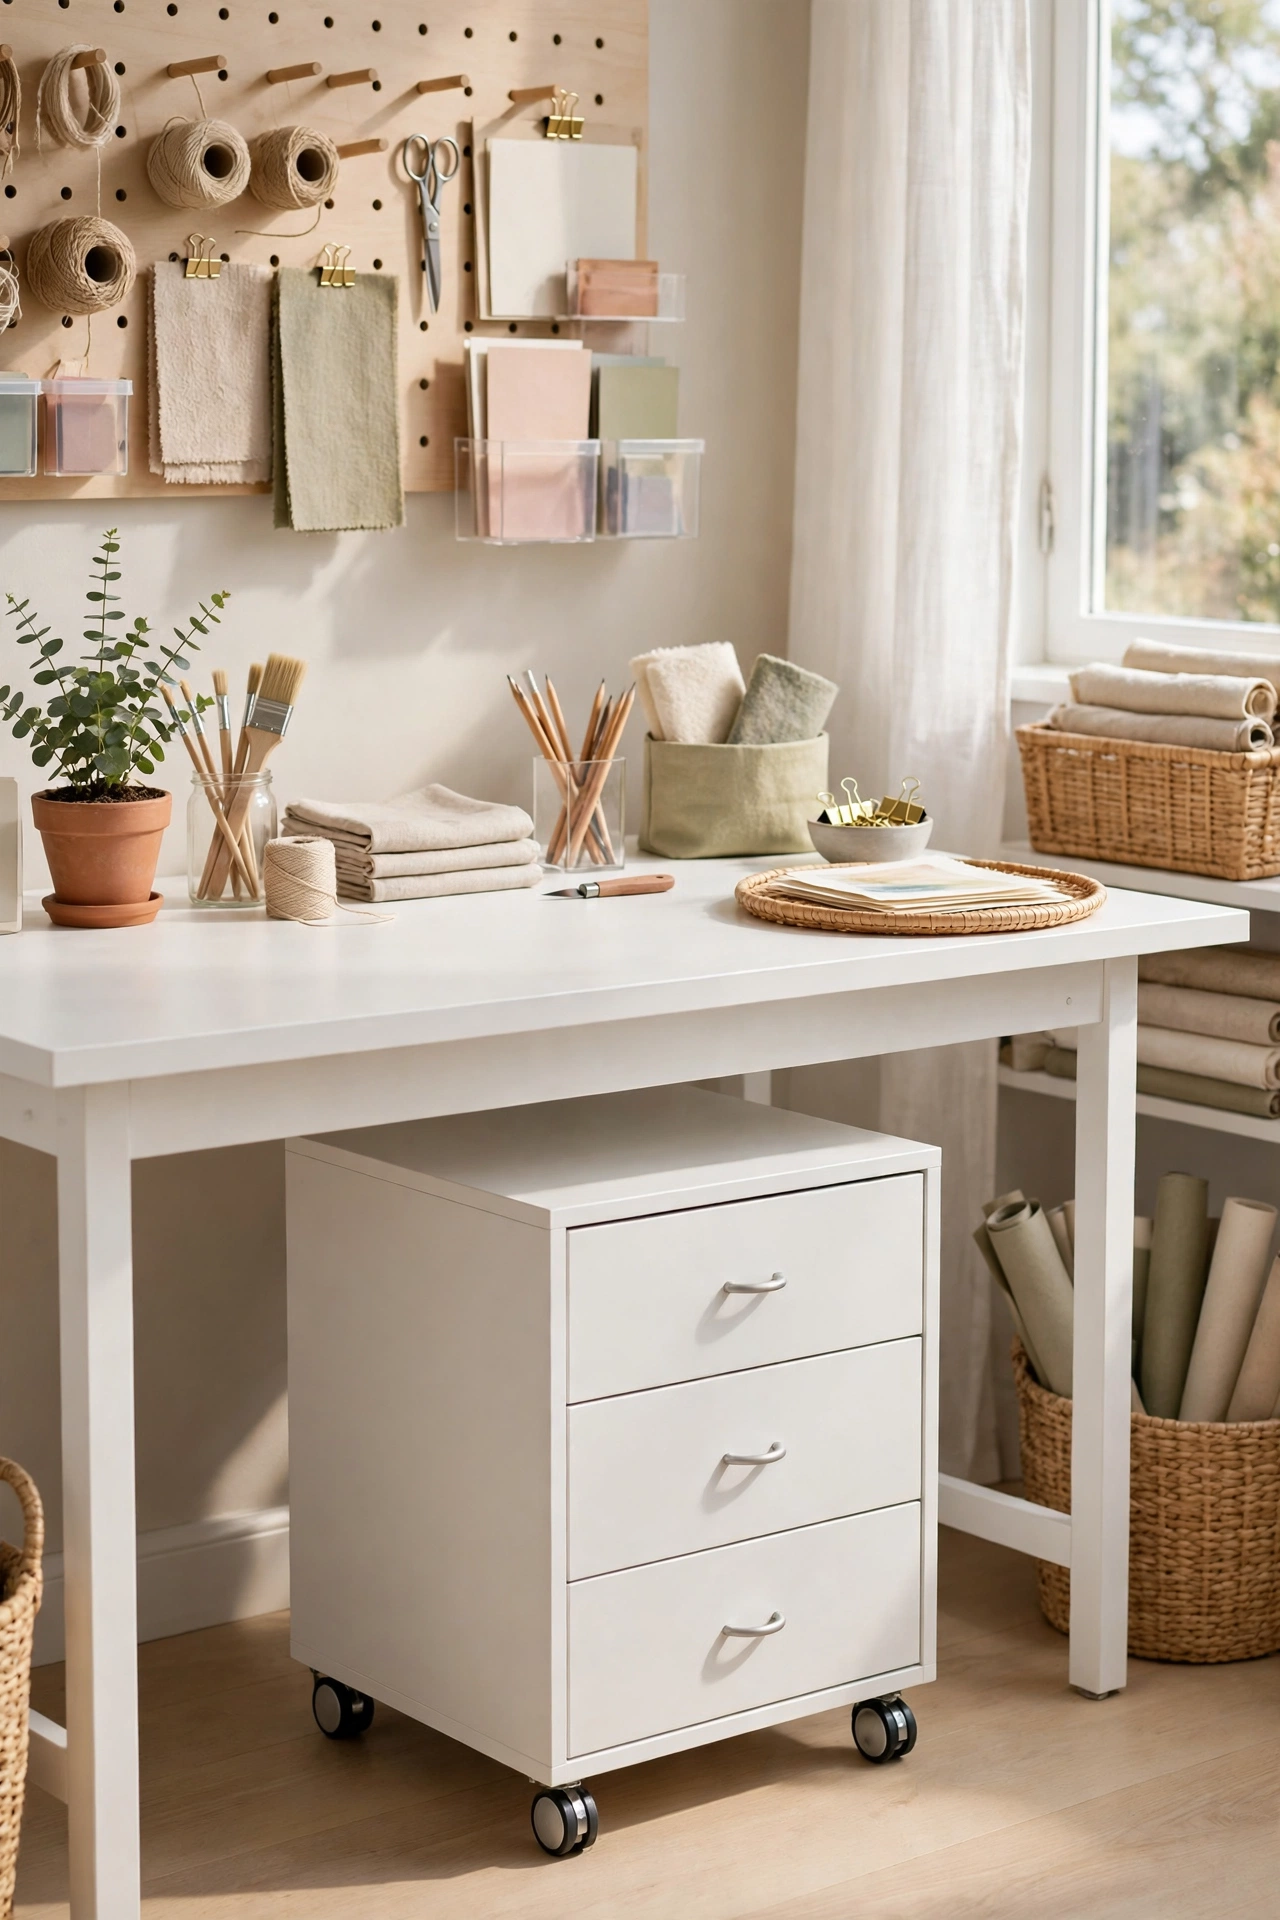
The space under your work table is prime storage real estate, and a rolling drawer pedestal claims it without taking up any wall or floor space you would miss. A three- or four-drawer unit on casters slides under the desk while you work and rolls out when you need something, so your most-used supplies live literally at your fingertips. Give each drawer a single job — top drawer for tools, second for adhesives and tapes, third for the current project’s supplies — and label the drawer fronts so you never have to open three drawers to find one thing. Choose a pedestal that fits your desk height with room to spare, and lock the casters while you work so it does not drift. This is the storage piece that makes a small craft room feel bigger, because it uses space that was already wasted.
17. Closet-to-Craft-Nook Conversion
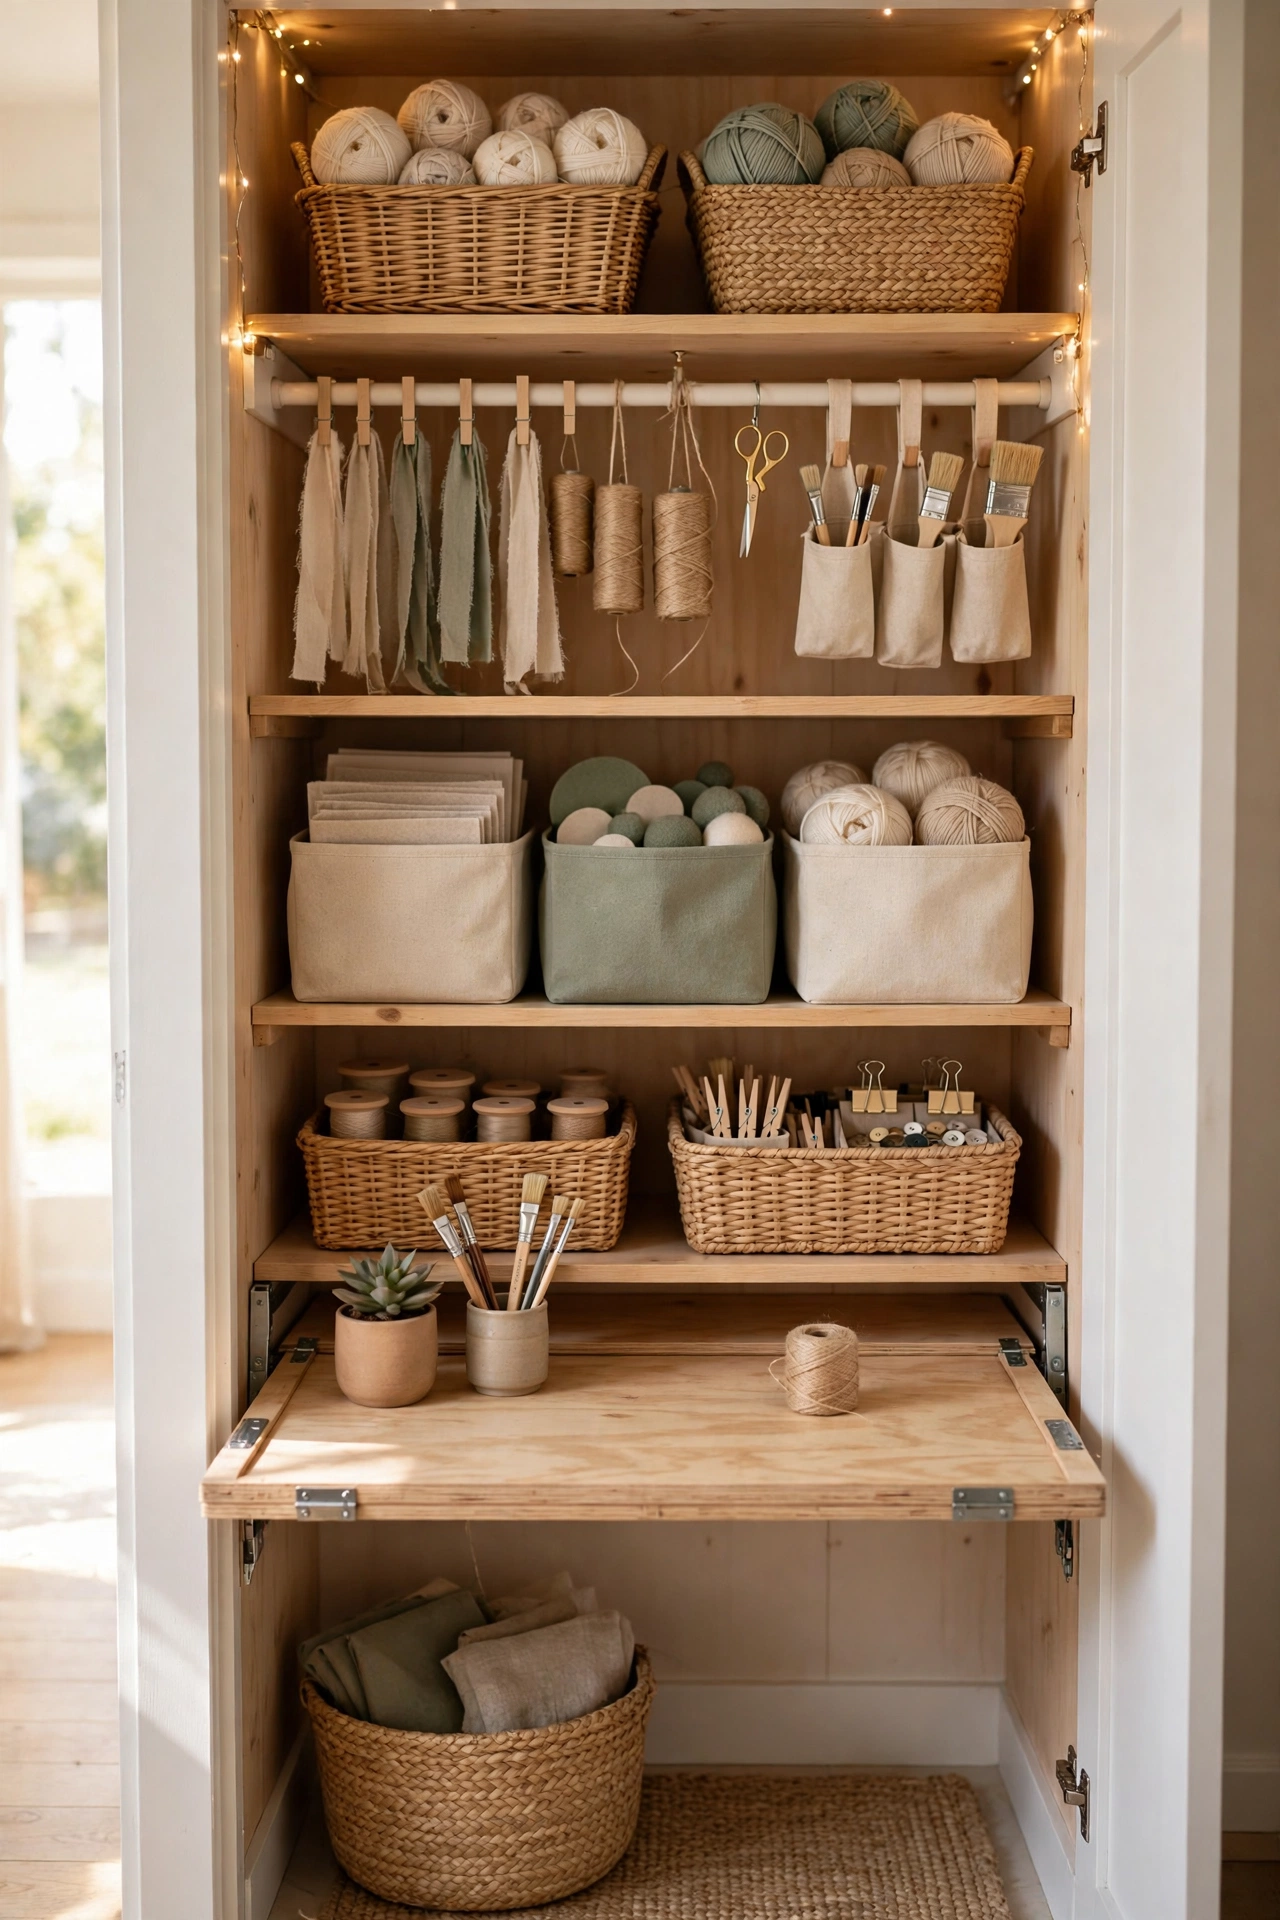
A spare closet is a ready-made craft room in miniature, and converting one costs far less than building new storage. Remove the doors or replace them with a curtain, then install a tension-mounted closet rod at mid-height: hang ribbon rolls, tool caddies, or project bags from it, put bins and baskets on the floor below, and add a single shelf above for rarely used items. A small work surface can fold down from the wall or slide out on brackets, giving you a table that disappears when the closet closes. Add battery-powered lights at the top, because closets are dark and good lighting is what makes a nook usable instead of frustrating. This is the best option for crafters in apartments or shared homes, where a dedicated room simply does not exist — the whole craft station closes behind a curtain at the end of the day.
18. Gift Wrap and Vinyl Roll Holders
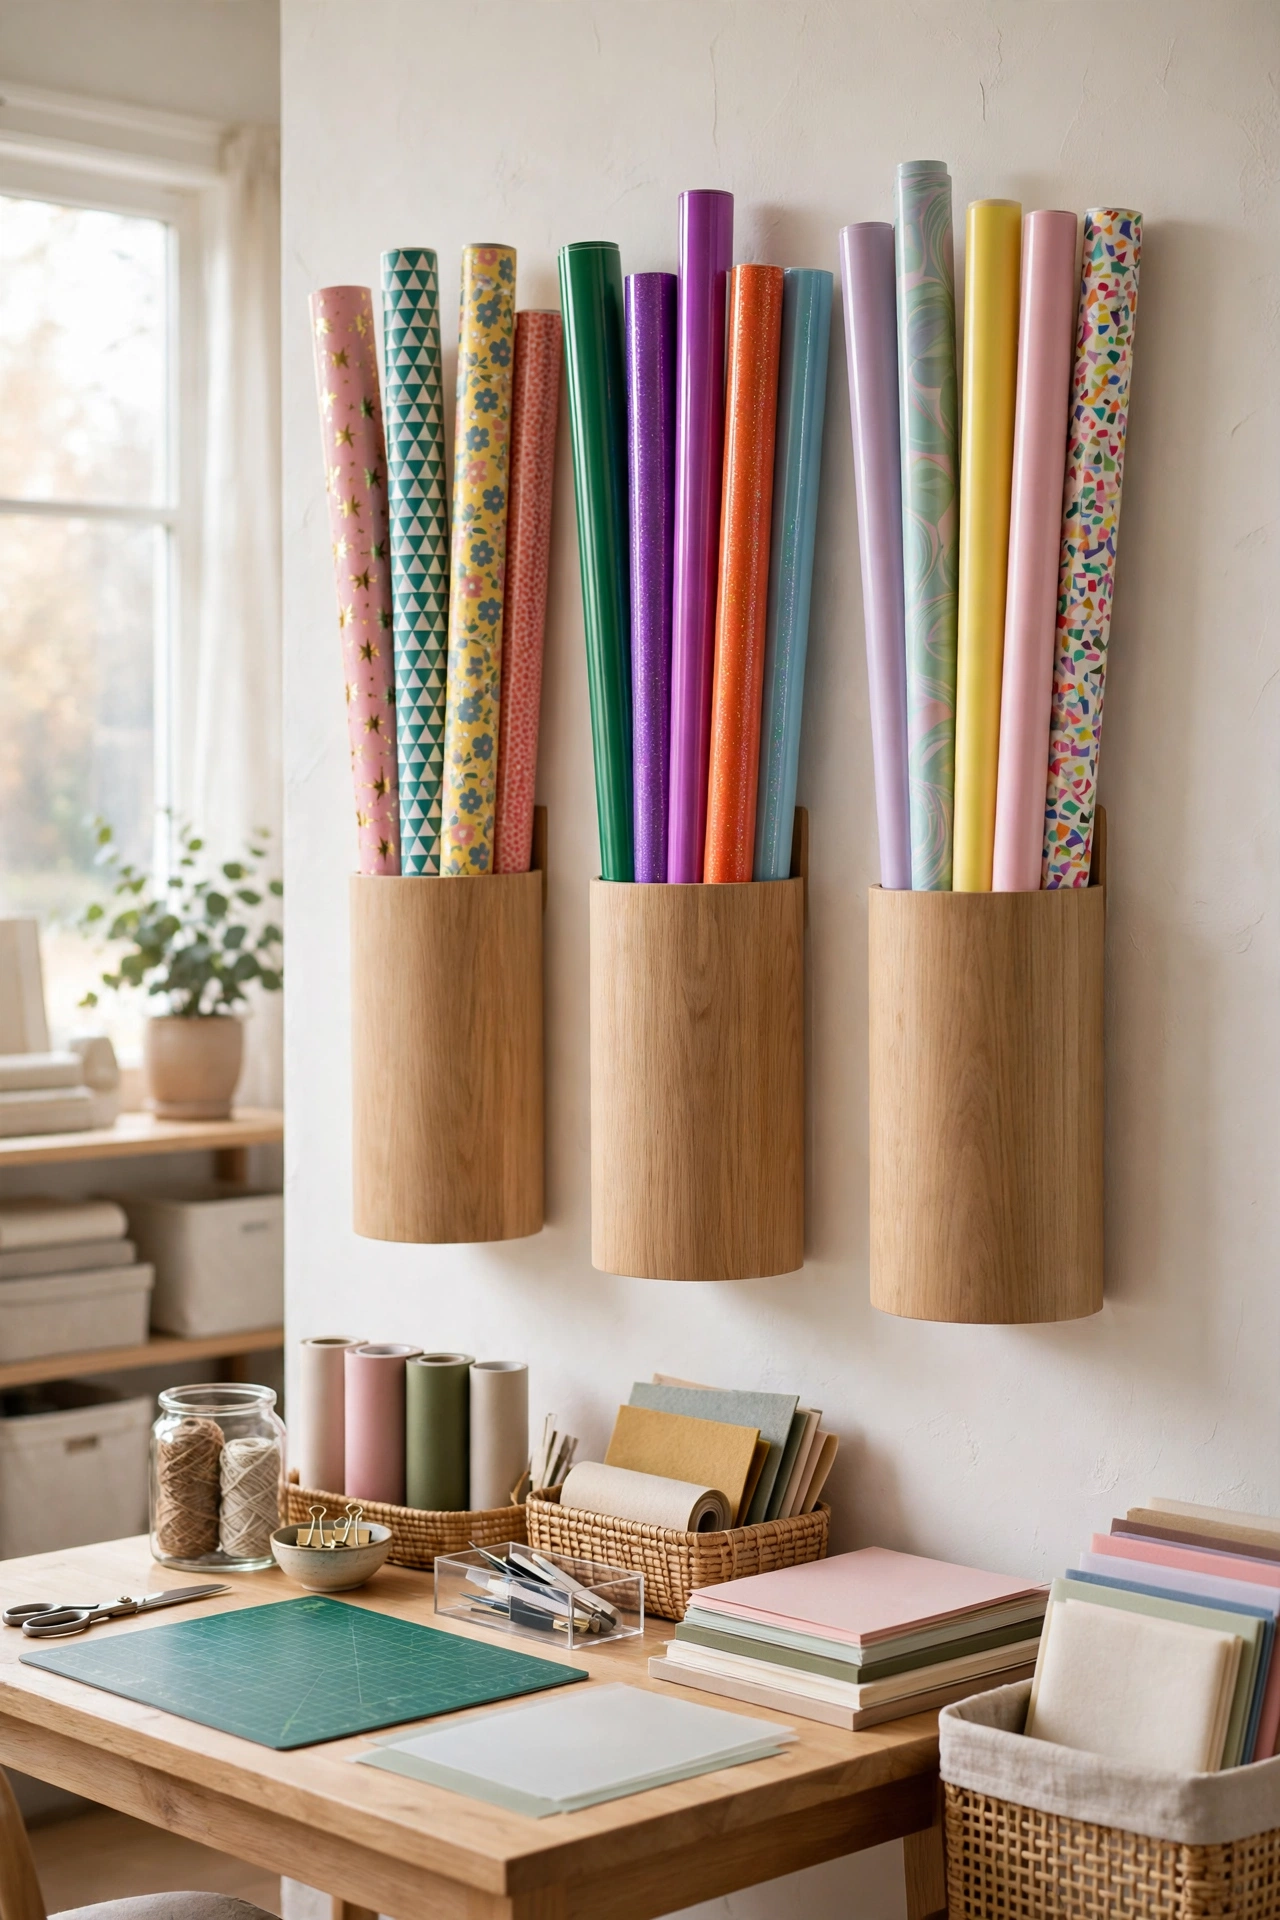
Long rolls — gift wrap, craft vinyl, contact paper, and butcher paper — are awkward in every storage system because they do not fit on shelves and they roll away on tables. Wall-mount a set of tall cylindrical bag holders, the kind sold for stuffing carrier bags into, and slide one roll into each holder. The rolls stand upright, stay visible, and pull out without unrolling the whole tube. For a larger collection, mount a horizontal dowel rack or a set of wall brackets at waist height, and sort the rolls by material or color. Keep the holders near the door or the wrapping station rather than buried in a closet, because rolls you cannot see are rolls you forget to use. This trick works for rolls of all sizes, from narrow vinyl to full-width wrapping paper.
19. Lazy Susan Paint Station
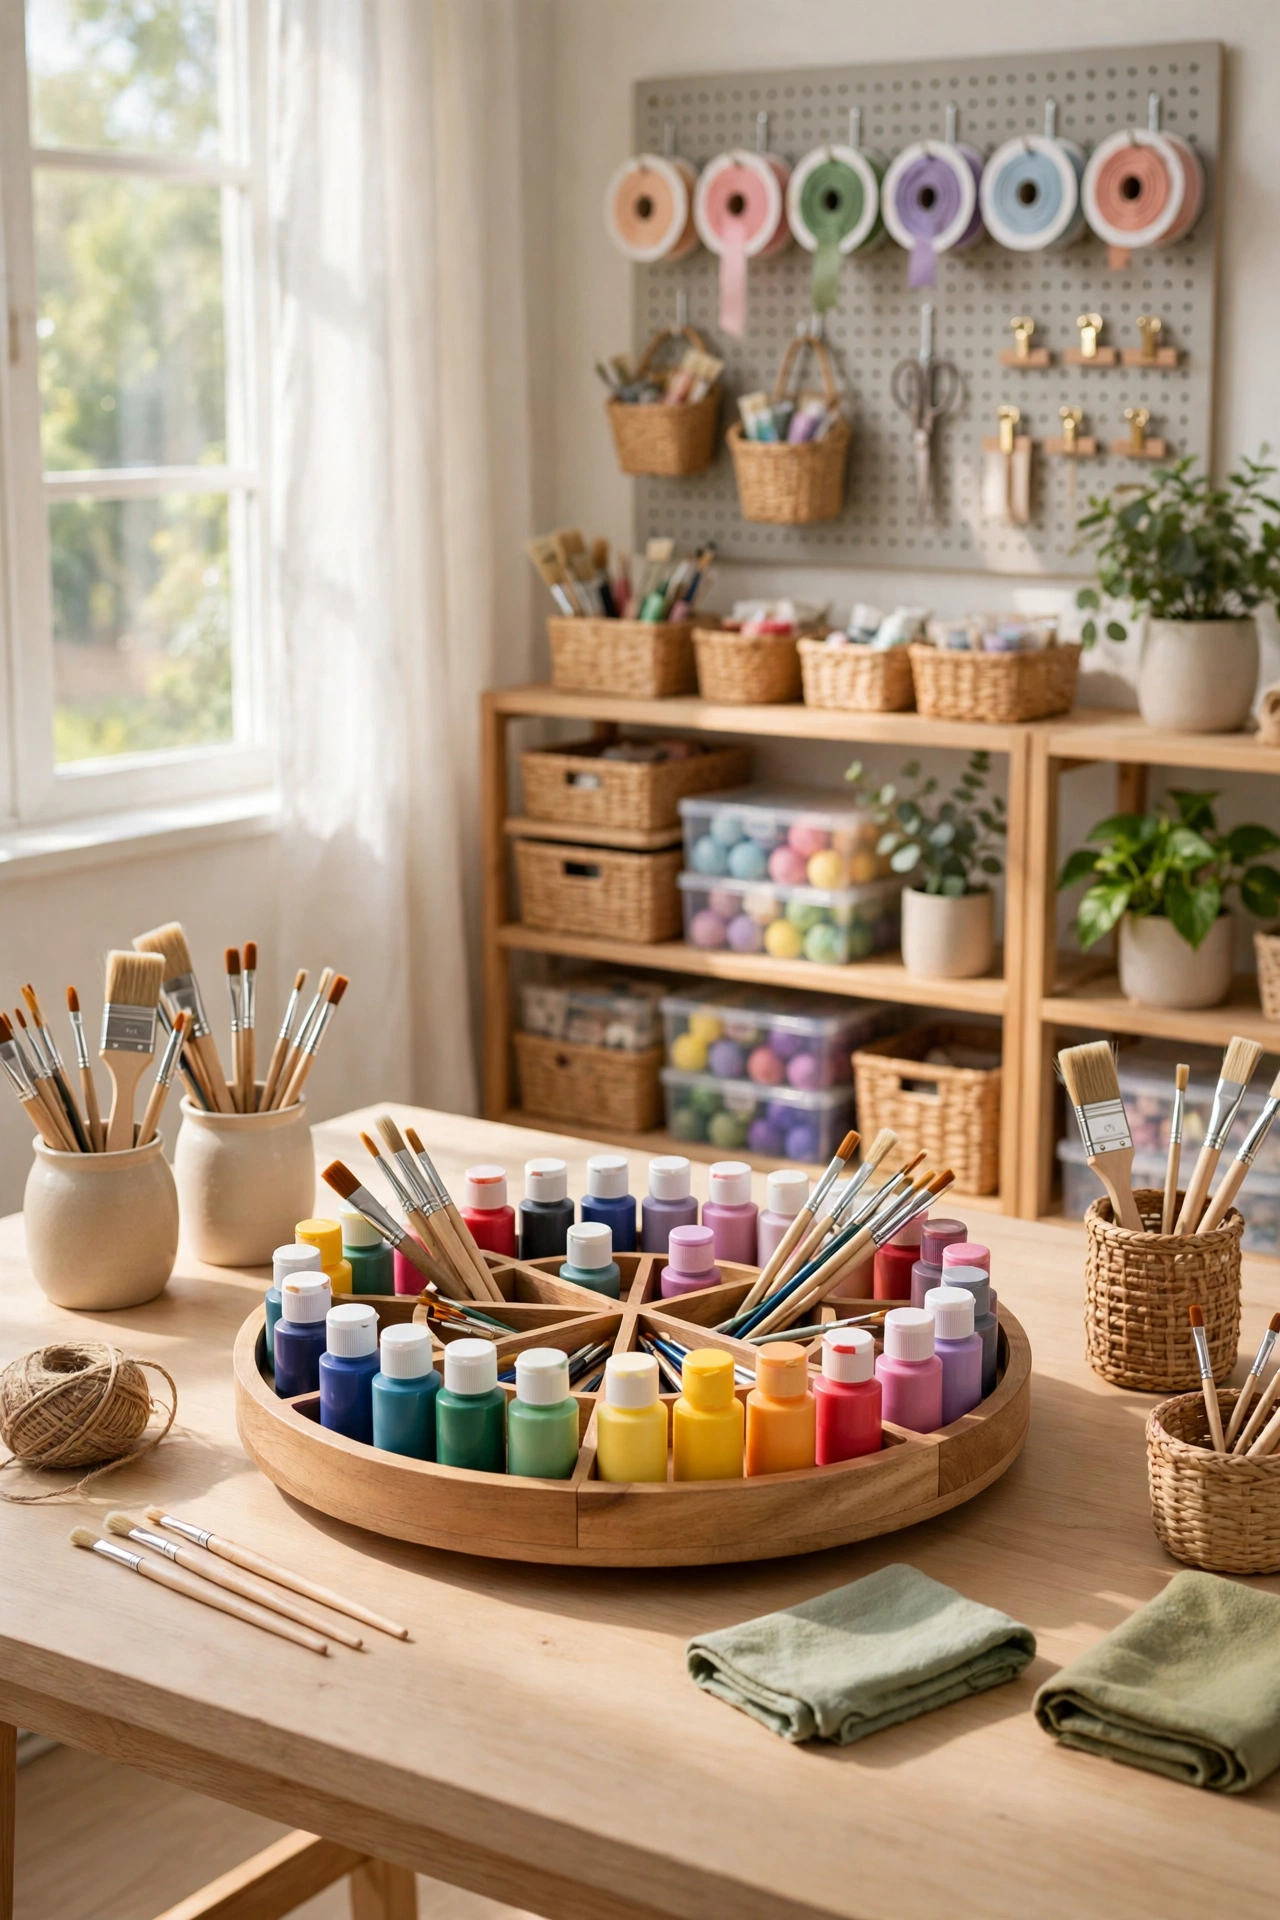
A spinning kitchen organizer — a lazy Susan — is one of the best paint stations you can buy for the price of a takeout lunch. Set it on your work table or inside a cabinet, load it with the paint bottles, brushes, and mediums for your current project, and spin it to reach anything without standing up or knocking over a row of bottles. The round shape fits neatly into a corner that would otherwise be dead space, and the raised rim keeps bottles from sliding off when the tray turns. Keep one lazy Susan for paints, and a second, smaller one for adhesives, glues, and sealers if your collection warrants it. When the project is done, lift the whole tray off the table and store it on a shelf, project and all, so your table is clear for whatever comes next.
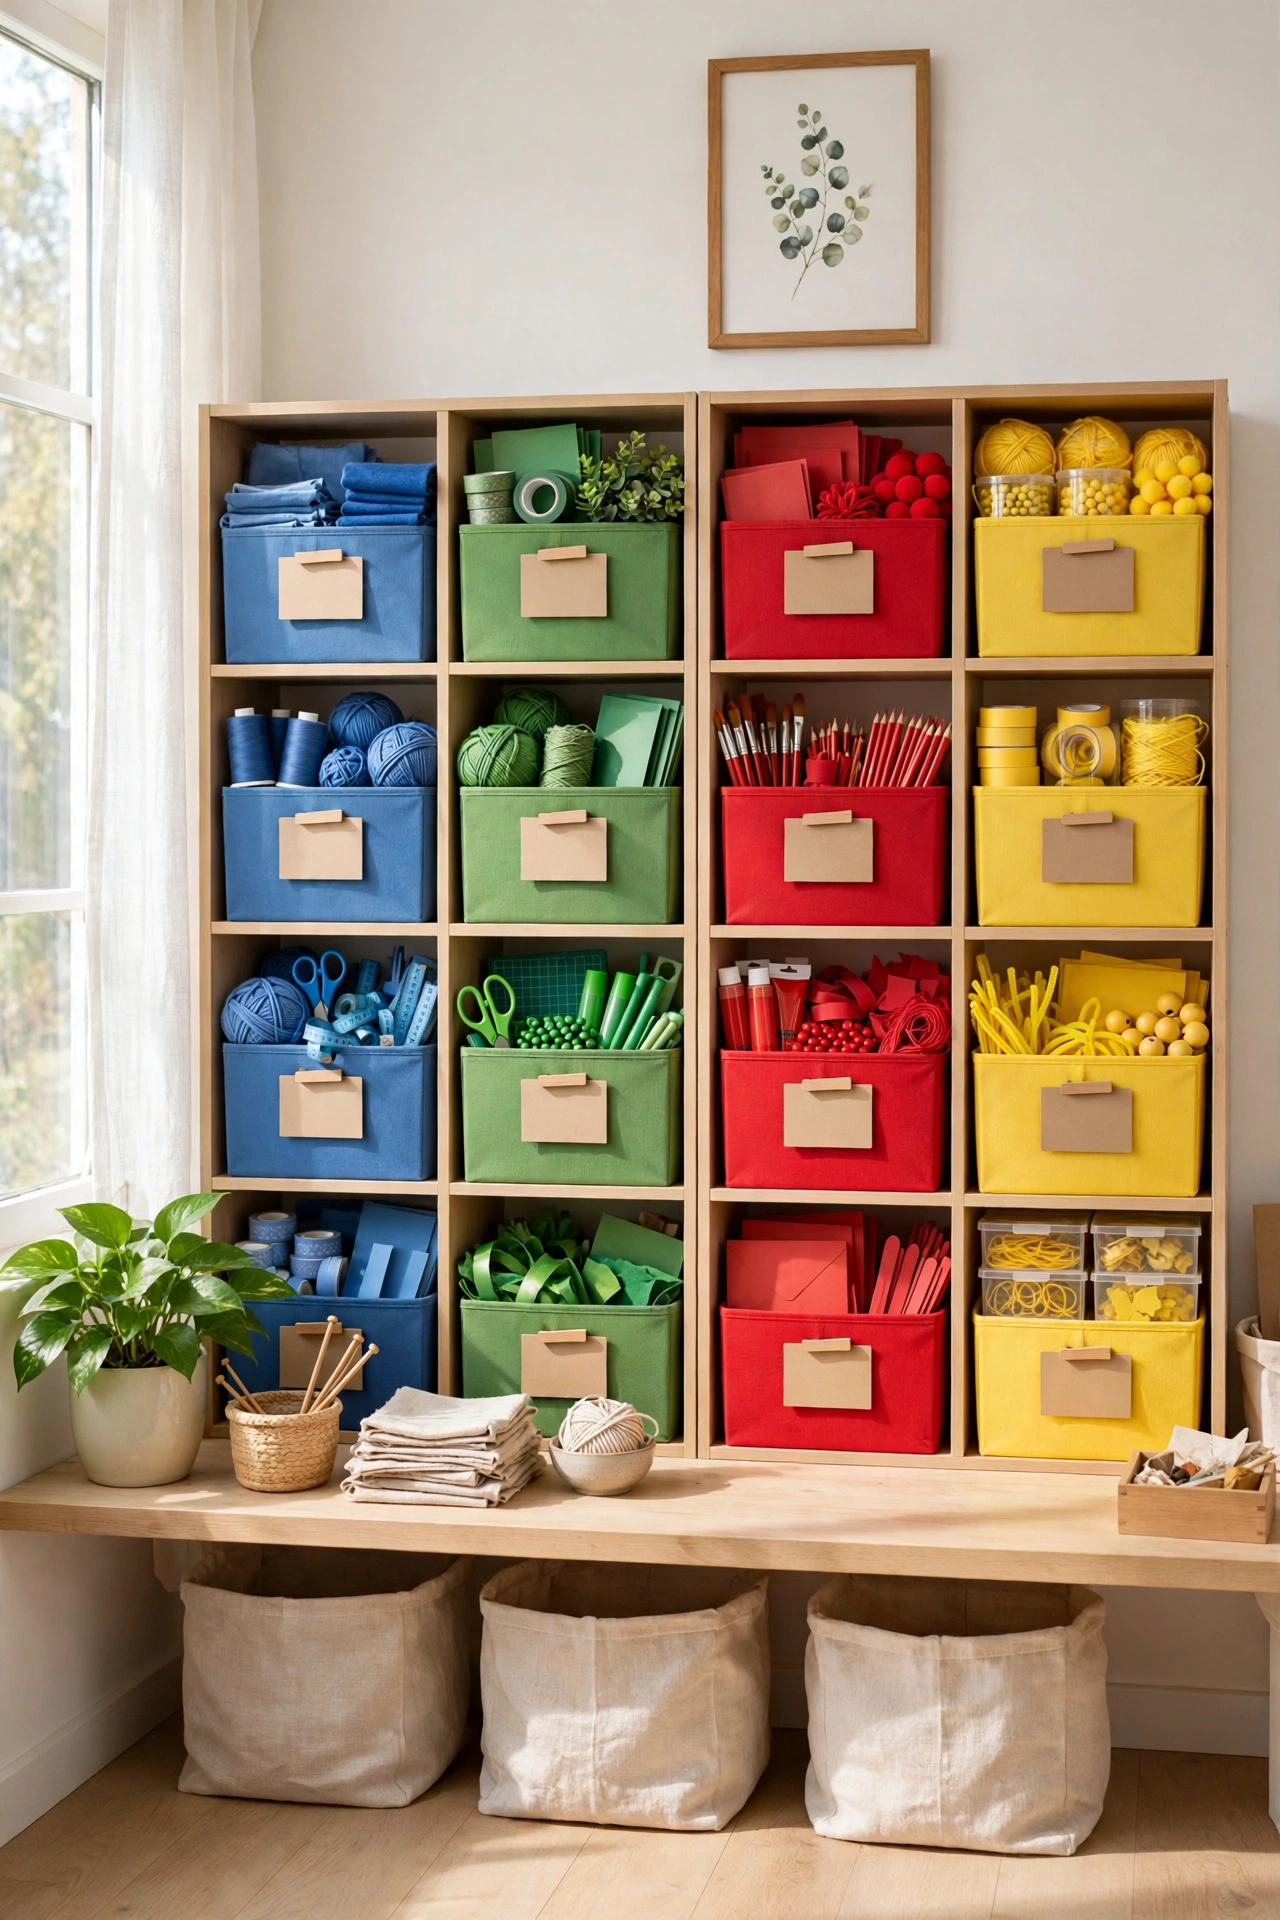
20. Color-Coded Bin System by Craft Type
When a craft room serves more than one hobby, sorting by craft type beats sorting by container type every time. Give each craft its own color: blue bins for sewing, green for paper crafts, red for painting, yellow for jewelry-making, and so on. The color becomes a shortcut your brain reads instantly — you stop reading labels and start grabbing the right bin on sight. Apply the color code everywhere: bins, labels, shelf edges, and even the project totes that leave the room. The system works because it is forgiving: a misplaced item still lands in a bin of the right color family, and a quick sort at the end of a session puts everything back. If you share the room with kids, let them pick their own color — they will actually put things away when the system feels like theirs.
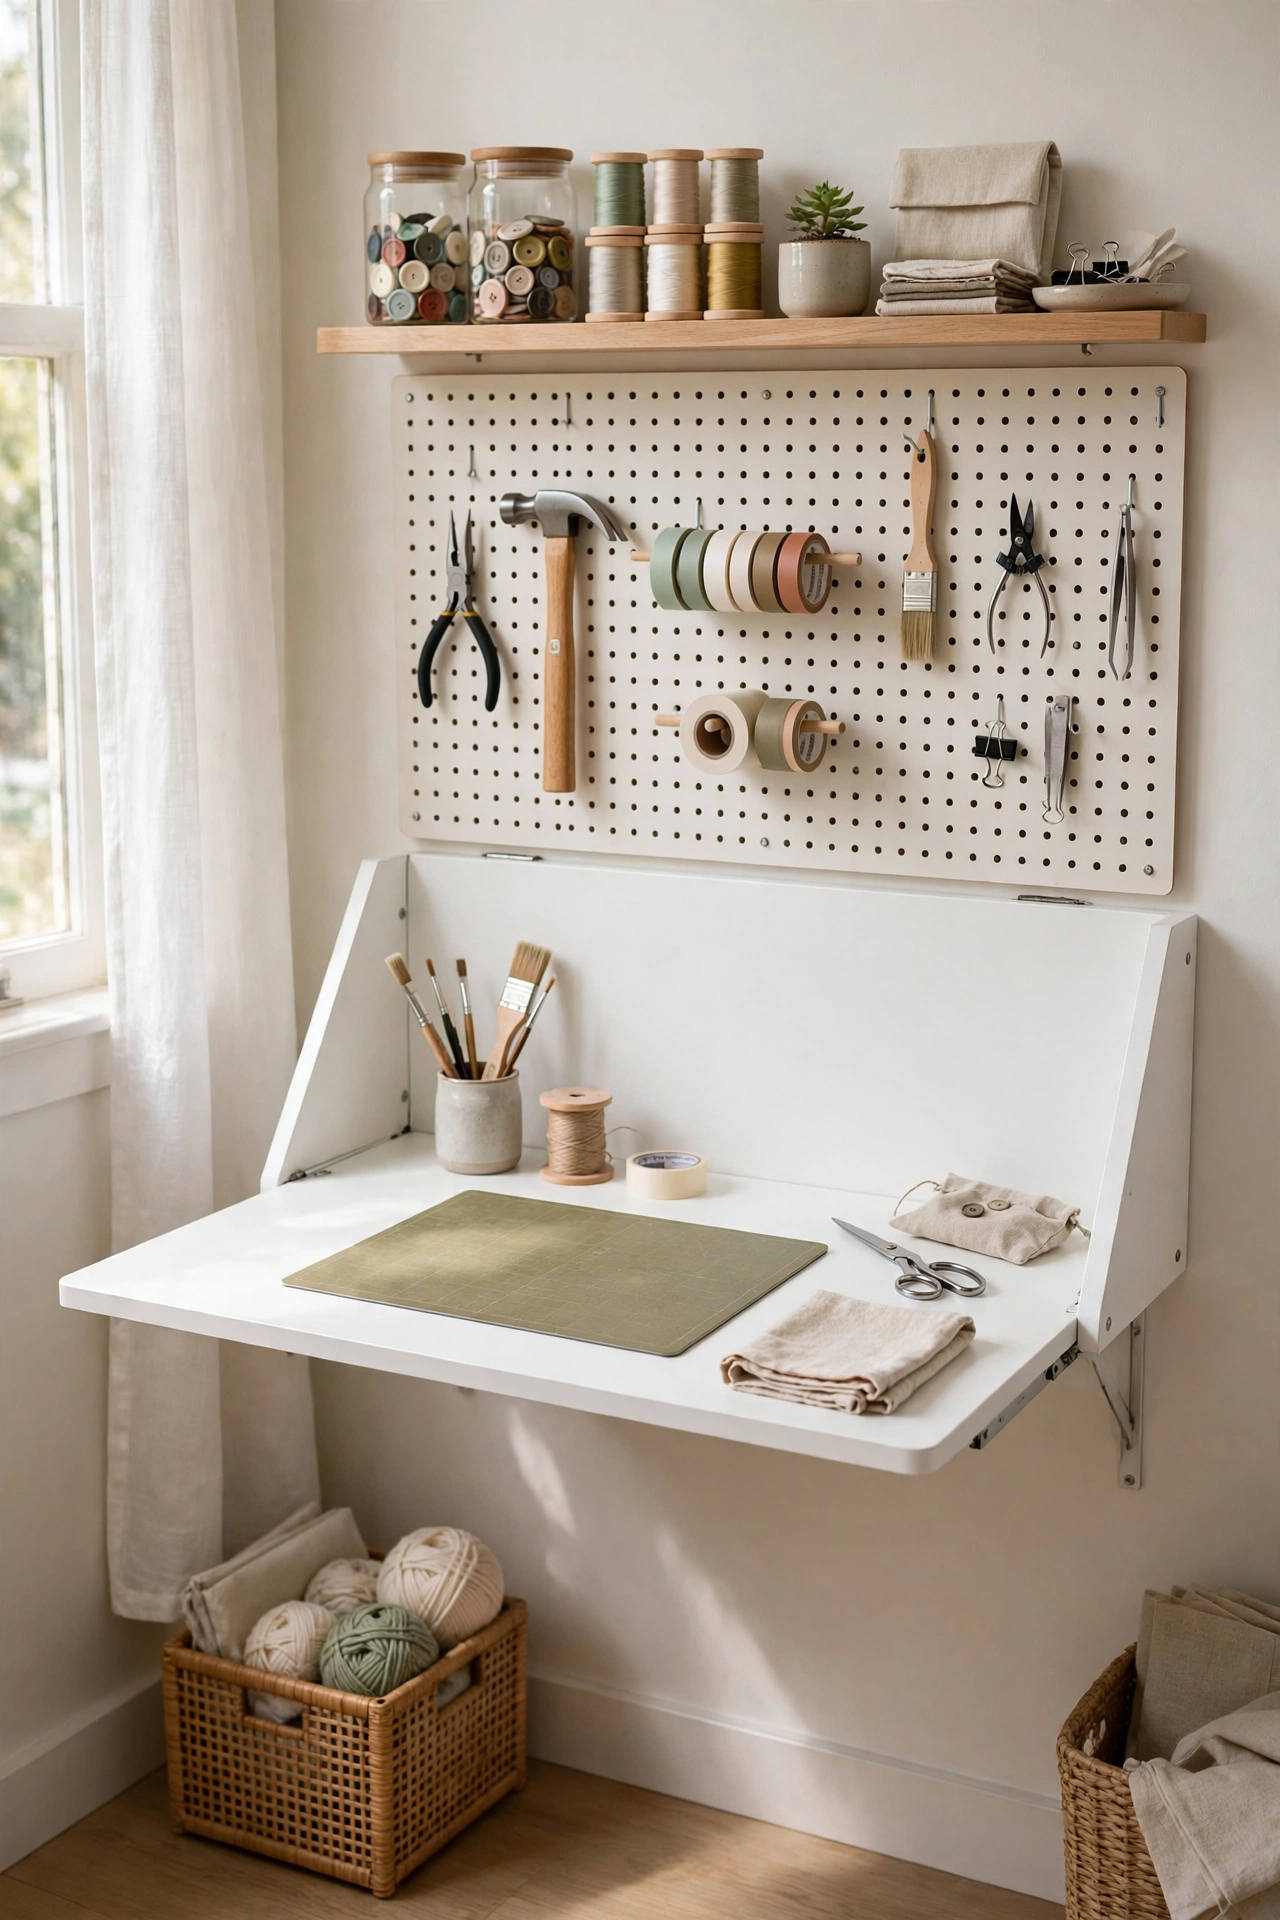
21. Fold-Down Wall Desk with Storage
A fold-down wall desk gives you a full work surface that disappears when you are done, and the wall space around it doubles as storage. Mount the desk at a comfortable working height, then fill the wall above it with a pegboard, a shallow shelf, and a magnetic strip, so every tool lives within arm’s reach of the folded-down surface. When the desk is up, the room gains back its floor space entirely — perfect for small rooms, guest rooms, and shared spaces. Add a small wall-mounted file or bin beside the desk for the project in progress, so closing the desk does not mean unpacking everything first. Choose sturdy folding brackets rated for more than the weight you plan to put on the desk, and test the fold mechanism before you load it with supplies.
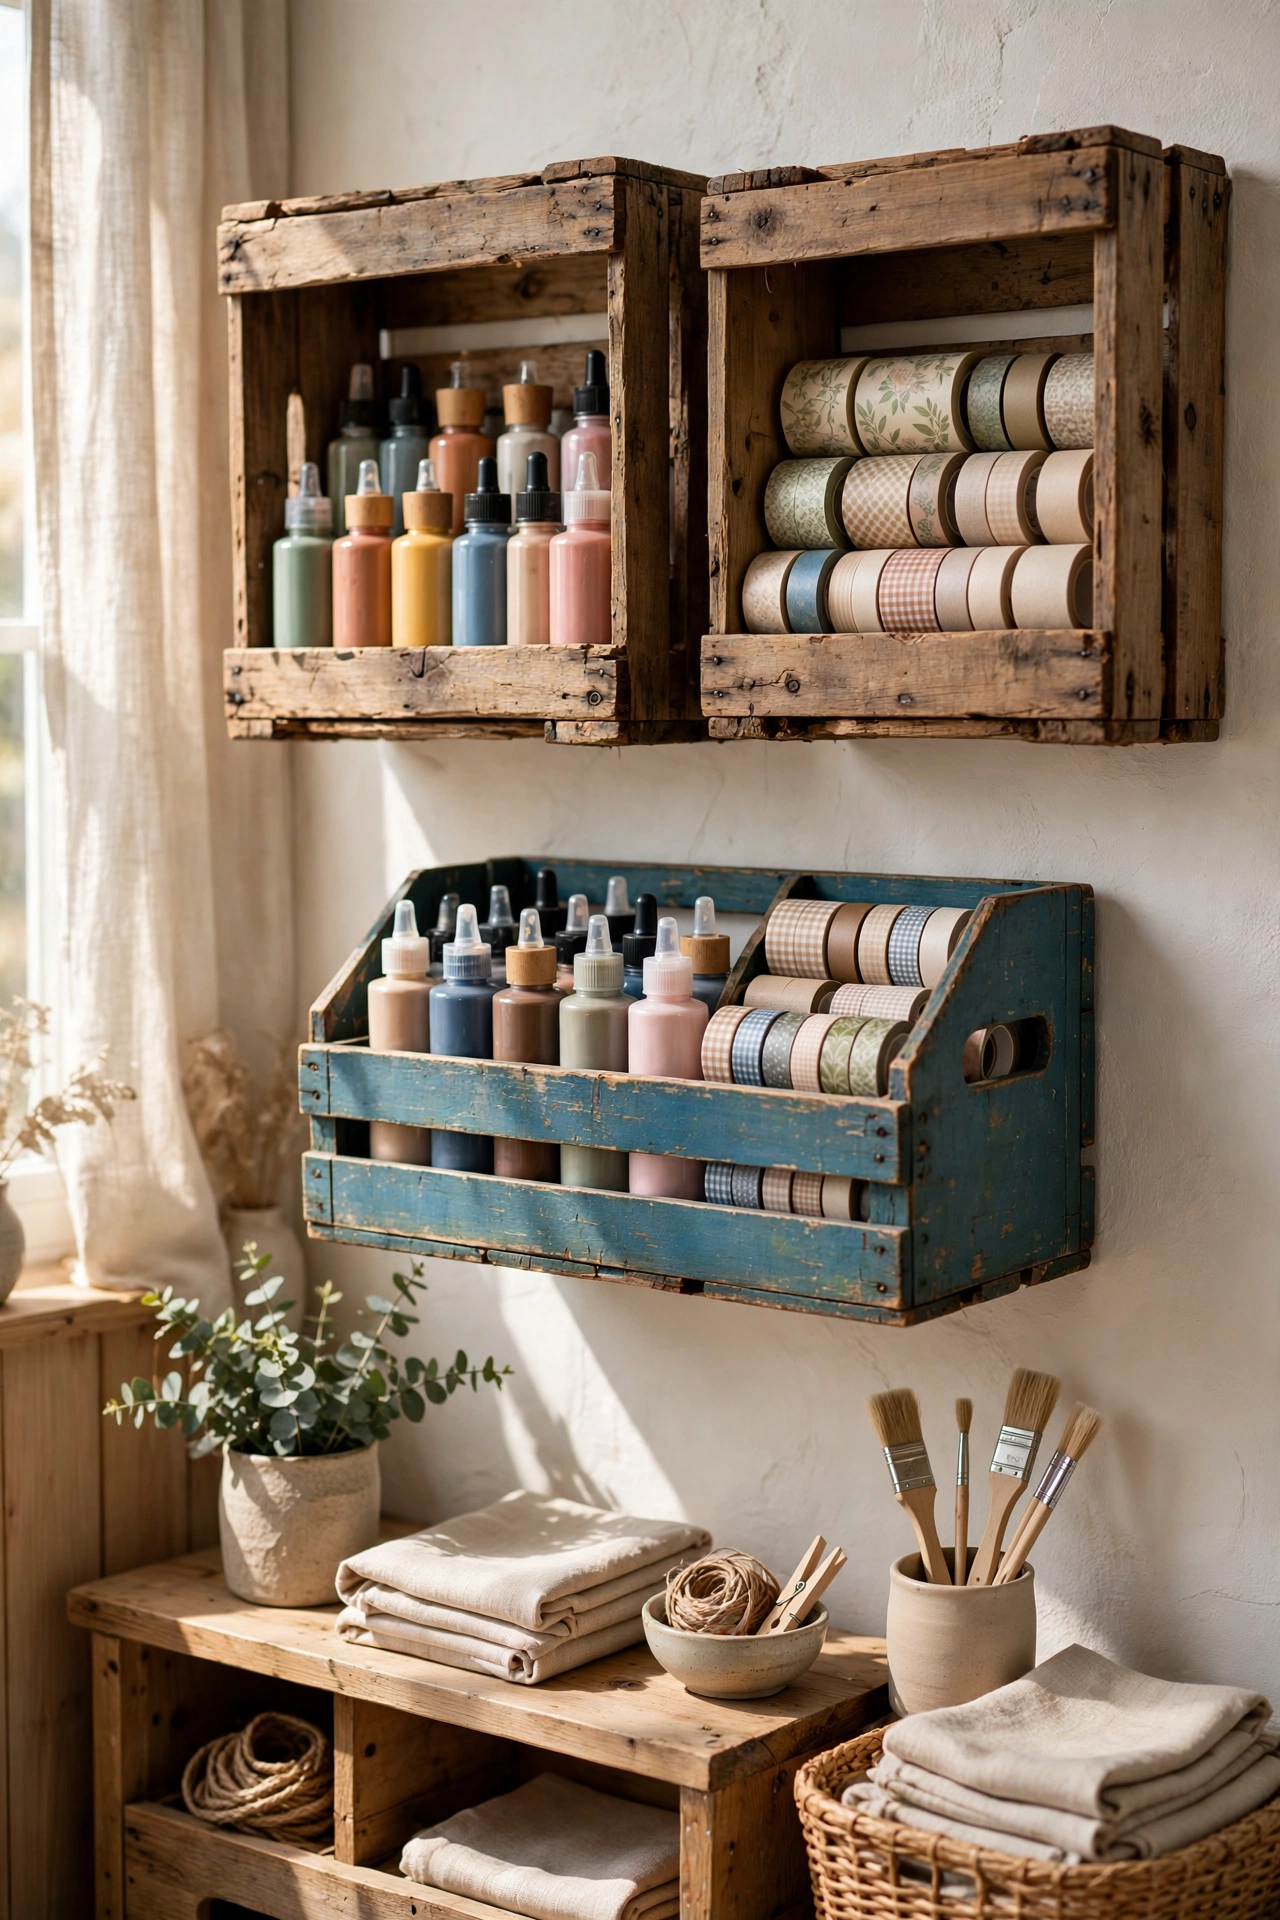
22. Repurposed Crates and Soda Crates
Some of the best craft storage is not sold as storage at all. Wooden wine crates become paint cubbies when stacked on their sides, a vintage soda crate hung on pegboard holds washi tape rolls sorted by color, and an old wooden crate with a plywood grid dropped inside becomes a cubby organizer for paint bottles laid on their sides with the color on the lid facing out. The charm of repurposed crates is that they add texture and personality while they work — a room full of matching plastic bins looks like a warehouse, while a room with a few wooden crates looks like a studio. Check thrift stores, flea markets, and your own garage before buying new: crates are often free, they stack and mount easily, and a coat of paint or a light sanding makes them look intentional. Just make sure any crate you hang on a wall is anchored into a stud.
23. Storage Bench and Grab-and-Go Project Totes
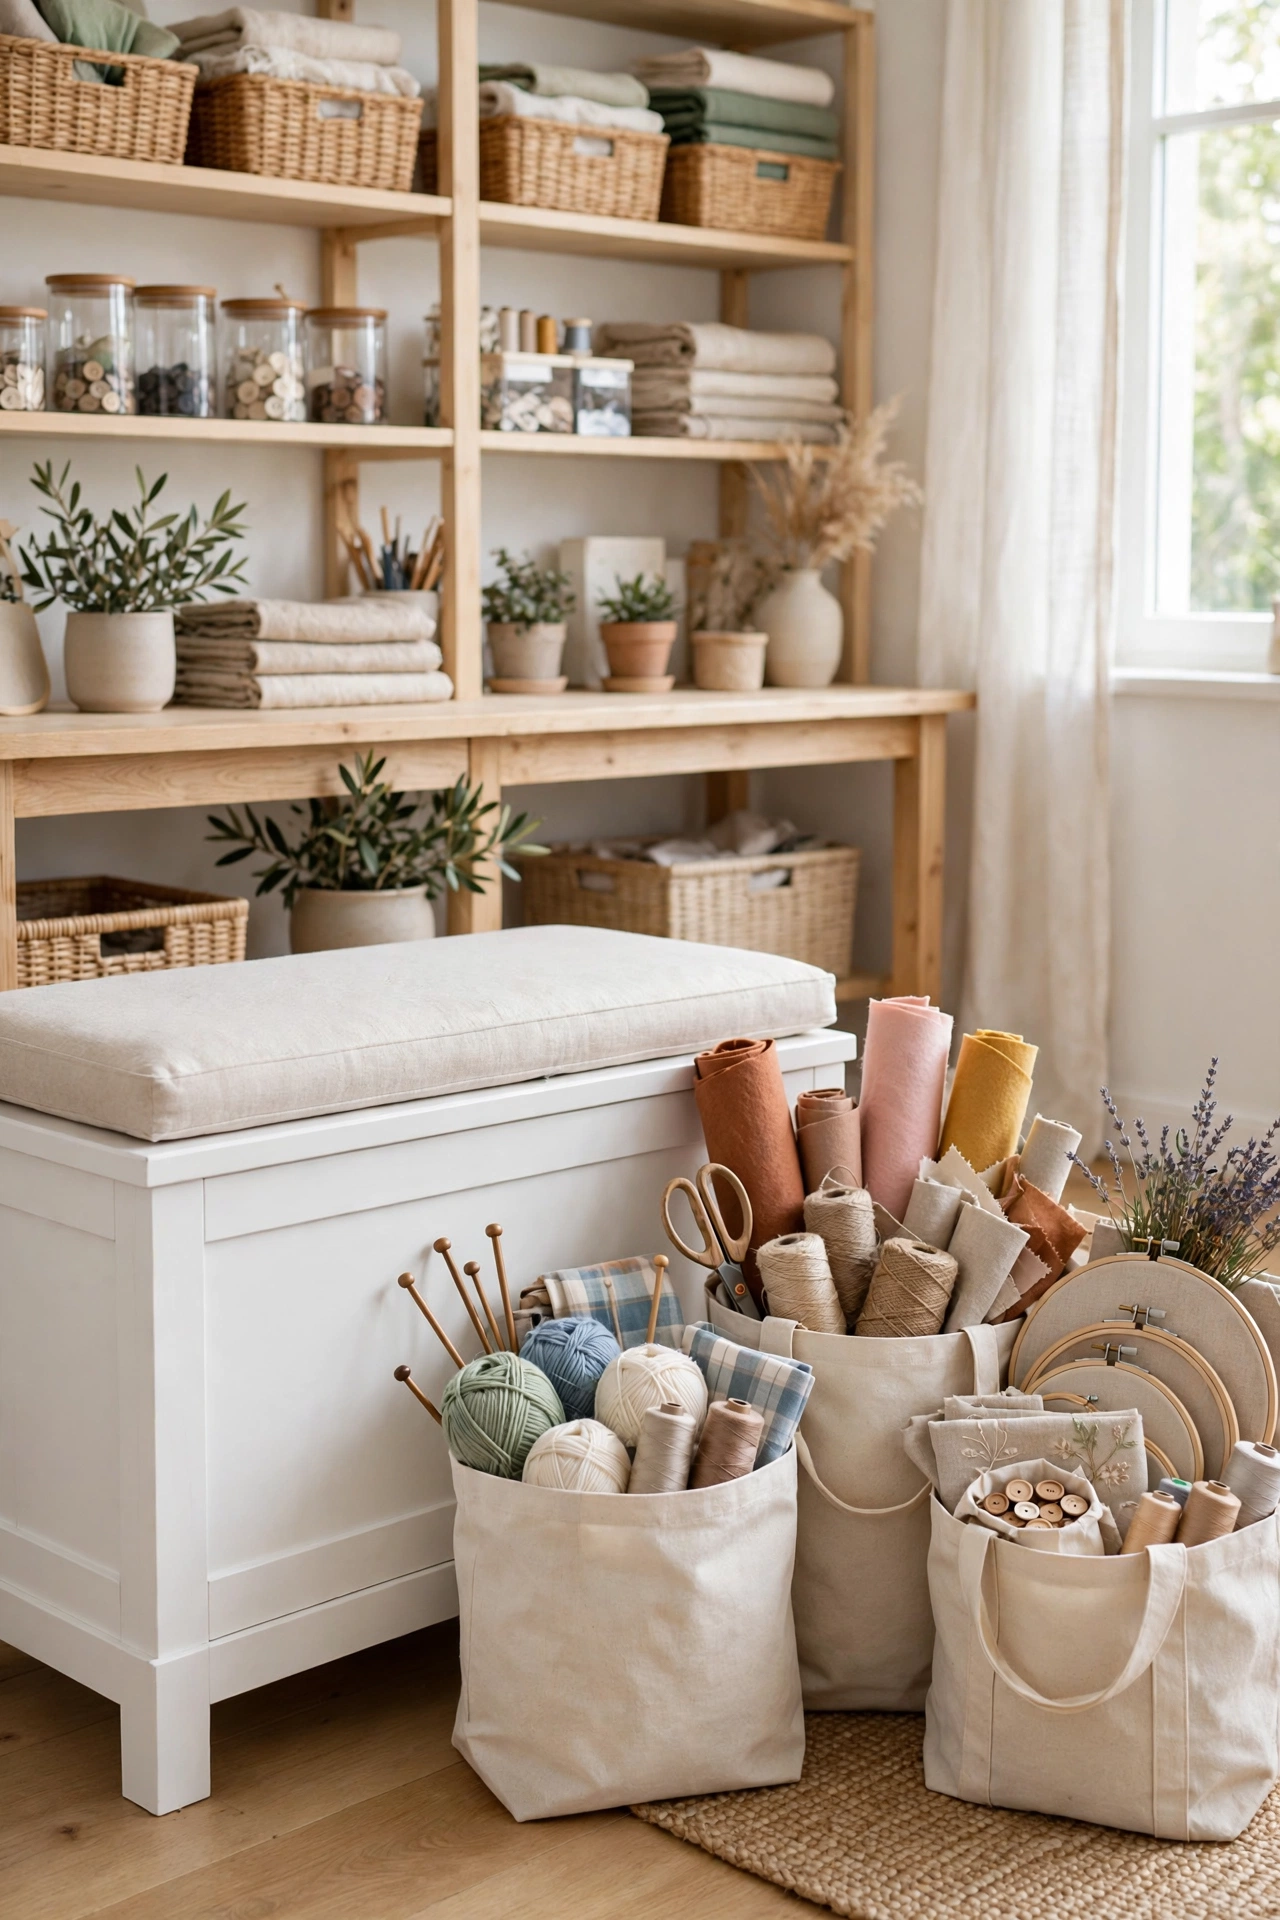
The final piece of the system is the one that lets crafts leave the room. A storage bench or ottoman with a lift-up lid holds bulky supplies — extra fabric, half-finished quilts, large paper pads — while doubling as seating for a crafting friend. Pair it with a set of grab-and-go project totes: one sturdy bag per active project, holding the pattern, the materials, and the tools that project needs, and nothing else. When you want to craft on the porch, at a friend’s house, or in front of the television, you grab one tote and go, instead of gathering supplies from twelve places. When the project is finished, the tote gets emptied, cleaned, and reloaded for the next one. The bench keeps the bulky stuff out of sight, the totes keep the active stuff mobile, and together they make the room work even when you are not in it. If you are building a full storage setup, our guide to shoe storage cabinet entryway ideas shows the same labeled-bin thinking applied to another hard-working corner of the home, and the garage makeover ideas guide covers bigger storage zones with the same zone-and-label method.
Frequently Asked Questions
How do I organize a small craft room with no spare wall space?
Start with the door, the desk, and the ceiling height you already have. An over-the-door organizer, a rolling cart, and a rolling drawer pedestal add storage without touching a wall. Then go vertical: a single tall cube unit or a set of floating shelves uses the wall space above your existing furniture. For more shelving ideas, see our staggered floating shelves ideas.
What is the best way to store craft supplies so I can actually find them?
Store by category and make everything visible. Clear bins with large labels, pegboards, open cubbies, and jars you can see through all beat opaque boxes and deep drawers. The rule is simple: if you cannot see it, you will forget you own it and buy it again.
How do I keep a craft room tidy after a project?
Build a five-minute reset into the end of every session. Every tool has one home — a pegboard outline, a labeled drawer compartment, a jar on a shelf — so cleanup means returning things, not deciding where they go. Project totes help here too: unfinished work lives in its tote, not spread across the table.
Should craft supplies be stored in clear or opaque bins?
Clear bins for anything you choose by sight — paper colors, paint colors, ribbon patterns — and opaque bins for bulky or unattractive supplies like batting, stuffing, and backup stock. Keep clear bins shallow for small items so nothing hides at the bottom, and label both types on the short end.
What is the cheapest way to start organizing a craft room?
Start with what costs nothing: sort everything by craft type, throw out dried paint and broken tools, and repurpose boxes, jars, and crates you already own. Then buy one tension rod, one over-the-door organizer, and a pack of labels. Those three purchases solve the most common frustrations for very little money.
How do I store fabric so it does not get crushed or lost?
Fold fabric around uniform boards and store the boards upright like books, sorted by color or type. The method keeps every print visible, prevents crushing, and lets you pull one piece without disturbing the rest. Keep the fabric out of direct sunlight and away from damp walls.
Conclusion
A well-organized craft room is not about buying more containers — it is about giving every supply one visible, labeled home and keeping the tools you use every day within arm’s reach. Start with the three ideas that solve your biggest frustration, whether that is a pegboard for your tools, a cube wall for your stash, or a rolling cart for your active project. Once those are working, add the rest one at a time, and let the system grow with the way you actually craft. The room will not stay perfect on its own, but a five-minute reset at the end of each session keeps it close — and a room you can find things in is a room you will actually want to spend time in.